
How to Complete The Old Neighborhood in Starfield
A trip down memory lane.
As you begin your journey into Starfield, you’re likely to find a lot of things confusing since there’s so much to learn off the bat. In the first hour, you’ll learn, mining, combat, speechcraft, ship flying, ship combat, skills, inventory management, and a whole host of other skills. Once you get over that first hurdle, it’ll be time for the second main mission. Here’s how to complete The Old Neighborhood in Starfield.
Starfield The Old Neighborhood Walkthrough
The Old Neighborhood unlocks as a mission after completing the initial One Small Step mission. After finding the Artifact, helping the Argos Extractors miners fight off pirates, dealing with those pirates yourself, and then flying to the planet of Jemison, you’ll find yourself at the Lodge. Inside you’ll find the members of Constellation and meet them, which is where that first mission ends.
Related: How to Complete Where Hope is Built in Starfield
All The Old Neighborhood Mission Steps
- Talk to Sarah
- Talk to Sarah’s Contact
- Ask About Moara in Cydonia
- Go to Venus
- Examine the Satellite
- Go to Nova Galactic Staryard
- Dock With Nova Galactic Staryard
- Find Any Clues About Moara
- Go to Neptune
- Approach the Ship
- Damage and Dock With Moara’s Ship
- Clear the Ship of Hostiles
- Talk to Moara
- Take the Artifact and Place it in the Lodge
- Tak to Sarah
Talk to Sarah

To kick things off, you’ll want to talk with Sarah in the center of Constellation’s lounge. She’ll want to do some classic detective work. She’s been in contact with a few people who she thinks could help, and a tip from the UC Vanguard seems fruitful.
Talk to Sarah’s Contact
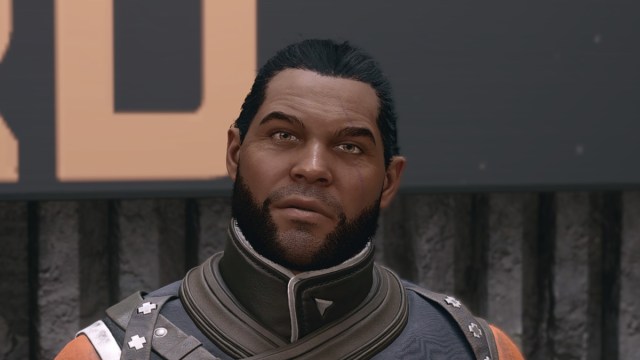
Sarah’s contact can be found at the massive MAST building in the center of New Atlantis, marked with its UC marking on the side. Her contact can be found at the front entrance, which can be accessed above the ramp you took when entering the MAST District. Her contact is Commander John Tuala, one of the heads of the UC Vanguard.
He’ll offer the chance to join the UC Vanguard which you can take later if you’d like to explore that mission line. That aside, Tuala gives you information on a Vanguard volunteer named Moara who patrols the Sol system, specifically around Mars and Neptune. Apparently, he has some fancy metal object he’s been showing off, which could be another Artifact. He apparently checks in at Cydonia on Mars, so that’s your next stop.
Ask About Moara in Cydonia

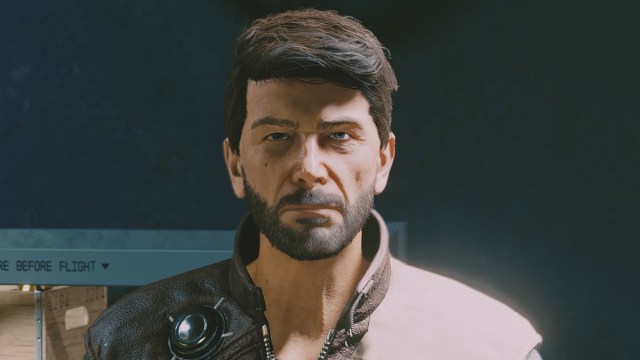
Cydonia can be found in the Sol system just north of the Alpha Centauri system. On Mars, you’ll want to land at Cydonia and enter through the main airlock. On your first right, you should find the Broken Spear bar and the bartender. Speak with him, and he’ll tell you that Moara hasn’t been around in a while. He went off on patrol a while ago and hasn’t been seen since which leaves him worried.
However, he apparently owes a big tab and wants you to pay it off. From this point, you have three options. You can either pay the full credits up front (2500 to be specific), persuade him to give you the information for free, or have Sarah do the talking. If you’re looking to pay the Credits, let Sarah call him out on his lies and he’ll lower the price to 1000. Otherwise, those of you with a point in the Persuasion skill should choose the Persuade option. If you succeed, that’s one of the three speech checks you’ll need to reach Level 2 in the skill.
No matter how you get the information, he’ll tell you that he kept shouting about the “Lady of Love” which means he’s talking about the planet Venus. That’s your next lead.
Go to Venus
Set course for Venus’ orbit, and you’ll be met with a bit of a surprise when you get there. There’s a nasty group of Va’ruun Zealots that will demolish you on first contact for their “Great Serpent”. However, there’s also a UC satellite beacon that could get you the information you need.
At this point, you have two options. If you’re feeling confident, you can take on the Va’ruun Zealots and score whatever cargo their ships drop. However, most of you won’t be too comfortable with ship combat yet. That’s where the stealth side of things comes into play. Using either Alt + WASD or your DPad if you’re playing on Xbox, remove power from all systems except for one or two bars in engines. Then, slowly make your way to the satellite beacon while keeping away from the Zealots. This is going to take a while, so you should save every few thousand meters in case they spot you.
Once you’re within 500 meters of the satellite beacon, press either your E key or A button to select the beacon, then press either the R key or the X button to activate the beacon and download the data. This will lead you to the Nova Galactic Staryard, orbiting the Earth’s Moon.
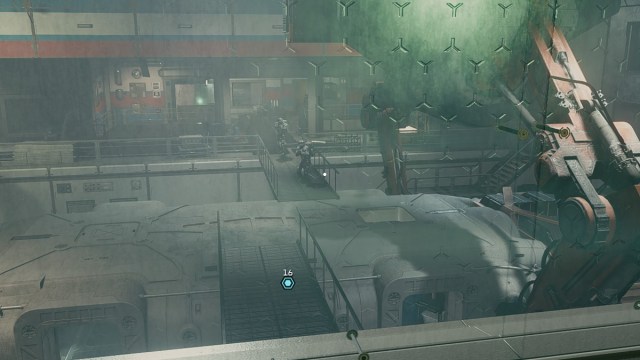
Travel to the Nova Galactic Staryard

Once you reach the staryard, you’re free to assign power to all of your systems again. Get within 500 meters of the staryard and press the same keys as earlier. However, this time hold down the R or X button to dock with the staryard.
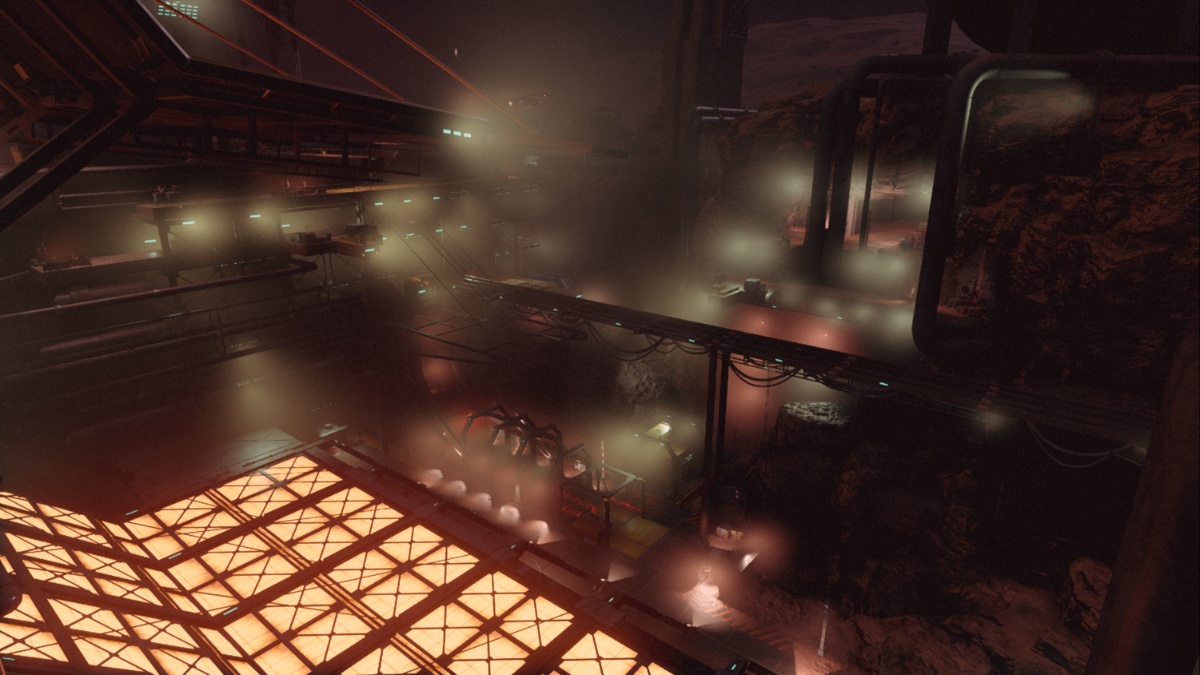
Things aren’t looking so good once you get inside. There’s a corpse immediately and everything else seems trashed. It turns out the Ecliptic mercenary group and Spacers are having a bit of a war in this staryard, so you’ll need to step in and start slaughtering both groups. Remember to loot any bodies you find or create as it’ll net you some ammo and Credits later on. As a bonus tip, one of these Spacers may have a slate that reads “Secret Outpost!”. Once you’re done with this main mission, immediately finish the Mantis mission it gives you. Trust me, you’ll thank me later.
Keep making your way through the base until you reach a large room with a group of Ecliptic mercs alongside a half-finished ship. You might want to save beforehand since this can be a tough fight. Once you’ve killed all the mercs, check the ship for a slate detailing that Moara made his way to Neptune. This will be your next stop.
Travel to Neptune and Save Moara
Head to Neptune’s orbit where you’ll find Moara’s ship strangely not moving. Approach it and it’ll begin moving and powering its weapon systems. It wants a bit of a fight. At this point, Moara will contact you, who’s a prisoner in his own ship from mercs who want an easy payday. Focus down its shield, then take out its engines to disable the ship. From there, you can use the same method as earlier to dock with the ship.
Board Moara’s ship once you’ve docked, then kill the mercs holding him hostage. Speak with him, and he’ll let you take the Artifact in exchange for the badass rescue you just gave him. Take that Artifact back to the Lodge in New Atlantis to complete the mission and prepare for the next, The Empty Nest.
If you end up dabbling in some of the faction missions, check out our guide on how to complete Deputized in Starfield.