How to Complete Strider in Destiny 2
Become the Poseidon of the Snows with this Glaive

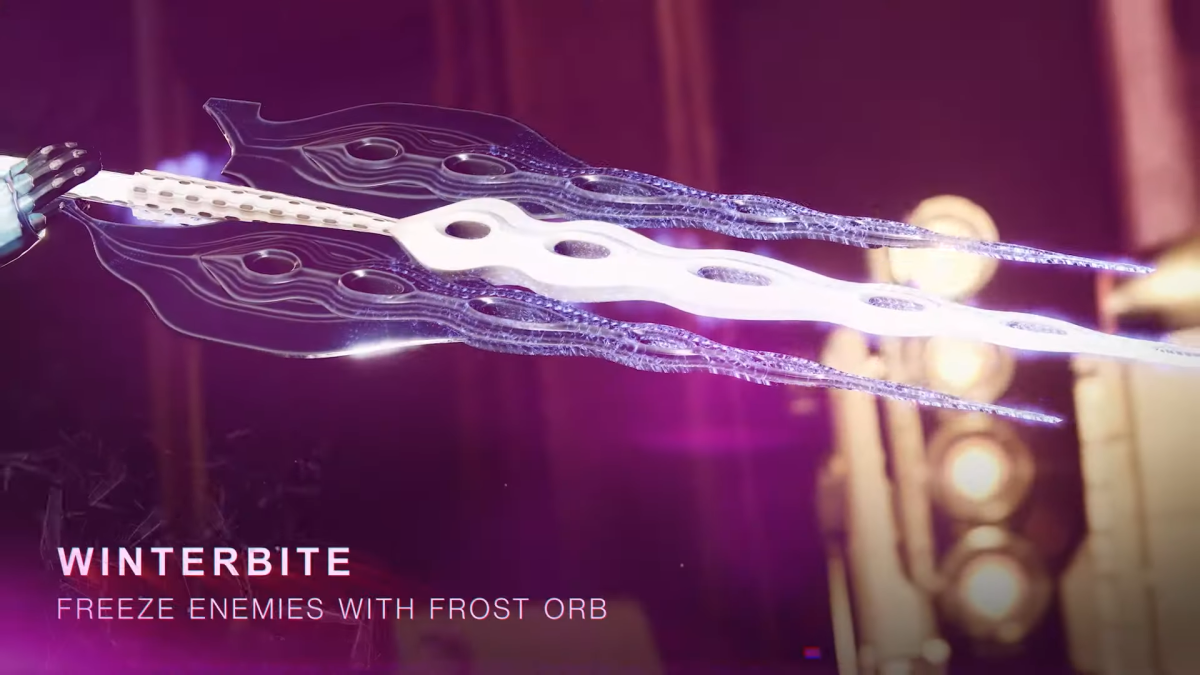
Finally. The last monument. The last piece of the Vex puzzle. The last obstacle between you and the Stasis Glaive, Winterbite. Let’s get into it. Here is how to complete Strider in Destiny 2.
How to Complete Strider in Destiny 2
Let us not mince words and get right into completing this quest.
Step 1. Visit the Archivist
- Visit the Archivist
Speak to Quinn at the front desk to get the quest rolling.
Step 2: Open three Overload Chests
Spend keys on a Terminal Overload Key Chest in each of the three different areas of Neomuna.
- Ahimsa Park chest looted
- Zephyr Concourse chest looted
- Liming Harbor chest looted
Now, as far as I can tell, Terminal Overloads happen in only one dedicated part of Neomuna each day. That means it might take you three days to complete this quest. One way to find a Terminal Overload quickly is to head to the map then select the white diamond. By selecting this icon, you will immediately be sent to a map where an Overload is either ready to start or is in the process of being completed.
Complete Terminal Overload in all three locations and loot their locked chests to complete this step.
Step 3: Defeat Shadow Legion
Defeat Shadow Legion forces in Neomuna to find location data, and dive into the Ahimsa Park Lost Sector for a data cipher to put the data together.
- Location data gathered 0/20
- Data cipher found
You can kill two Cabal with two stones by heading straight to the Lost Sector, Gilded Precept, as there are plenty of Shadow Legion inside. To get to Gilded Precept, go to Ahimsa Park, then approach the ramp that leads into Calus’s ship. But before you enter, look off the right side, off the very edge. You will see a hidden stone ridge. Jump down, then follow the narrow walkway to a door set into the fortress itself. Check out our related link if you need more visuals.
Related: How to Find the Gilded Precept Lost Sector on Neomuna in Destiny 2
When you enter a large room absolutely swarming with Cabal, you will need to kill the two slightly glowing Honored Centurions in order to get the Blooms they are holding. Insert each Bloom orb into the door at the far end of the room to unlock it.
Defeat the yellow-bar boss at the end of the Lost Sector, then unlock the cache to get the Data Cipher.
Step 4: Visit the Archivist
The archivist wants to discuss your findings.
- Archivist visited
Return to the Hall of Heroes to discuss your location data.
Well. Looks like Strider has kept a Vex Mind in the network, but why? We will likely uncover that in the next three steps.
Step 5: Repair the Memorial
Approach Strider’s Memorial to repair it.
- Memorial restored
Approach the last Memorial to restore it.
Step 6: Destroy the Hydras
Destroy the Hydras and shut down the confluxes at Maya’s retreat
- Vex operation halted
The odd soundbite from Strider sounds as if she’s talking to a Vex. A… baby Vex? That is scared? Odd. Head to Liming Harbor, then towards the Eastern rock corridor in order to access Maya’s Harbor.
Once you reach the chasm, you can go right to just walk along the bridge. There will be plenty of Goblin, two Minotaur, and a Cyclops to try to stop you from crossing. Take them out, then kill the Hydra on the bridge.
Once you kill one Hydra, a new hoard of Vex will spawn. So will a Vex structure called a Conflux, which is a white geometric tower. Deactivate the Conflux, then kill the next hoard of Goblin and the new Hydra that spawns. Do this three times.
Once all three Confluxes are shut down, platform up the cliff at the end of the bridge and into the tunnel. We are almost at Maya’s Retreat.
Inside the cave will be another mob of Goblin and a singular yellow-bar Hydra. Kill everyone, then shut down the Vex Conflux that will spawn near the Hydra.
And… yeah. That is it! That’s the final boss for the quest.
Step 7: Visit the Archivist
The archivist has a reward for you.
- Archivist visited
Return to the Hall of Heroes and speak to Quinn at her desk.
Awww. The Occlusion, the Vex that Strider was protecting, sent us a thank-you letter. What a cutie. But more importantly, the conclusion of this quest comes with an interesting note:
“URGENT: SATURN VI CONTAINS VITAL INFORMATION. ENEMY OF WITNESS ON TITAN. IF STILL LIVING PRESENRATION PARAMOUNT. DO NOT WASTE TIME.”
Who is this enemy of the Witness? It is likely we will find out either this Season or the next, but it is cool that they baked it into this quest.
And for all your effort, Quinn gives you the one weapon we have all been waiting for: Winterbite, the Stasis Power Glaive. Congrats, Guardian!
If you are interested in other Exotic Power Weapons, check out our guide on how to get the newly released Catalyst for the Two-Tailed Fox.
