
How to complete NODE.OVRD.AVALON in Destiny 2
A guide to finding Destiny 2's secret exotic weapon.
Destiny 2: Lightfall
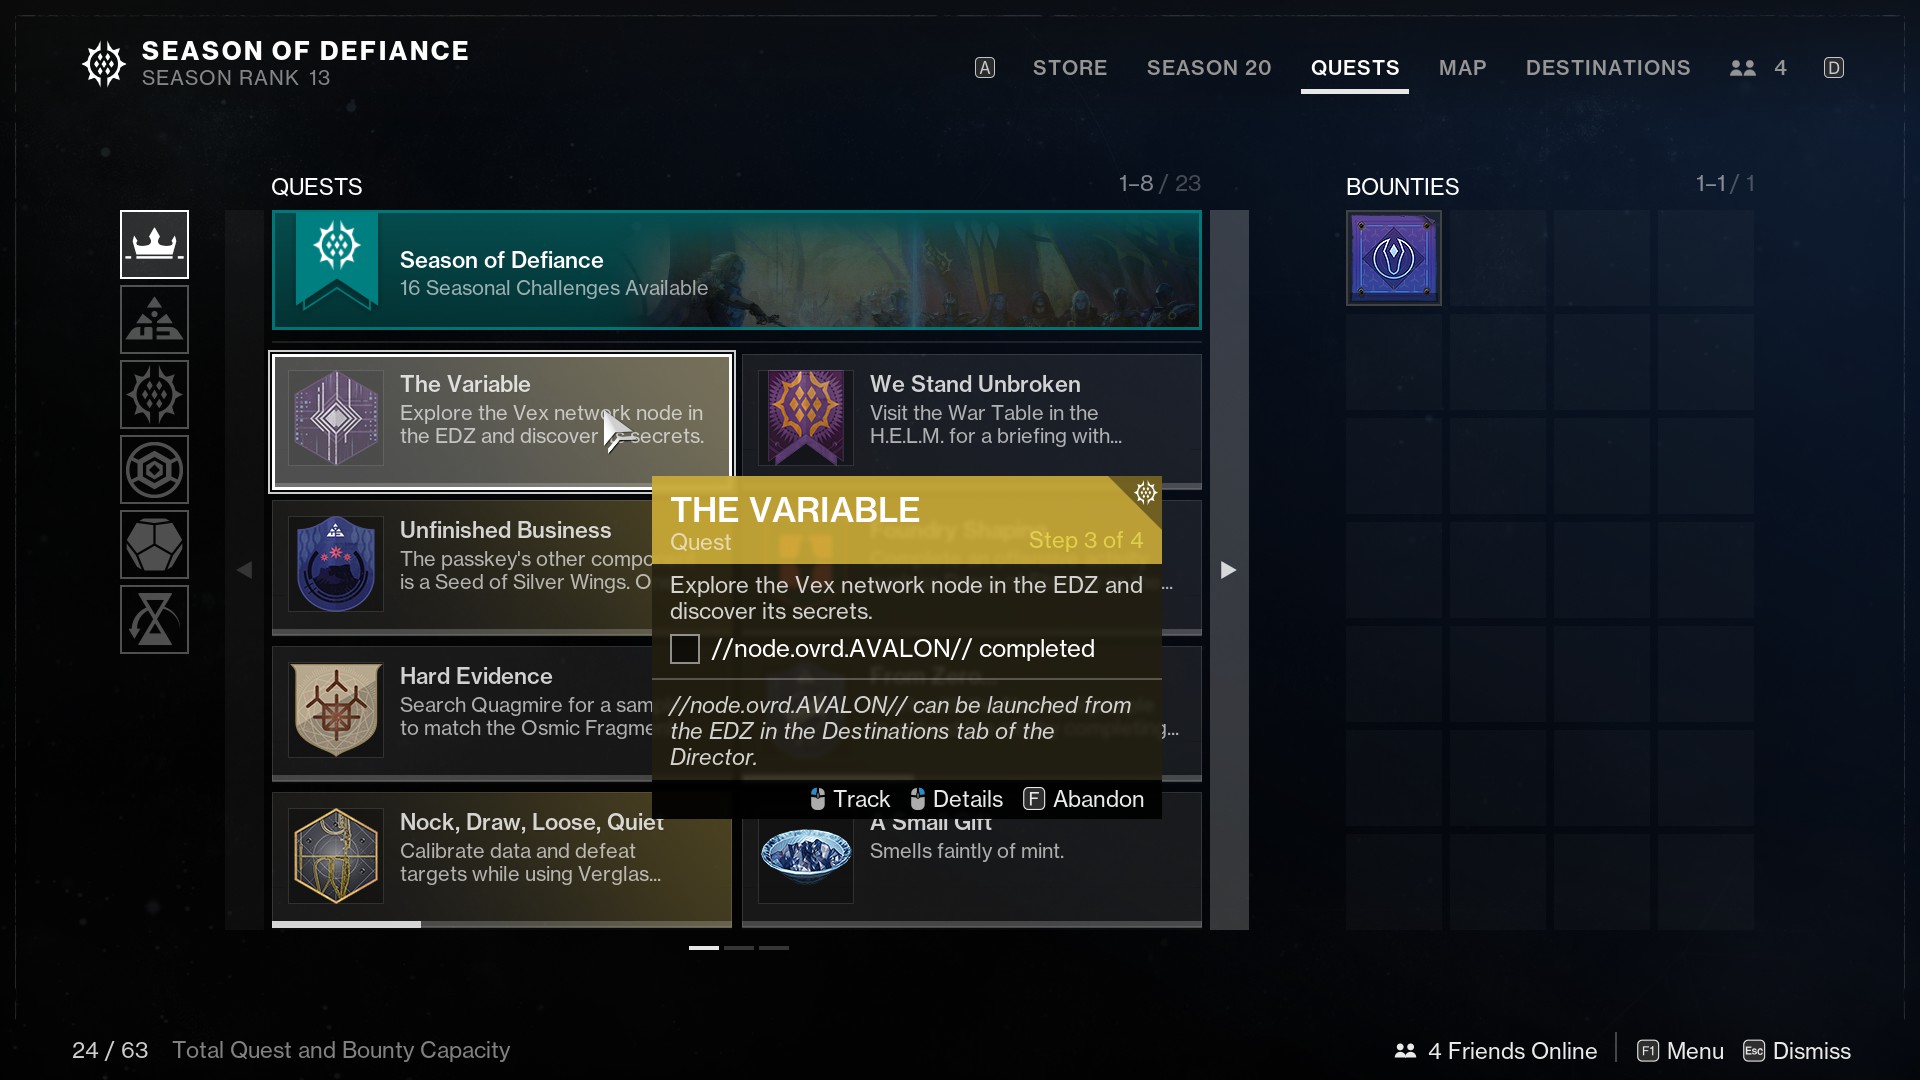
adds a whole new Exotic weapon to find and use with the NODE.OVRD.AVALON quest. This mission has no hint of existing, no markers for its quest destinations, and if it wasn’t for some sharp-eyed players, would have gone unnoticed. There are no pointers as to how to complete the NODE.OVRD.AVALON quest in Destiny 2. But with this simple guide and some movement skills, you should be well on the way to the latest Exotic weapon release.
Destiny 2: Steps on how to complete the NODE.OVRD.AVALON quest
This mission runs as a time trial, meaning you have to make your way from point to point in the EDZ within a certain time frame. Consequently, you will only have about 25 seconds to make it to each new location. This means that you will have to employ a certain route, some nimble skills, and a cool head to unlock the next stage. Here is my recommendation for the quickest way to complete NORD.OVRD.AVALON in Destiny 2.
- The first node is almost directly opposite the Gulch spawn point. Jump from the ledge over to the orange boxes on the other side. You should see it and hear it pinging.

- Collect this and look towards the bent bridge directly behind. The second one is between the right supporting pillars.

- Make your way north towards the usual event spot. You will see the third by the cliff face between the trees.

- The fourth is between two signposts to the right of this area. Jump onto the ledges beside it and drift across.

- The fifth lies in the middle of the swamp. Rush past the enemies to grab it quickly.

- The final node is the east of the Gulch. It is nestled behind some logs.

Once you have collected all these within the timeframe, you will have unlocked the cave which is just further song the east wall from the final node. This doesn’t need to be rushed in order to complete the NODE.OVRD.AVALON quest in Destiny 2, so you can breathe.
Tips for NODE.OVRD.AVALON
It is worth noting that the nodes make a pinging noise. If you are struggling to see one, get your headphones on and try to pick out its exact location that way. This is going to take a few tries, if these steps just don’t work for you, try them in a different order. They can be claimed in whatever sequence you prefer.