
How to Build a Ship From Scratch in Starfield
How to build a ship, from cockpit to fully-fledged metal beast.
There are a lot of systems in Starfield that you have to contend with. Some of these are fairly straightforward, such as selling and buying items from vendors, while others are far more complex, such as the crafting of weapon parts and spacesuit upgrades. One such system that is tough to navigate is the Ship Builder, especially when you want to create a custom ship. No need to worry though, as we’ll help you through it. Here’s how to build a ship from scratch in Starfield.
How to Build a Ship From Start to Finish in Starfield
We want to get one thing very clear from the start. This guide is not designed as a tutorial for building a specific ship with specific parts. I’ll be doing that for the sake of teaching, but the ship I make will be far from perfect. Instead, you should take the knowledge I provide and apply it to whatever ship you want to design. With that out of the way, let’s start with the basics.
Make your way over to your nearest Ship Services Technician, with the easiest one found at the New Atlantis spaceport adjacent to the Trade Authority kiosk. Select the option “I’d like to view and modify my ships.”. Hover over the ship you want to replace, then delete all ship parts currently placed. This will give you some early cash to work with, even if it’s nowhere near enough.
What You’ll Need

Before you can start building a ship, you’ll want to acquire a surplus of cash. Having at least 100k Credits to spare should allow you to build what you want, but if you have access to more extravagant parts, you may need more money.
To have a complete ship, you’ll need at least one of each of the following components:
- Cockpit
- Habitat
- Landing Gear/Bay
- Docker
- Cargo Hold
- Fuel Tank
- Grav Drive
- Reactor
- Shield Generator
- Engines
- Weapons
Ideally, you’ll want multiple weapons, multiple engines, and will need several pieces of landing gear. Now that we have everything we need in mind, we’re finally ready to start building.
Cockpit

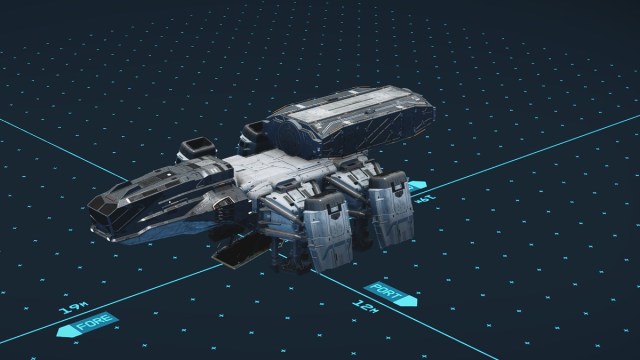
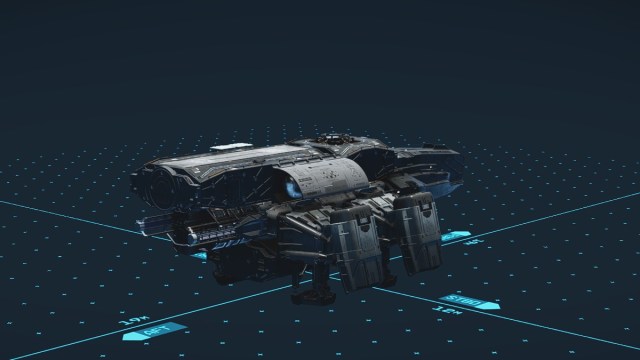
I highly suggest you start things off with a Cockpit. This is where you’ll find your pilot’s seat, along with additional Crew chairs and access to the Cargo Hold. Ideally, you want to pick the one that provides a decent amount of Cargo Hold space and Crew Stations, while not weighing too much. For this example, I’ll be using the DS10.2 Phobos Cockpit since it offers a solid balance.
First Habitat
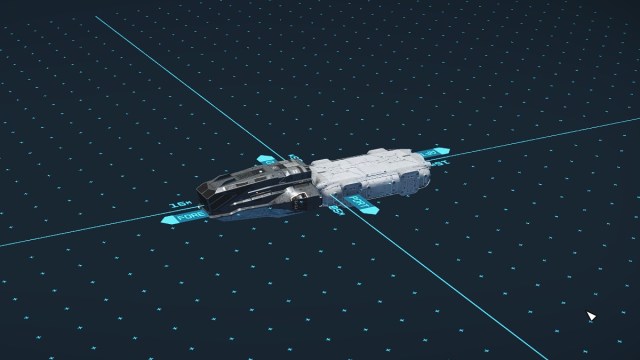
Next up should be a Hab directly connected to the back of the cockpit. This will include various places for your Crew members and companion to sit and can include things like a Research Station when you unlock better Habs using skills. We’re looking for something that provides a good amount of Crew or Passenger slots, while not weighing too much. To that end, I’ve gone with the Nova Galactic All-in-One Berth 2×1 A.
Landing Gear
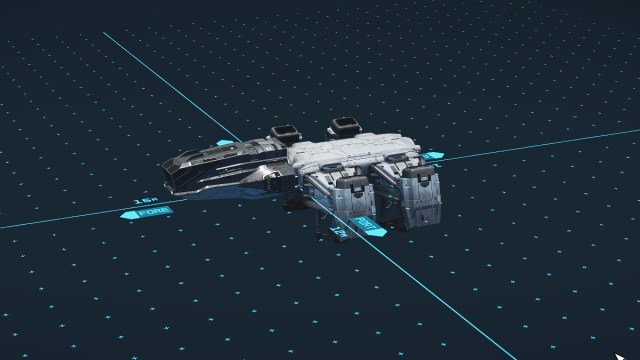
Now that we have both of those components installed, we can add some Landing Gear since it may get in the way later. The stats on these don’t matter, as long as you satisfy the Error listed in the Flight Check menu. For this example, we’ll add 4x 220CB Landing Gear – Port to each of the possible connection points on our hab.
Landing Bay
Next, we’ll get a Landing Bay out of the way so we can enter and exit our ship. Similar to landing gear, your choice doesn’t matter too much here. We’re going to attach the 120LD Landing Bay to the bottom of our ship since it can fit on both the bottom connection points.
Second Hab
You’ll notice that we’re starting to run out of room with connection points, and that’s totally fine. These sorts of hiccups happen all throughout the creation of a ship, so you shouldn’t fret about them. To shake things up a bit, we’re going to slap a new Hab with a slight offset to the top of our ship. In particular, the Deimos All-in-One Berth 2×1.
Docker
Now that that’s out of the way, we’ll add on a Docker so our ship can dock with other ships and various space stations. As with the landing pieces, stats won’t matter much here. For simplicities sake, we’re slapping a 100DP Docker – Top to the top of our ship since it’ll fit nicely.
Cargo Hold
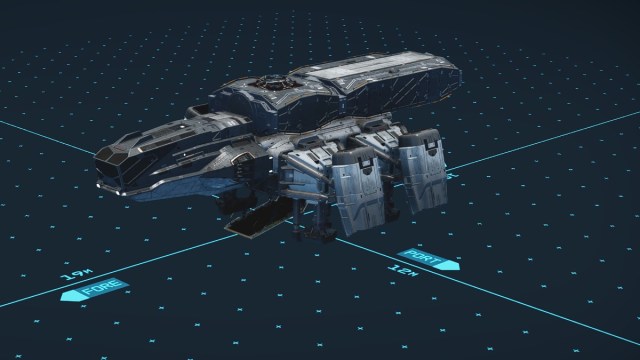
We’re finally getting to the good stuff, by which I mean the parts where choice begins to matter. Starting things off is the Cargo Hold. This will dictate the amount of Cargo Hold storage your ship has, meaning you can store more for the road. The number listed is the total Mass it can hold when combined with the other ship parts. You can also have multiple if you want. Since we’re keeping it simple, we’ll be installing a single Caravel V101 Cargo Hold to the side of one of our habs.
Fuel Tank
Following that will be our Fuel Tank, which determines how far we can Grav Jump in our ship. Ideally, you’ll want a Fuel Tank that holds as much Grav Jump Fuel as possible so you have to make fewer trips. Be mindful of the Mass multiple will bring though, as that’ll cause problems we’ll talk about later. For this ship, we’re installing a single M30 Ulysses He3 Tank to the opposite side of the Cargo Hold.
Grav Drive
Since we’re talking about Grav Jumping anyway, let’s look at adding a Grav Drive to the ship. The different stats here will determine how many hits the Grav Drive can take, and how fast it can spin up in the heat of the moment. Here, we’ve gone with a Helios 300 Grav Drive under the upper hab.
Reactor

Following that is our ship’s Reactor, which provides power to all of the ship’s systems and allows you to assign a certain amount of power to various components. What you’re looking for when choosing a Reactor is a solid Repair Rate, Reactor Health, and Power Generated while keeping the Mass fairly low. Here, we’ve gone with the 360T Stellarator Reactor, placed below the Grav Drive.
Shield Generator
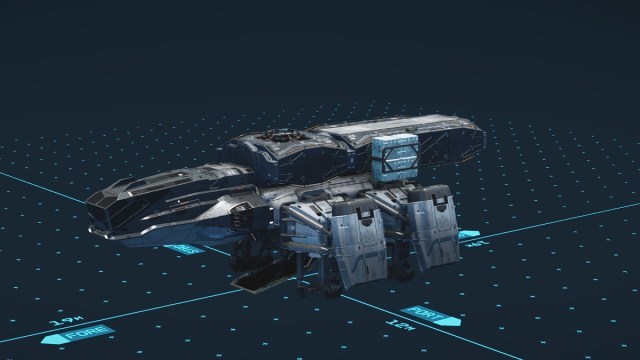
Just a few more pieces to go. We’re going to install a Shield Generator next which, you guessed it, provides shields to our ship. The stats we want here are a high maximum Shield Health, solid Regen Rate, and high Max Power so we can tank as many hits as possible before our systems are in danger. This is one of the places you want to splurge the most on since it’ll save you in a pinch. Naturally, we’ve gone with the Deflector SG-30 Shield Generator, next to the Cargo Hold.
Engines
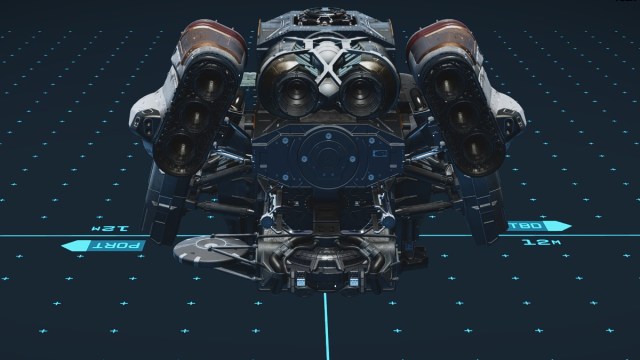
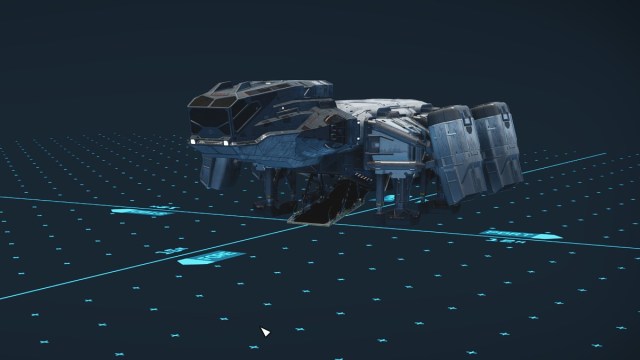
Second to last is Engines, which are vital to your ship’s movement. Like the Shield Generator, we want to splurge heavily here since these will determine both the speed and handling of the ship. The key stats are going to be Max Power, Engine Thrust, and Maneuvering Thrust. As such, we’ve gone with two White Dwarf 2010 Engines alongside an Amun-3 Engine on top to give some excellent mobility.
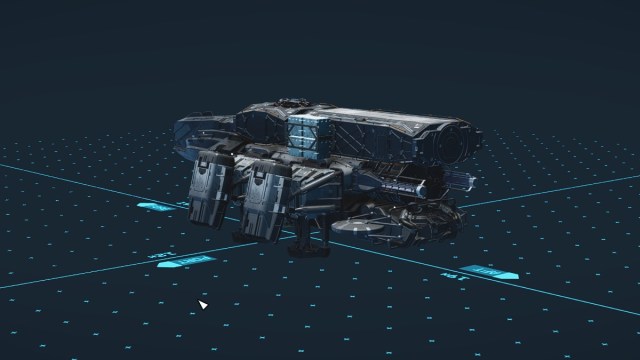
NOTE: Due to conflicts with being able to install three weapons, we were forced to swap our cockpit out for the Magellan C2X Cockpit and move the Docker to the top of the upper Hab. That’s why things look different in the following image.
The following image looks different due to some parts having conflicts. If you’re trying to create the ship I’m making, switch over to the Magellan C2X Cockpit and move the Docker to the upper Hab.
Weapons
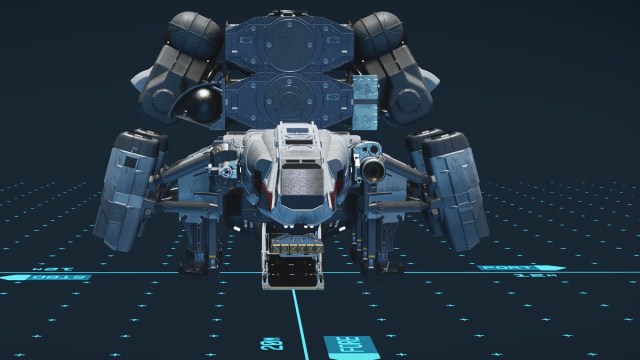
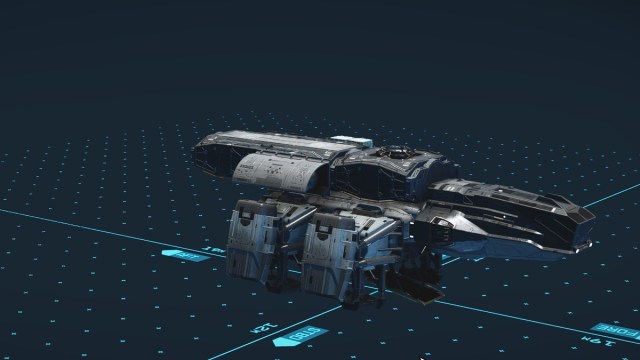
Last, but absolutely not least, is Weapons. This will determine how easily your ship can combat your foes. Your choice of weapons here is very important since we want to have a variety of weapons that can handle all sorts of scenarios. Energy weapons are best at handling shields, Ballistic weapons are best for standard health, and EM are best for damaging individual systems like Engines or the Grav Drive. You can have three different weapons at maximum (though can have multiple of each of the three), so we went with the following
- Mauler 104L Autocannon
- Dragon 221P MW Pulse Laser
- CE-09 Missile Launcher

The final thing you have to do is assign each weapon to a group. This can be done by opening the Flight Check menu listed in the bottom left, swapping to the Weapons tab, and changing each Unassigned option to one of your three weapons. If all has been done correctly, your ship should be considered Nominal and you’ll be ready to fly!
Things to Consider Before Finishing Your Ship

Before you finish building your ship, we should cover what each stat in the UI means so you know what you’re dealing with:
- BAL, LAS, PAR, EM and MSL – The Hull Damage of each corresponding weapon.
- Hull – The health of your ship, not including shield health
- Shield – The health of your ship’s shield
- Cargo – The space you have in your Cargo Hold, measured in Mass.
- Max Crew – The max members you can assign to your Crew. Assigned Crew members provide bonuses through their ship-related skills (found in the Crew menu).
- Jump Range – How far your ship can Grav Jump. If your Jump Range is too low, you’ll need to make multiple jumps to reach where you want to go.
- Mobility – How well your ship can handle in space. The higher the value, the better it can turn and move around.
- Top Speed – The maximum speed of your ship.
- Mass – How heavy your ship is. Directly affects the Mobility stat.
How to Fix Mistakes When Building Your Ship in Starfield
While I have touched on things here and there, there are a number of mistakes that can appear as errors when building your ship. The ship weapon assignment error is a common one, which I explain in the Weapons section of this guide. There’s also the Docker positioning, which needs to have enough open space to be able to dock with a station. For most ships, the safest spot for this is on the bottom or the highest point of your ship.
Some other easy-to-fix mistakes include ship parts exceeding the Reactor class and mass causing Mobility issues. For the former, you’ll need to keep in mind whether your ship’s Reactor is A, B, or C, and ensure parts don’t go further than what the reactor allows. As for Mobility issues, each part you place adds a certain amount of Mass to the ship, which can reduce Mobility. To fix this, you simply need to replace certain parts on your ship with lighter ones or add more engines.
If you’ve made a ship but want to make improvements to it, check out our guide on how to upgrade your ship in Starfield.