
Final Fantasy Resonance Chapter 2 Checklist
A checklist for everything you need to do in Final Fantasy Resonance chapter 2


Chapter 2 of Final Fantasy Resonance, Eternal Blue, takes you to Dirnado, the Continent of Wind. Like the first chapter, there’s plenty to do outside the main story, including 15 Tablet Shards, four side quests, three new Visions, an optional Esper, and a very tough Cave Master fight.
This Final Fantasy Resonance Chapter 2 checklist covers all the important quests, collectibles, treasure chests, optional encounters, Magicite Shards, and secrets worth checking before progressing to Chapter 3.
All Main Story Objectives in Final Fantasy Resonance Chapter 2
Chapter 2 takes place primarily in Dirnado, beginning with your arrival from Grandport and ending after the events at the Wind Shrine. Here’s a condensed walkthrough of the main story locations and objectives in the order you’ll encounter them.
| Main story location | What to do |
|---|---|
| Dirnado, the Continent of Wind | Head west from your arrival point toward Dilmagia. |
| Dilmagia | Speak to the marked NPCs and investigate the city before meeting Lid at the shipyard. |
| Mt. Thunderclap | Travel northeast of Dilmagia, cross the mountain, and defeat Liquid Thunder. |
| Dwarven Forge | Meet the dwarves, speak with Borin, and defeat Mom Bomb. |
| Mobliz Shipyard | Investigate the shipyard, activate its elevators and switches, and progress the story involving Lid and Evan. |
| Escape Mobliz Shipyard | Activate the correct lever, return toward the entrance, and defeat Adrastea. |
| Dwarven Forge | Return to the forge following the events at Mobliz Shipyard. |
| Wind Shrine | Explore the shrine, solve its elevator puzzles, and defeat Aether. |
| Dilmagia | Return to Dilmagia to complete the chapter. |
The four main bosses are Liquid Thunder, Mom Bomb, Adrastea, and Aether.
| Boss | Level | Weakness |
|---|---|---|
| Liquid Thunder | 13 | Earth |
| Mom Bomb | 14 | Water |
| Adrastea | 16 | Water, Lightning |
| Aether | 18 | Ice |
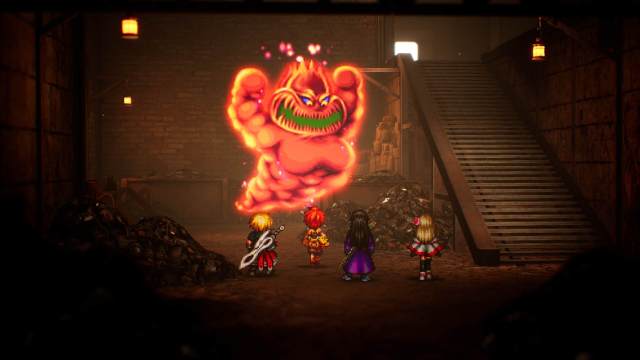
Before returning to Dilmagia after completing the Wind Shrine, consider finishing your remaining side quests and collecting the Tablet Shards in the region.
All 15 Tablet Shard Locations in Final Fantasy Resonance Chapter 2
There are 15 Tablet Shards in Chapter 2, bringing your total to 27 if you collected all 12 in Chapter 1. Here’s where to find all 15 Tablet Shards in Chapter 2.
| Location | Where to find the Tablet Shard |
|---|---|
| Dilmagia | Immediately after entering the city, turn left toward the gated area with the electric lights. The shard is tucked into the corner. |
| Dilmagia | At the second intersection, near the item and equipment shops, look behind the wooden crates west of the item shop. |
| Dilmagia Shipyard | Climb the first staircase, then take the upper-left stairs. Follow the walkway to the end, beside a ladder. |
| Dilmagia Shipyard | After climbing the first staircase, descend the stairs to the right of the main platform. Look beside the third metal support beam. |
| Mt. Thunderclap | Follow the regular mountain route instead of Lid’s shortcut. After examining the yellow tree for the Elven Maven side quest, continue around the corner to find the shard. |
| Mt. Thunderclap | Pay Lid 1,000 Gil to unlock her shortcut. Climb the long ladder and follow the path until you reach a tree with the shard nearby. |
| Mt. Thunderclap | After crossing the mountain, travel south past Zidane’s Sanctum and enter Mt. Thunderclap from its upper entrance. Descend the short stone slope and look behind the rocks. |
| Dwarven Forge | In the southwestern corner of the main area, cross the wooden bridge and follow the path south. |
| Dwarven Forge | Descend the stairs in the northwestern part of the forge, near the Mom Bomb encounter. Follow the lower path south to find the shard. |
| Mobliz Shipyard | In the first area, head west and look behind the crates. |
| Mobliz Shipyard | After taking the first elevator, head east through the opening in the fence. Descend the ladder near the generators and turn left. |
| Mobliz Shipyard | After ascending the second elevator, head north and look behind the shipping container before entering the next fenced area. |
| Wind Shrine | In the first room, look behind the pillar to the right of the elevator surrounded by four green crystals. |
| Wind Shrine | After taking several elevators, look near the top of the staircase. The shard is between the stairs and the railing on the right. |
| Wind Shrine | From the previous shard, head south and take the crystal elevator to another platform. The shard is on the left side. |
Chapter 2 Tablet Shard Rewards
Return to the Enigmatic Princess at Oblivion Palace to exchange your collected Tablet Shards for additional rewards. If you have every Tablet Shard from Chapters 1 and 2, you’ll have 27 in total, enough to reach the 24-shard reward tier.
| Total Tablet Shards Required | Reward |
|---|---|
| 16 | Dreadwing Mallet |
| 20 | Compound Bow |
| 24 | Magicite Shard |
The rewards unlocked at 15, 18, 21, and 24 Tablet Shards are worth checking in the palace before continuing. The 24-shard reward includes another Magicite Shard.
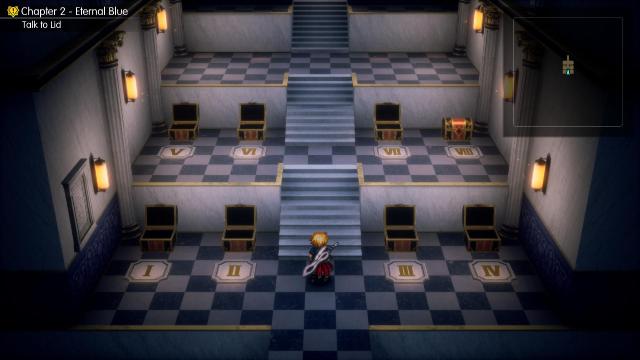
Important Treasure Chests in Final Fantasy Resonance Chapter 2
There are plenty of treasure chests scattered across Dirnado, and some contain very useful equipment. Here are the important weapons, armor, and accessories you should look out for during Chapter 2.
| Item | Location | How to obtain |
|---|---|---|
| Insulated Gloves | Dilmagia | Follow the hidden path behind the item shop to find a treasure chest. |
| Anti-Magic Gear | Dilmagia Shipyard | Found on the lower western walkway of the shipyard. |
| Cape of the Raiju | Mt. Thunderclap | Take Lid’s 1,000 Gil shortcut and explore the path near the Tablet Shard. |
| Sledgehammer | Dwarven Forge | Follow the hidden path east and north of Borin, near the main quest marker. |
| Headband | Dwarven Forge | After descending to the lower area near Mom Bomb, explore the path to the east. |
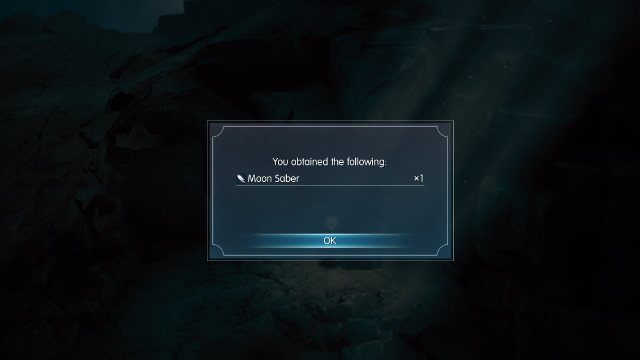
| Moon Saber | Mt. Thunderclap | Explore the alternate mountain entrance accessible later in Chapter 2. |
| Power Wristbands | Mt. Thunderclap | Found along the optional route through the mountain. |
| Laserblade | Dirnado Overworld | Look east of Shoggoth Cave for a glowing item on the world map. |
| Chocobo Down Charm | Mobliz Shipyard | Found on the upper level reached using the western elevator. |
| Protective Overcoat | Mobliz Shipyard | Descend the ladder near the generators in the fenced area. |
| Magicite Shard | Wind Shrine | Descend the ladder from the lower level along the main route. |
| Tsukiyo no Tachi | Wind Shrine | Take the platform at the top of the large staircase to reach the chest. |
| Armor of Gales | Wind Shrine | Follow the southern path away from the main route to find the armor. |
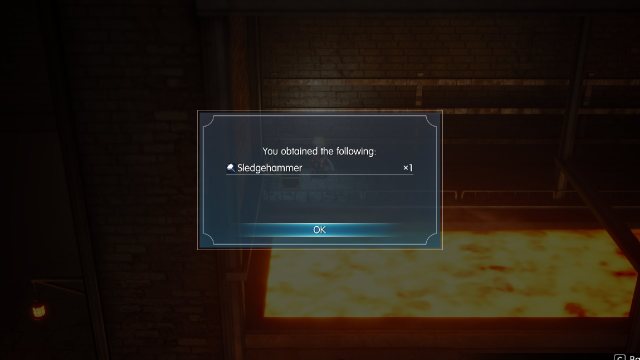
There are also several useful consumables and smaller rewards across the region, including a Phoenix Pinion, Mist Ether, Bronze Hammer, and elemental scrolls. The Mist Ether is worth keeping because you’ll encounter a special enemy inside the Wind Shrine that requires one.
All Chapter 2 Side Quests and Rewards
There are four side quests introduced in Chapter 2, though one of them continues into later chapters and cannot be fully completed yet.
Elven Maven
- Starting location: Dilmagia, speak to Silvia near the noticeboard.
- Rewards: Magicite Shard, 800 Gil.
- Unlocks: During your first visit to Dilmagia.
Silvia wants to investigate the elves that once inhabited Mt. Thunderclap. You’ll need to examine a marked tree along the regular mountain path, report your findings to Silvia in Dilmagia, and speak to her again at the Dwarven Forge.
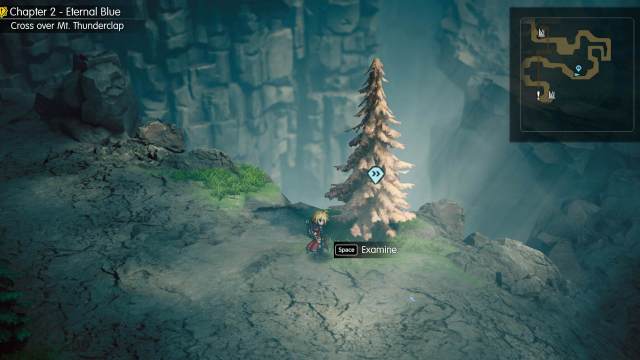
Make sure you explore the regular route through Mt. Thunderclap even if you’ve paid Lid for the shortcut, as you’ll otherwise bypass the tree.
Arise, Mechabo!
- Starting location: Dwarven Forge, speak to Verun.
- Rewards: Repaired Mechabo, Magicite Shard.
- Unlocks: After the events at Mobliz Shipyard.
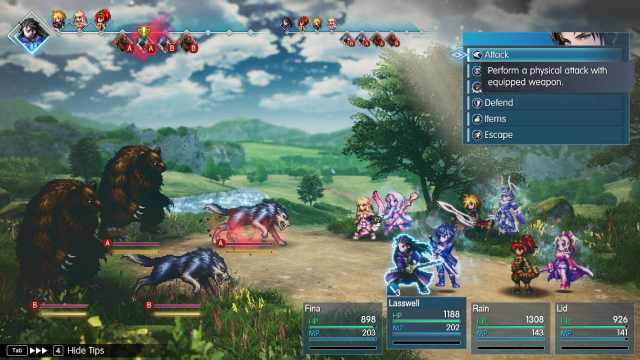
Following the events involving Lid and Evan, Verun offers to repair Mechabo. Defeat two Ipoohs in the overworld near the Dwarven Forge to collect the necessary repair parts, then return to Verun. This is one of the more important side quests in Chapter 2, since it restores Mechabo and has a second part as well.
Mechabo Evolved
- Starting location: Dwarven Forge, speak to Verun after completing Arise, Mechabo!
- Rewards: Mechabo upgrades and Magicite upon full completion.
- Unlocks: After repairing Mechabo.
The first objective requires defeating three Dhorme Chimeras in the desert near Grandport, while the second sends you after three Medusae southwest of the Dwarven Forge. These objectives unlock Mechabo Tackle and Overclock respectively.
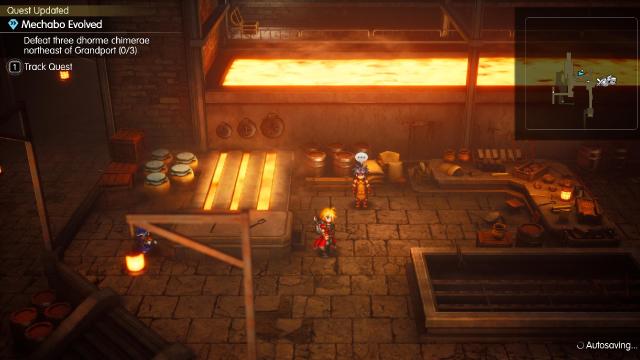
The quest continues into later regions, so you cannot fully complete Mechabo Evolved during Chapter 2.
Lyrical Riddles
- Starting location: Dwarven Forge, speak to Roy.
- Rewards: Magicite Shard, 800 Gil.
- Unlocks: After returning from Mobliz Shipyard.
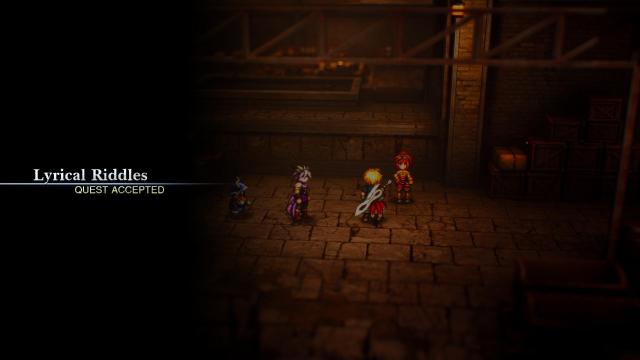
Roy is trying to decipher an old dwarven song concerning the history of Dirnado. You”l have to travel around a bit and interact with a painting and an NPC before returning. This is an easy Magicite Shard to obtain since it doesn’t require any combat.
All Chapter 2 Visions and How to Unlock Them
You can unlock three additional Visions during Chapter 2, bringing your total to eight if you’ve collected every Vision from the first chapter. All three are found inside optional Sanctums of Light around Dirnado, and none require completing a boss fight.
| Vision | How to unlock |
|---|---|
| Zidane | After crossing Mt. Thunderclap, follow the overworld path south to find Zidane’s Sanctum of Light. |
| Onion Knight | Explore the alternate entrance to Mt. Thunderclap near the eastern side of Dirnado. You’ll find Onion Knight’s Sanctum after crossing the mountain. |
| Noctis | Look for the Sanctum of Light west of Mobliz Shipyard, before entering the main story dungeon. |
Zidane is important to unlock early because his Vision grants access to Steal, which lets you farm valuable drops from enemies. Onion Knight is also useful for the optional Shoggoth boss fight, thanks to his access to Earth magic after awakening.

As with the Visions in Chapter 1, the dialogue choices inside their Sanctums don’t affect whether you unlock them.
All Magicite Shard Locations in Final Fantasy Resonance Chapter 2
Final Fantasy Resonance Chapter 2 is pretty generous with Magicite Shards.
| Location | How to obtain |
|---|---|
| Dirnado Overworld | Pick up the glowing item on the world map near the entrance to the Dwarven Forge. |
| Mt. Thunderclap | Defeat the optional Esper Ramuh. |
| Dilmagia / Dwarven Forge | Complete the Elven Maven side quest for Silvia. |
| Dwarven Forge | Complete Arise, Mechabo! for Verun. |
| Dwarven Forge | Complete Lyrical Riddles for Roy. |
| Shoggoth Cave | Defeat the optional Shoggoth Cave Master. |
| Wind Shrine | Open the treasure chest reached by descending a ladder on the lower level. |
| Oblivion Palace | Collect 24 Tablet Shards in total to unlock another Magicite Shard reward. |
You can get all these rewards during Chapter 2, although the Oblivion Palace reward requires collecting enough Tablet Shards from both chapters. There are also repeatable ways to obtain Magicite Shards later in the game, so you don’t need to worry about running out permanently.
All Optional Bosses and Special Encounters in Chapter 2
There are two important optional bosses in Chapter 2, along with a few special encounters that reward useful items or MRP.
Ramuh
- Location: Mt. Thunderclap, accessed from the upper mountain entrance near Zidane’s Sanctum.
- Level: 20
- HP: 24,000 on Normal difficulty.
- Weakness: Earth
- Rewards: Ramuh Esper, Magicite Shard.
Ramuh is the second optional Esper you can obtain in Final Fantasy Resonance. After crossing Mt. Thunderclap, head south past Zidane’s Sanctum and enter the mountain through the upper entrance. Follow the path to the gravestone and interact with it.
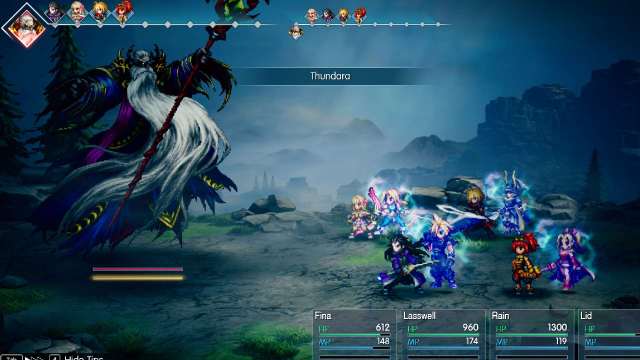
Choose the dialogue option “It’s terrifying” to begin the battle. Ramuh uses powerful Lightning attacks that can damage your entire party. Consider equipping Lightning-resistant equipment and using defensive buffs before attempting the fight.
Shoggoth
- Location: Shoggoth Cave, Dirnado.
- Level: 25
- Weaknesses: Water and Earth
- Rewards: Magicite Shard, Turbo Ether.
Shoggoth is Chapter 2’s optional Cave Master and a big step up in difficulty from most regular enemies in Dirnado. Shoggoth is immune to physical attacks, so make sure your party has access to Water and Earth magic before entering the cave. You can find the location of the cave on the map below.
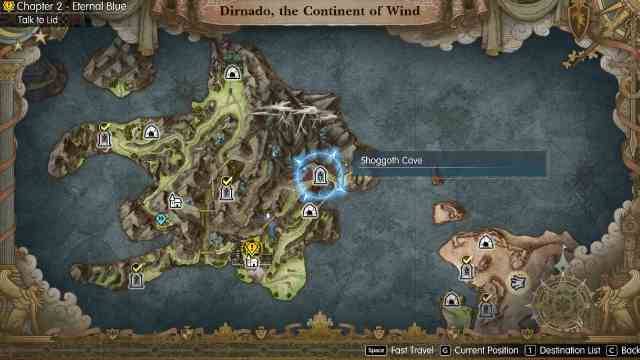
Terra’s Water spells, Onion Knight’s Earth magic, and Zidane’s Free Energy ability are all useful options. At level 25, this is a fight you might want to save until the end of Chapter 2.
Citrine Pot
- Location: Mobliz Shipyard, upper level reached using the western elevator.
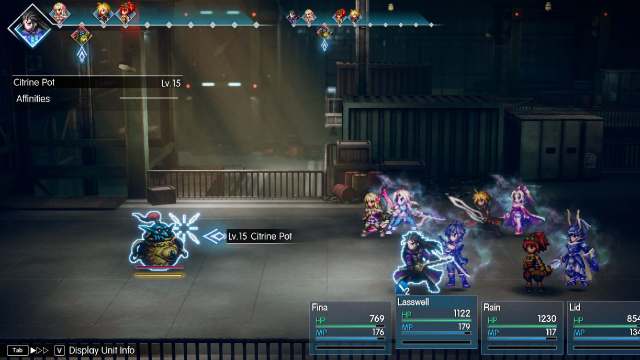
You’ll encounter another Citrine Pot while exploring Mobliz Shipyard. Like the one in Siren’s Tower, it isn’t a conventional enemy you’re expected to defeat through damage. Instead, give it an Ether to finish the encounter and receive MRP, with the possibility of an additional item reward.
Viridian Pot
- Location: Wind Shrine, along the eastern route.
Viridian Pot is another special encounter, but this time you’ll need to give it a Mist Ether instead of a regular Ether. You can find a Mist Ether on the Dirnado overworld before reaching the Wind Shrine, so hold on to it rather than using it to restore MP. It rewards you with 200 MRP on Normal.
Best EXP Farming Spot in Final Fantasy Resonance Chapter 2
For EXP, keep an eye out for Cactuars on the Dirnado overworld. The Silver Cactaurs can give you 2500 EXP per encounter and you can easily grind a bunch of levels here. They’re located under the bridges after you leave the Dwarven Forge. Note that they have a high dodge, take 1 damage per hit, but only 6 HP. Fortunately, they don’t flee. Multi-hit attacks such as Warrior of Light or Noctis’ Barrage skill are recommended.
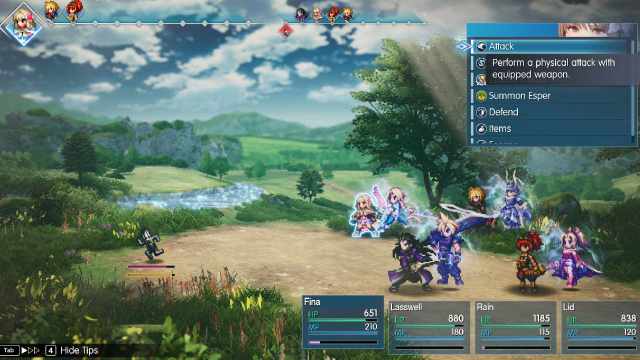
Remember that Expert difficulty grants 50% more MRP than Normal or Casual, but enemies also have larger health pools and are harder to stagger. If battles are taking too long, farming on Normal may still be more efficient.
All Missable Items and Secrets in Final Fantasy Resonance Chapter 2
Chapter 2 doesn’t have anything quite as troublesome as the Black Garb chest from Chapter 1, but there are several optional events and hidden items you should know about.
Lid’s 1,000 Gil Shortcut
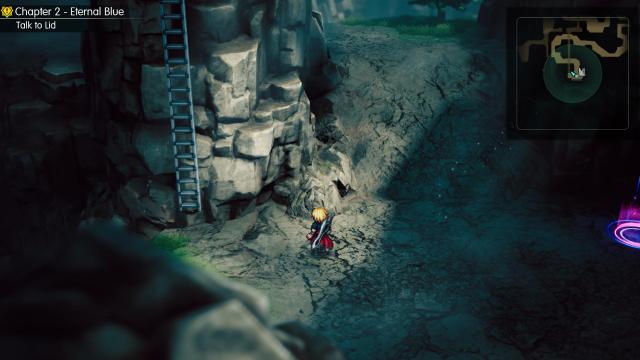
The choice to pay Lid at Mt. Thunderclap doesn’t permanently lock you out of anything, but it can cause you to overlook a Tablet Shard and the tree needed for Elven Maven. Explore both routes before moving on, especially if you’re working toward collecting every Tablet Shard.
Hidden Items in Dilmagia
There are a couple of easy-to-miss items during your first visit to Dilmagia. Head behind the item shop to find a hidden path containing the Insulated Gloves, and check the shipyard’s lower western walkway for Anti-Magic Gear.
Hidden Equipment Around Mt. Thunderclap
After completing the initial mountain section, you’ll eventually be able to explore another entrance to Mt. Thunderclap. This route contains the Moon Saber, Power Wristbands, and access to Onion Knight’s Sanctum. There is also a Bronze Hammer lying on the overworld beyond the mountain.
The Wind Shrine’s Hidden Equipment
The Wind Shrine contains several valuable items away from the direct story path. Most importantly, grab the Magicite Shard on the lower level, the Tsukiyo no Tachi by taking the platform above the large staircase, and the Armor of Gales along the southern route. You’ll also find three Tablet Shards here, so explore the shrine thoroughly before defeating Aether.
Mechabo Upgrades
After completing Arise, Mechabo!, speak to Verun again to start Mechabo Evolved. Even though the entire quest can’t be finished in Chapter 2, you can complete the first two stages to unlock Mechabo Tackle and Overclock for Lid.
That’s everything important you can find and collect in Chapter 2 of Final Fantasy Resonance.


