
FFXIV: How to Fight the Secret Boss (Thorne Knight) in Sil’dihn Subterrane
Kill lizards, find secrets
FFXIV patch 6.25 “Buried Memory” introduced the new Variant Dungeons, which are just like your regular treasure-hunting adventures but with a twist: You can choose which path to take, altering your spoils, enemies, voice lines and your experience overall. Hence the name Variant, as they can always be a different trip every time you choose to enter them.
The debut dungeon is Sil’dihn Subterrane, packed with 12 paths with 4 different bosses spread among them. One of them, however, is exclusive to a single, elusive path, which requires you to do some oddly specific actions. Here’s how to fight the Sil’dihn Subterrane secret boss, the Thorne Knight.
How to fight the Thorne Knight in Sil’dihn Subterrane
The Armed Automation awaits you on the path to the right, so go for it when you get inside. When aiming for this path, make sure to alert your party members (if there are any) of the following instructions since you need to meet some specific conditions in order to fight the secret boss. Otherwise, you’ll just end up meeting the Zeless Gah at the end of the dungeon.
But there’s no need to worry as none of them are present until you defeat the first boss. He’s the same for every single path, so be sure to get used to him and his exploding barrels’ gimmick.
Related: The Final Fantasy XIV Online Store Just Became Much Less Fun
After defeating Geryon the Steer, get your spoils and interact with the Rusty Winch. Choose the path to the right and clear the mobs as usual. The next pack will be filled with the Forgotten Drakes, which need to be killed in the following order:
- Forgotten Drakefather
- Forgotten Drakemother
- Forgotten Drakebrother
- Forgotten Drakesister
- Forgotten Drakeling
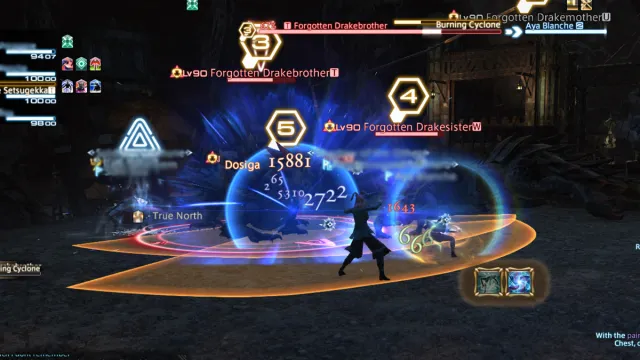
You’re basically killing them from the biggest to the smallest if that makes it easier for you. Marking them with target numbers makes it easier for your party members to know who to focus on. Be extra careful here as repeatedly using AoE attacks may result in one of them dying too early, so refrain from using skills such as Red Mage’s melee combo finishers or Reaper’s Communio which hit a small AoE aside from the main target.
After committing a well-orchestrated familicide, a secret passage will be revealed taking you to a room with some mobs you can freely kill in no particular order. But before resuming to follow Nanamo, take the Myrrh Incense Burner at the right corner of the room after she mentions the ancient relics.
And now comes the funniest and final step. You’ll find the Fallen Hero’s Sarcophagus, but don’t interact with it. Instead, just target it and use the following emotes in this specific order: /bow, /respect, /vpose, /kneel. Take a small break between each emote to be sure they’ll be registered individually.
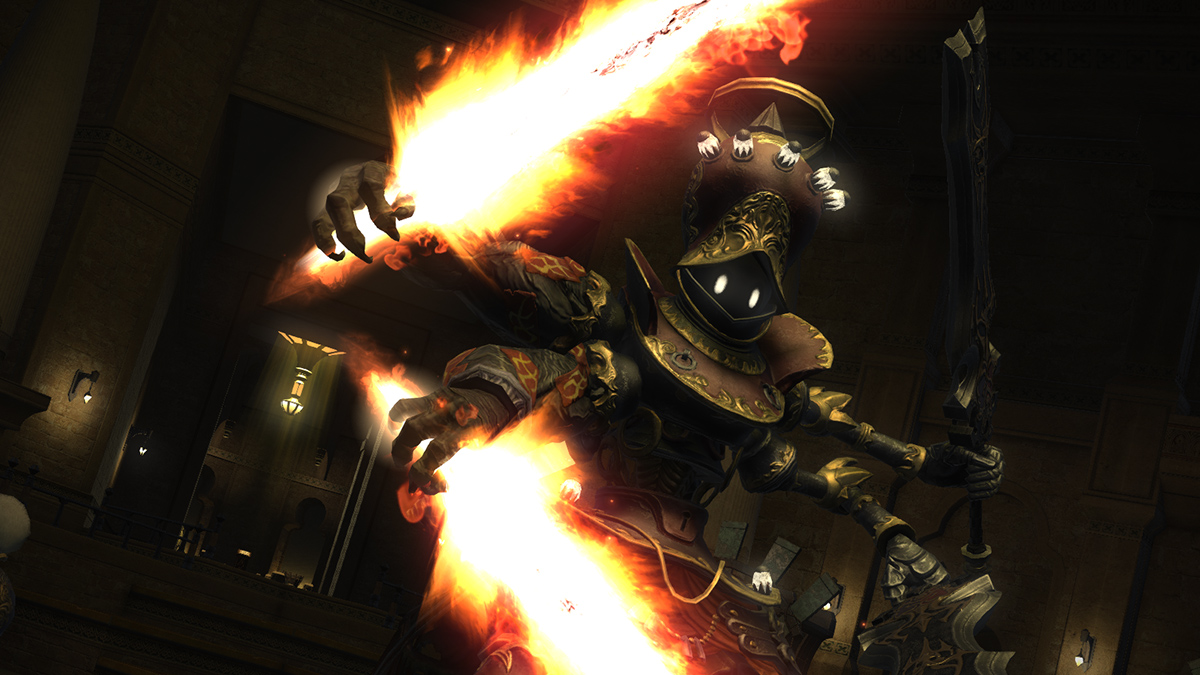
After a very prolonged session of paying your respects without pressing F a single time, Nanamo will burn the incense in front of the coffin, revealing the final secret passage in this dungeon. Congratulations, you reached the Thorne Knight! Now, onto the fight.
How to defeat the Thorne Knight in Sil’dihn Subterrane

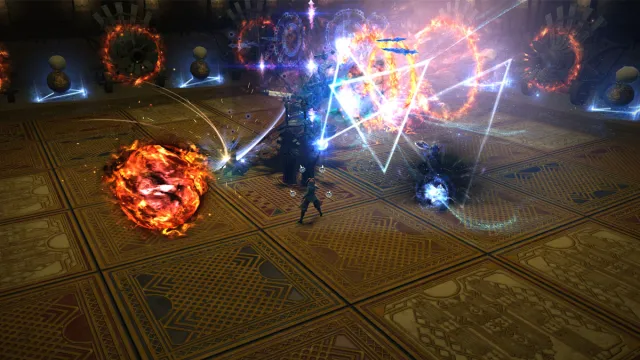
This fight is quite well visually telegraphed, so pay attention to the boss and you should be good.
Related: FFXIV: How to Get the Sil’dihn Throne Mount in Final Fantasy XIV
Cogwheel: AoE damage. Used right at the start of the fight and several times later, so mitigate accordingly.
Spring to Life: Thorne Knight points his arms to two sides and starts channeling blue and red beams in their directions, activating the corresponding devices. If north received red and east received blue, the north side will shoot from the red devices and the east side will hit you with the blue ones. The safe spots are the squares that won’t intersect any of the beams.
Blistering Blow: Targeted tankbuster. Mitigate in advance and you should be fine.
Fore Honor: Direct cleave in the direction Thorne Knight is facing. Move behind him immediately when you see him casting it.
Slashburn: Cleaves three different sides at the same time. The regular pattern only requires a simple dodge, but Thorne Knight will later reverse the attack before firing it. This is indicated by the red and blue arrows around him. To dodge the reverse pattern, head to the red unsafe position directly opposite to the safe space between the two blue slashes.
Signal Flare: Spawns three sets of ground AoEs which explode in the same order they appear. A bread and butter mechanic from other trials. The middle will always spawn first, so position yourself in the third AoE and dodge toward the center after the first explosion.
Blaze of Glory: Two fire orbs appear at two sides of the arena, cleaving the arena into a plus shape. He always combines it with either Spring to Life or Slashburn, so mind that when dodging since the safe spots will be largely diminished.
It may seem like a lot, but you quickly get the way of it after seeing the mechanics a couple of times. The specific reward for this path aside from the achievement is the Thorne Knight Triple Triad card, which can be randomly acquired from the Personal Spoils.
Clearing this path is necessary for unlocking the Silkie Mount, which requires you to go through all the 12 paths in Sil’dihn Subterrane. If you’re going for that not-so-small critter, take your time between runs as it could be very exhausting to clear it over and over again.
And don’t forget to take a look at other Final Fantasy XIV guides and tips we have here on Prima Games.