Call of Duty Black Ops 6 Zombies: Liberty Falls Main Quest Guide
Complete the Liberty Falls Main quest and get rare rewards.

In Call of Duty: Black Ops 6, the Liberty Falls quest tasks you with obtaining a Wonder Weapon and completing Panos’s requests. While this quest is considerably less intense than the dark challenges of the Terminus Main Quest, it still involves plenty of exploration. This guide provides a step-by-step walkthrough on how to complete the Liberty Falls Main Quest in CoD: Black Ops 6 Zombies.
How to Complete the Liberty Falls Main Quest in Call of Duty: Black Ops 6 Zombies
1) Obtaining the Jet Gun Parts
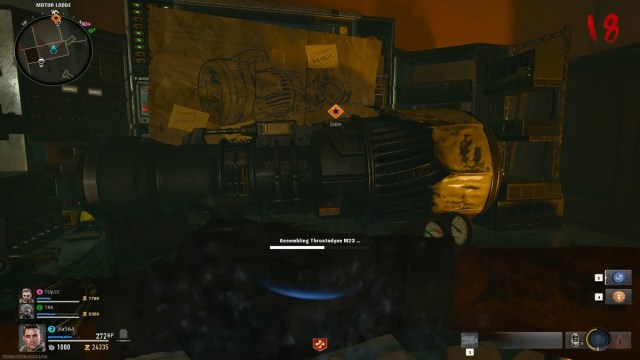
To initiate the Liberty Falls quest in CoD Black Ops 6 Zombies, you must first obtain the Thrustodyne Aeronautics Model 23 Wonder Weapon, also known as the Jet Gun.
This weapon can be acquired by using the Mystery Box. The drop rate is not 100 percent, and there is some chance you can get the Jet Gun. However, this could mean wasting a lot of Essence just to wait and watch if you get the Jet Gun from the Mystery Box. If you do, you will skip many of the Liberty Fall main quest steps.
Another method to get the Thrustodyne Aeronautics Model 23 or the Jet gun in Call of Duty: Black Ops 6 is to craft the weapon by collecting the following parts:
- Water Pressure Guage
- Handbrake
- Electrical Wires
Water Pressure Guage
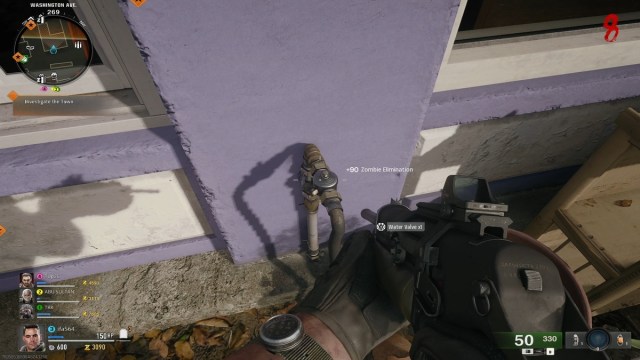
To get the Water Pressure Gauge, you will first need to obtain the Water Valve. A water tap can be seen near the Lily’s Flowerpot store on Washington Avenue near the Speed Cola Perk Machine. Interact with the tap and your operator will get the Water Valve.
Next, bring the Water Valve to the Bowling Alley in the Fuller’s Liberty Lanes section of the map. The wall to the right side of the bowling alley has a box near the Snack Bar. Use the melee attack button and it will reveal the spot where you insert the Water Valve.
Interact with it, and you will see a Pressure Guage bar appear below your Map HUD on the left side of the screen. You need to hold the button until the bar is full. However, a lot of zombies will spawn during this time to stop you. This step is much easier if you have dedicated squad members eliminating zombies while you fill out the Pressure Guage bar.
Once this is complete, you get the Water Pressure Guage, the first part required to craft the Thrustodyne Aeronautics Model 23 or the Jet gun.
Handbrake
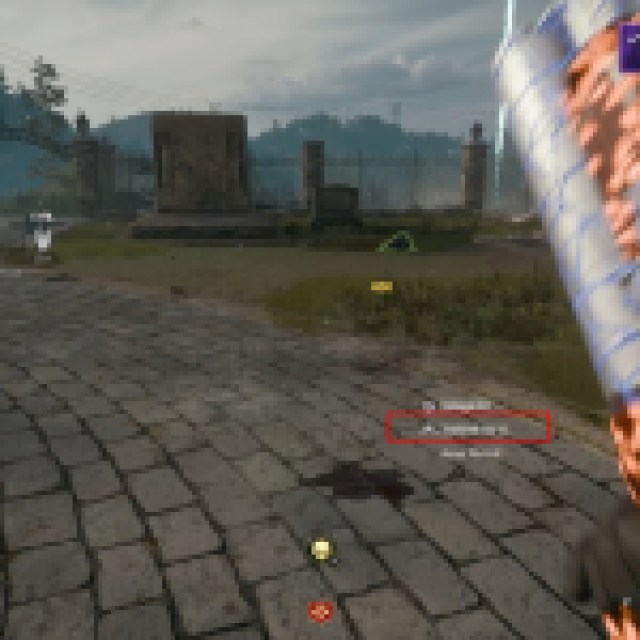
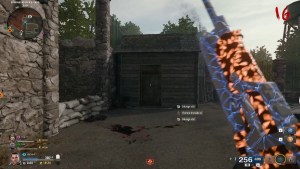
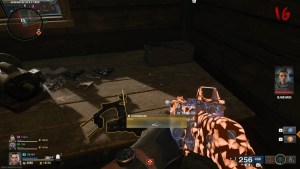
To get the Handbrake, you must eliminate a unique zombie called the “Groundskeeper”. He spawns randomly during the rounds in the cemetery area, wearing only a red shirt and blue pants.
Killing this unique zombie drops the Toolshed Key. Next, go east from the Cemetery, and near the Crafting Station, you will find a small wooden cabin with a door.
Use the Toolshed Key here, and inside the cabin, you will find the Handbrake, the second item necessary for crafting the Thrustodyne Aeronautics Model 23 or the Jet Gun in Call of Duty: Black Ops 6 Zombies.
Electrical Wires
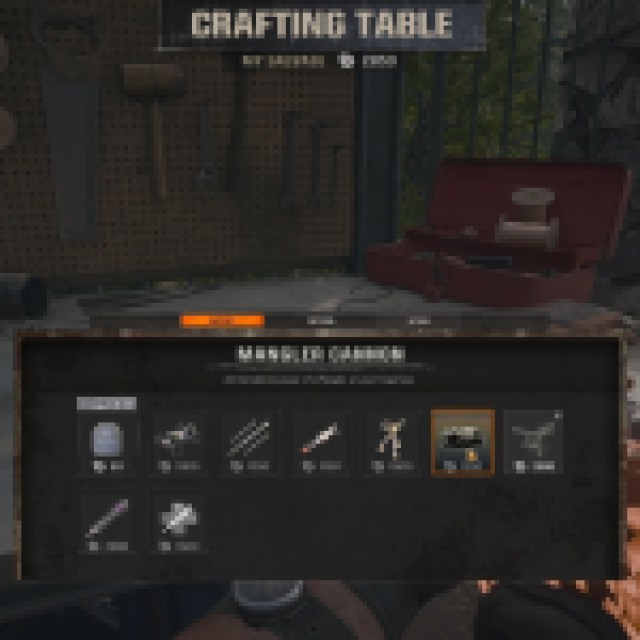

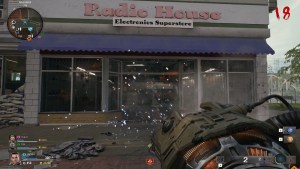
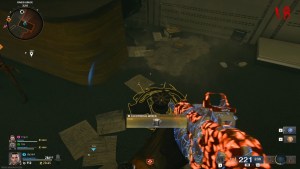
Obtaining Electrical Wires requires you to first get the Mangler’s Cannon. This can be achieved by shooting the Mangler zombie’s arm and breaking the weapon off it. Or, you can craft the Mangler’s Cannon at the Crafting Station if you have reached level Rank 20 in the game. You will also need at least 1,250 Salvage to craft this item.
Next, go to the Radio House Electronics Super Store and fire the Mangler’s Cannon at its door. This will break the entrance, allowing you to enter. Use the interact button to find the Electrical Wires on the ground.
2) Crafting Jet Gun
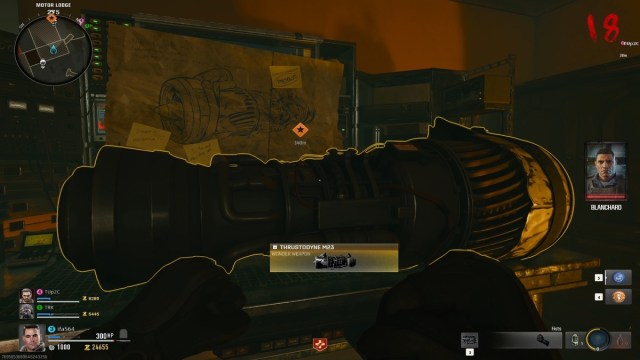
With all three parts obtained, head over to the Motor Lodge near Pump & Pay. Take the stairs and enter the room with its door open already. You will find a Workbench inside this room and with all three parts obtained, you can craft or assemble the Thrustodyne M23 Wonder Weapon.
Related: All Twitch Drops and How To Claim Them In Black Ops 6
Reach Church and Interact With SDG Generator
The next step involves reaching the Church and interacting with the SDG Generator found near the Pack-a-Punch machine.
A short cutscene will play, and after that, you will be required to collect all Limited Transdimensional Gateway (LTG) Device parts, which can only be obtained by using the suction firing mode of the Jet Gun.
All LTG Device Parts Locations
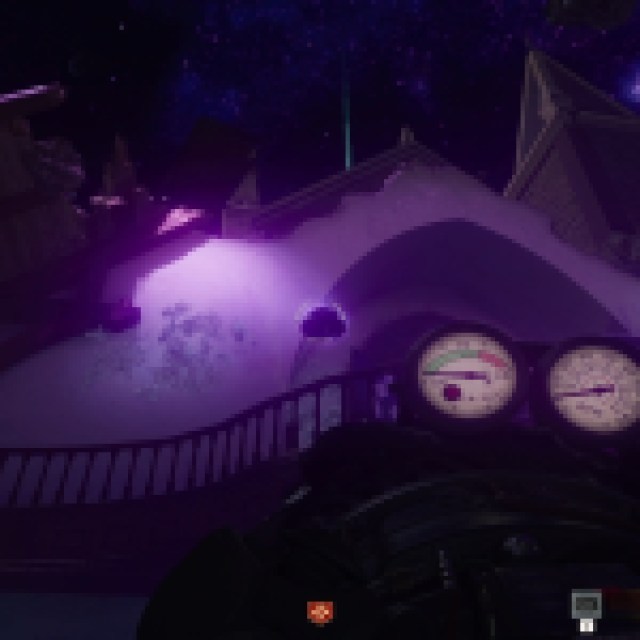
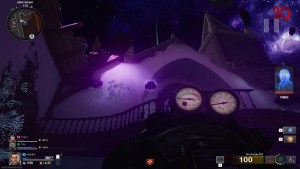

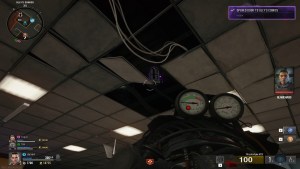
There are three LTG parts you need to collect and then complete its construction process.
| LTG Part Location | How To Get |
|---|---|
| Floating hat inside the Church | The Floating Hat can be found on the balcony right above the Church’s main entrance. Aim the Jet Gun at the hat and use the Jet Gun’s suction firing mode to pull it towards you. |
| Buzz’s Cuts Shop | The next LTG device part is found inside the room of Buzz’s Cuts Shop. This is located near the Spee Cola Perk Machine. You cannot go inside the building to get the part. Instead, you will need to access the roof of a red building near it and then jump at the white mini-truck parked in the middle of the street. Aim the Jet Gun at the open window of the room and it will suck the part towards you. |
| Olly’s Comics | The final part can be found by looking at the broken ceiling inside Olly’s Comics. This is just the opposite of the Quick Revive Perk machine. |
Building LTG Device
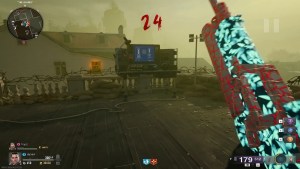
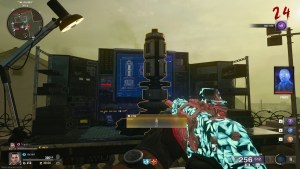
With all the parts in hand, the next step is to reach the rooftop of the building where you found the Juggernog Perk Machine. To reach here, you will need to activate and use the zipline by first reaching the rooftop of the red building. This is the same building that we mentioned above while getting the second LTG part.
After reaching the rooftop, look to your far left end and find the crafting station. You can construct the LTG device here, which could take a couple of seconds.
Get the First Aether Canister
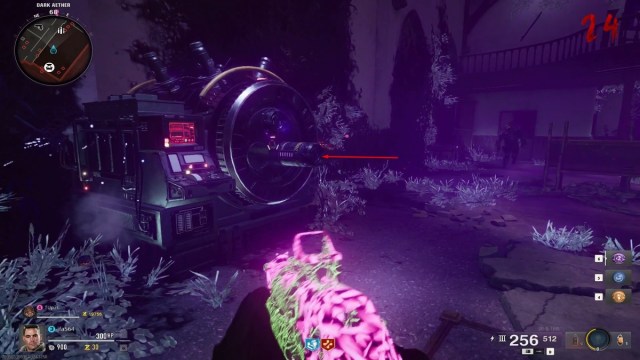
The next step requires you to go back to the Church, interact with the SDG Generator, and retrieve the Aether Canister. Once you pick this canister, your mobility will slow down, and sprint will be disabled. You can always drop the canister and deal with nearby zombies, and pick back this item again.
Charge the First Aether Canister by Eliminating High-Value Target
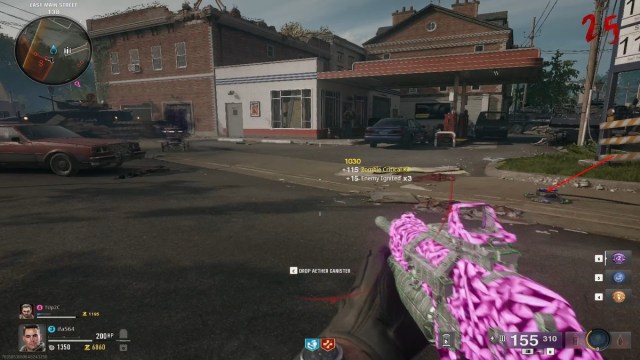
The goal here is to charge the Aether Canister and this must be brought and placed in a circular device on the ground near the abandoned fuel truck at the Pump & Pay location.
Next, go to the “Freetime Fried Chicken Shop and you will find a storm cloud near an abandoned white bus. You must place the LTG device beneath the storm cloud by interacting with it.
This will initiate a portal summoning process with the ‘Portal Integrity’ bar on the left side of your screen. Zombies will spawn during this process and will rush to break the device. If you manage to protect the LTG device from the zombies, a high-value target will emerge out of the portal.
The named enemy you see will be random and must be eliminated near the Aether Canister. For this, you must deplete the HVT’s health down to 10 to 15 percent and then lure it to the canister. There is a Dark Aether Field Generator, which must be activated to trap the boss and kill it quickly.
If done correctly, this step will allow the Aether Canister to absorb the purple energy radiating from the boss.
Bring the First Aether Canister Back to the Church
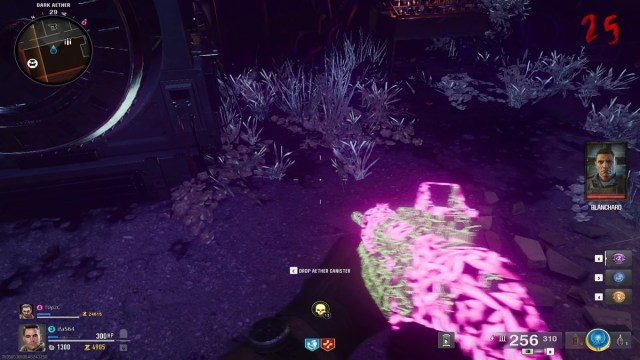
The energy trapped in the Aether Canister will remain contained for one minute and three seconds only. This will be displayed on the screen, and you will need to deposit the canister back at the SDG Generator inside the Church.
Once the canister is placed, Panos will tell you to find the second or the final Aether Canister with the help of a Strauss Counter. Interact with the SDG Generator to get the Strauss Counter (a hand-held device with a small display), which will remain with you as it replaces your Tactical equipment slot.
Related: Call of Duty Black Ops 6: Achievement / Trophy Guide
Find and Calibrate Three Strauss Counter Devices
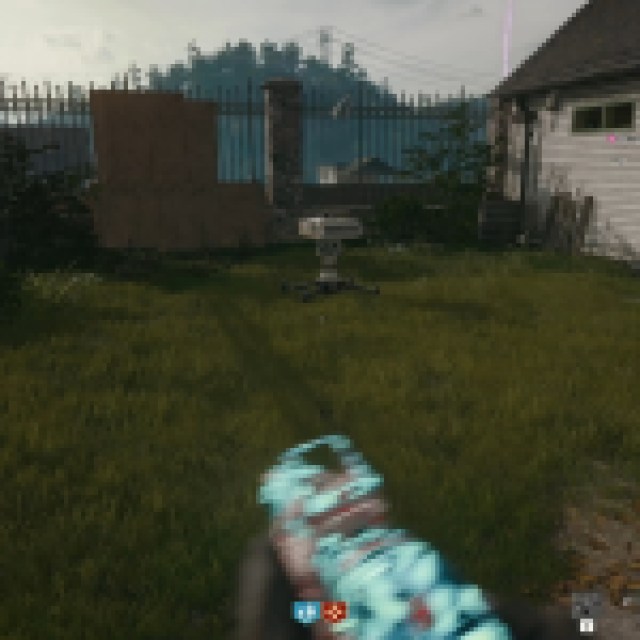
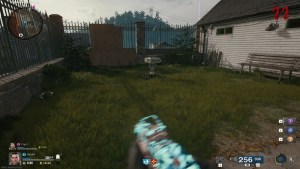
The next task involves finding and interacting with the three Strauss Counter devices. These are scattered all around the Liberty Falls map, so when you find them, you will need to change their color as mentioned here:
- Keep a Green Light on the Projector if the Strauss Counter has a Red Light.
- Keep a Yellow Light on the Projector if the Strauss Counter has a Yellow Light.
- Keep a Red Light on the Projector if the Strauss Counter has a Green Light.
| Projector Location | Description |
|---|---|
| Groundskeeper’s Yard | Near the cabin where you used the Toolshed Key, look to the right near the stairs and you will find the first projector device. |
| Hilltop Stairs | Another projector can be found in the grass near the ammo cache and Elemental Pop Perk Machine. |
| The Alamo Rooftop | Go to the rooftop where you crafted the LTG Device and you will find a wooden board marked with an “X” symbol. Pay up Essence here and jump down to access the final projector. |
Get the Second Aether Canister
After completing the short Strauss Counter and projector puzzle as mentioned above, Panos will announce that a new device has appeared near the Pump & Pay station.
Reach and interact with this device and your Operator will receive the final Aether Canister. This must be then moved to Washington Avenue near the red-colored building.
Charge the Second Aether Canister by Eliminating High-Value Target
Place the Aether Canister in the device that is wired to the nearby Dark Aether Field Generator and activate the LTG device at the storm cloud in the cemetery. You will again see the portal integrity bar on the screen, and once it fills, another high-value target will appear out of the portal.
Like the first HVT elimination, you must kill this monster near the Aehter Canister so that the energy is trapped in it.
Bring the Second Aether Canister Back to the Church
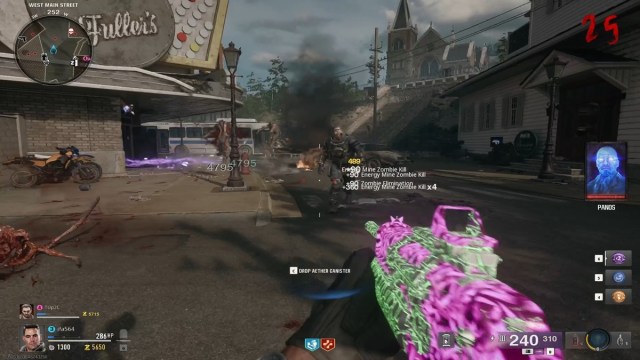
You will get one minute and 30 seconds again to reach the SDG Generator in the Church with the Aether Canister. This stage is much easier to complete if you are playing in a squad.
Activate The SDG Generator
The final step involves activating the SDG Generator. This action will spawn all sorts of zombies inside the Church, and all entrances and exits will be locked.
You will be required to survive this madness and slaughter all the flesh-eaters inside the Church.
After eliminating all zombies, you and your teammates will be downed, and a cutscene will play. This cannot be avoided as this is a scripted action.
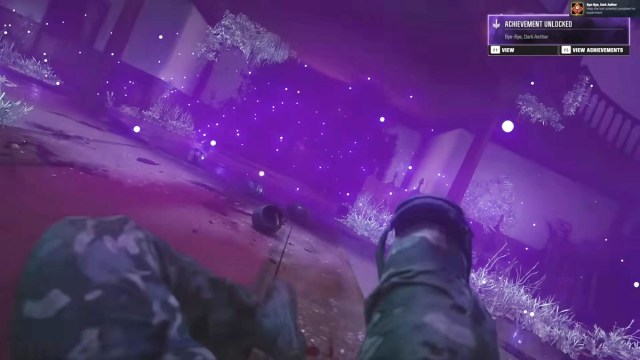
It will be revealed that Panos used you to forward his gains. In the end, you will be left as a ghost after Panos sucks your energy.
Panos leaves the Church via a portal, and the game will prompt you to continue the rounds or end the match.
Liberty Fall Main Quest Rewards in Call of Duty: Black Ops 6 Zombies
Completing the Liberty Falls Main quest will give you the following rewards in Call of Duty: Black Ops 6 Zombies:
- 5,000 XP
- Ray Gun PJ-SRU Skin.
- Liberty Falls Quest Complete (Early) calling card
- Liberty Falls Quest Complete (Standard) calling card.
For more tips, we recommend you check our How to Unlock All Operators, Best Gobblegums, and Best Run and Gun Loadout in Call of Duty Black Ops 6 guides.
