
All Puzzle Box Solutions in Resident Evil Requiem
The first part is the trickiest... might be the only puzzling one.
The puzzle boxes in the Rhodes Hill Care Center are mandatory to progress in Resident Evil Requiem. They hold key items to unlock the next areas, which are the quartz needed to open the main door leading outside of the care center.
Here’s a short guide on solving all three puzzle boxes in Resident Evil Requiem.
Complete Puzzle Box Solutions Care Center – Resident Evil Requiem
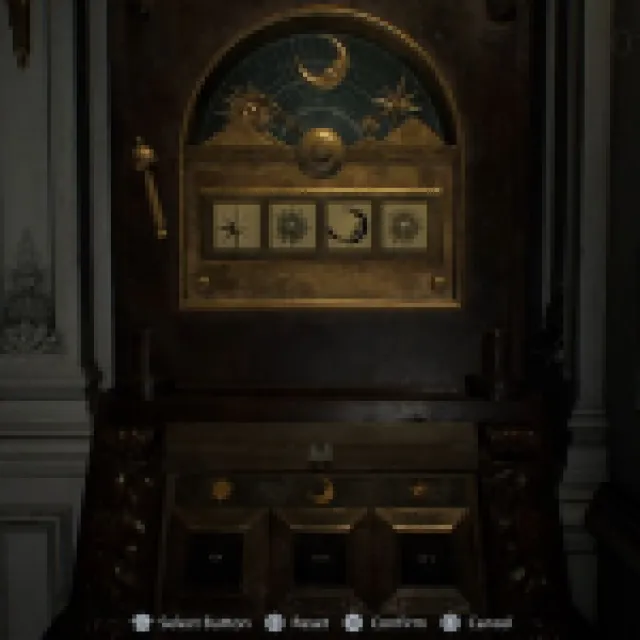
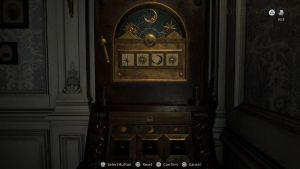
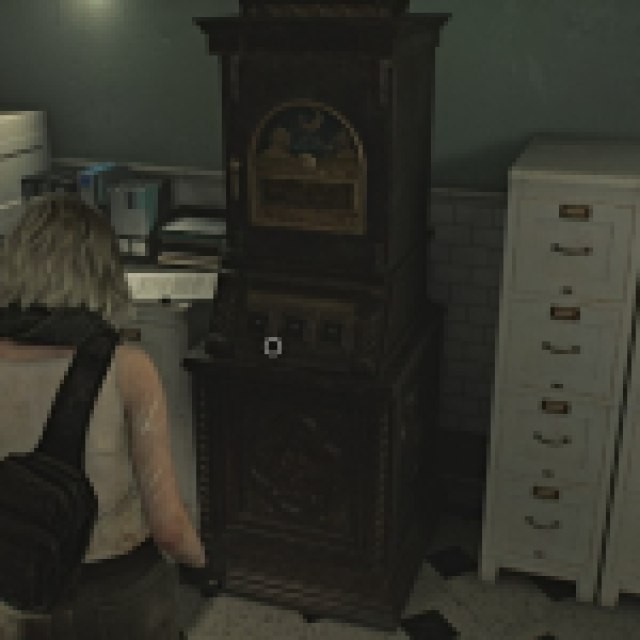
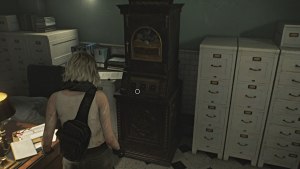
Moon Puzzle Box Solution
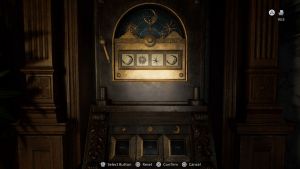
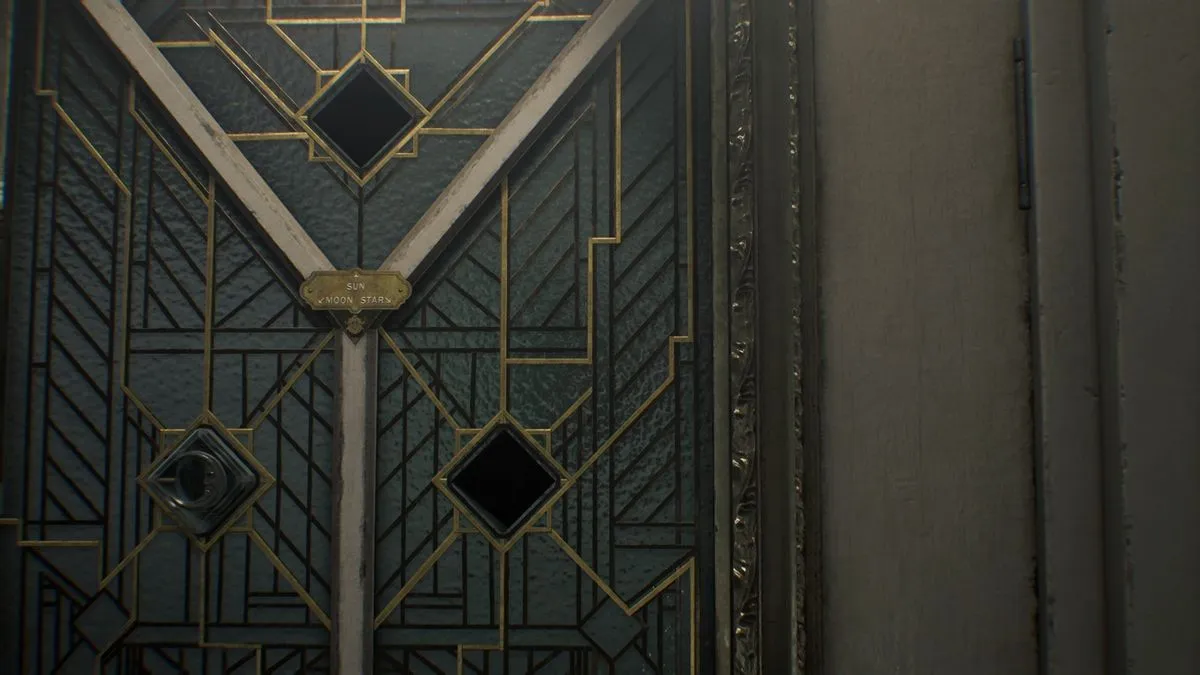
In the Chairman’s Office on the 2nd floor of the West Wing area, you’ll find a Moon Puzzle Box kiosk propped against the far wall. To solve and open it, you need to form the correct sequence of symbols.
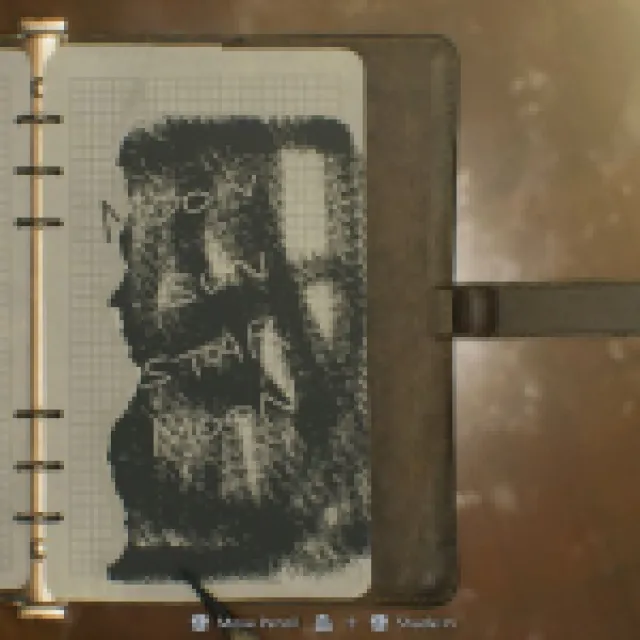
Your hint for this is a journal with a torn page on the coffee table in the center of the room. However, first go to the back room of the office, take down the zombie lurking there, and then take the Pencil that’s on the desk.
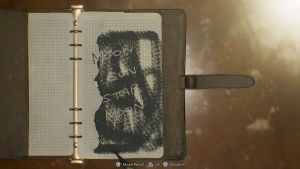
Go back to the journal and use the pencil to shade the whole page, revealing the following words from top to bottom: Moon, Sun, Star, Moon.
Use that same sequence on the puzzle box kiosk to solve the riddle. Once it opens, you can take the Moon Quartz that’s inside. This is used on the Care Center’s exit door located in the Central Hall by placing it in the door’s respective ‘Moon’ slot.
Sun Puzzle Box Solution
The Sun Puzzle Box kiosk is located inside the Lead Researcher’s Office. This one has a padlock on it, which you need to destroy using the Corrosive that’s found in the Conference Room. Beware that the Conference Room is filled with enemies, so tread carefully and pick your battles in order to get the item.
After destroying the padlock, you can now solve the puzzle on the kiosk. Just as before, you need to form the correct sequence of symbols to unlock it.
The clues to the codes are littered around the same room. They are inside different photos from the research team. To save you a bit of time in piecing those clues together, here is the correct code: Star, Sun, Moon, Sun.
Once the kiosk opens, you can take the Sun Quartz that’s inside. This serves as one of the three “keys” you need to use on the Care Center’s exit door to escape. The other item you get from the Sun Puzzle Box is a journal that contains the main clue for the Organ Transport Box you find in the Care Center’s Garage area.
Star Puzzle Box Guide
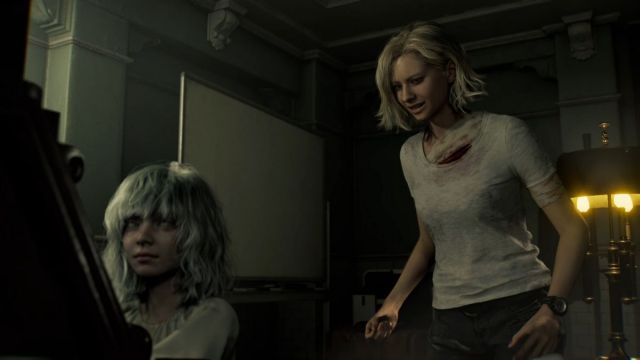
The Star Puzzle Box kiosk is in the East Wing’s Isolation Ward, inside the Security Office. However, this puzzle works somewhat differently as the symbols are etched in Braille. Unfortunately, Grace can’t decipher it, and thus she’ll need help from an unexpected ally – the blind little girl locked up behind the Guard Office.
After getting the Level 3 Security Clearance wristband from the corpse slumped on top of the desk in the Security Office, return to the Guard Office for another cutscene where the girl introduces herself as Emily.
After she agrees to help Grace, you’ll need to carry her back to the Isolation Ward where the puzzle is. Be aware that you can’t shoot or fight back when holding Emily in your arms, so it’s best to leave her on the couch in the Guard Office while you clear a path to the Isolation Ward first. Return for her when it’s safe, and sneak past the Chunk enemy to the Security Office.
After bringing Emily, you’ll enter a cutscene. You’ll have to defend and survive until Emily solves the puzzle. Among the zombies that ambush you, one will turn into a Blisterhead, which can prove to be very troublesome for Grace at this stage, so consider saving your last bullets and just evade it until Emily shouts that she’s solved the puzzle. Run for safety back into the office to trigger the next cutscene.
Emily reveals that she’s obtained the Star Quartz. Unfortunately, the Girl (the monster you first encountered at the start of the Care Center) ambushes the two of you and kidnaps Emily. You’ll need to traverse the depths of the Care Center’s Basement to rescue her before you can get the Star Quartz.