All Legendary Boss Locations in Jedi Survivor Listed
Meet some familiar faces.

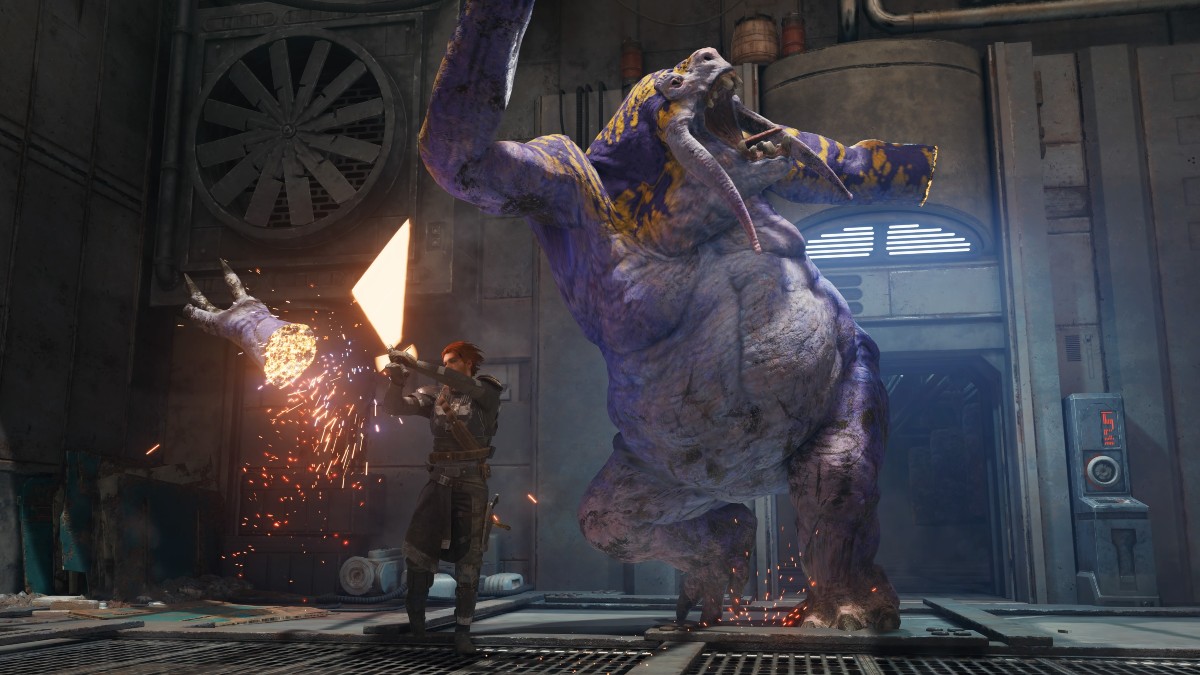
The main story has more than a few boss fights for Cal to conquer in Jedi Survivor, but it is the open world that has even more battles in the form of Legendary Bosses. Some of these fights are based on tougher versions of new enemies, while others bring back familiar faces from Fallen Order.
Aside from some challenging fights or the pursuit of powerful upgrades, you must find all of the Legendary Bosses in Jedi Survivor to collect each of the enemy scans in the game. It took me a while to get through the full list, and now I have all their locations for you.
Jedi Survivor – All Legendary Boss Locations Listed
There are 13 different Legendary Boss fights in the game that take Cal all around the galaxy. Some of them have some powerful rewards behind them like Stim Upgrades or even new perks. They can be tough to find and even tougher to defeat, so take your time with the full list.
Legendary Boss Locations in Jedi Survivor:
- Spawn of Oggdo (Fort Kah’Lin on Koboh) – Found at the bottom of Fort Kah’Lin. To reach this boss, you need to make your way to the second level where all the droids are and fall through the platform.
- Gorocco Matriarch (Derelecit Dam on Koboh) – Force Lift and Force Slam are required to reach the Matriarch. She is located at the top of the Derelict Dam near the yellow elevators.
- Vile Bilemaw (Fogged Expanse on Koboh) – Take a detour in the expanse and make your way down the mud into the boss arena.
- Rancor (Sodden Grotto on Koboh) – This is one of the earliest bosses you can fight. Clear out this cave to the left of the Rambler’s Reach Mediation Point to find the Rancor at the end.
- Beetu Deetu (Souther Reach on Koboh) – Backtrack to the Derelict Dam and go past the dinosaur like you did the first time. Here the droid will appear.
- The Mire Terror (Viscid Bog on Koboh) – Prepare for some dangerous Mogu enemies. Head to the Mediation Point near Pili and jump across to the massive lift. Make your way down to the bog and use Lift to jump to the boss arena.
- E3-VE3 (Untamed Downs on Koboh) – Start at the Bygone Settlement and head to the cave opening in the Untamed Downs with a Nekko. You can spot this place by looking for the green barrier.
- The Massiff (Yurt Barracks on Koboh) – Lift is needed once again to open up an alternative route just before the barracks. Another droid awaits you in Jedi Survivor.
- Urgost, Fist of Rayvis (Observatory Understructure on Koboh) – Follow the main story path on your way to Dagan and this Legendary boss will appear.
- Golden Skriton (Anchorite Base on Jedha) – This boss is not near the base, but rather to the southwest in a cave next to the Path puzzle in the Desert Ridge.
- Sutaban Alpha (Crypt of Uhrma on Jedha) – Solve the Crypt of Uhrma puzzle to unlock a hidden path. The Sutaban Alpha boss is waiting.
- D-L1T (Hangar 2046-C on Coruscant) – Use the lift near this Meditation Point and ensure that BD-1 has the Electro Dart unlocked. Use it to reach this new room.
- Frenzied Jotaz (Undercity Meats on Coruscant) – Move normally through this section until you see the large metal doors with that were being slammed at the start of the game. Use the Elecro Dart again to unlock the door. A familiar Legendary Boss will appear.
Related: How to Investigate the Abandoned Shack in Jedi Survivor
That is all thirteen of the Legendary Bosses you can find in Jedi Survivor. As you can tell, some of them require late-game unlocks, so there is no point in trying to complete all of this right away. I took my time simply exploring and I eventually found most of them. Only some require backtracking, and by then, you will have plenty of power.
