Star Trek™ The Video Game – Guide Preview – New Vulcan – Surok’s Laboratories
We'll take you through Surok's Laboratories in our preview for the complete Star Trek eGuide.
Part 3 of our free walkthrough for Chapter 3: New Vulcan. Make the most of our maps, section walkthroughs and the collectibles guide in this eGuide Preview then you can get the full eGuide for Star Trek, to complete the rest of the game so you don’t miss a thing.
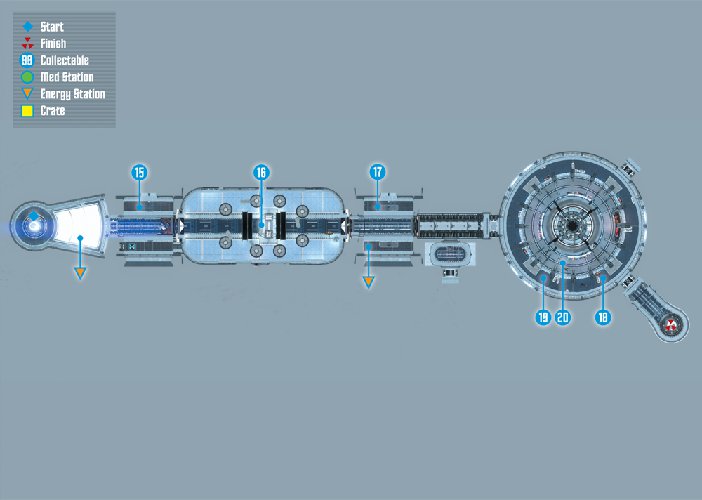
Collectables Checklist
| # | Name |
|---|---|
| 15 | Surok’s Audio Log #3 |
| 16 | Gorn Brute |
| 17 | T’Mar’s Audio Log #4 |
| 18 | Gorn Initiate |
| 19 | Gorn Ravager |
| 20 | Starfleet Type III Rifle |
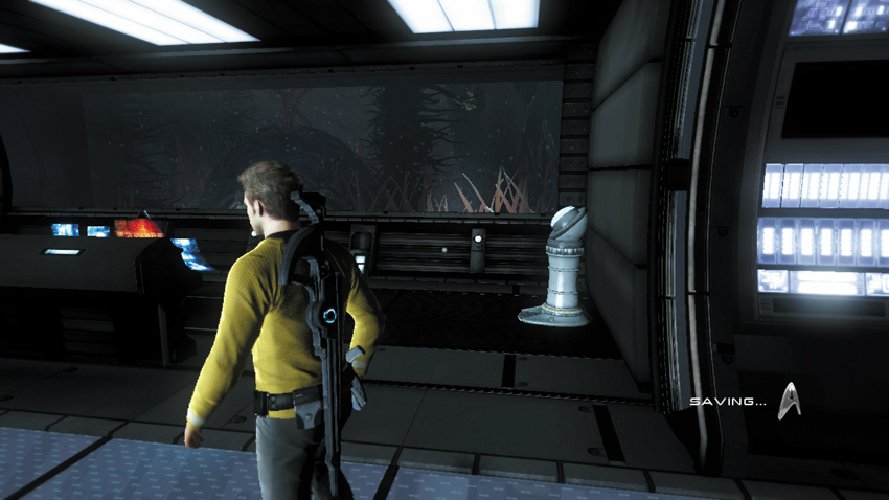
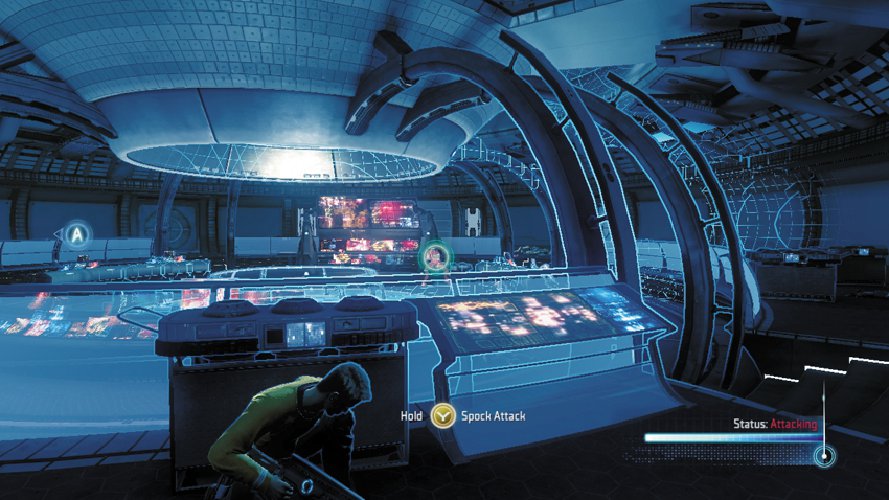
Your are now deep below the surface, not far from the Helios Machine. Step out of the Turbolift and approach the nearby Energy Stations. Energy Stations replenish your tricorder energy as well as ammo for weapons—your phaser does do not use ammo, but other weapons do. There is also a Vulcan Pulse Cannon on the floor next to the Energy Station. But we recommend that at least one of you keep the Starfleet Type III Rifle for now—it will come in handy very soon.
Helios Lab
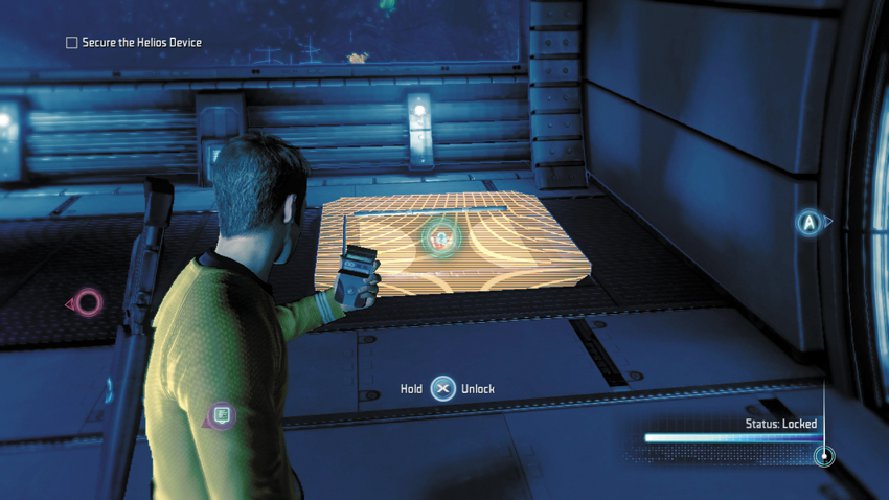
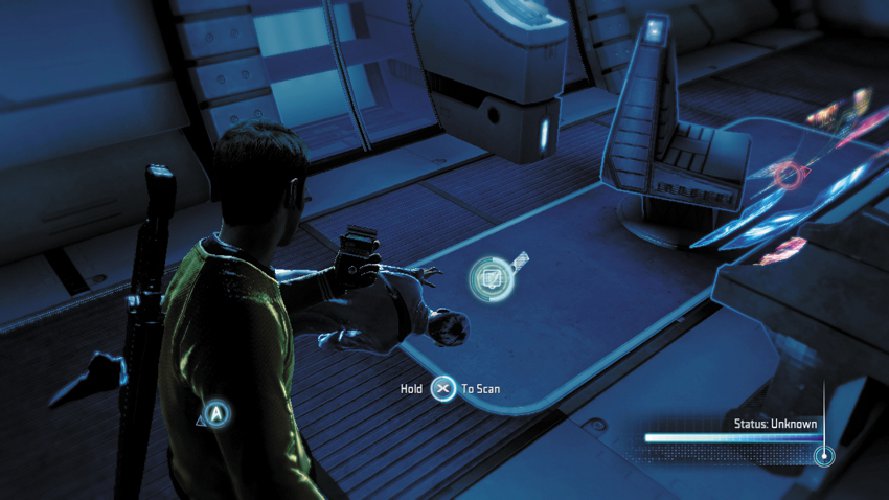
Upon entering the next room, you see that the path ahead is blocked by rubble and a disabled door—you’ll need to find another way around. Turn to the right and locate a hatch in the floor; unlock it using your tricorder. However, don’t drop through the hatch just yet. There’s another audio log in this room.
15: Surok’s Audio Log #3
Turn to the left side of the room to locate this audio log on the floor, next to the dead Vulcan behind the console.
Type: Audio Log
Set: Surok’s Laboratories/Logs
XP: 50
Log Entry: I no longer believe that Commodore Daniels has the best interest of the Vulcan people at heart. His assistance in the construction of the Helios Device was gratefully received. But with it has come an expectation of control over the device’s operations that is most troubling. The engineers he sent to work with us seem more interested in capitalizing on the potential side effects of the device than on ensuring its safe use in the creation of a new Vulcan homeworld. I have expressed by doubts to T’Mar. But she remains adamant that she will not allow Daniels to compromise our plans. I no longer trust Daniels. But my trust in my daughter must not waver.
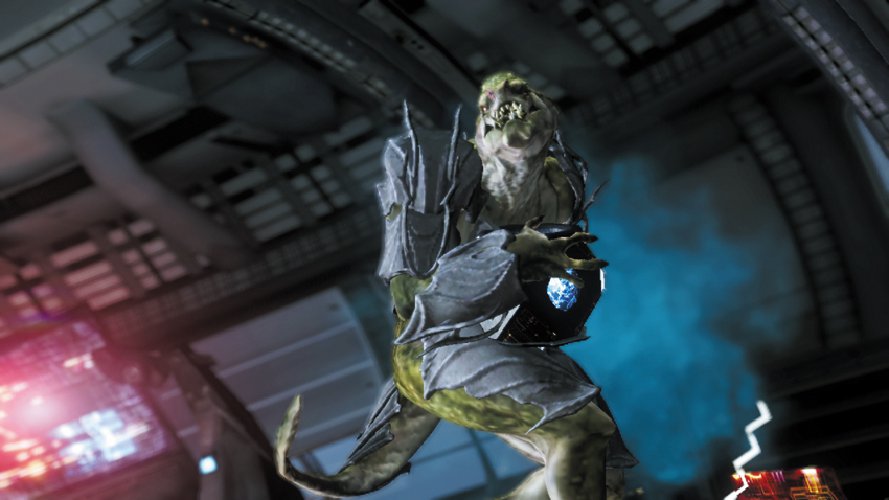
Now it’s time to descend through the hatch. Interact with the ladder to grab hold, then climb down into a cramped maintenance tunnel. T’Mar reports that the Gorn are attempting to steal the Helios Device—she urges you to pick up the pace. Follow the tunnel to the very end and climb a ladder up to reach another hatch. Press the button shown on-screen to push open the hatch. But there’s more than you bargained for waiting on the other side. A Gorn Brute yanks your character out of the hatch and tosses you against a stack of crates. Fortunately the creature is distracted by your partner pelting him in the back with phaser fire.
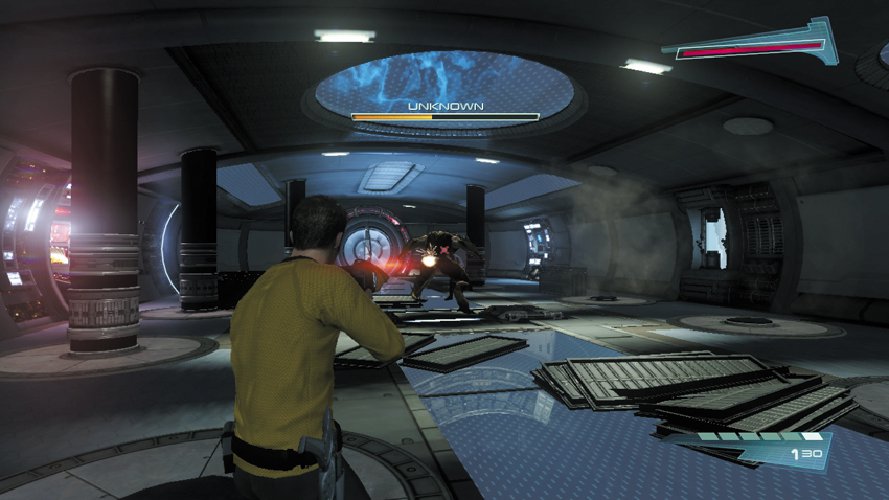
As you regain control, immediately equip your Starfleet Type III Rifle and target the huge Gorn Brute—there’s no need to take this guy alive. The Starfleet Type III Rifle is a high-powered, slow-firing, sniper-like weapon. Although a bit cumbersome, it inflicts heavy damage with each shot fired and is equipped with a magnified scope. Given the close proximity, you don’t have to worry about using the rifle’s scope. Instead, simply use the dot reticle in the center of the HUD to aim the weapon. The health meter at the top of the screen represents the enemy’s health. Keep hitting him to whittle down his health.
Caution
If you or your teammate fall during this battle, avoid healing each other. Instead, finish the fight on your own. If you stop to heal your teammate you run the risk of getting injured yourself by the Gorn Brute’s charging attacks.
The creature relies primarily on charging and melee attacks, so don’t worry about taking cover. In fact, it’s best to stay mobile in this large room, diving out of the way to avoid the Gorn Brute’s rapid charging attacks. The Gorn Brute occasionally throws power cells at you, too, which it retrieved from a container near the doorway. Try to shoot the power cells while he’s still holding them, which causes them to explode in his face—the Starfleet Type III Rifle’s scope is ideal for such pinpoint marksmanship. But if you can’t hit the power cell, be ready to move before the creatures hurls the explosive object at you. When you’re not evading its attacks, keep hammering the Gorn Brute with shots from your Starfleet Type III Rifle until he finally falls, smashing the disabled door in the process.
16: Gorn Brute
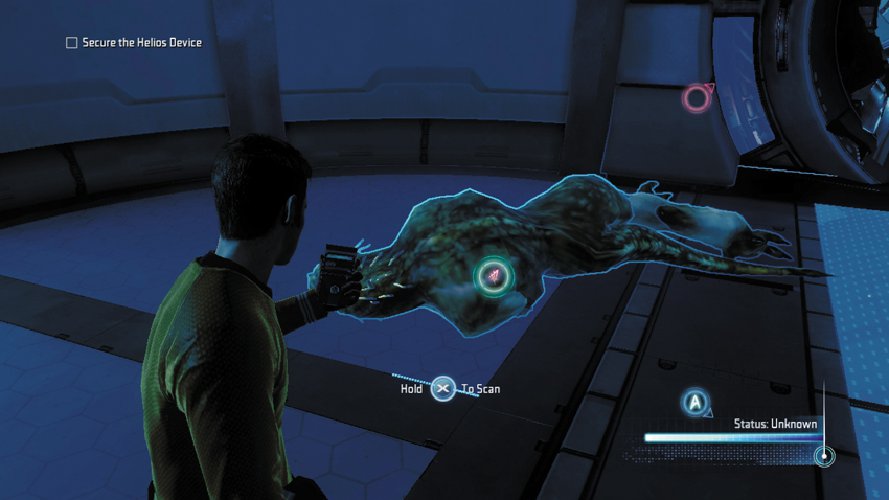
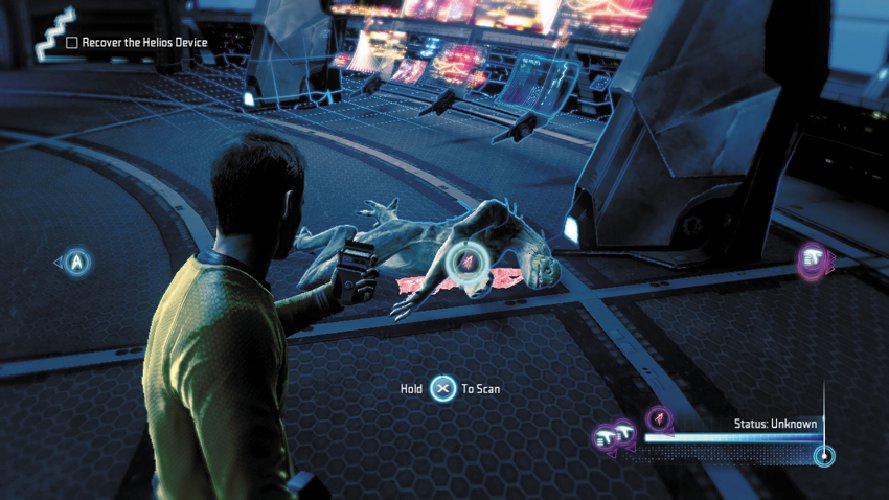
Once the Gorn Brute is down for the count, scan its body.
Type: Research Data
Set: Enemies/Gorn Advanced Enemies
XP: 100
Log Entry: Nasty one, this. Picking up signs of toxic stimulants. Best not to poke and prod too much, unless you’re poking and prodding with a very long, very sturdy stick.
Spock notices that the Gorn Brute’s corpse contains the same toxins found in the infected Vulcans. However, the creature does not appear to be infected. He suggests the Gorn are the hosts. Step through the doorway that was smashed open by the Gorn Brute. Here you can find an Energy Station on the right side of the room as well as another audio log on the left side. Use the Energy Station to replenish the ammo for your Starfleet Type III Rifle.
17: T’Mar’s Audio Log #4
This audio log is located on the left side of the room, next to a dead Vulcan.
Type: Audio Log
Set: Surok’s Laboratories/Logs
XP: 50
Log Entry: I will always be grateful for the assistance Commodore Daniels has shown the Vulcan people. But recently his … priorities have become troubling. He remains steadfast in his support of the Helios Device, but he increasingly appears to show more interest in the possible side effects of the device rather than its primary function. There is some evidence to show that the device, once fully operational, could have unforeseen repercussions. The catastrophic nature of this event is obvious, and yet Daniels seems oblivious to the dangers. He sees the threat as more of an opportunity to be seized rather than a disaster to be avoided. He insists that further testing is unnecessary. I’m dependant upon his help, but I fear that my dependence has put us all at great risk.
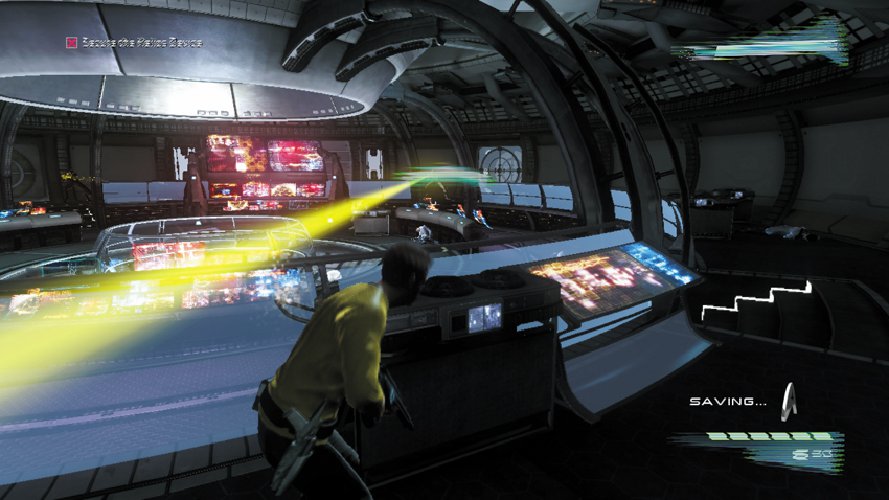
Step through the next doorway and pause for another decontamination scan. Once the scan is complete, you can proceed into the Helios lab. But as Kirk and Spock enter the lab, a Gorn Lieutenant snatches the Helios Device and escapes, leaving behind several Gorn Initiates to contend with any pursuers. Following the cinematic, take cover and engage the Gorn Initiates. These enemies are much weaker than the Gorn Brute you encountered earlier. But they’re armed with Ravagers—rapid-firing assault rifle-style weapons—so stay behind cover to avoid getting hit.
Your Starfleet Type III Rifle is ideal for this firefight. Stay behind cover, near the lab’s entrance, and use the rifle’s scope to engage the Gorn Initiates from long range. If you’re having trouble spotting the enemies, activate your tricorder to get a reading on their positions; they appear as red silhouettes. The rifle’s magnified scope allows you to target these enemies even if they’re hiding behind cover—target any piece of their body which is exposed. All it takes is one hit to kill each Gorn Initiate. After each shot, duck behind cover and setup your next shot, using the dot reticle in the center of the HUD. This allows you to peek out of cover, aim through the scope, and fire a shot quickly instead of trying to acquire a new target entirely through the scope, which can be a bit disorienting while leaving you exposed.
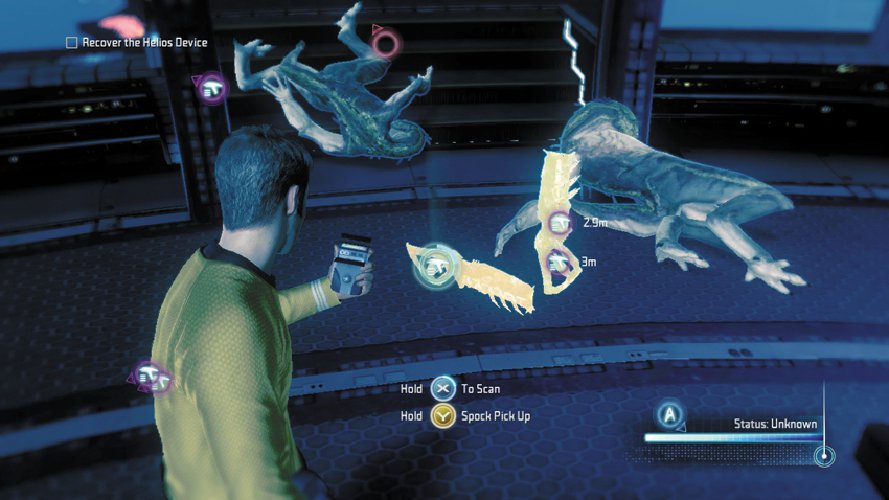
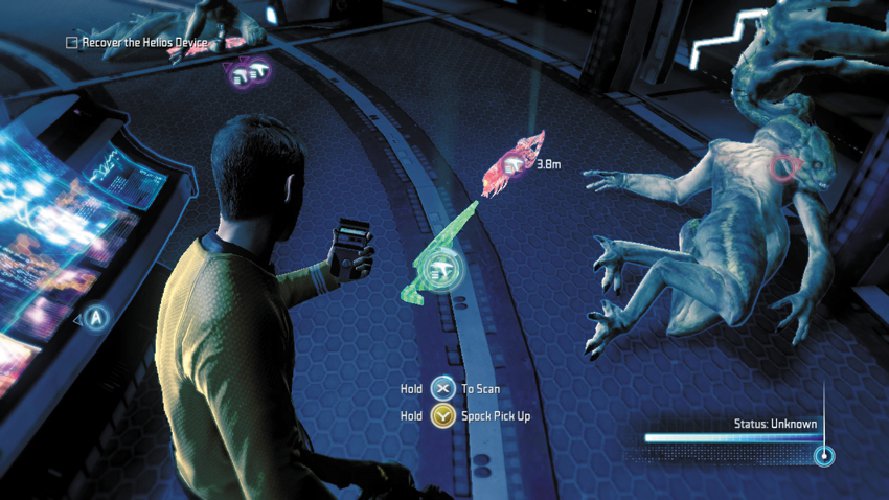
Once you’ve eliminated all the Gorn Initiates, T’Mar reports that the Gorn are taking the Helios Device to the surface. She restores power to the lab’s Turbolift so you can intercept them. But before exiting the lab, perform a couple of tricorder scans on the Gorn Initiates and their weapon. This may also be a good time to swap out your Starfleet Type III Rifle for the Gorn Ravager. At the very least, test out the Gorn Ravager in the lab to determine if its rapid fire fits your style of play. If you don’t care for it, retrieve your Starfleet Type III Rifle and continue punishing enemies with high-powered, long-range precision shots. When you’re finished scanning the collectables, step into the nearby Turbolift and ride it to the next level.
If you haven’t already, consider diversifying your team’s weaponry with one player carrying the Starfleet Type III Rifle and the other carrying the Gorn Ravager or Vulcan Pulse Cannon. This gives your team a good mix of medium- and long-range capability.
18: Gorn Initiate
Scan any of the dead Gorn Initiates to learn more about these enemies.
Type: Research Data
Set: Enemies/Gorn Enemies
XP: 100
Log Entry: The comparatively small brain size on this one suggests that he’s lower on the Gorn totem pole than the other. The kind way to say it: “a bit slower on the uptake.” The more accurate way to say it would be “cannon fodder.”
19: Gorn Ravager
After scanning a Gorn Initiate, scan one of their weapons.
Type: Research Data
Set: Weapons/Gorn Weapons
XP: 100
Log Entry: A nasty projectile weapon used by what I’m calling the “Initiate” class of Gorn soldiers. The knock-down secondary fire should be effective against a wider range of enemies than phasers normally are.
20: Starfleet Type III Rifle
If you pick up the Gorn Ravager, be sure to scan your Starfleet Type III Rifle left behind on the floor.
Type: Research Data
Set: Weapons/Federation Weapons
XP: 100
Log Entry: No touching this one without advanced combat training. It takes the DNA of the standard phaser and gives it an evolutionary bump. Not for friendly non-lethal encounters. This one means business.
Initially, the Starfleet Type III Rifle is only available to customers who pre-ordered the game. But it can also be purchased separately as DLC through Xbox Live or PSN shortly after the game’s release.
More in the Star Trek eGuide Preview
Collectibles & Chapter Summary
In-game collectibles can get tedious, luckily we’re here to help.
Trophies & Achievements
Use this eGuide to collect all those achievements on Xbox 360 or trophies for Playstation 3. We all know how addictive these things can be!
1. Vulcan Planet
The first part in our eGuide preview for Star Trek where we take you through chapter 3: New Vulcan.
2. Vulcan Laboratories
Up next is the Vulcan Laboratories, read this for all the collectibles and the best way to complete the sector.
3. Surok’s Laboratories
All the collectibles, maps and directions in one place for Surok’s Laboratories.
4. Vulcan Laboratories Part 2
Almost there with our free eGuide preview for Star Trek!
5. Vulcan Escape
The final section of this chapter, read on to finish the chapter perfectly.

