Visit our Free Wolfenstein: The New Order Walkthrough to continue the journey.
When the chapter begins, you can walk around without fear of being seen. You’re disguised as one of the Nazi scientists, so nobody will suspect you of bad intentions. In fact, you can walk right past one of those nasty Kampfhunds blocking your path.
Once you’re through the x-ray machine, you’ll be at the baggage area. Salute the soldier who greets you and then wait for everyone to turn their backs. When they do, crouch and sneak into the conveyer belt and find your Laserkraftwerk in the next room, along with a Gold Cane and several other useful items.
Use your Laserkraftwerk to cut a hole in the thin metal just below the charge unit on the wall. Inside you should find several more useful items, including a Handgun. Use the button on the desk to release the door and then kill the three guards outside. Be sure to pick up the Marksman Rifle Upgrade: Laser before you continue on your way.
Tip: Your Assault Rifle is now equipped with a Laser and runs on a battery. Charge it the same way you do the Laserkraftwerk, or even pick up batteries from fallen enemies. With the weapon equipped, you can see the amount of charge in the bottom right of your HUD.
Head in the only direction you can; the doors will open for you automatically. As soon as you see two Signal Detected notifications, it’s time to jump into stealth mode. If you prefer, you can just shoot both of the Commanders and all their goons, but that’s the easy way. We’ll tell you how to do it with your Knife.
Sneak up behind the first guard just to your left. As long as you’re crouched he won’t see or hear you. Once he’s down, continue to move around the top level in a clockwise manner. Hide behind any cover you find, then take out the guards when their backs are turned. Once he’s all by himself, take the Commander down and focus on the bottom level.
When the coast is clear, go down the stairs and pull the same moves on these guys as you did the ones on the top level. If you get a chance, take the Commander out first since he’s the one who will raise the alarm. Once the entire room is clear, loot both levels and get ready to move on.
Your exit is on the top floor and is clear of resistance for now. Go through two doors and then down the stairs. Do not go through the automatic doors! Instead, look to the right and see an opening. Crouch and crawl through it, cutting through the metal sheets on the left side when they appear. This will put you in the sleeping quarters for one of the two Commanders. Knife him, being careful not to get spotted by the patrolling guard in the hallway. When the guard isn’t looking, cross the hall and use your knife to take a second Commander down as well. From here on out, eliminate remaining Nazis in the area. Do it in whatever fashion you prefer, since nobody is left to sound the alarm.
Tip: Look for metal you can cut through in each sleeping quarters. This is a great way to move around the area without alerting the patrolling guard in the hallway.
Keep moving and climb into a pipe along the side of the wall. Continue to move until you see several guards below you. There are no Commanders, so do what you want, but we dropped down and took them out with our Knife. It might take some patience, but their patrol routes will give you a chance to stealth kill each of them. When it’s all clear, loot the area and keep moving.
The next area features another two Commanders, and this time it’s more difficult to take them out while staying hidden. In fact, we were caught before we could take either of them out, causing us to shoot everyone with our Assault Rifle. A little messier than we’re used to, but it was a lot faster.
If the final Commander is alerted he will hide in a back room. Your exit is the ventilation shaft just behind him. Once everyone is dead and you’ve collected everything you can carry, head on through.
Drop through the floor and explore the area. The place is empty, so keep moving through a round tunnel and into another square vent. Drop through yet another floor and then suit up to go for a space walk.
Join the PrimaGames community for free . . . Sign In or Register Now!
You can only go one way, so head toward your objective. Several drones will approach you. Take them out with your Assault Rifle and then jump to your objective. It looks far, but you’ll float over without any trouble at all. Press a button to open the airlock chamber, then another one to move on to the Command Module.
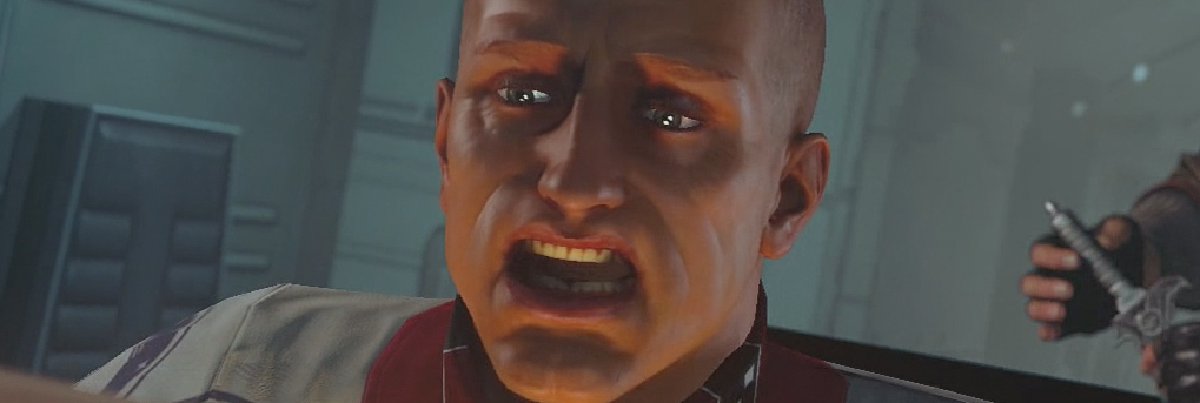
Now that you’re back inside, take your space suit off and start searching for the Nuclear Keycode. Once you go through the first door you’ll see an objective marked on a scalpel. Interact with it for an intense cut scene with Blazkowicz.
Once the cut scene is done you’ll have two Commanders to deal with. This is another tricky one due to the open layout of the area. You can take out the guard right in front of you without much trouble, so go ahead and do that first. Just be careful of the giant robot standing near his patrol route. Best to leave him alone for now.
Move down the hallway to the left of the robot and you’ll see a vent you can move through. Keep following it until you pass over a very small catwalk, emerging at the base of a ladder. Take a look at the Signal Detected on your screen. The bottom one will show the Commander closest to you. Climb a short way up the ladder but not to the top. Wait for the signal to get close to you and stops. Once it starts to move away again, quickly climb up and put your Knife in the Commander’s back.
We managed to pull that off, but we were soon discovered. Lucky for you, there is a huge gun that you can pick up in the middle of the catwalk. Grab it, take down the giant robot and then turn your attention to anything else that moves.
Tip: Rather than climb the ladder, you can continue to stay on the ground level, hugging the left wall to end up at the base of some stairs. There is a Commander in the area, but your objective is on the second floor, giving you a good chance of making it through this room using stealth. Of course if you’re caught, you’ll need to deal with both Commanders and the giant robot that you passed earlier.
When everybody is dead, take the elevator at the far end of the room. It will deliver you to the center of a small army of Nazi soldiers. We were spotted immediately. Bust out your Assault Rifle and kill anything that moves. Work your way up, looking out for one or two Kampfhunds lying around. As soon as the coast is clear, your exit is near the top level, just off the ring near the edge of the room.
Head through the automatic doors, follow the hall and go through another door. Turn left, go upstairs to a catwalk and then follow it to some more stairs. Go down those stairs and turn to your left again. Head through some more automatic doors and follow the hallway until you find two soldiers talking. One will be facing you, so just shoot both of them and pick up the Nuclear Keycodes on the desk behind them.
As soon as you have the codes, turn left and shoot the advancing Kampfhund. There should be another soldier across the room. Shoot him, run to his body and drop through the hatch in the floor. Drop down and move along the only path that’s available, climbing into the pipe up ahead. Ascend the ladder, then take out the two guards in the room. When it’s all clear, use your Laserkraftwerk to cut a hole through one of the panels and climb inside.
The next room will have another two guards. Take them out, head downstairs and charge your Assault Rifle on the wall unit. Climb into the vent next to the charger, emerging behind a lone soldier posted at the top of an escalator. This one is too easy. Take out your Knife and punish him for being careless.
Head down the escalator and turn right, at which point you should see a few soldiers in the next room. Taking them out with stealth would be difficult, so just shoot them with your Assault Rifle and get into the transport car.
Exit the car through the hatch in the floor and immediately start engaging the soldiers down the hallway with your Assault Rifle. Use the boxes for cover and continue moving until you reach another escalator. Kill the guards up top, then move through the next door to end up back at the luggage area where the violence began.
Continue to backtrack until you’re back at the ship you arrived on. Of course things aren’t that simple, and you’ll have to kill two giant robots before catching your ride. Use the boxes for cover and hit them with your Laserkraftwerk. If you run out of juice, top up with the charge unit on the wall.
When everything is clear, hop on the ship and turn right, opening the door to the cockpit to finally bring this chapter to an end.
Visit our Free Wolfenstein: The New Order Walkthrough to continue the journey.
This guide was originally written by Bill Lavoy.


Published: May 22, 2014 04:40 pm