
Rise of the Tomb Raider – Geothermal Valley, House of the Afflicted Tomb, Catacomb of Sacred Waters, Into the Acropolis
Find the Battle Worn Outfit, Belt Buckle relic, submachine gun and a bevy of other important items!
Lara Croft must help the indigenous people of the Geothermal Valley region defend themselves against the Trinity soldiers relentless onslaught in this portion of Rise of the Tomb Raider. Along the way you’ll travel through the Acropolis before heading back to the Geothermal Valley. You can also partake in optional tombs such as the House of the Afflicted and the Catacomb of the Sacred Waters.
Geothermal Valley
Keep moving down the path and up the stairs until you reach the zip line. Slide down to the area below and watch the cut scene.
Prepare for Battle
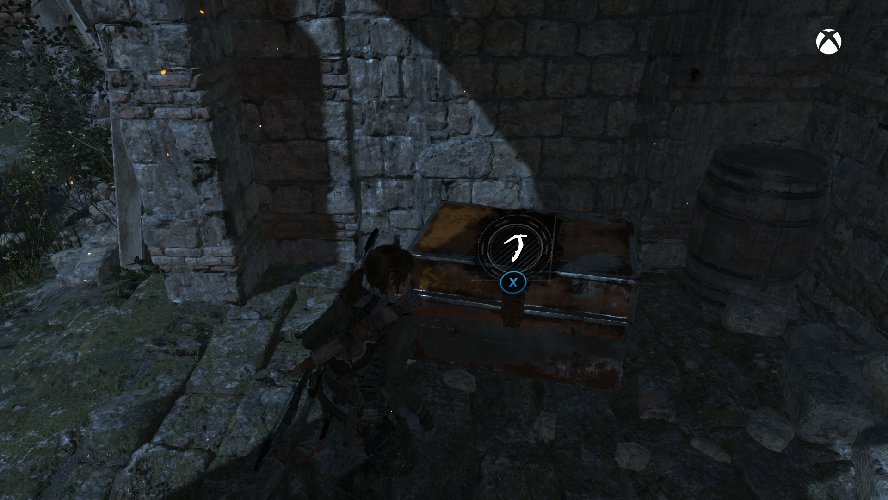
Open the chest directly ahead to find a Bolt Action Rifle component, then head down to the camp fire. Open the item box nearby to find a Planter Vase relic. Head down the stairs to the right of the fire and venture into the first building on the right to find a manuscript on the table inside. Look inside the adjacent house to the left to find an item box on the ground that contains more loot.
Continue down the path and head into the next house on the left to find another manuscript on the table. Go up the stairs at the end of the path and speak to the main standing in the middle of the platform to begin the optional mission, Defensive Strategy.
Defensive Strategy (Optional)
Reward: Battle Worn Outfit
To complete this side mission all you need are four deer hides and four pieces of wood to the quest giver. You probably already have these supplies on you, meaning you can speak to the quest giver again to continue the mission. If you don’t have the supplies, you can find them around the valley. Once you have them, speak with the quest giver, then place some of the supplies in the red basket nearby. The remaining supplies must be delivered to a similar basket at the second tower in the southern portion of the region. Return to the quest giver to receive your Battle Worn Outfit, which reduces the delay before health generates, similar to the Infiltrator outfit.
Prepare for Battle (cont.)
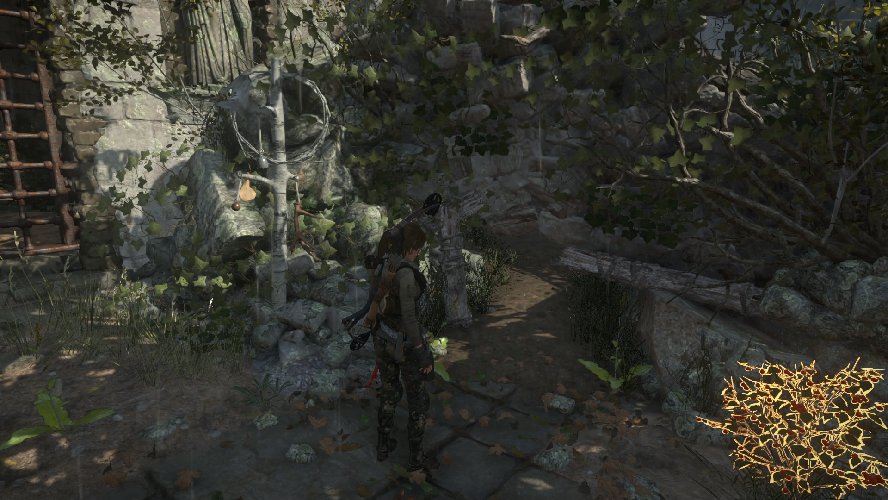
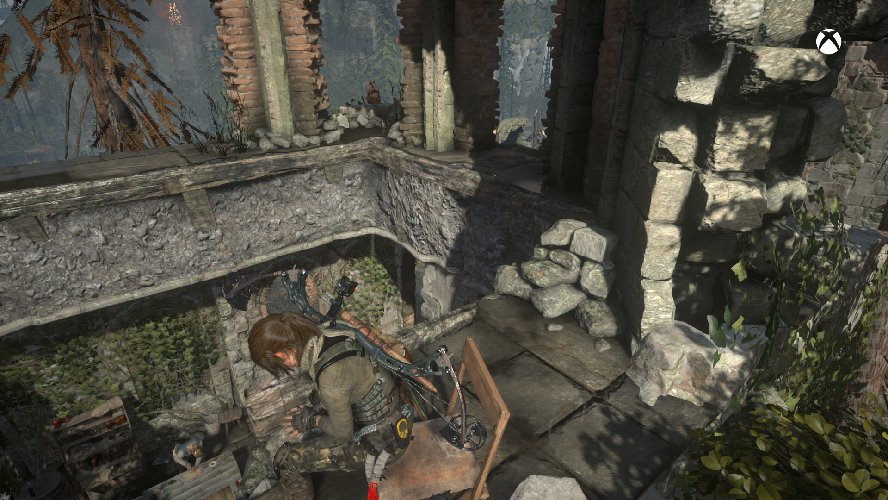
To the far left of the quest giver for Defensive Strategy you’ll see some stairs that lead down to the path that goes over the water. Move to the end of the path, then use the bow and rope to swing over to the far side. Examine the satchel to the left, then crawl into the small opening to the left of the pole with rope wrapped around it if you wish to head into the House of the Afflicted optional tomb.
House of the Afflicted Tomb (Optional)
Several wolves attack when you enter this semi-hidden area. A single poison arrow targeted at the middle of the wolf pack should be enough to take out most of them and scare off any that you miss. Move over to the gate to the left and pry it open, then head up the stairs to the right.
Follow the path through the ruins until you reach the room with pots and skulls on the ground. To the right of the entrance you’ll find Ancient Coins. Squeeze through the small crack in the far right corner and continue through the water ahead and up the stairs to the right. Sift through the dead bodies in the next room and open the item box on the table to the right to find a Belt Buckle relic.
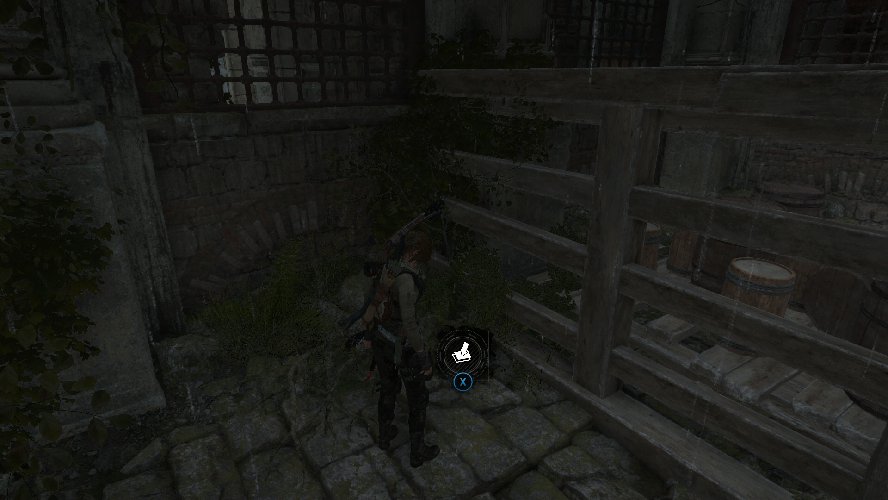
Move into the next room to find a camp fire then look on the far side of the room to find another manuscript on the ground near an item basket. Head through the next doorway near the loot. To the right are stairs, with loot and a few resource items hidden in the ground on the left side of the stairs.
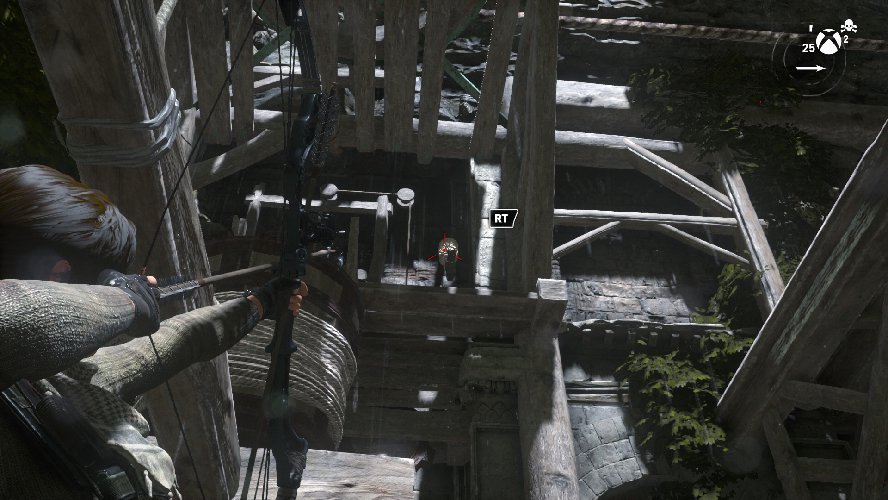
To the left you’ll see a lever above. You can activate Survival Instinct if you have trouble finding the lever. This is used to raise the wooden platform directly ahead. However, before you stand on the wooden platform and shoot the lever with the bow and rope to raise the platform. Run down the path in the middle of the room.
At the end of the path is an item box on the ground which contains a Necklace relic. Collect the loot, then look to the left to see another wooden platform in the area below, as well as a rope attachment in the shape of an eight. Drop down onto the platform and shoot the eight with your bow and rope to connect the rope attachment to the top of the platform.
Once you’ve made the connection, move into the small alcove between the two wooden platforms to find a cart with a large barrel and rope attachment sitting on top of it. Pull this out toward the middle of the room as far as you can. It won’t go too far due to a piece of wood on the ground, but pull it as far out as you can.
Head back over to the lever and stand right next to where the water barrel above will land. Don’t stand directly under, but get as close as you can while still being able to see the lever above. Shoot the lever with the bow and rope, then immediately move over to the barrel that lowers to the ground and shoot the large barrel on the cart to connect the two. This keeps the water barrel near the ground and forces both wooden platforms to remain in the air.
Now that all of the preparation is complete, head up the stairs near the entrance to the room. At the top of the stairs use the horizontal beams to reach the newly raised platform. Jump to the right until you reach the other raised platform, then continue jumping in the same direction to grab onto the narrow wooden ledge on the wall.
Move to the right until you can climb up to the ledge above, then head into the room ahead to find a bevy of loot all around the room. Collect the loot, then examine the pedestal to learn the Faster Healer skill that allows you to bandage wounds faster when healing. With the tomb complete, head out of the room and to the left to find a zip line that takes you back down to the ground.
Prepare for Battle (cont.)
Head south to reach the next destination marker on your map. When you see a log bridge to the left, head across to find an item box that holds another component to the Submachine Gun.
When you reach the destination point, listen to the speech then you can proceed south to the next destination marked on the map. There’s an optional tomb to the north, but it requires wire spool to reach the tomb. For now, continue up the stairs to the south to reach another camp fire.
Go up the stairs near the camp fire as you move into the ruins. When you reach the top of the stairs, look to the right to see the remains of a bridge. However, before you head over to the bridge, look straight ahead to see white paint on the wall near a tree. Scramble up the wall here to the tree branch, then scramble up to the top of the wall.
There’s a Greek monolith straight up the stairs ahead, but it requires level seven Greek which you almost certain do not have at this point. Instead, look to the left before the next flight of stairs to see an area of the wall you can dig your axe into and climb up. To the left of this patch of wall you can jump up to reach the wooden beam above. Use the series of beams to reach the room at the top, then open the item box in the far right corner to find an Iron Coin Tool relic.
Use the wooden ramp here to jump over to the adjacent building, then move past the stone pillar (you may have to drop down and grab the ledge) to see a chair just beyond. Sit in the chair to earn the achievement, Quiet Time, for finding the best seat in the house.
Drop down into the room below and read the mural on the wall opposite the woman. Speak to the woman to begin the Ancient Secrets side mission. This mission spans most of the game and requires you to find nine tombs and access the pedestal in each one to learn the secrets within. For each secret you obtain, speak to the quest giver and you’ll earn 10 Byzantine Coins (Ancient Coins). When you’ve been to all nine tombs, speak to her again to receive the Sacra Umbra Outfit. If you’ve been following our walkthrough you’ve already been to three of the tombs so you can get 30 Byzantine Coins right now.
Leave the room through the window to the right of the wall mural and move into the next structure directly ahead to find another strongbox that holds the final piece of the Submachine Gun. Now you can head back down to the bridge you passed before.
Stand next to the pole and shoot a rope below and to the right of the far side of the bridge to create a zip line. Slide down the zip line, then climb up the wall ahead and continue up the stairs. Jump over to the shaky wooden platform and continue over to the horizontal beam and on to the rock wall ahead.
Climb to the right as far as you can, then hold B to drop down and quickly press X grip the rock wall below. Jump to the rock wall to the right, then jump to the right again to reach the wooden beams attached to the wall. Move all the way to the right, then scramble up the wall to the top. Quickly move over to another shaky wooden platform and then on to the next wall as you continue to work your way around the structure.
Scramble up the wall and move around to the right, then jump over and latch on to the next rock wall and climb to the top. Move to the edge of the platform and jump over to the white painted beam on the wall. This jump can be tricky so make sure you’re not too far away when you make the attempt. Quickly move to the right and jump over to the rock wall, then climb to the top. Collect the Oil Flask on the table and you can now craft fire arrows.
Move out onto the wooden platform to the right of the fire arrows, then jump onto the wooden beam above. Scramble up the wall, then jump over to the rock wall to the left. Climb all the way to the left, then scramble up the next wall. Move to the right and jump over to the hanging wooden platform. Move to the right until you can climb up onto the platform, then use a fire arrow to ignite the beacon above.
Collect the oil and the item basket from your new location, then move over to the roped pole to the right of the oil canister and create a zip line to the rope attachment below. This takes you back to where you found the last Submachine Gun part. From here you can easily head to the next destination point on the map, up by where the Iron Coin Relic was located.
When you reach the destination point, head down toward the water and swim through it while the helicopters attack, as you continue on to the destination point. When you get to the edge of the water you’ll watch a cut scene that ends with you getting a Shotgun.
At this point you need to shoot the three guards directly ahead, then move through the builds taking down the soldiers as you come across them. After another short cut scene introducing a soldier using a flame thrower, you need to take him out before you can proceed. Get close to him but don’t touch him or you’ll take damage. Dodge toward the left or right of the soldier so you can get to the side or directly behind him, then immediately use the shotgun to shoot the red tank on his back. A couple clean shots to the tank will cause it to explode so you can move on.
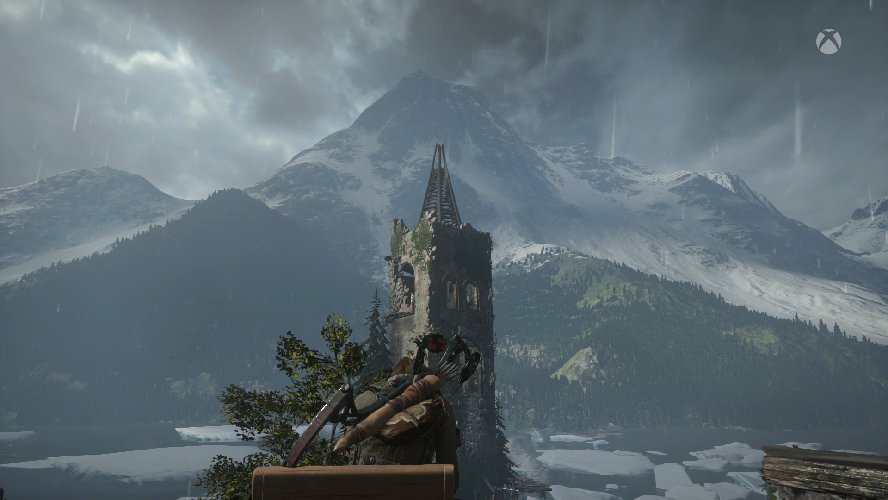
To The Tower
Head into the building here to collect some loot, including another manuscript. Continue down the path outside to find an item crate to the left, just before the stone path ahead. Open the crate to find another Bolt Action Rifle component, then keep moving down the stone path and drop into the water below. Swim over to the log in the middle of the pond, then use it to reach the cave to the left if you wish to enter the Catacomb of Sacred Waters optional tomb.
Catacomb of Sacred Waters (Optional)
Collect the item box in the small alcove to the right just before the stairs, then continue up the stairs and through the cave to the right. Follow the water until you slide down the waterfall into the pool below. Don’t worry, there are no traps to kill Lara in the immediate area. There’s a rock wall on one side of the pond, but that only leads back the way you came. Instead, head through the small opening on the opposite wall.
Move over to the pole and shoot a rope at the horizontal pole across the pool. Continue down the stairs and into the burial chamber. Open the item box on the far right to find a Silver Basket relic, then climb up the wall to the left of the relic and move down the path to the camp fire ahead.
There’s a rope pole down the stairs to the left. Stand near it and shoot the rope attachment on the raft ahead. This pulls the raft over to you, but it won’t remain there long. Jump over to it before the rope breaks, then shoot the rope attachment near the island in the middle to move the boat again. It’s important to note that jumping into the water will cause you to die, so make sure you time your jumps well in this area.
Once the boat gets to the island and you hear the rope beginning to break, cut the rope so the boat swings around toward the stairs on the island. Jump over to the island as the boat floats off. Don’t worry too much about the boat as you can reel it back in the next time you need it. For now head up the stairs to find a manuscript on the ground and some Ancient Coins on the far side.
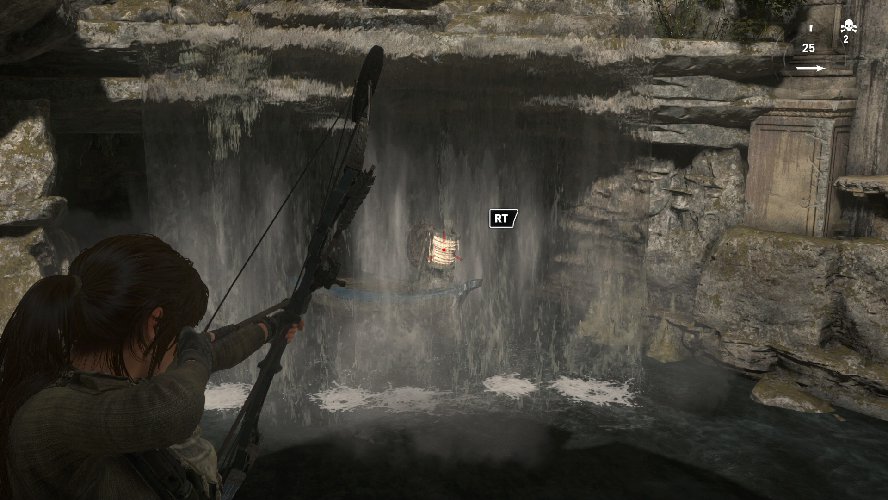
Go back down the stairs and stand near the rope pole on the island. Look toward the waterfall to see another rope attachment behind the falling water. This is another boat, however you do not want to attach it to the pole on the island. Instead, move as close to the boat as you can get without jumping in the water.
Shoot the rope attachment on the boat, then wait for it to move out of the waterfall. Jump on it, remaining close to the rope attachment and quickly shoot the rope pole across the pond. Once you’re latched on, press X and rotate the left analog stick to pull the boat close to the shore.
Jump over to the platform, then head up the stairs and circle around into the next room. Collect the loot in the room, including the map on the table, then head down the stairs in the far left corner to find more loot and another pedestal. Examine the pedestal to learn Anatomical Knowledge, which allows you to aim at the hearts of most animals to inflict significant damage.
Loot the nearby item box to find a Goblet relic, then collect the rest of the loot in the room and head back to the boat. Don’t worry about cutting the current line, just stand near the rope attachment on the boat and shoot the rope pole on the island. Jump over to the island, then move to the far side and jump toward the camp fire. The water current isn’t as strong here, which means you can swim to the shore, however if you aren’t careful you can still get swept away.
Head back the way you came and climb up the rock wall when you reach the pool. Scramble up the next wall, then take the zip line to the opposite shore and scramble up the wall to the ledge. Move to the far left, then drop down to the ground and head back out to Geothermal Valley.
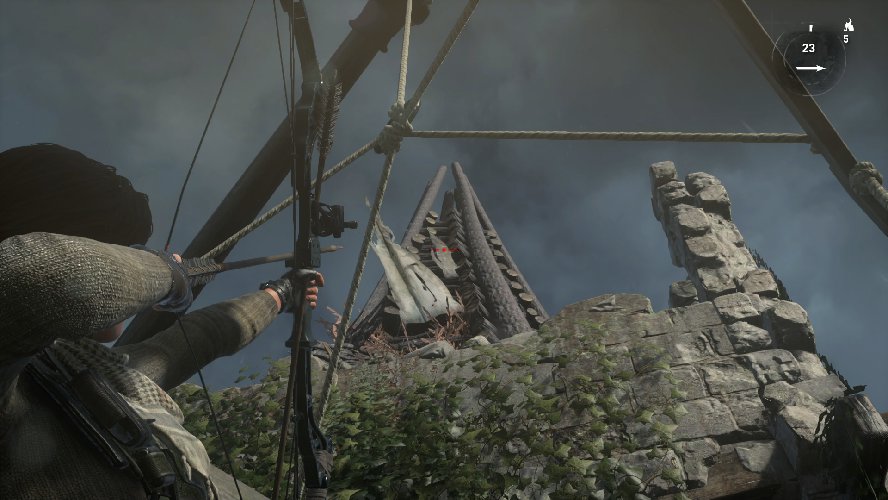
To The Tower (cont.)
On your way to the next destination point look west of the bridge to find another camp fire. Just behind the camp fire is a level four Greek monolith, and up the stairs to the left of the fire is a satchel and more loot. When you’re ready, continue across the ruined bridge until you reach the end. Jump over to the rock wall and latch on, then climb to the top. Head into the structure and up the stairs to reach the Acropolis.
Into the Acropolis
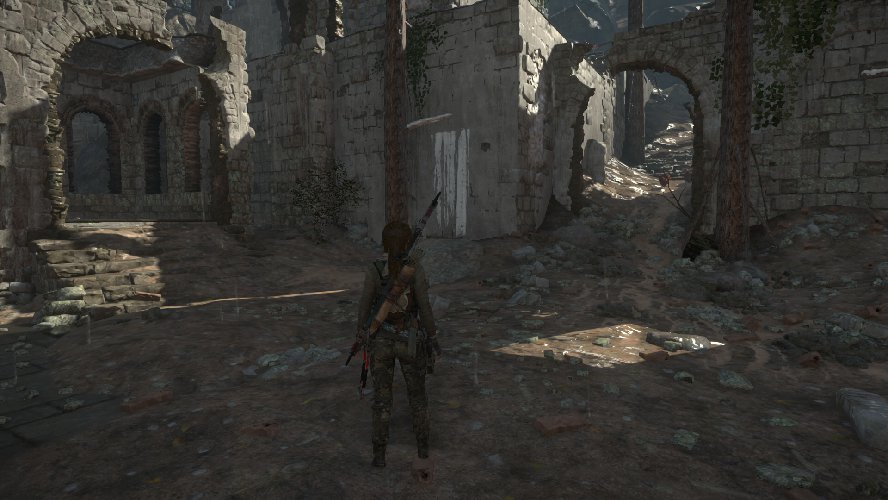
Go through the cracked door and down the path ahead. After you pass the chickens, collect the loot at the end of the path, then look to the left just before the fallen cart to see a stone that you can climb up. Move down the stairs ahead, then walk across the log and jump over the water to the adjacent path.
Climb up the rock marked with white paint. When you reach the end of the path, jump over to the rock wall across the way and latch on. Climb up to the top, then move to the right until you reach the stairs. Head up the stairs and stand next to the pole on the left. Use rope to create a zip line to the log above, and move into the water ahead.
Once you get out of the tunnel, head down the stairs to the right then move into the village ahead. Stop at the camp fire to the left, then continue down through the village. When you reach the lower level of the village just ahead, look in the tent to the right to find a strongbox that holds a Heavy Pistol part. There’s a manuscript on the ground to the right of the strongbox. At the very end of the path to the right there’s another manuscript on the ground.
Collect the loot then head to the left (the opposite direction) and look in the tent to the left after you pass the blue ammo box on the ground. There’s an item box in the tent that holds a Reliquary relic. When you reach the next destination point at the end of the path you’ll watch another cut scene.
Reach the Tower
The area ahead is home to a number of soldiers. Luckily there are also plenty of bottles, cans and ammunition around, as well as lots of cover. You can take out most of the enemies via stealth kills, or you can go in guns blazing depending on your combat style of choice.
Once all of the enemies are down, head to the far right corner, then continue down the path to the right. There are two more soldiers ahead. Take them out and continue moving through the tunnels to find four more enemies in the room ahead. Before you head out the next archway, look to the left just before the exit to find Ancient Coins on the ground.
When you fall down in the next area, take out the two enemies in the room (a Molotov Cocktail works very well here), then proceed through the small hole in the far left corner. There are several enemies ahead, but a single poison gas arrow in the middle of them is more than enough to take them all down in one shot.
After another cut scene, break down the wall in the corner and continue through the corridor. Drop down to the path below and examine the mural on the wall to increase your Greek reading comprehension. Climb up the wall on the opposite side and walk over to the window.
Drop down to the area below and watch Lara create a Grenade Arrow. Restock your supply of grenade arrows, along with normal arrows and oil in the area. Open the nearby item crate to find a Deer Charm relic, then climb back up to the window and shoot a grenade arrow at the debris below blocking the door.
Head up the first flight of stairs to find a camp fire to the right. The monolith near the camp fire requires level five Greek to read, but you can pick up the manuscript on the nearby table. Head up the next flight of stairs and over the narrow wooden beam. Read the manuscript on the ground to the left, then continue down the path and jump over to the far ledge.
Look in the left corner to find an item box that holds a Bullae relic, then head in the opposite direction and use a grenade arrow to clear the debris blocking the door. Crawl under the broken wooden door and engage the enemies on the other side.
Clear the enemies, then open the strongbox on the far right side to find an Enhancement Tool that unlocks an additional tier of weapon upgrades. Collect all the loot in the immediate area, then use a grenade arrow to blast the debris blocking your path.
Head up the stairs and take down the next group of enemies. When you target the soldiers on the bridge above, aim a bullet at the red oil drum to take them all out in a single shot. Continue to move down the path taking out Trinity soldiers as you come across them.
Rescue Mission
After the next cut scene move forward to find more enemies in the next two rooms. Clear the two rooms, then examine the manuscript in the far left corner of the first room before continuing down the path. Slide under the door as you move into the adjacent room.
In the next area you must face off against a large number of Trinity soldiers. There aren’t any bottles or cans here, so your best bet is to use poison cloud arrows to take out multiple enemies at a time, then switch to the shotgun if any enemies get too close. When the armored soldiers move in, just shoot a poison arrow between them to take out all of them in one shot.
Back to the Forest
After obtaining the Wire Spool (which means you have access to the Grapple Axe) during the cut scene use a zip line to cross the abyss, then jump and press X to use the grapple axe to swing across the next gap. Continue across the log, then jump and use the grapple axe again to reach the ledge on the far side.
Look in the brush to the right to find another manuscript, then continue down the path and jump across to the rock wall (using the grapple axe again). Climb down the rock wall and jump over to the ledge on the right, then climb up and keep moving down the path. Jump and grapple axe the next rock wall, then climb up and head down the path to get back to Geothermal Valley.
Geothermal Valley (cont.)
Silent Night
Open the strongbox just before you reach the camp fire to find another Bolt Action Rifle component, then make a stop at the camp fire. Head to the right of the camp fire, collect the salvage box to the left and use the grapple axe to reach the zip line and drop down to the lower area. Continue down the stairs until you reach the lower area, then head right and use a grenade arrow on the side of the hut ahead. Open the strongbox inside to obtain a Heavy Pistol part.

Head up the stairs to find three salvage boxes and a manuscript in the grassy area ahead. Turn around and head back toward the hut to see a tree that you can climb. Go up the tree and jump up to the higher branch, then jump over to the adjacent platform. Examine the map on the table then head down the zip line.
Move through the water until you see a Trinity soldier standing on the shore. Activate Survival Instinct and wait in the water until he has a yellow outline (indicating no other guards can see him). Once you see the yellow outline, swim over to him and initiate a stealth kill.
There are several enemies in this next area, but if you’re patient you can stealth kill all of them. Hide in the bushes near the shore and start with the two soldiers on the far right. Use Survival Instinct to determine when the soldiers cannot be seen by the others and pick them off one by one. There’s another soldiers up the stairs ahead, but he’ll come down to investigate after you pick off all of the other soldiers.
Once the soldiers are all down head up the stairs into the hut ahead and examine the recorder on the ground on the right side. Climb up the white painted wall to watch a cut scene, then take out the soldiers in the next area. If you move into the cabin to the left you can take out most of them with poison gas and grenade arrows. Clear the area then look to the far right to find a strongbox that holds the last part of the Bolt Action Rifle.
Just before you reach the next destination marker, pick up the recorder on the pile of crates and wood to the left. Continue to follow the path to watch another cut scene, then you need to clear another area of hostiles.
Head up the stairs and into the building, then move up to the second floor to find a recorder near the stairs. Move out to the balcony and grapple to the wooden beams on the wall to the left. Inch your way to the right then jump over to the next wooden beam and climb up the rock wall to the top. Continue down the stairs to find a manuscript at the bottom just before you reach the next camp fire.
As you move into the next area, watch out for the cougar that attacks from the rocks above. Follow the stairs on the far side of the area to find an item box near the top that holds an Arrowhead relic. There’s one soldier that waits as you grapple and climb your way to the top of the area. You can easily take him down with a stealth kill as his back is to you when you first approach. You’ll hear him talking on his radio before you see him, so you know he’ll be coming up soon.
Moving into the ruins you’ll encounter two more soldiers before you finally enter the Flooded Archives and the Cathedral.
Continue on to the Flooded Archives or head back to our Rise of the Tomb Raider game hub for more tips and tricks to get through the game.