Making your way through the scary depths of Luigi’s Dark Mansion is made so much easier using our expertly written eGuide. If you were wondering what some of the terrifying text might hold then look no further as we present to you through the first of our free extracts.
GET ACCESS TO THE FULL GUIDE NOW
Mansion Overview
Gloomy Manor is a classic haunted house, complete with dusty antiques, peeling wallpaper, and its fair share of secret passages. As you play through the Gloomy Manor missions, you’ll face Greenies, Hiders, Slammers, Poltergeists, Boos, and the powerful Grouchy Possessor. Pay attention each time you encounter a new enemy—the tactics you learn in Gloomy Manor will serve you well. This mansion also contains Professor E. Gadd’s most important inventions.
A-1 Poltergust 5000
Find the Poltergust 5000
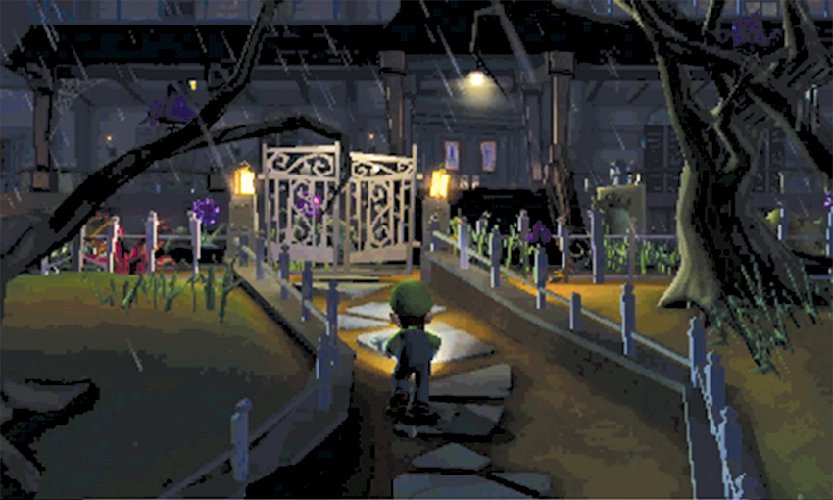
 When the mission starts, Luigi’s abilities are very limited. Follow the path toward the mansion until you pass through the gate. After the gate slams shut, Professor E. Gadd calls you on the Duel Scream. Use the Touch Screen to answer the call and gain the ability to run.
When you replay this mission, use the Strobulb to flash the crows perched in the trees along the path.
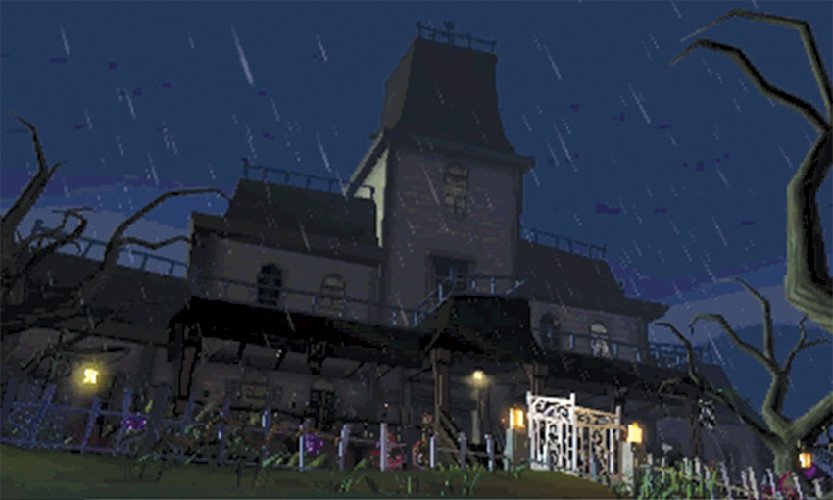
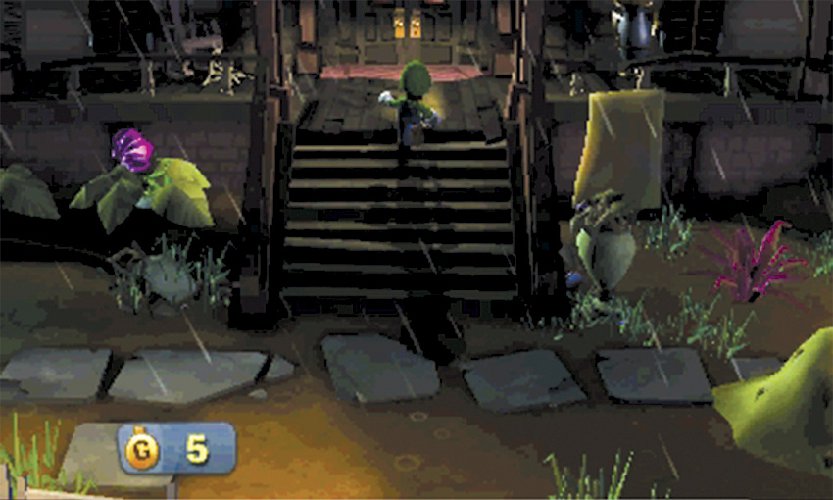
During this mission, the Front Yard contains a good deal of hidden treasure—unfortunately, most of it is inaccessible at the moment. Rather than waste time exploring the area now, it’s best to conduct a thorough search of the Front Yard after you’ve recovered the Poltergust 5000 and the Strobulb attachment. For now, run up the steps and attempt to open the front doors.
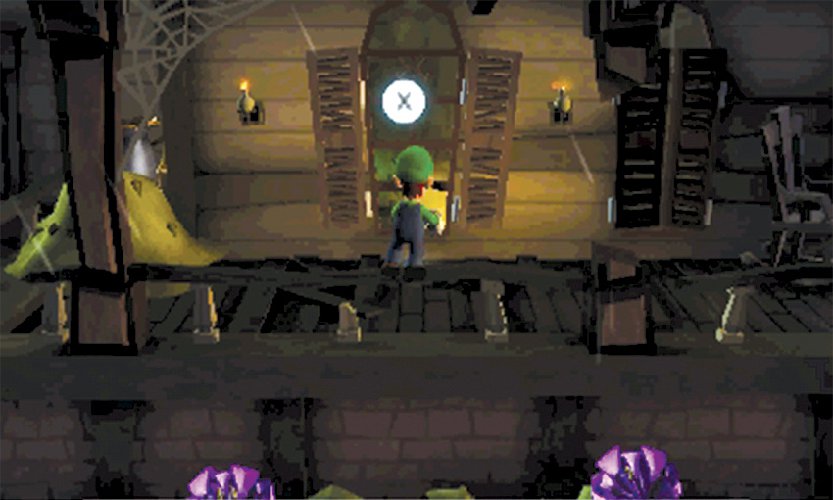
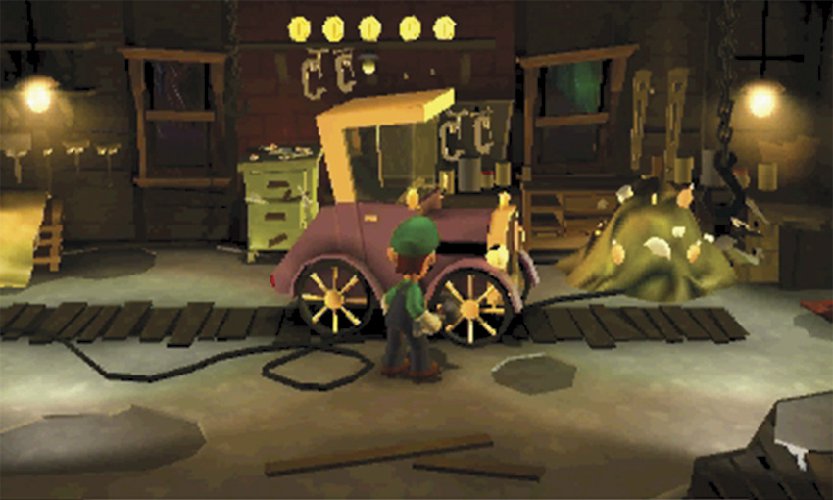
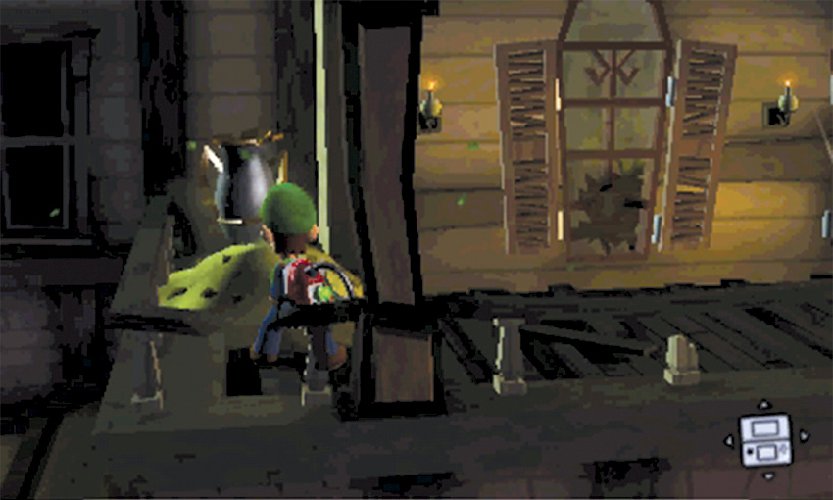
After you check the doors, follow the porch to the left. Approach the window just past the rocking chair, then press  to peek into the Garage. Tilt your Nintendo 3DS system or slide the Circle Pad to aim the camera at the parked car. Wait for the Greenies to leave the area, then press
  to back away from the window.
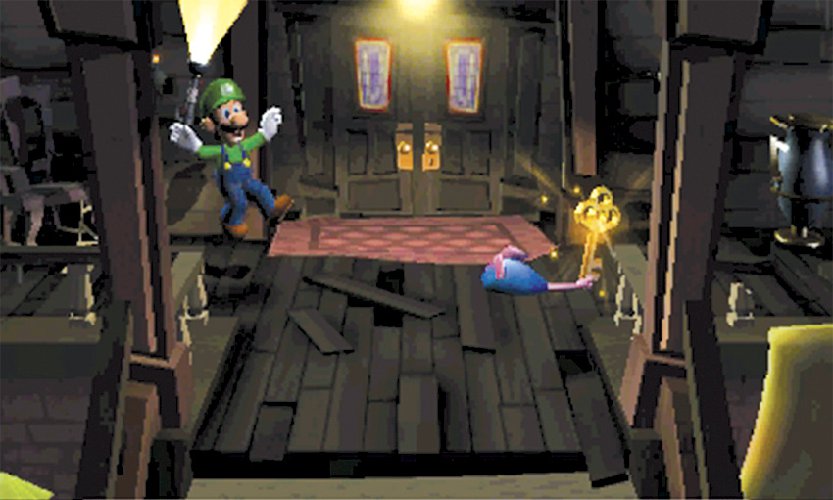
Move back to the right to find a mouse with a Key wrapped in its tail. After Luigi recovers, follow the mouse down the steps and chase it around the Front Yard. The mouse tries hard to evade you, but you have a slight speed advantage. Catch the mouse to collect the Key, then climb back up the steps and unlock the front doors.
 Like the Front Yard, the Entrance contains some hidden treasure. Once again, it’s best to search the area after you collect the required equipment. For now, use the door on the west wall to enter the Garage.
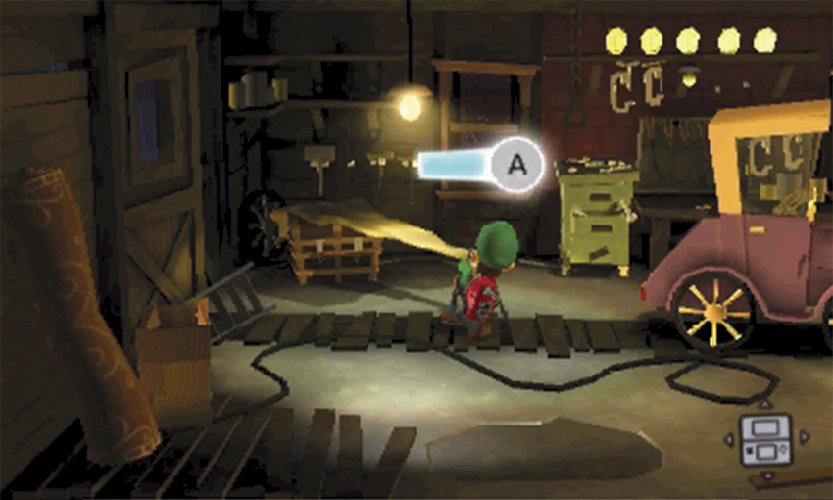
 Move to the center of the Garage and inspect the parked car to find the Poltergust 5000. When the cinematic ends, a pile of trash falls to the floor, blocking the door to the Entrance.
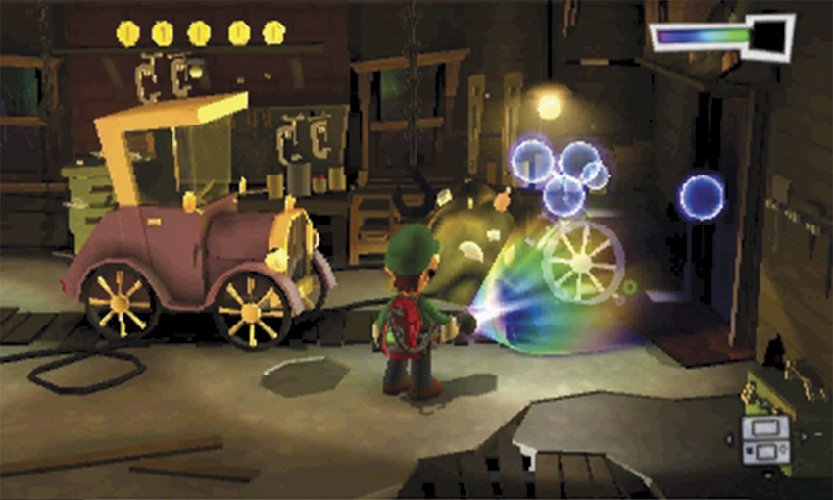
After you answer Professor E. Gadd’s call, use your new equipment to vacuum the trash blocking the door. Move to the room’s northwest corner and use the Poltergust 5000 to A-Pull the cloth covering the chest. Press and hold  to latch onto the cloth, then move away from the chest. When prompted, press
  to rip the cloth free. Open the chest and collect the revealed Key, then search the rest of the Garage. Use the Poltergust to vacuum all the treasure at the top of the room.
Search all of the drawers and containers in the Garage, and use the Poltergust 5000 to vacuum the treasure hidden on the beams above you. Check the window near the chest to watch the Greenies playing outside.
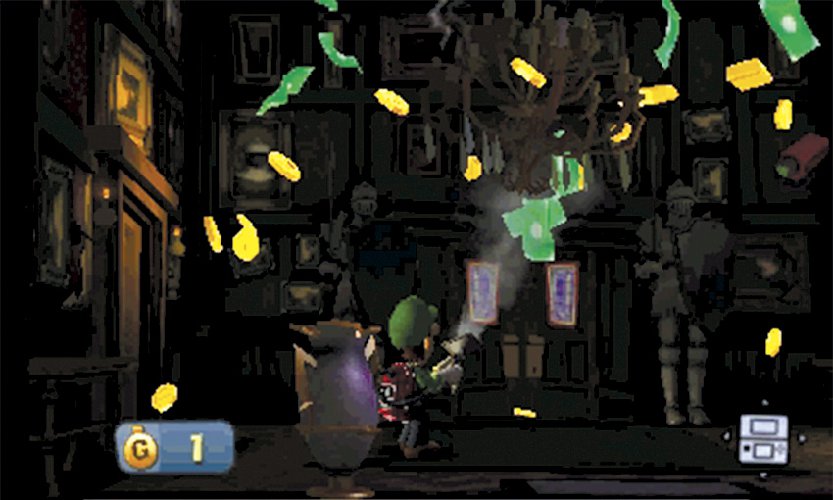
When you’re ready, leave the Garage and return to the Entrance. Use the Poltergust to vacuum the chandelier to temporarily darken the room. During this mission, extinguishing this chandelier produces a significant amount of treasure! Move quickly to collect it before it vanishes.
Move to the right and A-Pull the tapestry blocking the door.Search the room, then use the door on the east wall to enter the Mudroom.
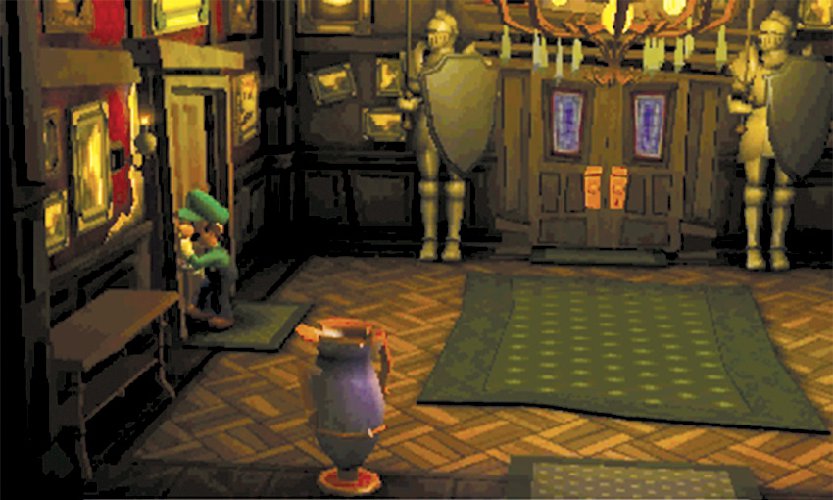
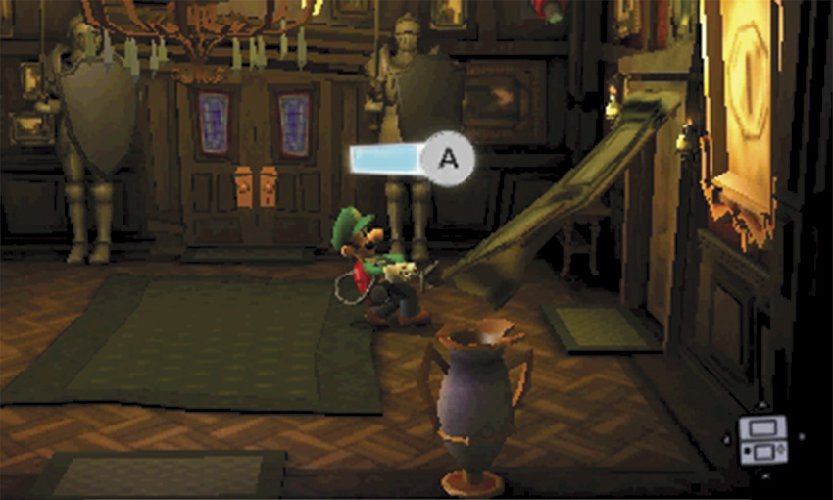
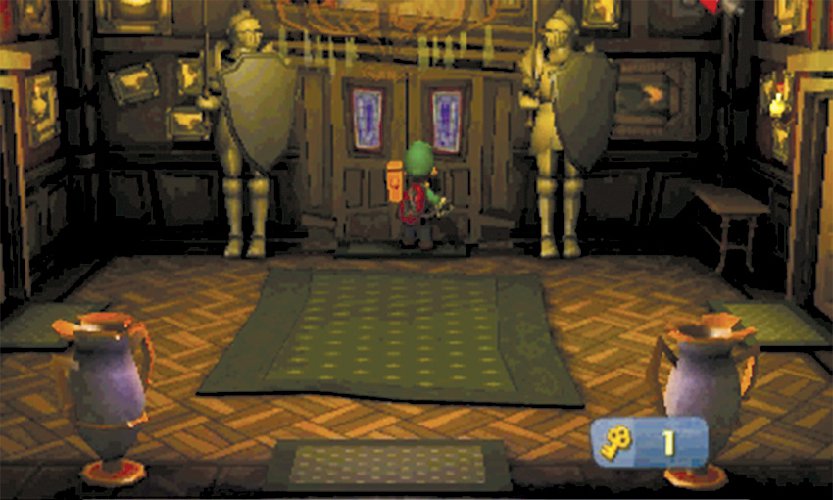
Search the vases and suits of armor, and make sure you vacuum the treasure above the door on the back wall. When you replay this mission, use the Dark-Light Device to reveal the treasure hidden in the framed sketch on the east wall.
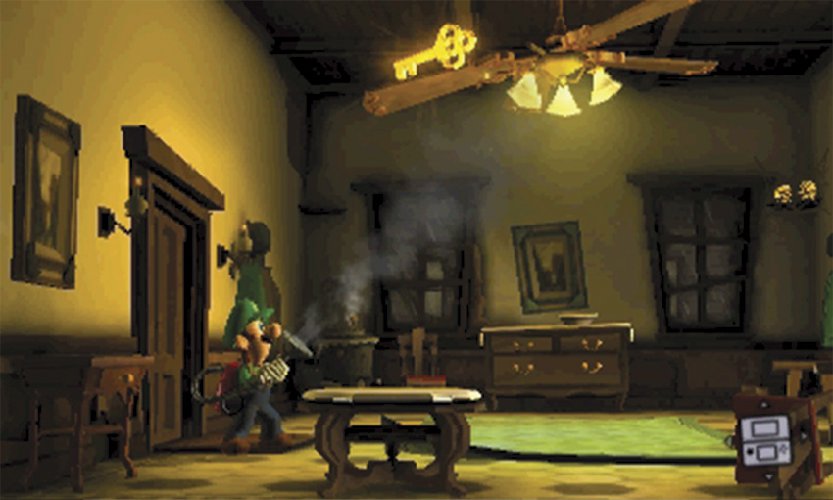
 Once inside the Mudroom, look up to find the ceiling fan above you. Use the Poltergust to spin the fan until the attached Key falls to the ground.
Caution
As you explore the Mudroom, watch out for the spiders that lower from the ceiling!
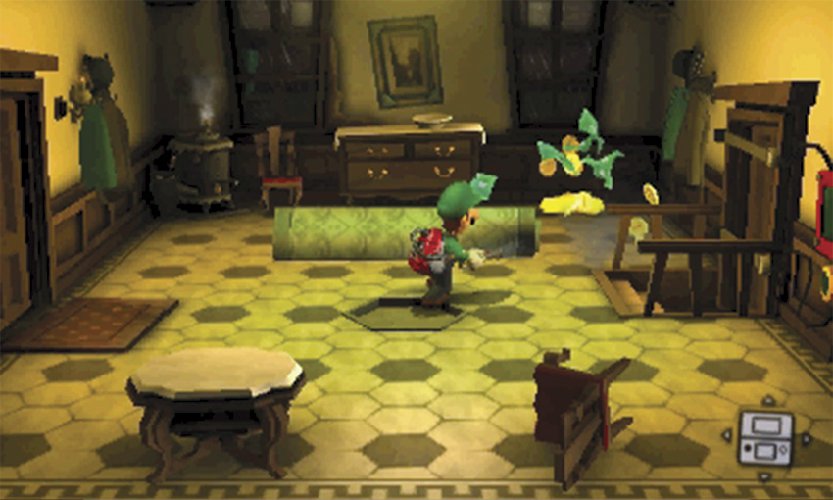
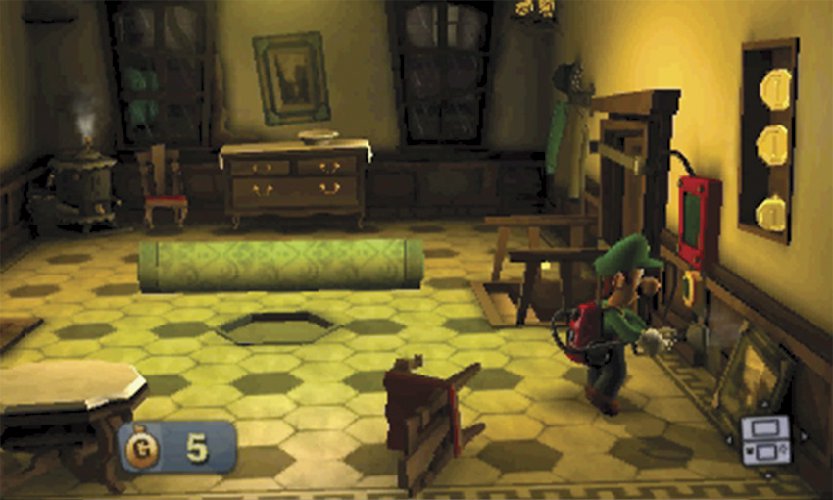
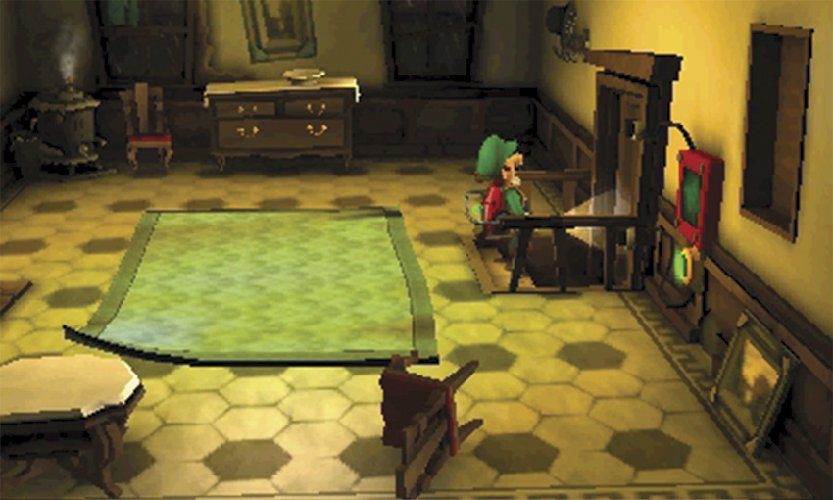
Use the Poltergust to roll up the rug on the Mudroom floor. Stand on the rug and vacuum it toward the back wall, or stand in the foreground and blow the rug toward the back wall. Step on the revealed switch to open a secret panel on the back wall. During this mission, the panel contains a nice stash of treasure!
The green circular panel on the east wall unlocks the nearby door. To reach the Mudroom Exterior, you must return to this panel after you acquire the Strobulb. Search the items in the Mudroom, then return to the Entrance.
Search the drawers around the room, but make sure you A-Pull the coats on the walls. Before you leave, investigate the window in the room’s northeast corner to catch your first glimpse of the playful Polterpup.
Find the Strobulb
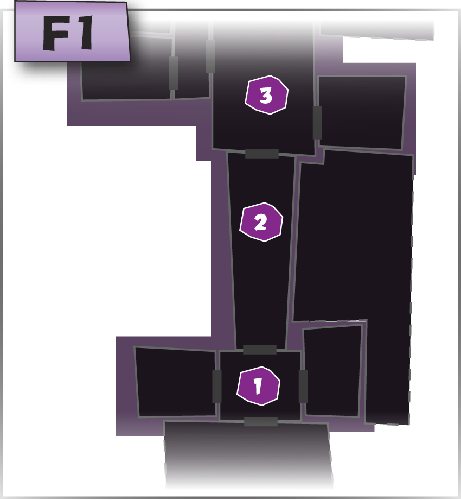
 When you’re ready, use one of the two Keys in your possession to unlock the doors on the back wall and enter the Guard Hall.
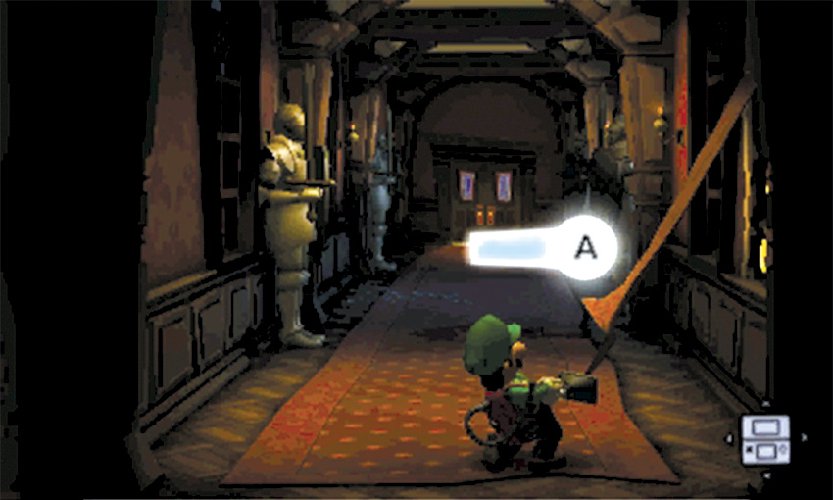
 When the cinematic ends, use the Poltergust to A-Pull the wallpaper to the right. During this mission, doing so reveals a treasure stash. When you’re ready, run to the far end of the Guard Hall.
Caution
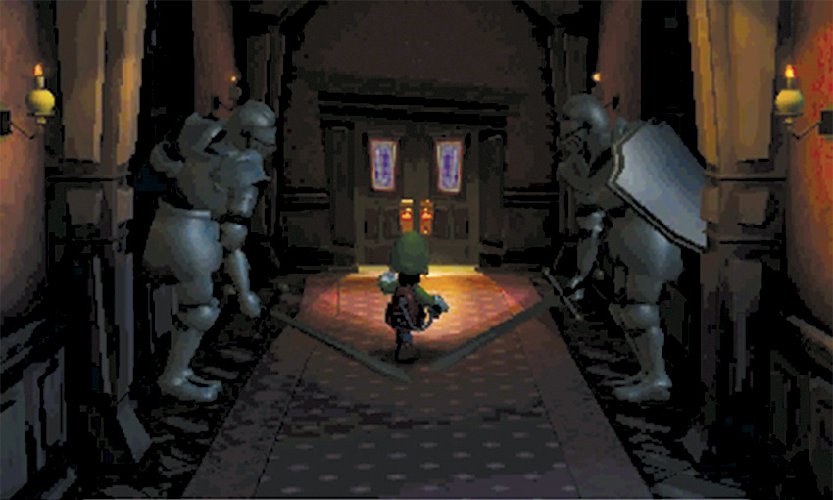
The suits of armor lining the Guard Hall swing their swords as you move into range. Run at full speed to slip past each attack.
When you reach the next door, use your remaining Key to open the path to the Foyer.
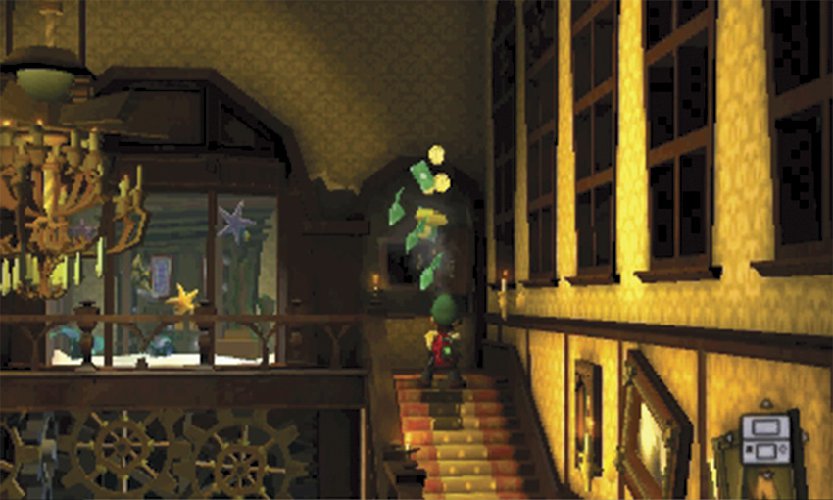
 After stashing the Strobulb on the Foyer chandelier, the Greenies escape to the Coatroom. Like the door to the Mudroom Exterior, the Coatroom door is located near a green circular panel. Approach the stairs to trigger a call from Professor E. Gadd.
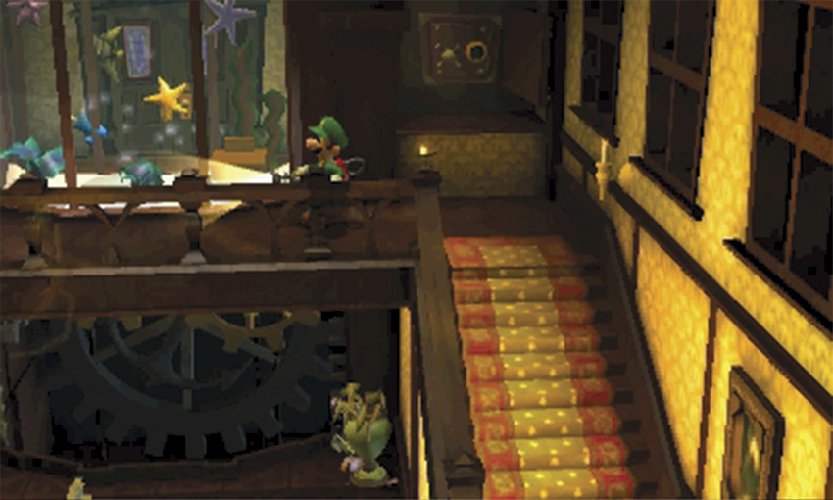
When the call ends, continue up the stairs to find another green circular panel attached to a wall safe. Move left and follow the walkway around the perimeter of the room.
If you inspect the aquarium on the Foyer’s north wall, you’ll spot the Star Amethyst. This Gem cannot be collected before mission A-4 Visual Tricks.
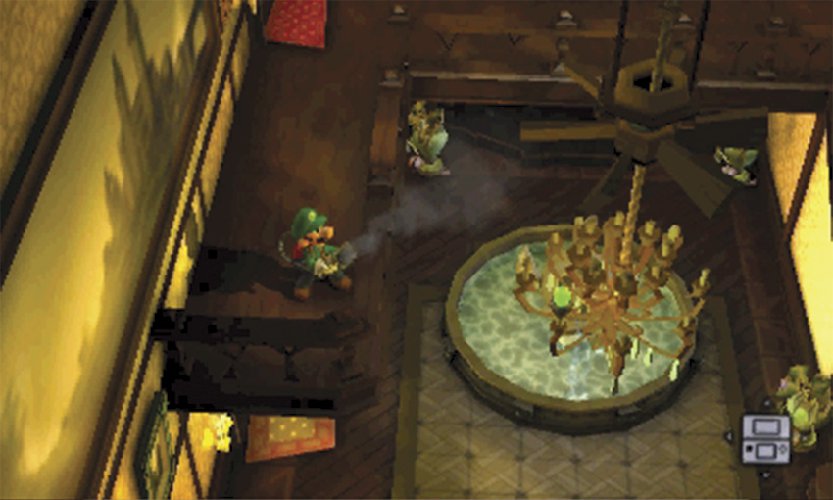
When you reach the end of the walkway, vacuum the rotor above the chandelier. As the rotor spins, the chandelier lowers. When it reaches the floor, race down the stairs and grab the Strobulb before the chandelier returns to its original position.
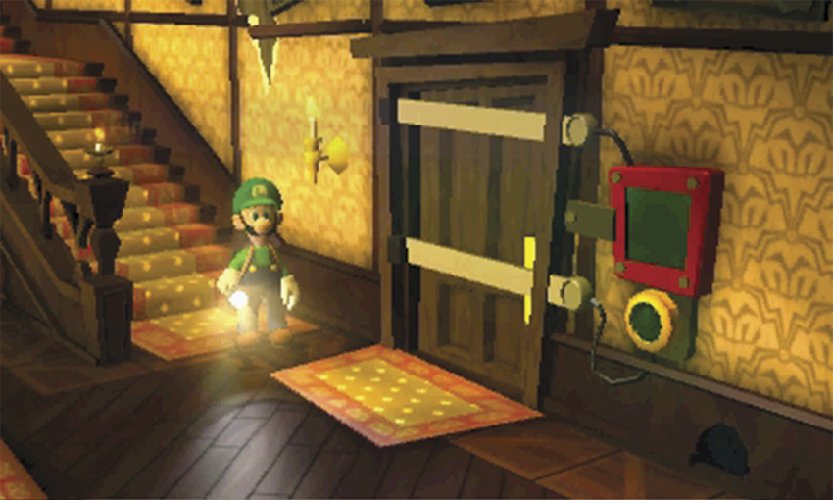
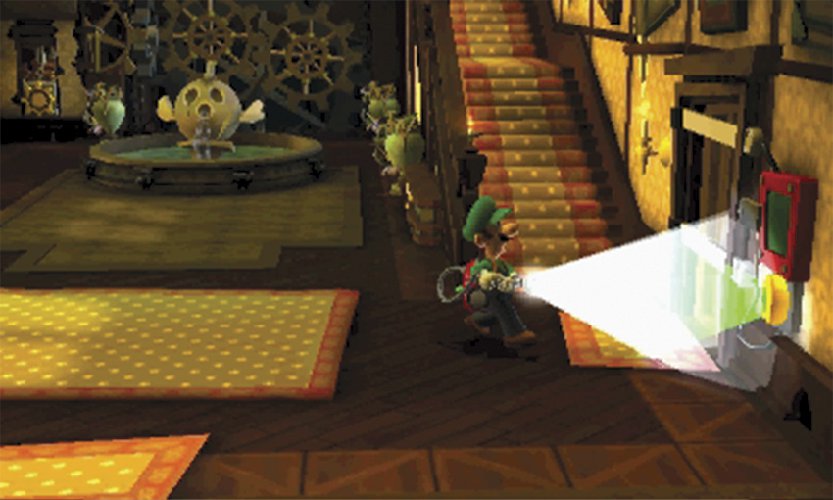
After you answer the Duel Scream, use the Strobulb to unlock the door to the Coatroom. Aim your Flashlight at the green circular panel on the east wall, then press  to activate the Strobulb. This not only unlocks the door, it triggers another call from Professor E. Gadd.
Remember that holding  charges the Strobulb, resulting in a much larger flash when you release the button!
Before you investigate the Coatroom, consider using your new equipment to collect some of the items you were forced to pass up earlier in the mission. During this mission, the safe at the top of the stairs contains a nice treasure stash—use the Strobulb to collect it! Search the vases and drawers in the Foyer, then return to the Guard Hall and follow the path back to the Mudroom, just east of the Entrance.
Vacuum the painting in the Foyer’s southwest corner to reveal a framed sketch. After you gain the Dark-Light Device, use it to reveal the treasure hidden in this object.
Revisit Unfinished Business
 When you return to the Mudroom, use the Strobulb to activate the panel on the east wall. Pass through the unlocked door to reach the Mudroom Exterior.
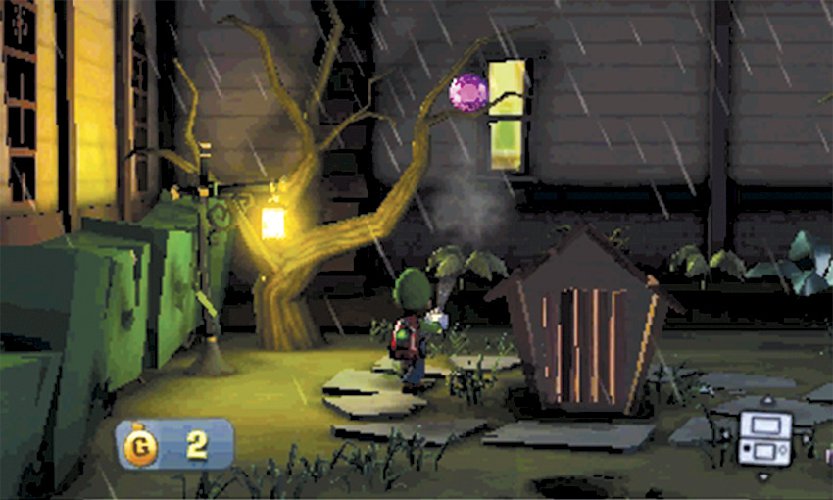
 As you approach the doghouse in the center of the Mudroom Exterior, avoid the mice scurrying through the grass. Flash these critters with the Strobulb, then use the Poltergust to vacuum the Round Amethyst from the tree in the northwest corner.
 After you collect the Gem from the Mudroom Exterior, follow the path back to the Front Yard. During this mission, the Front Yard has plenty of treasure to collect! Vacuum the trash at the west edge of the porch, then search the vase in the corner. As you explore the rest of the area, make sure you check the remaining vases.
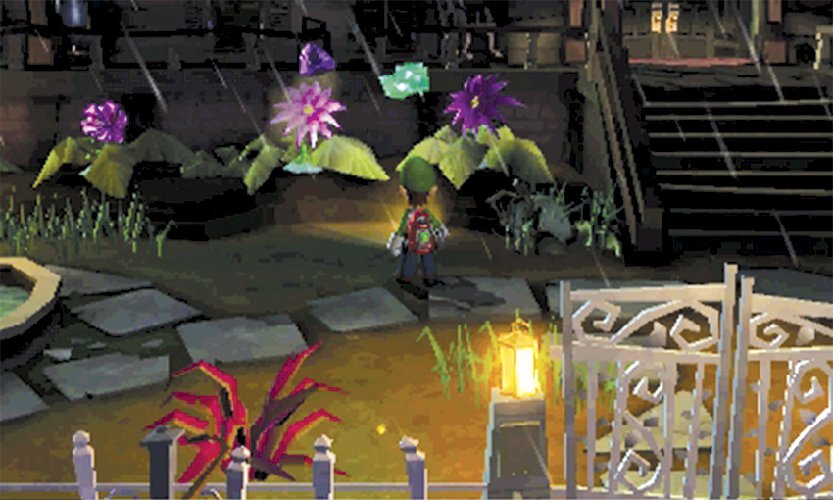
Use the Strobulb to flash the four purple flowers just west of the steps. Three of the flowers contain treasure, but one flower contains the Trillion Amethyst.
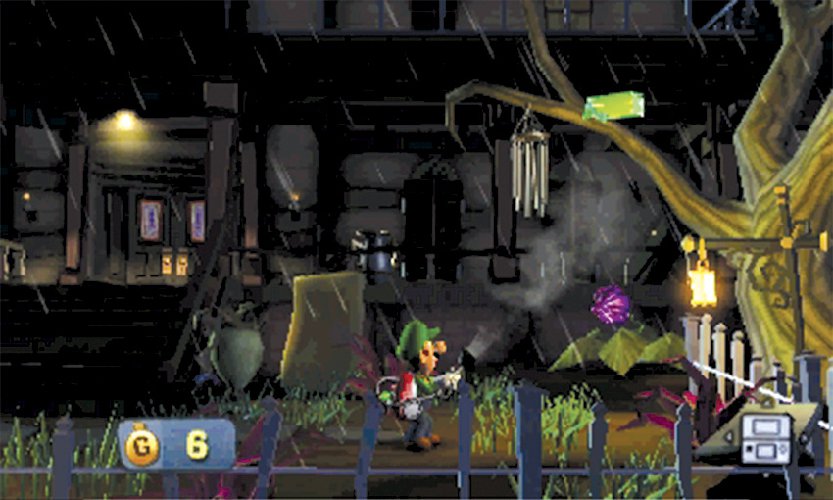
Circle the area and vacuum the trash piles and purple weeds to collect some hidden coins. When you reach the east half of the Front Yard, aim the Poltergust at the hanging wind chime and vacuum the bills down from the tree. Use the Strobulb to flash the purple flower in the corner, then A-Pull the cloth hanging just east of the steps to reveal an impressive treasure stash. When you’re ready, head back inside.
 Pass through the Guard Hall and return to the Foyer. Head through the door at the base of the stairs to enter the Coatroom.
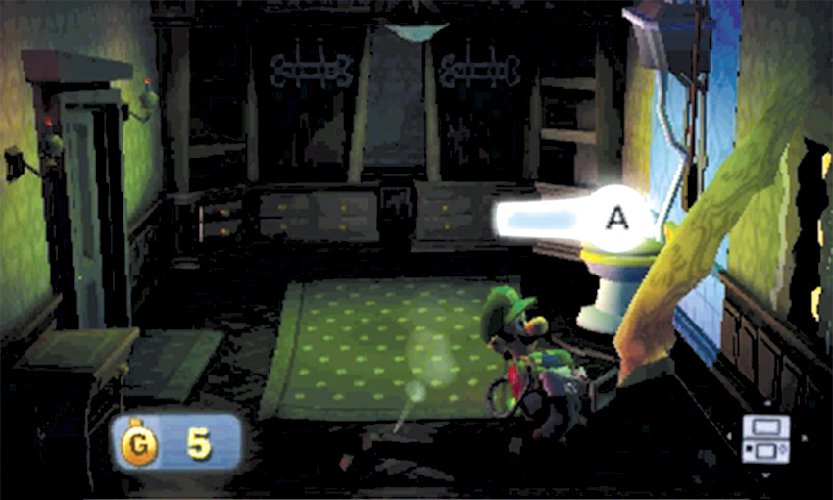
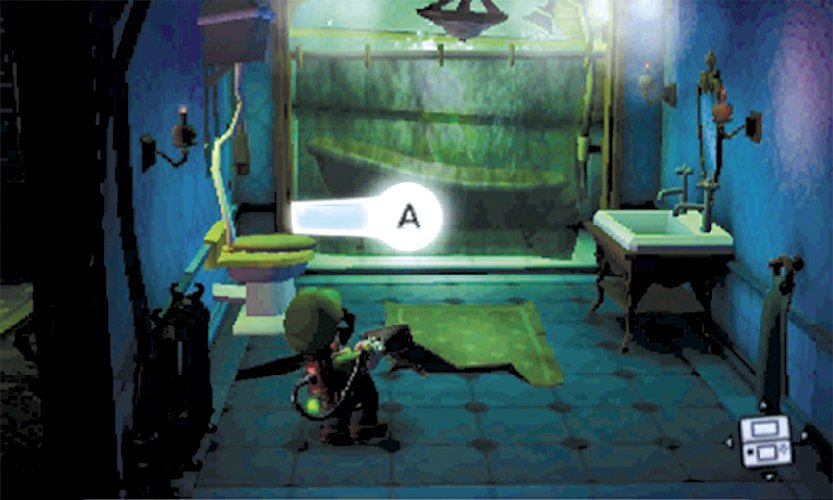
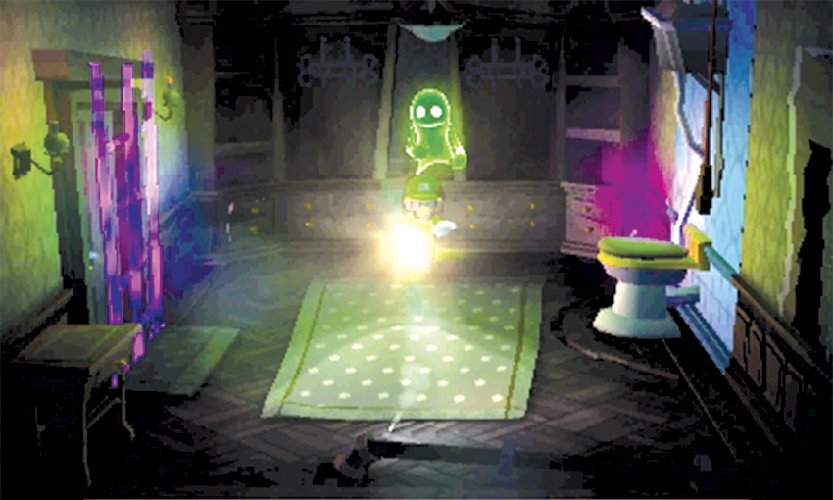
 When you first enter the Coatroom, the lights are turned off. This usually indicates that enemies are hiding in the area. A-Pull the coats on the back wall, then A-Pull the peeling wallpaper in the area’s southeast corner. Collect the revealed treasure, then investigate the toilet to activate the secret passage in the east wall.
Keep the Poltergust free of clogs! Whenever possible, clear loose objects from an area before you initiate combat.
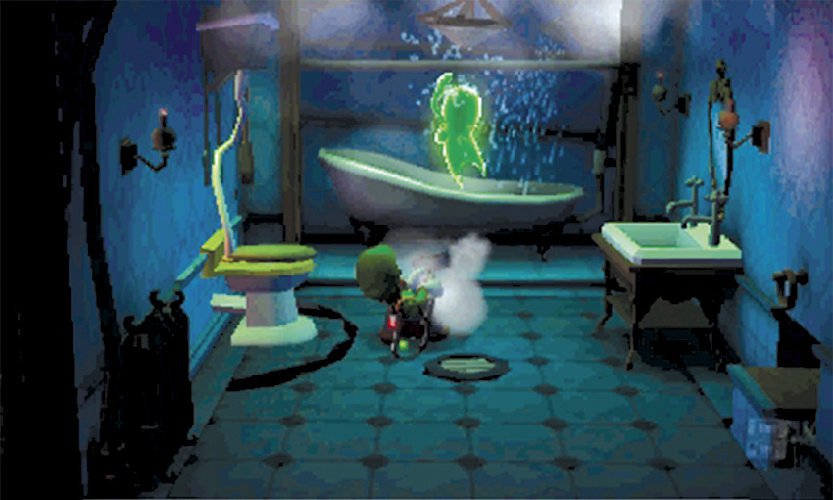
One of the Greenies is taking a shower in the east half of the Coatroom.Before you confront this ghost, search the rest of the hidden area. A-Pull the rug on the ground to reveal some treasure, then A-Pull the towel in the southeast corner to find another stash.
When you’re ready, A-Pull the shower curtain to reveal a Greenie. After the ghost flees, activate the toilet to return to the other half of the Coatroom.
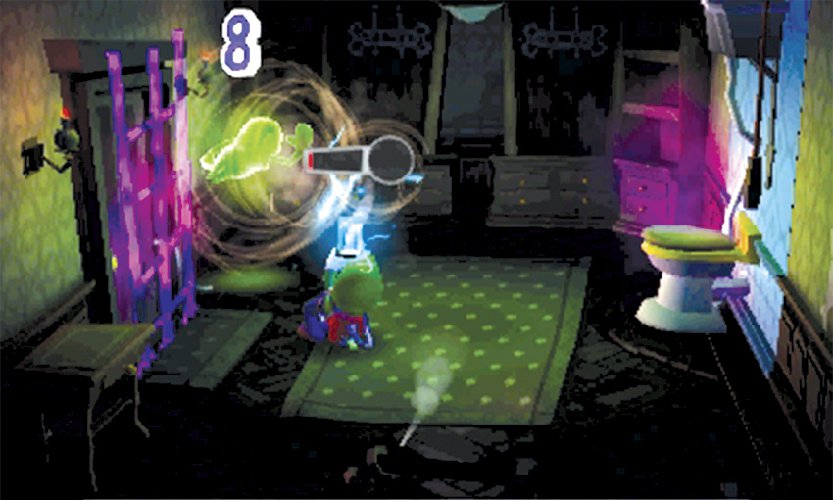
To coax the enemy out of hiding, simply attempt to leave the Coatroom. When the Greenie appears, press  to flash it with the Strobulb, then hold
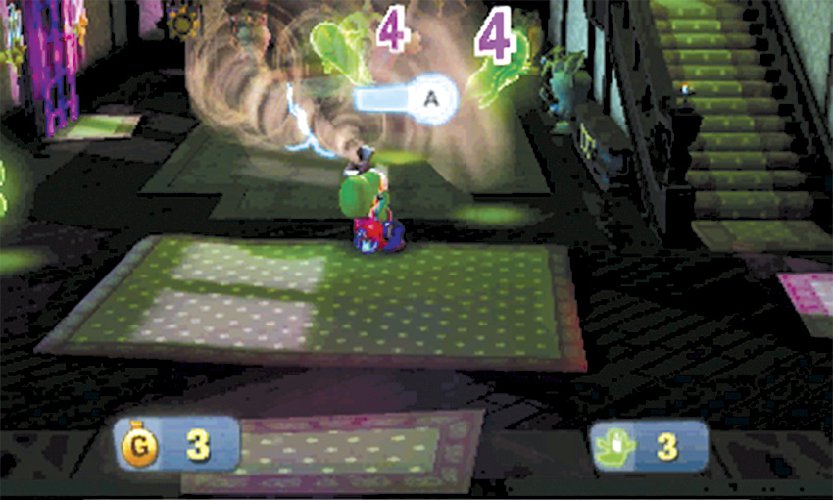
  to latch onto the enemy before it recovers. Maintain suction until you can A-Pull the Greenie, or until the struggling ghost is too weak to avoid capture.
It can be difficult to charge an A-Pull before a Greenie is automatically captured, but the effort will net you some treasure. As the enemy struggles, slide the Circle Pad in the opposite direction. If you stay on your toes, you should charge the A-Pull just before the Greenie succumbs.
The second Greenie is hiding in the back of the room. When it emerges, capture the ghost to open the path out of the Coatroom.
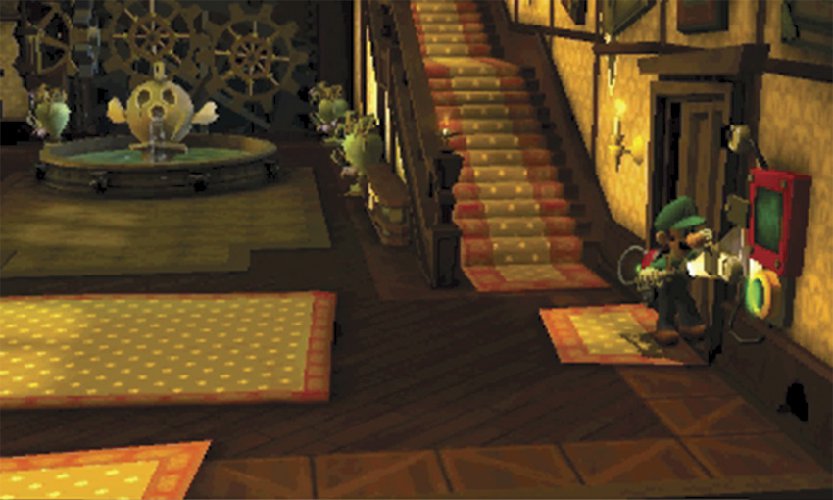
Return to the Foyer to find four more Greenies playing in the fountain. When they notice you, most of the enemies vanish. Drop back and charge the Strobulb to increase your chances of stunning multiple targets. Capture all four Greenies to trigger another call, then answer the Duel Scream to end the mission and return to the Bunker.
GET ACCESS TO THE FULL GUIDE NOW

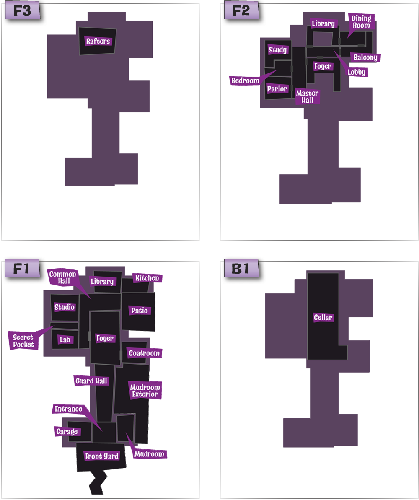

 Key Location
 Boo Location
 Gem Location



Published: Mar 24, 2013 01:11 am