
Darksiders II: The Cauldron Dungeon Guide Walkthrough The Cauldron
The Cauldron: Areas 8-14
Area 8: Orb Room 1
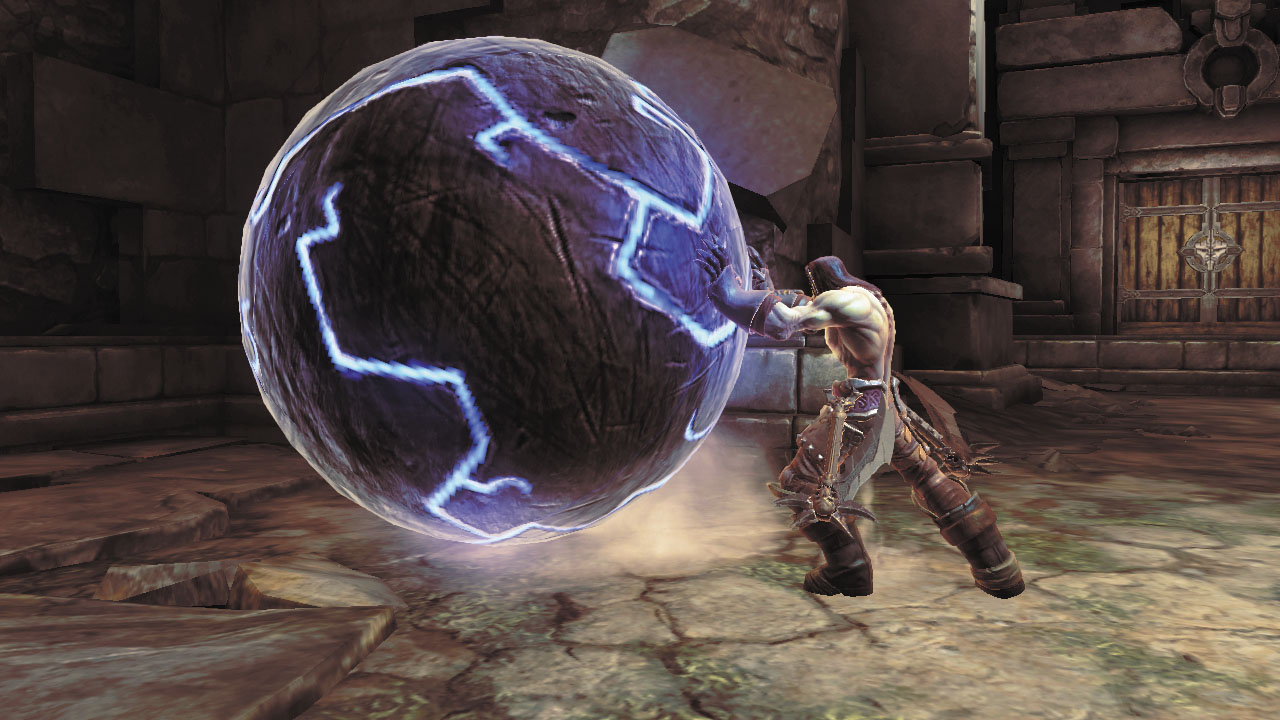
Approach the unusual blue orb in this small room and press the Action button to grab it.
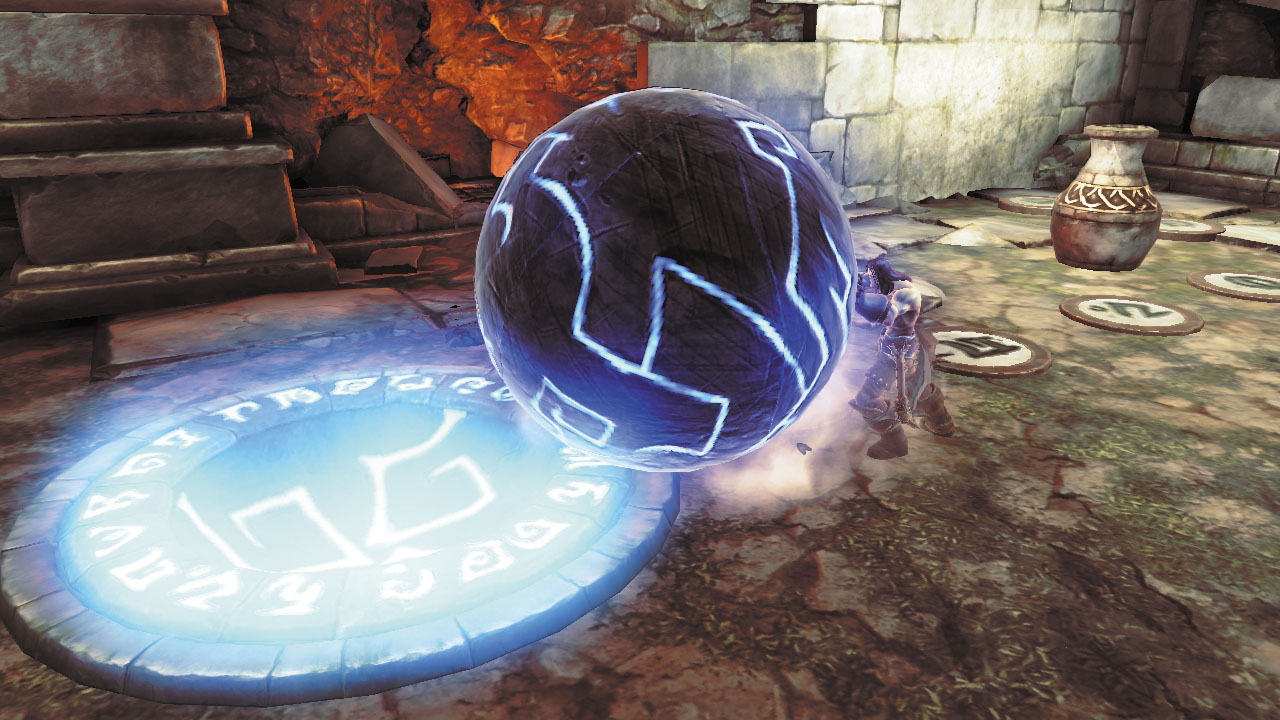
Roll the orb over the indentation on the ground to cause a section of nearby wall to rotate, revealing a peg.
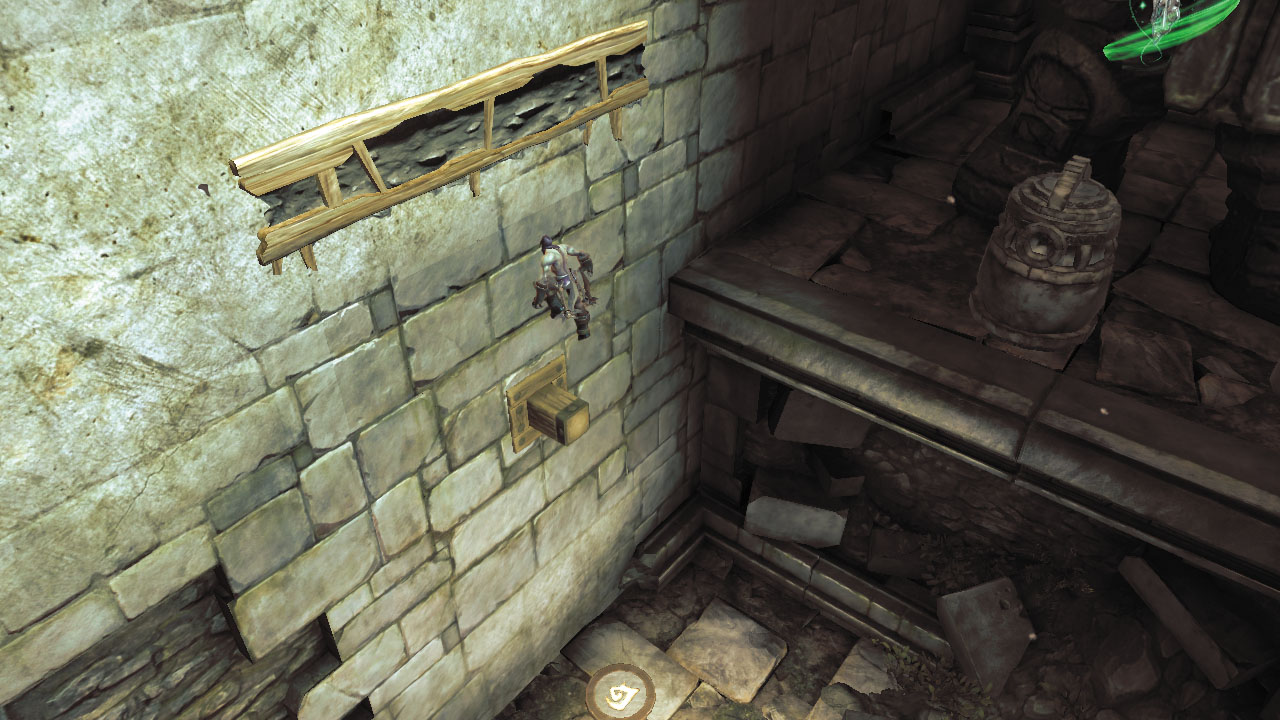
Run up the wall and vault from the peg to reach a high hand hold.
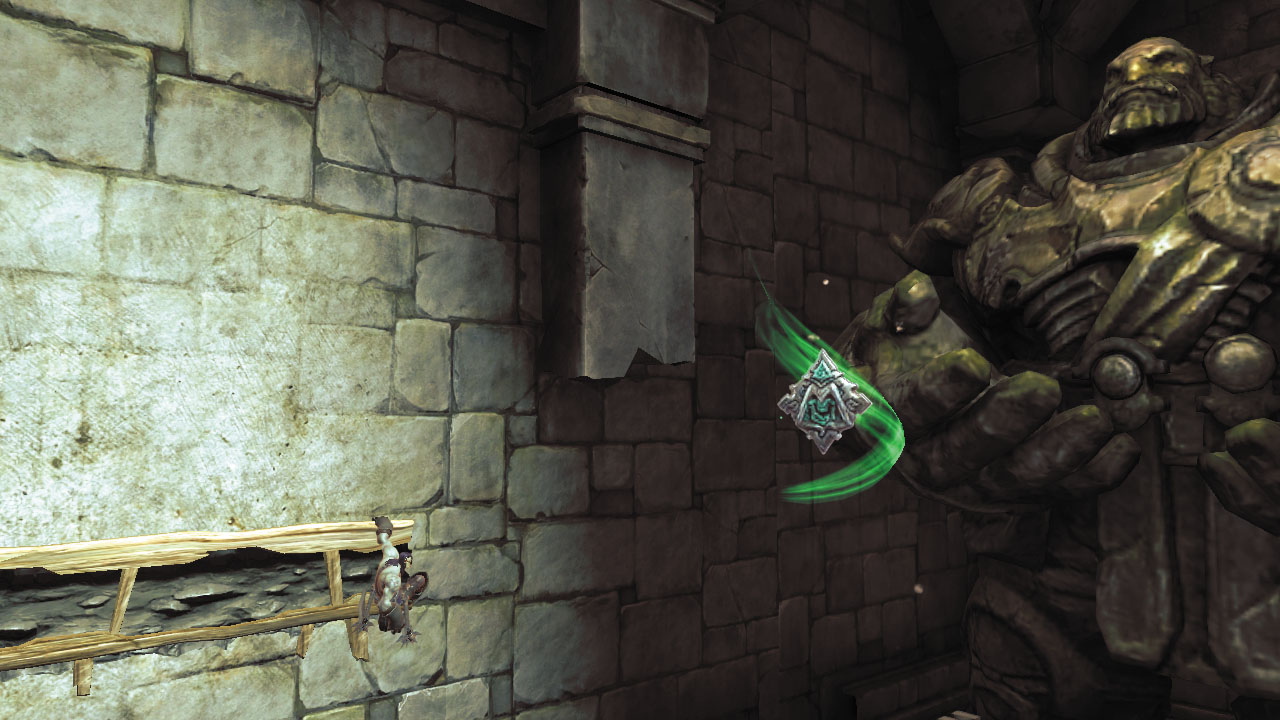
Shimmy to the right and perform a 180 leap to grab a floating Boatman Coin.

|
Boatman Coin |
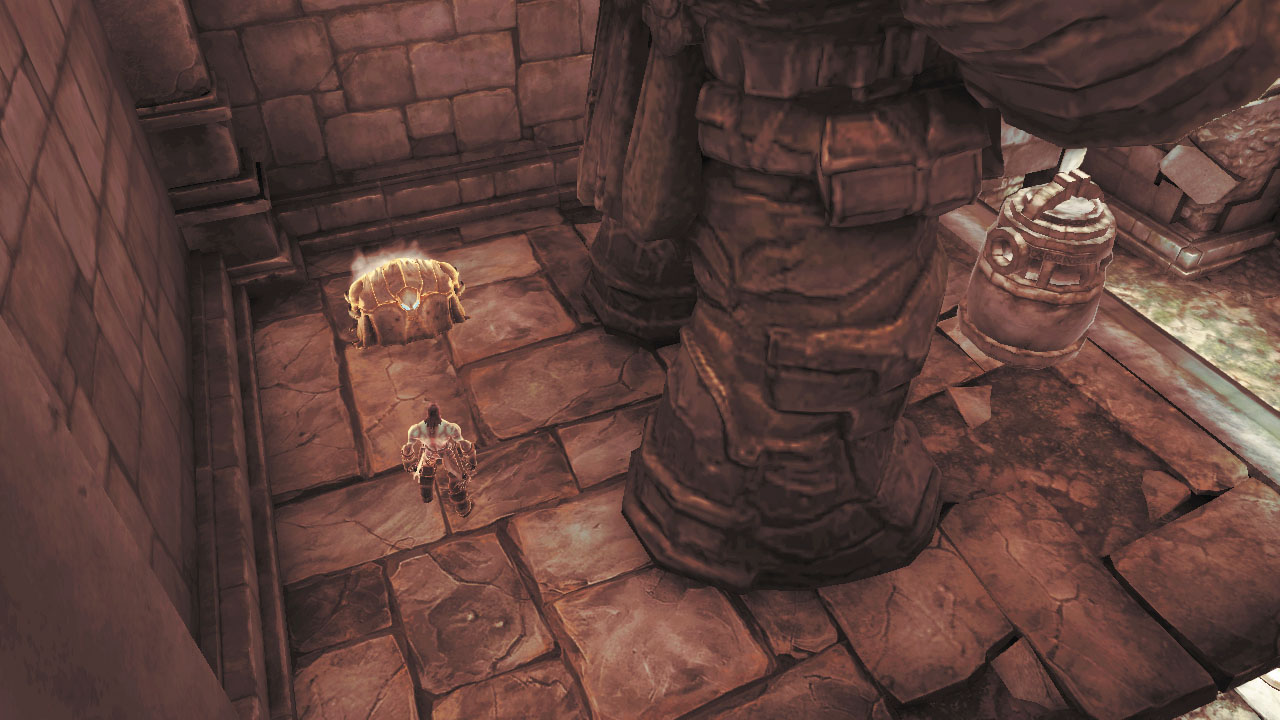
Return to the hand hold and wall-run to the right to reach a balcony. Check behind the large statue here to discover a chest.
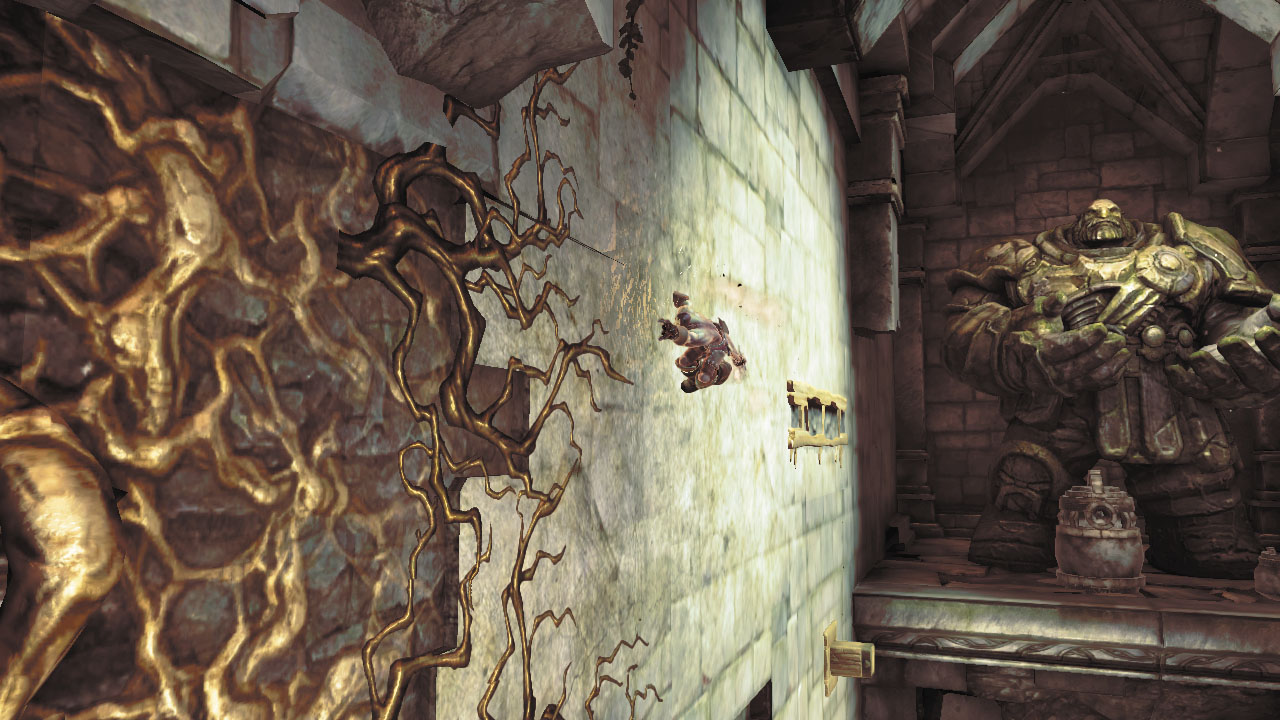
Return to the hand hold and wall-run to the left to reach some growth. Climb up to visit the Cauldron’s second floor.
Area 9: Cauldron Chamber—West Balcony
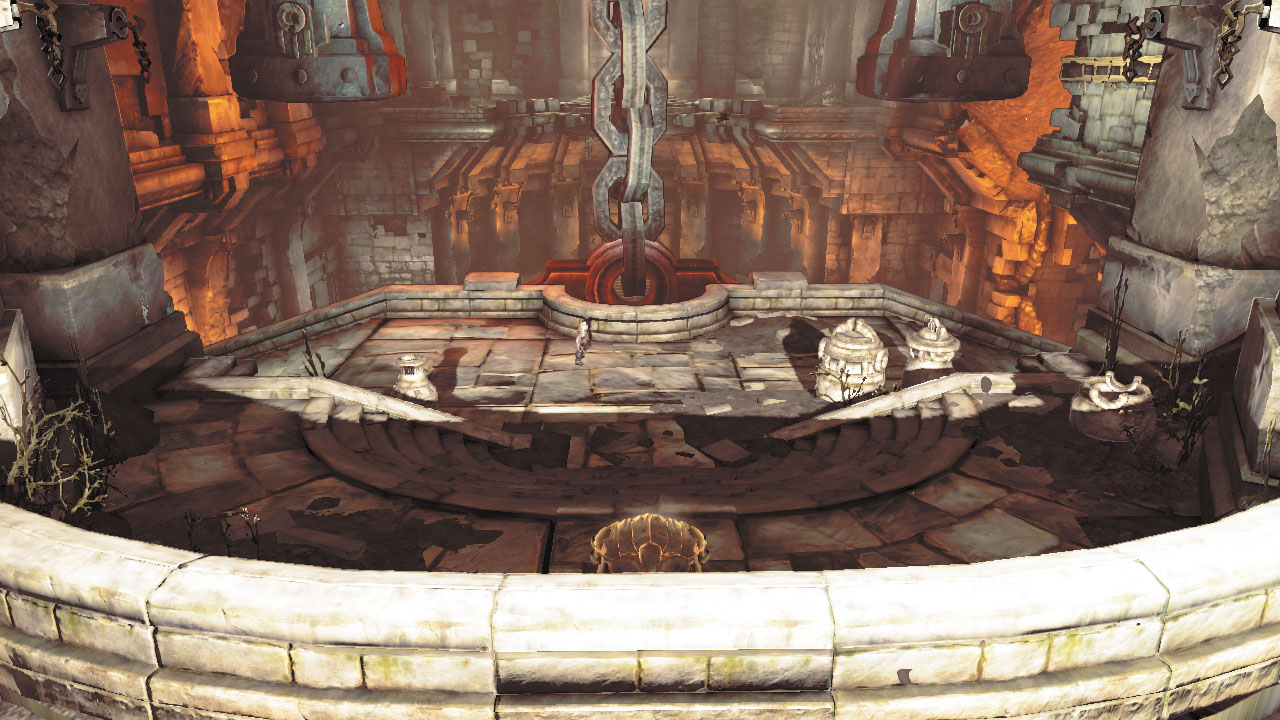
You’re now on the second floor, overlooking the Cauldron chamber. Raid the chest on the east landing and smash the surrounding jars and debris for minor valuables.
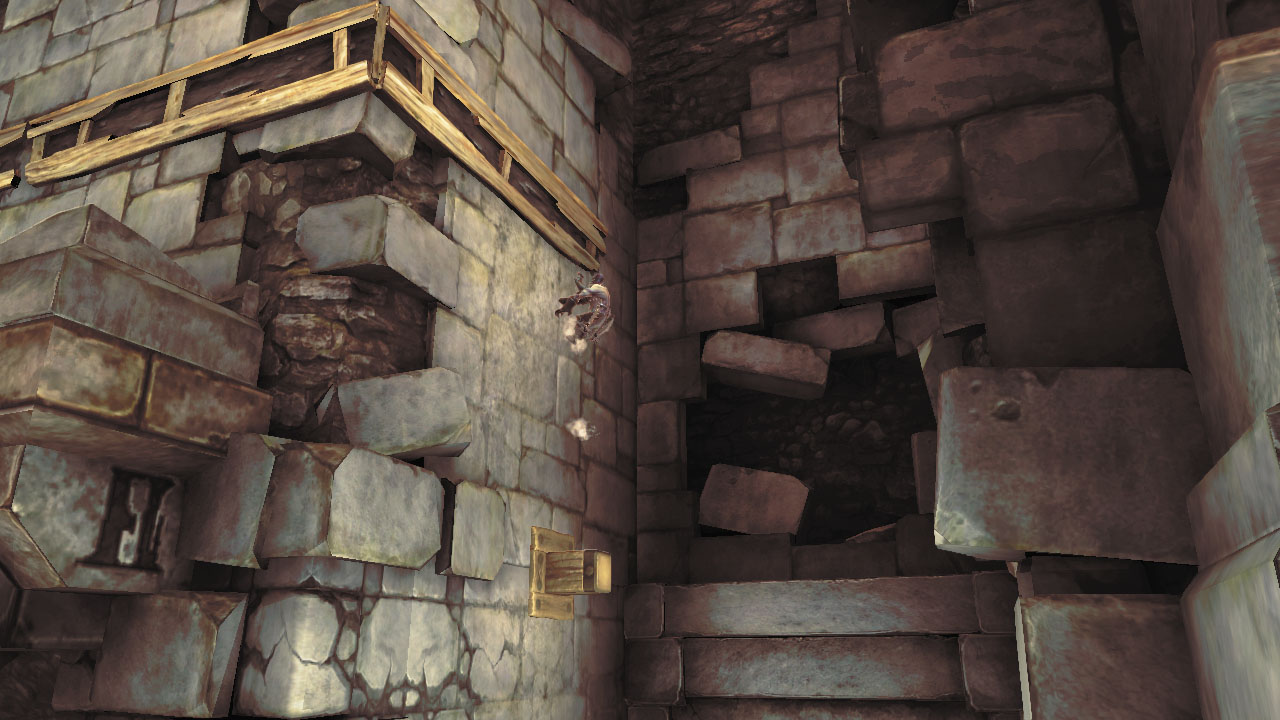
Run up the wall in the south alcove and vault from the peg to reach a hand hold. Before shimmying around the corner, perform a 180 leap to reach a small nook behind you, where a large chest is cleverly hidden.
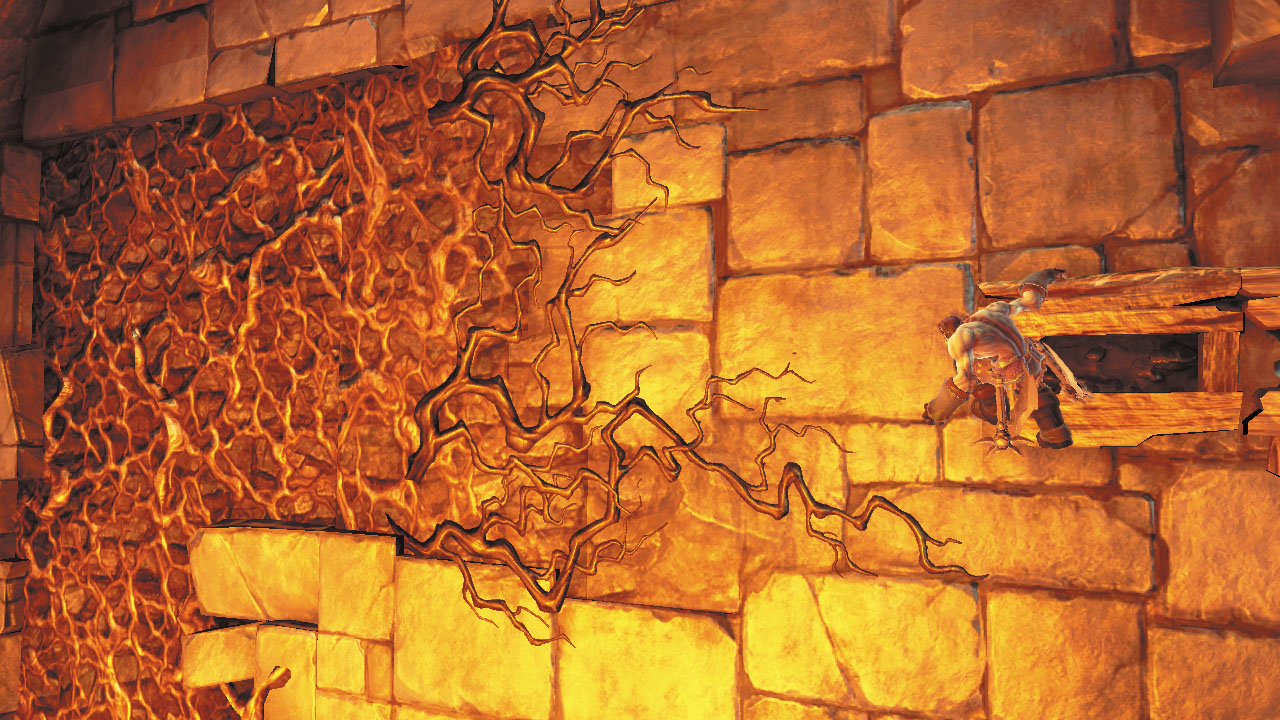
Return to the hand hold and shimmy around the corner, then run over to some growth. Climb down and drop to solid ground before heading through the hole in the wall.
Area 10: Lava Corridor
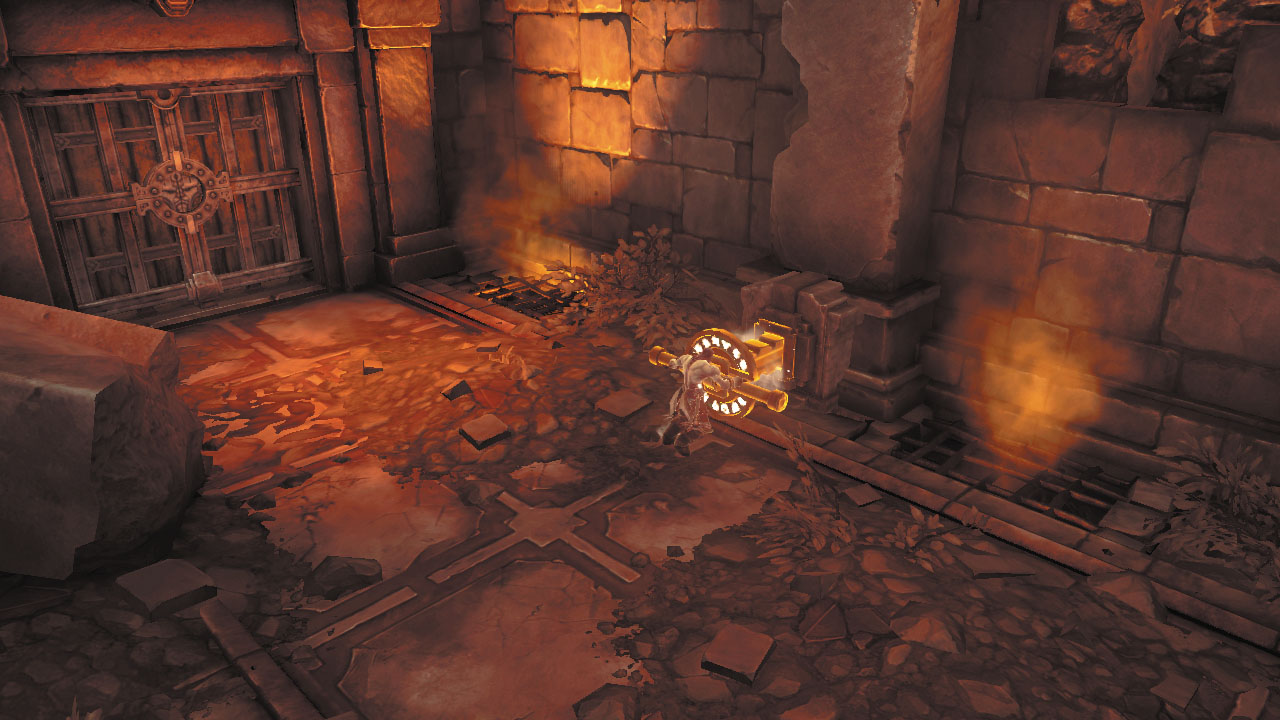
Push the switch on the wall beyond the hole. This lowers a gate to the south. Advance and slay the Construct Warriors you encounter farther down the corridor. The south door is locked, so proceed through the east door instead.
Area 11: Orb Room 2
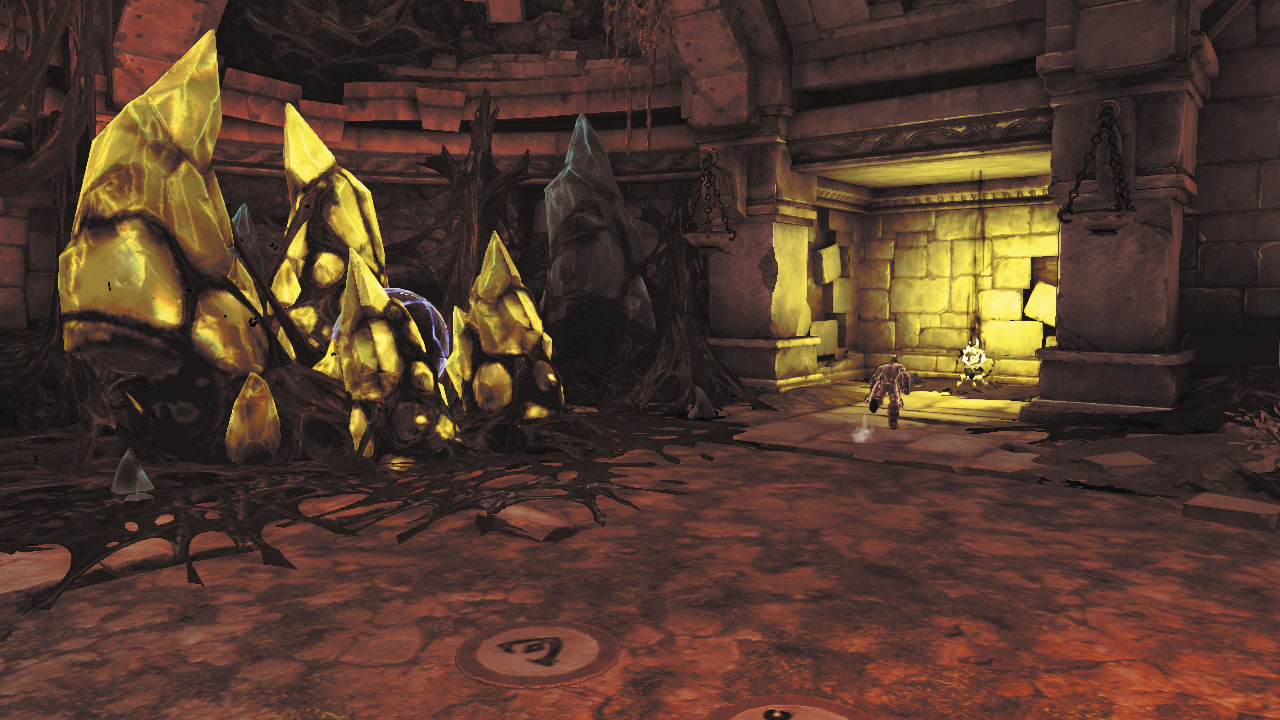
Cut down more Constructs in this area, including a few bothersome Adjuncts. Collect a Shadowbomb from a pod in the northern nook afterward, then use it to destroy the nearby Corruption crystals, exposing another blue orb.
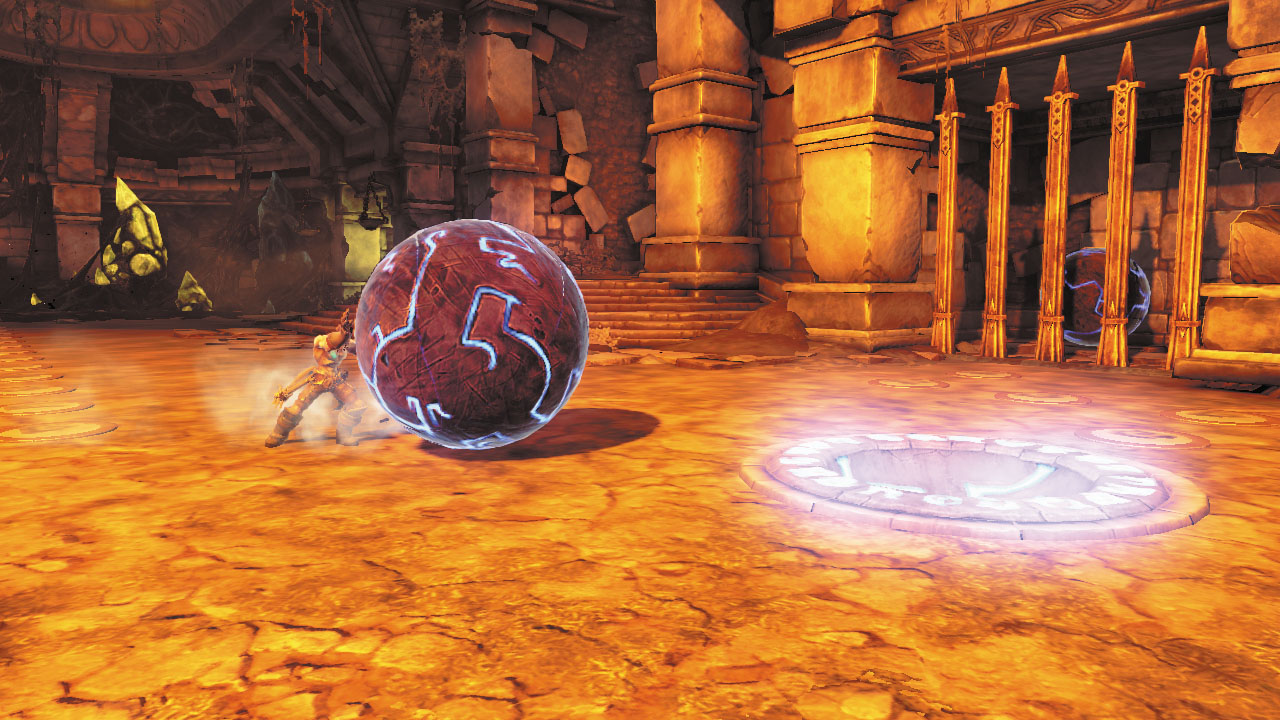
Roll the orb south, past the first indentation on the ground, and fit it into the southern-most indentation. This lowers a gate, exposing a second orb. Collect the Book of the Dead Page found near the second orb.
|
Book of the Dead |
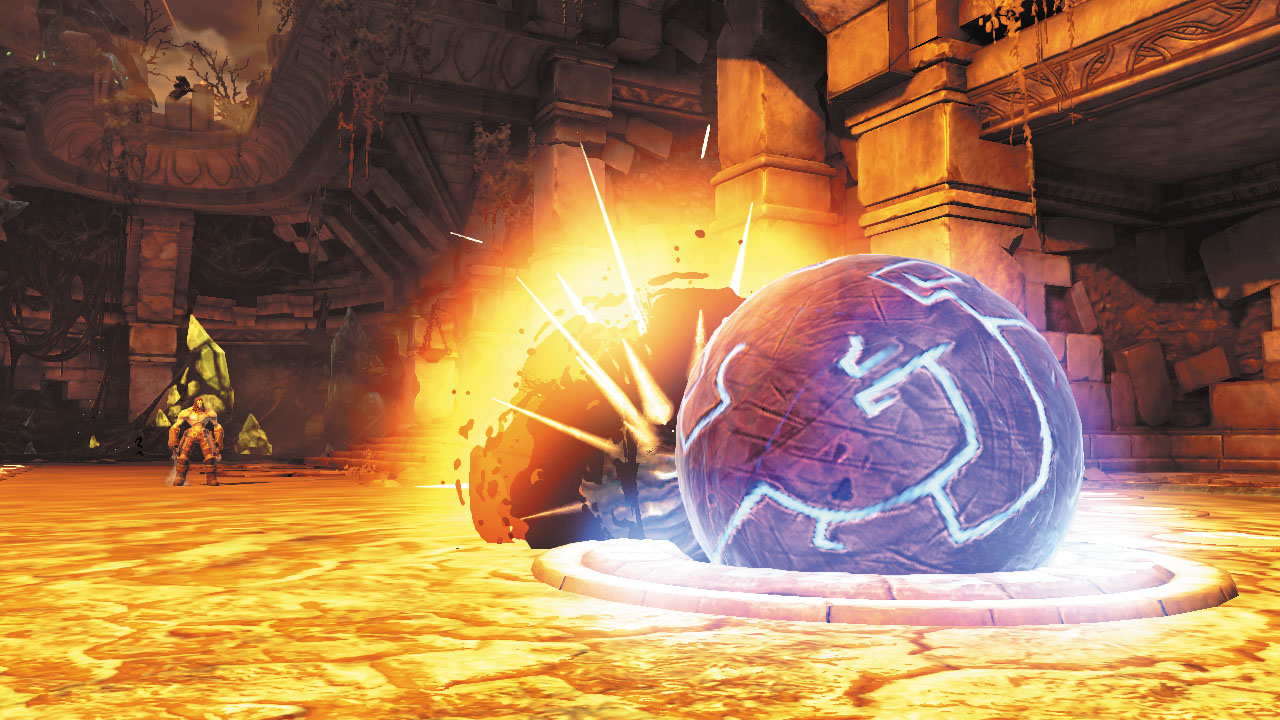
Grab the second orb and roll it onto either of the two slots near the west stairs. Use a Shadowbomb to dislodge the first orb, and then roll it onto the remaining slot near the stairs. With both orbs in place, the west gate lowers, exposing a chest that contains a Skeleton Key.
|
Skeleton Key |
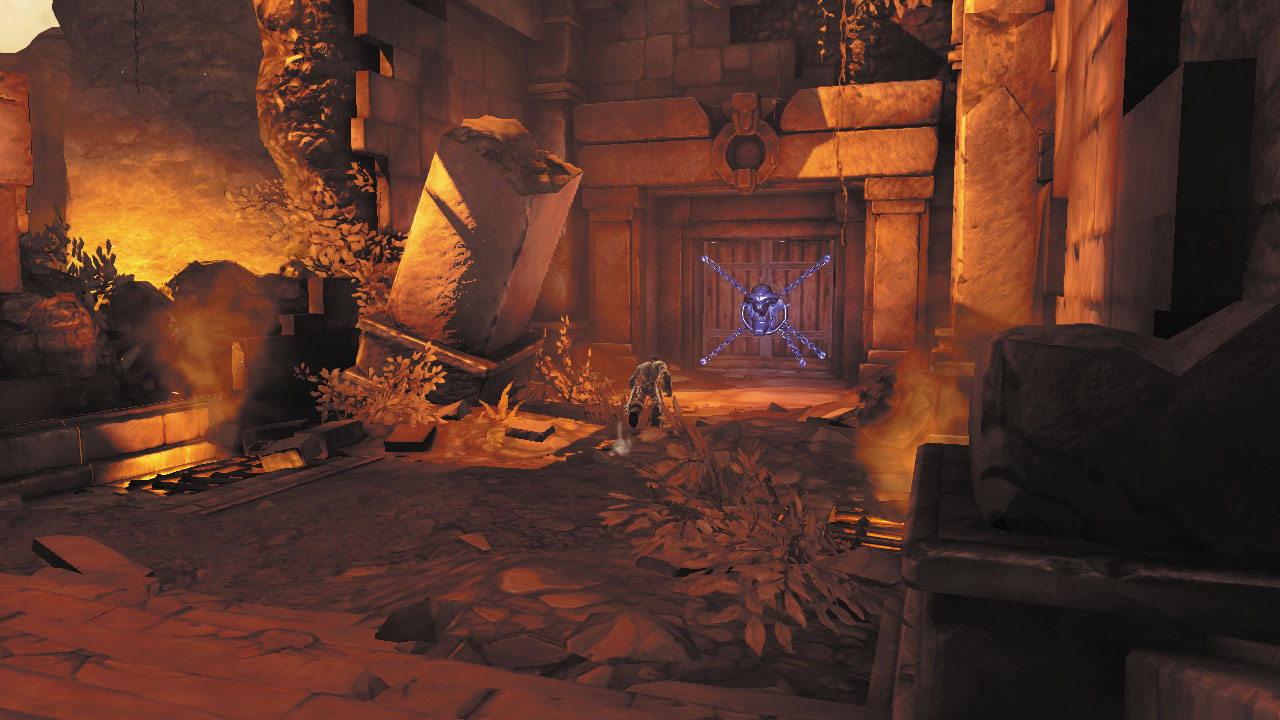
Well done! Now return to the outer hall and use the Skeleton Key to unlock the chained door to the south.
Area 12: Smelter
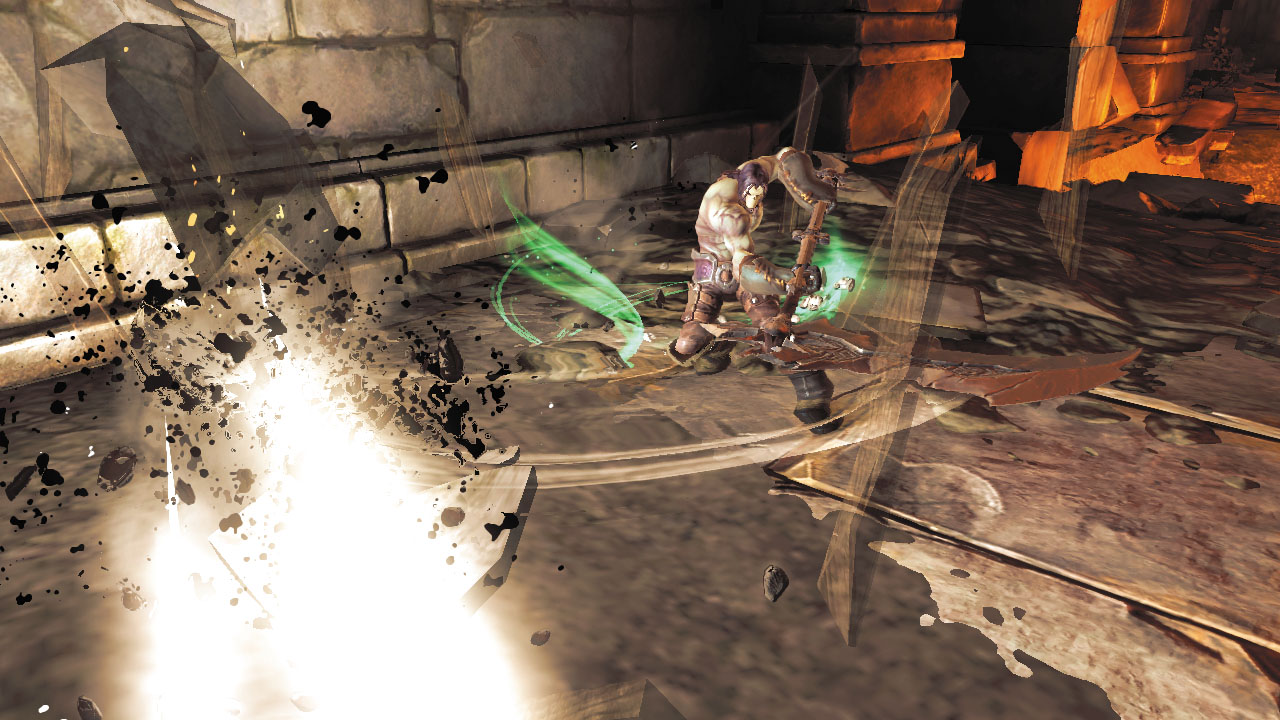
First thing’s first: smash the debris in this large room’s northeast corner to discover a hidden Boatman Coin.
|
|
Boatman Coin |
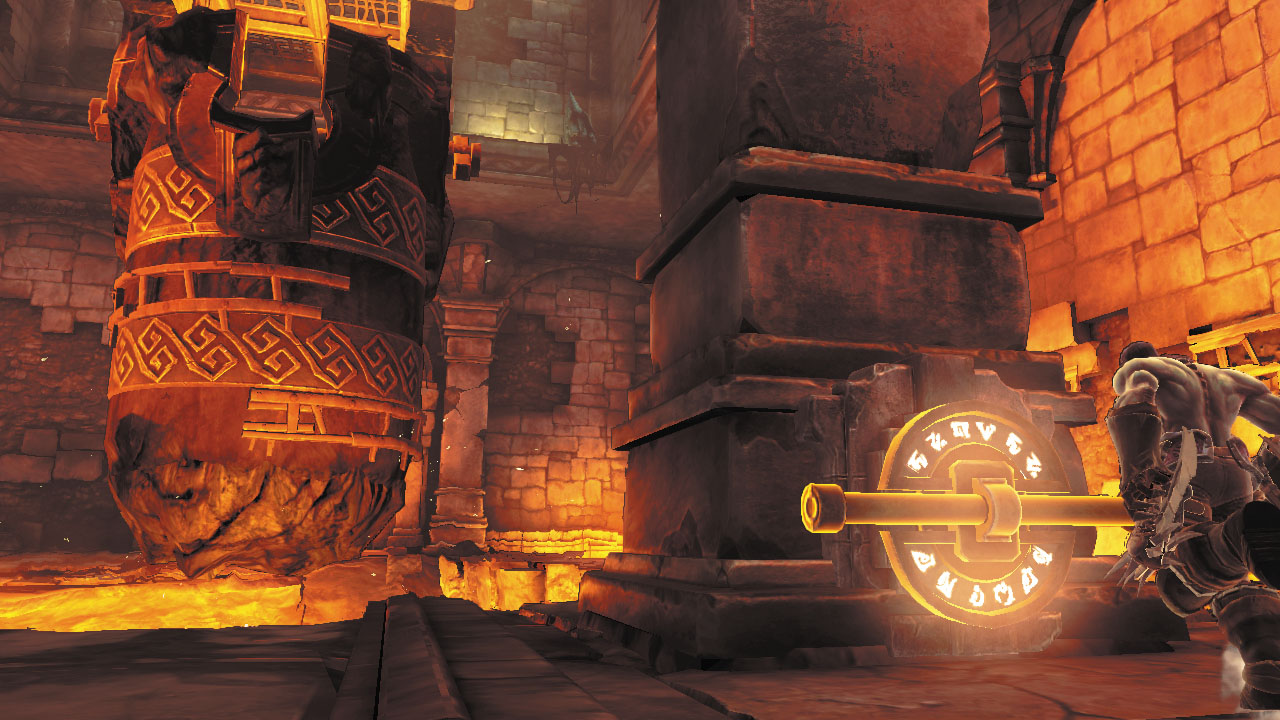
Next, push the nearby switch to raise the central cauldron. You must use the cauldron to cross the room, but it lowers after a brief time, so make haste.
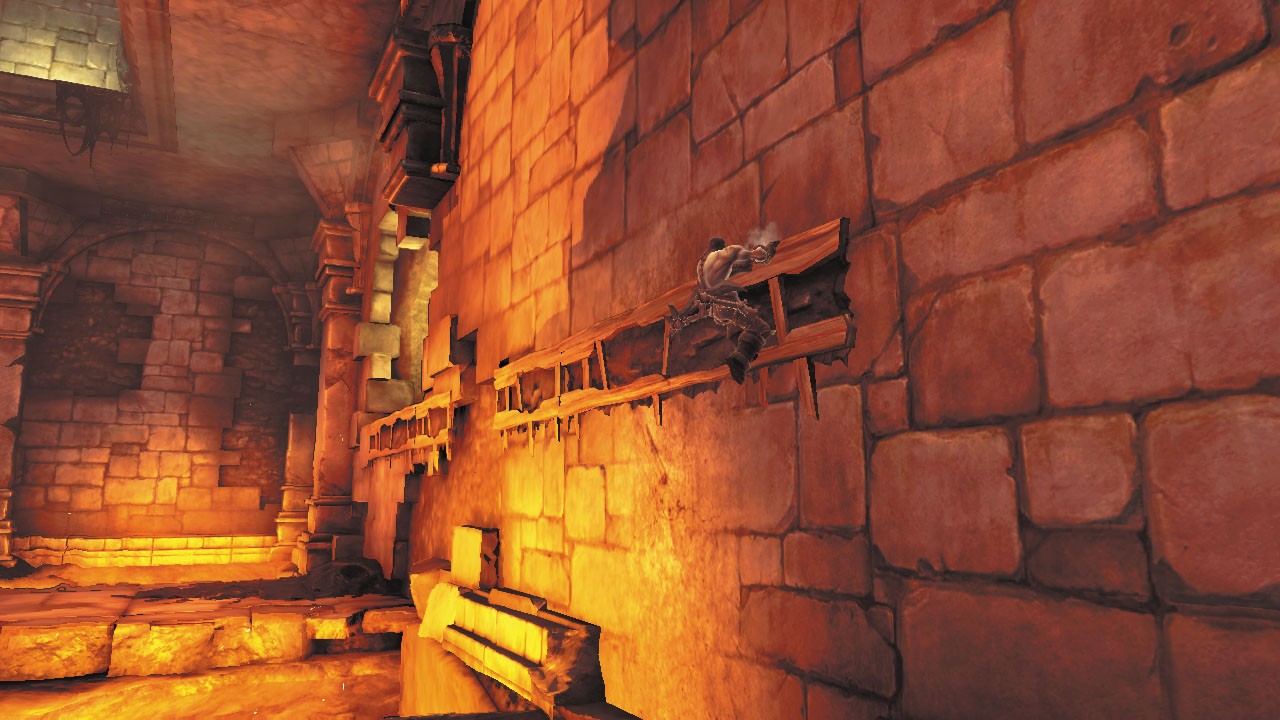
Immediately after raising the cauldron, run up the west wall and grab the hand hold.
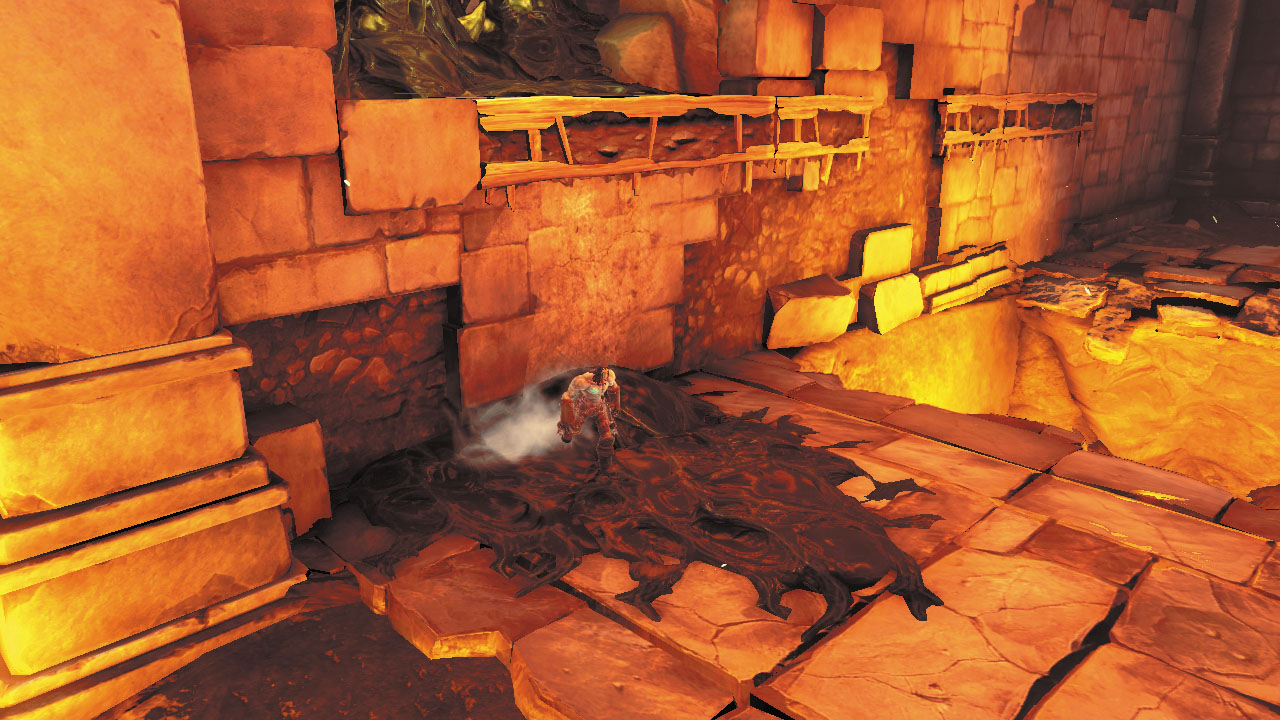
Wall-run across the gap in the hand hold, then drop from the end to reach solid ground below.
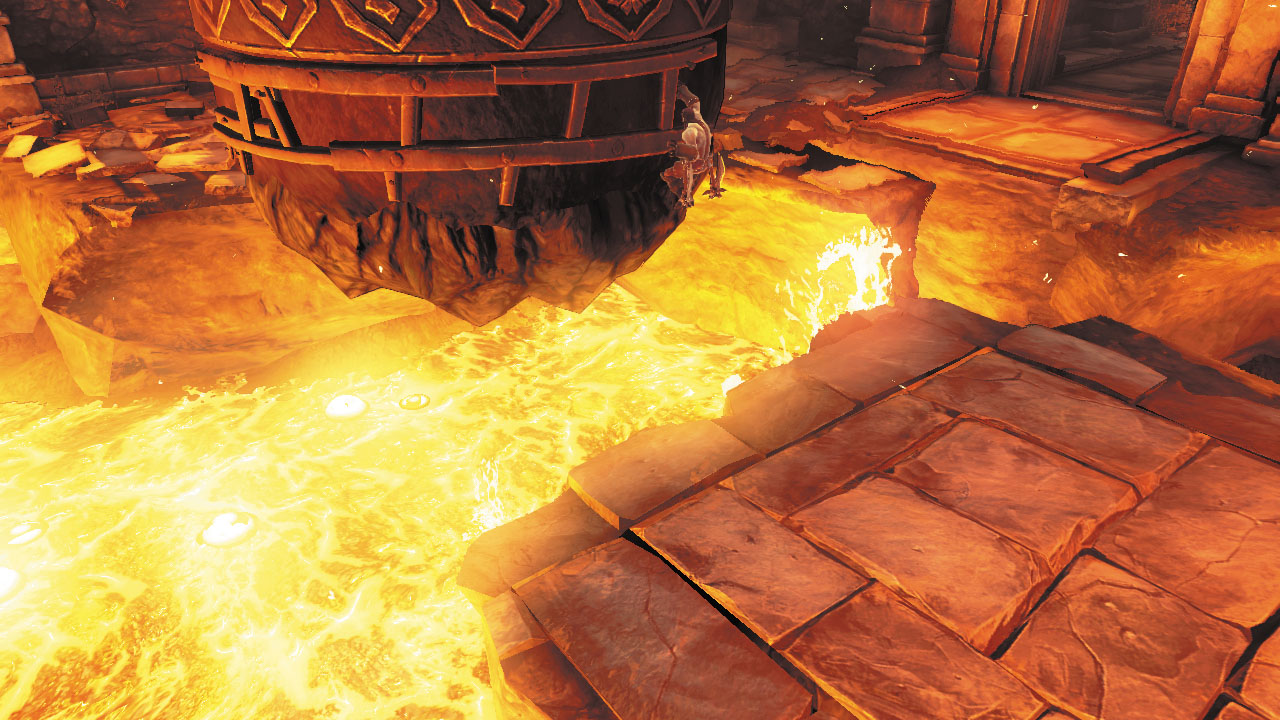
Make a daring jump and grab the hand hold at the base of the raised cauldron.
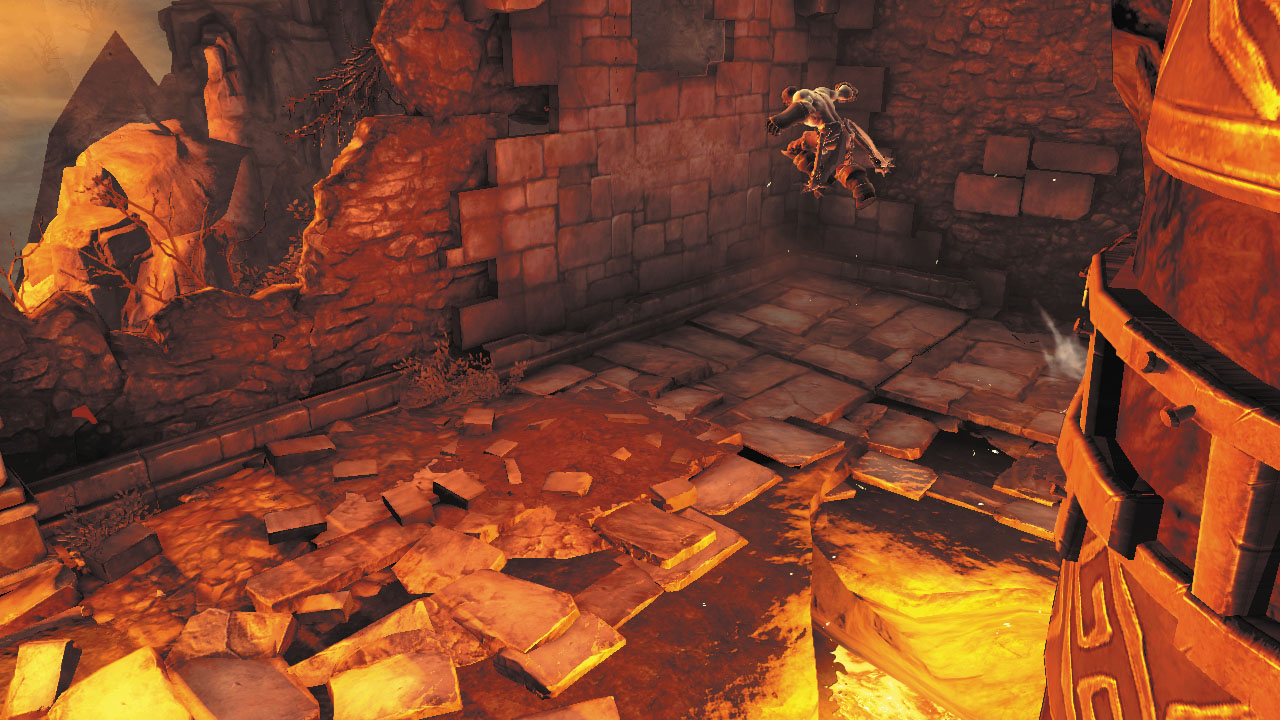
Shimmy to the left and jump up to grab the cauldron’s higher hand hold. Shimmy around and perform a 180 leap to reach the east ledge.
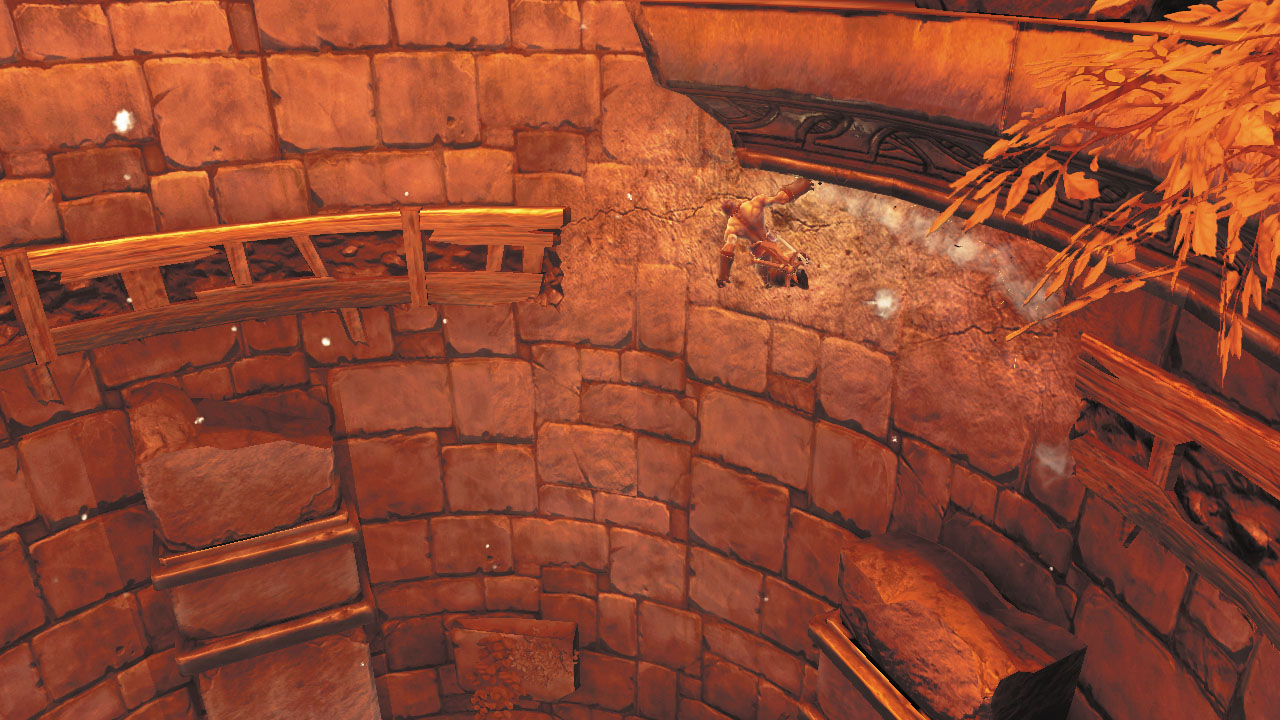
You made it! Now, simply wall-run between the east wall’s hand holds to work your way around to the south ledge. Use the south alcove’s pegs to reach a high hand hold, and then wall-run to the left. Jump from another peg to reach a higher hand hold, and then shimmy to the left and drop down to the balcony below.
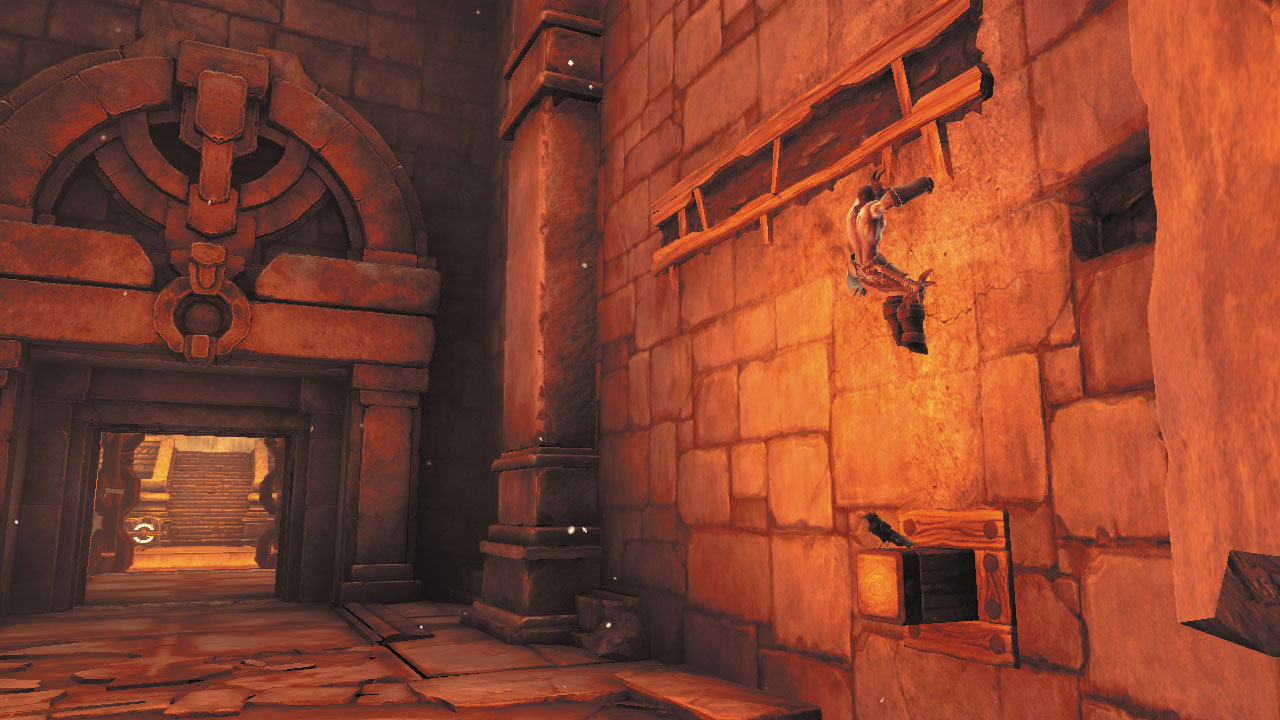
shadowbomb action
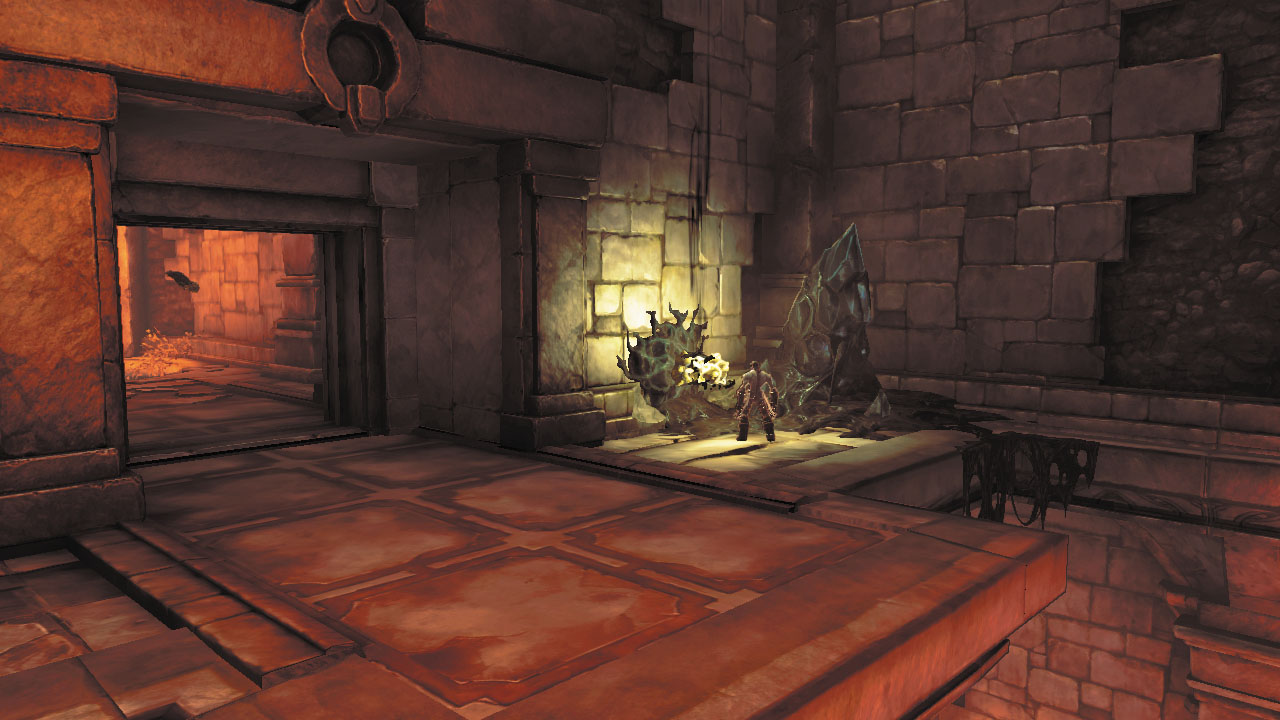
Next, grab a Shadowbomb from the balcony’s pod and take aim. Toss it down at the Corruption crystals in the west alcove below. This clears out a nook that contains a large chest. Carefully drop down to the ground floor and explore the nook to claim your prize.
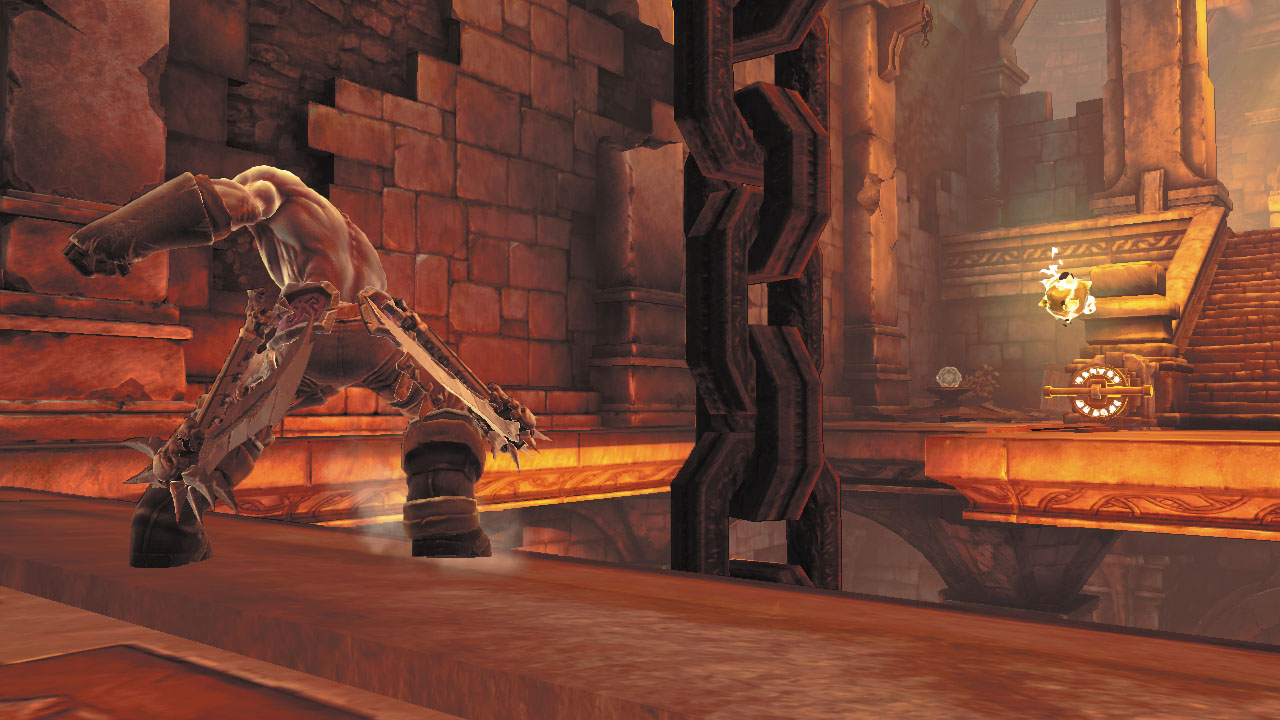
Return to the upper balcony with the Shadowbomb pod. This time, throw a bomb at the far switch near the north stairs. This raises the central cauldron once more, and you can simply sprint across it to reach the north balcony.
Area 13: Gharn Showdown
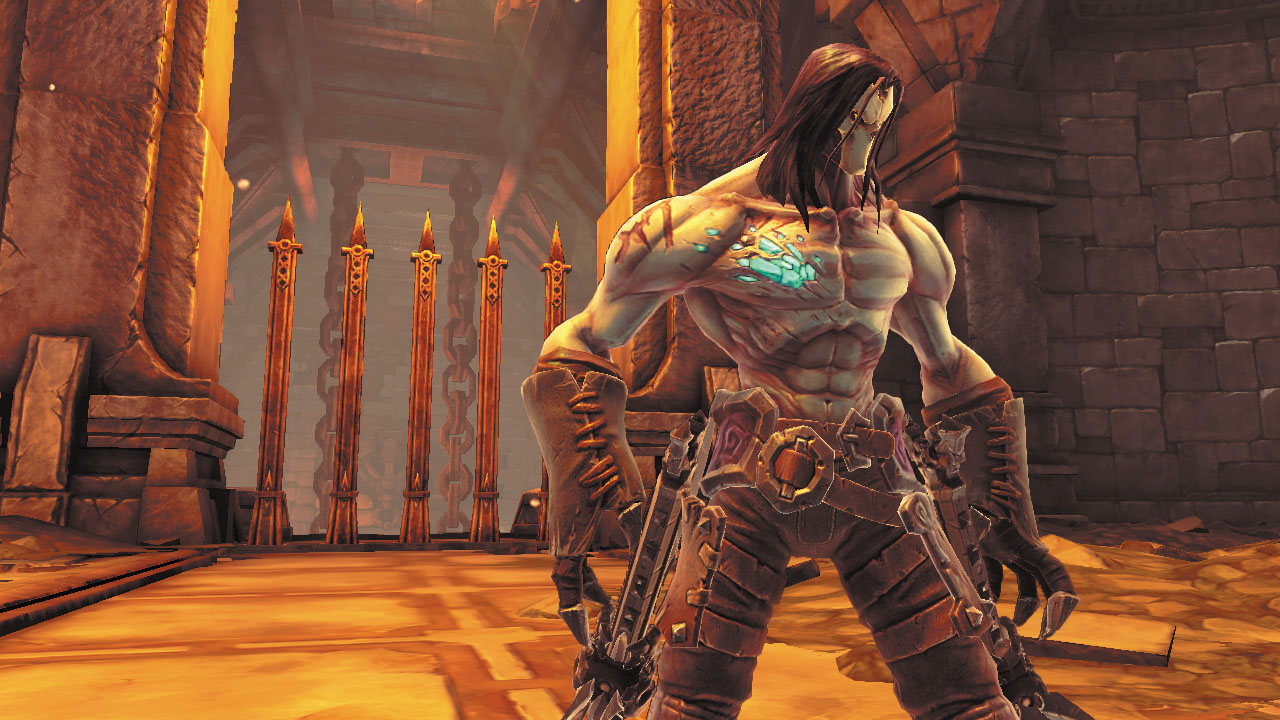
A gate rises behind Death as he struts into this circular chamber, trapping the Rider inside. Within moments, a monstrous Construct named Gharn smashes through the far wall. Prepare for battle!
boss battle: Gharn
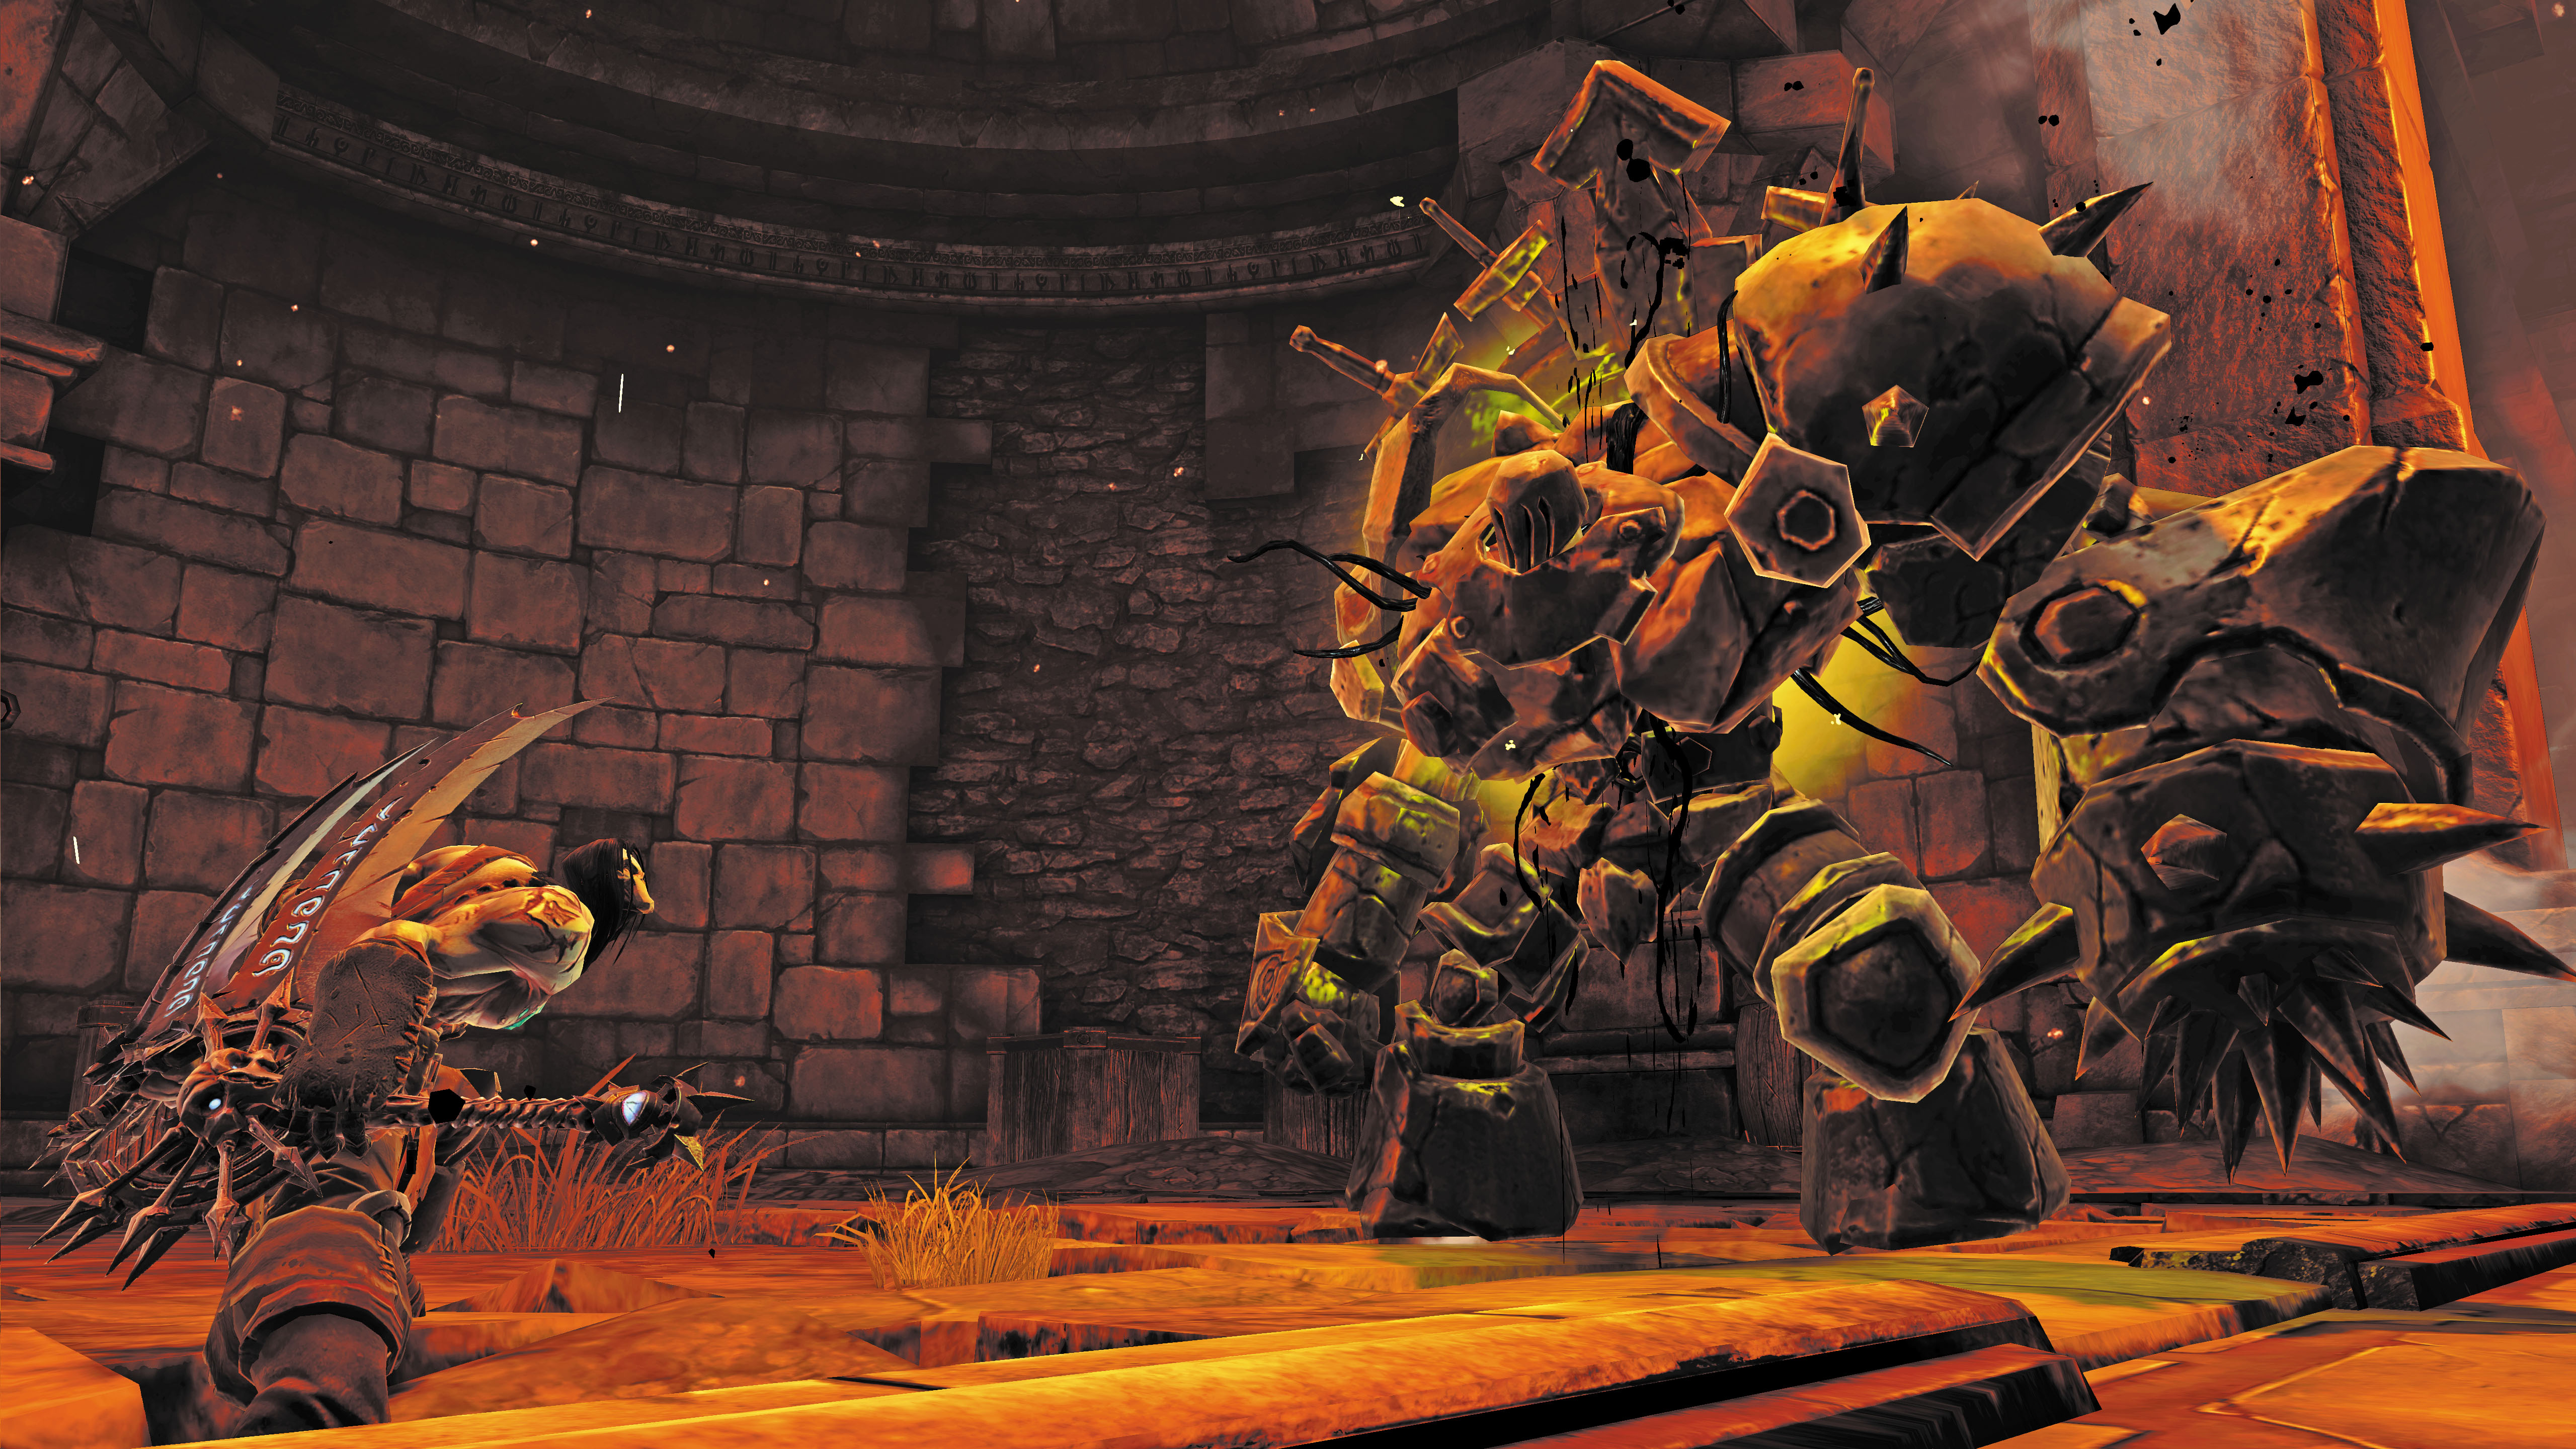
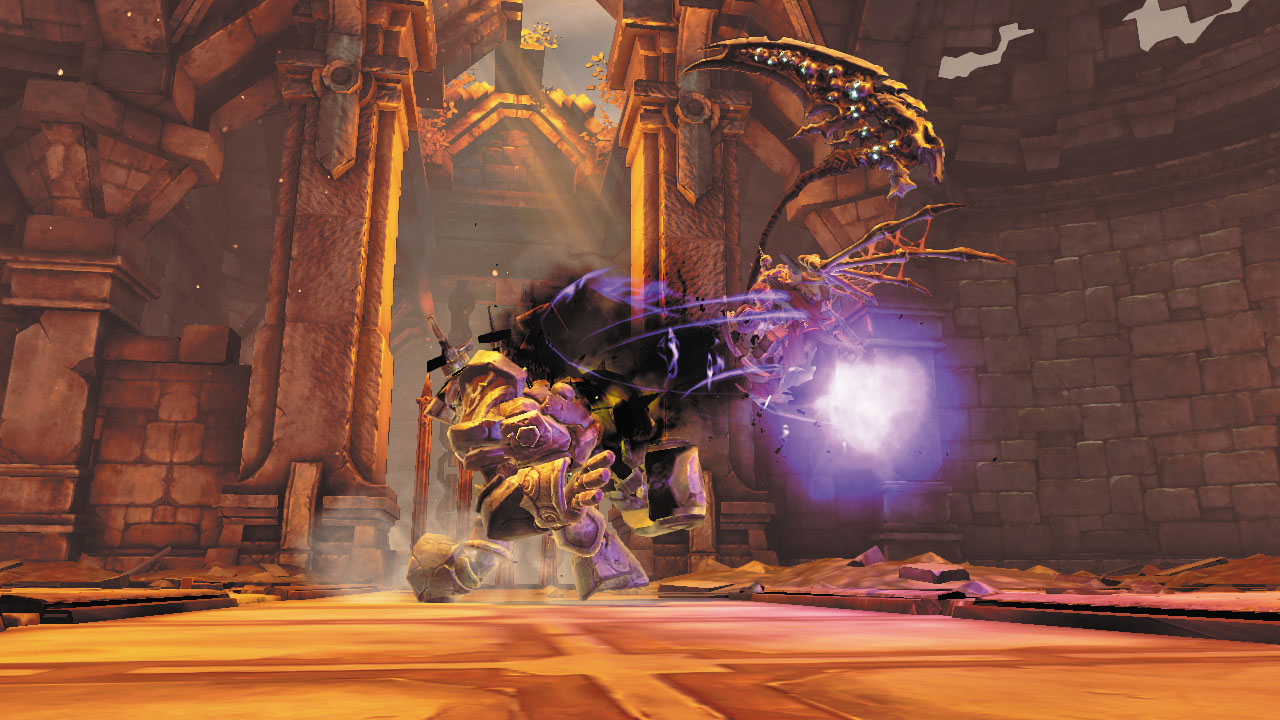
Gharn is surprisingly quick for his size, and can cover a lot of ground with his furious charge attack. Whenever you see the brute raise an arm, be ready to Evade to the side and avoid the forthcoming blow. Quickly close in and utilize combos each time you successfully dodge.
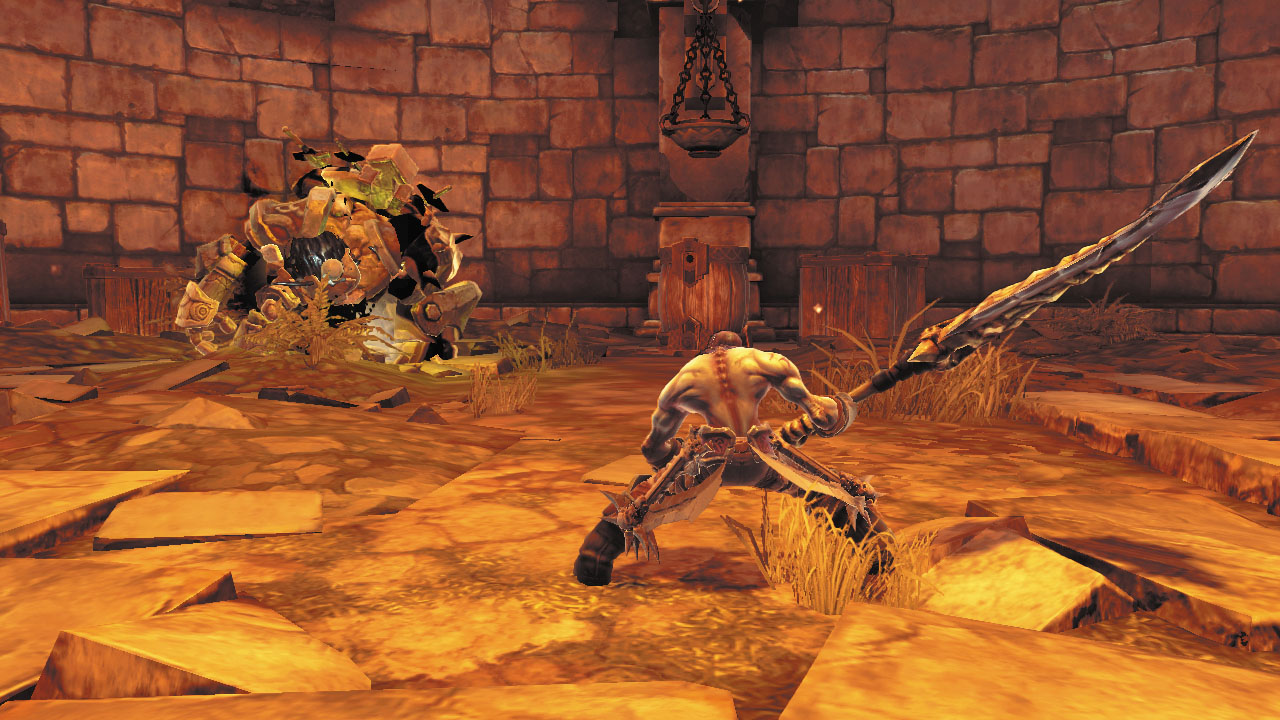
Gharn will periodically fall to one knee during the battle, giving you a chance to pile on the damage. Be ready to flee when the brute begins to recover, though, for Gharn will soon rise and unleash an explosive attack that inflicts tremendous damage if you’re caught in the blast.
Tap the Evade trigger a few times to backflip away from Gharn before he erupts.
|
Dark Avenger |
Area 14: Cauldron Chamber—East Balcony
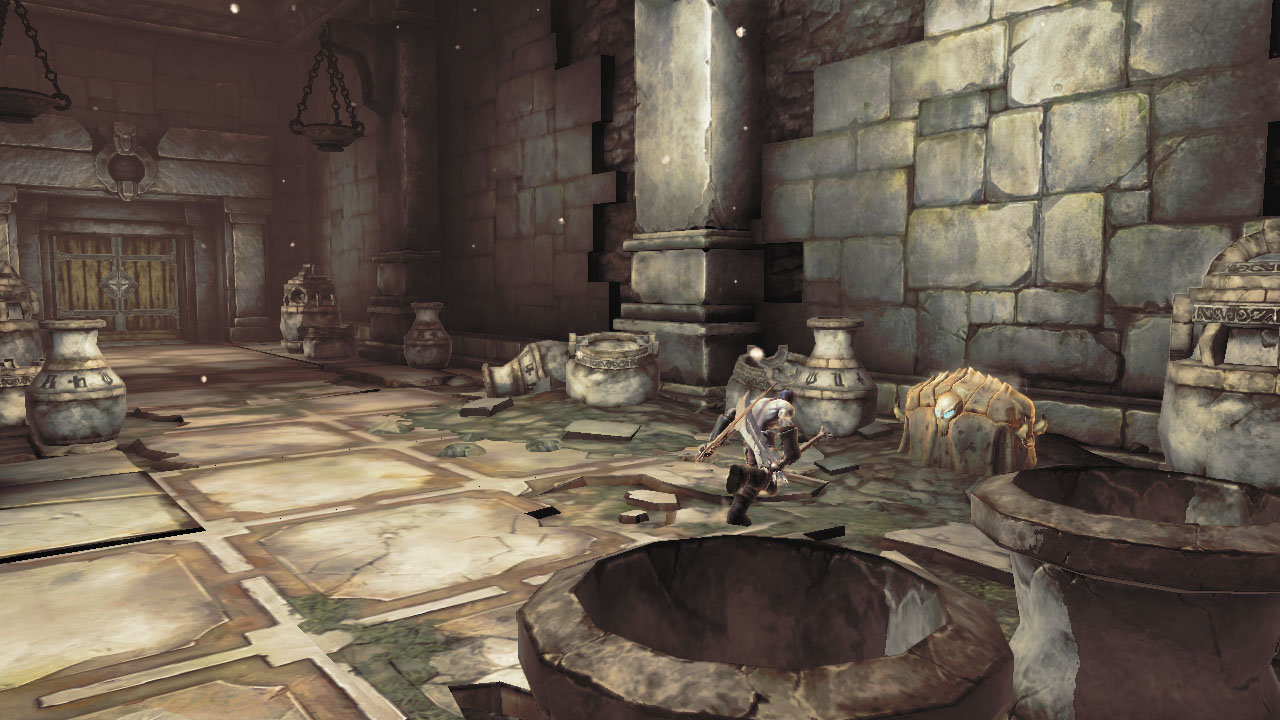
Destroy any clutter in the hallway that leads to this balcony, and loot the chest along the way. Investigate the balcony’s east alcove to discover another chest, and then clear out more debris on the balcony’s northwest corner to expose another missing page from the Book of the Dead.
|
|
Book of the Dead |
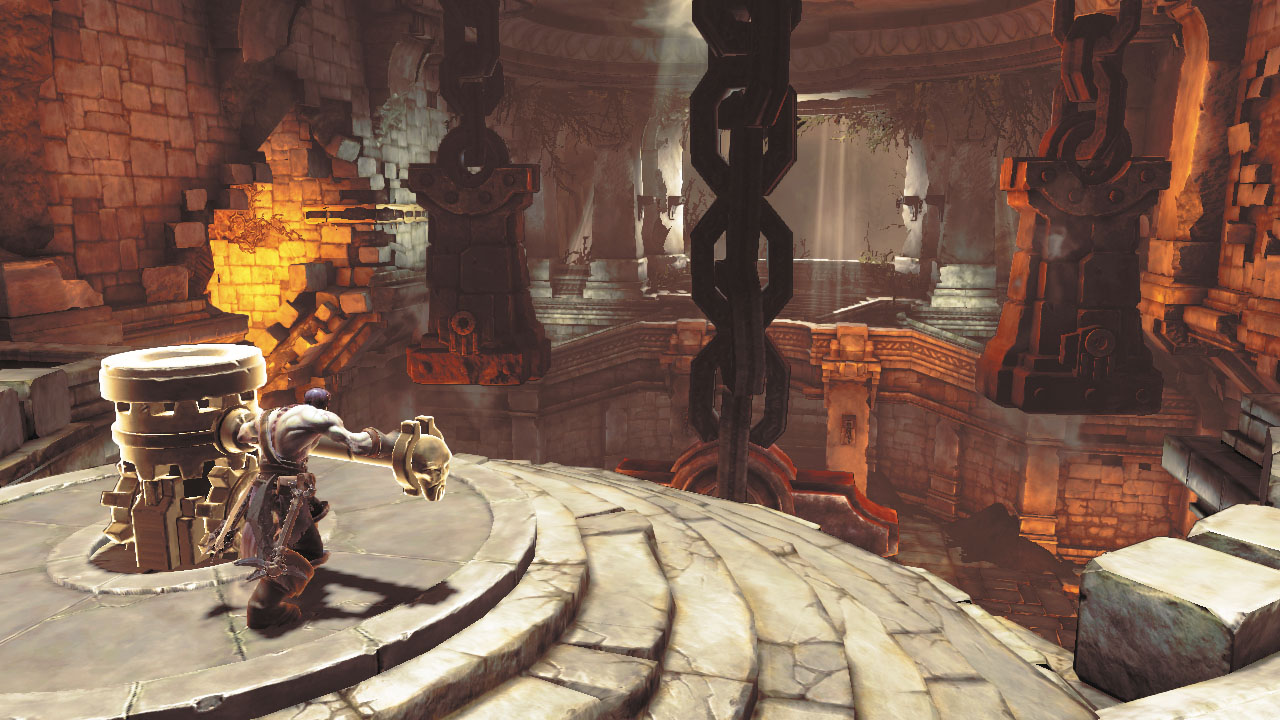
After pocketing your plunder, grab the central lever and rotate it counterclockwise to lower the giant counterweights in the chamber below. This lifts the lid off of the massive Cauldron, restoring the flow of the Fire of the Mountain to Tri-Stone at last.
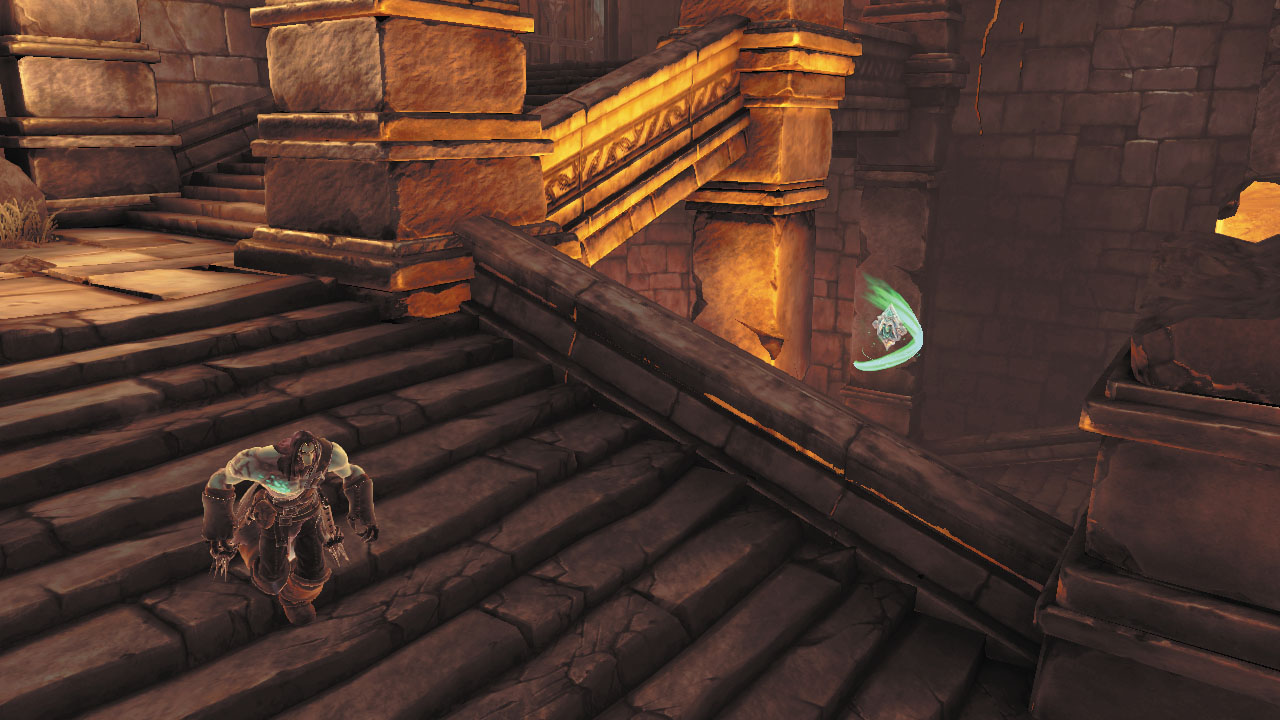
Excellent work, Rider! The time has now come to leave this place. Proceed through the north door and descend the winding stairs to return to the ground floor. Crack open the chest that’s tucked beneath the stairs.
Converse with Karn
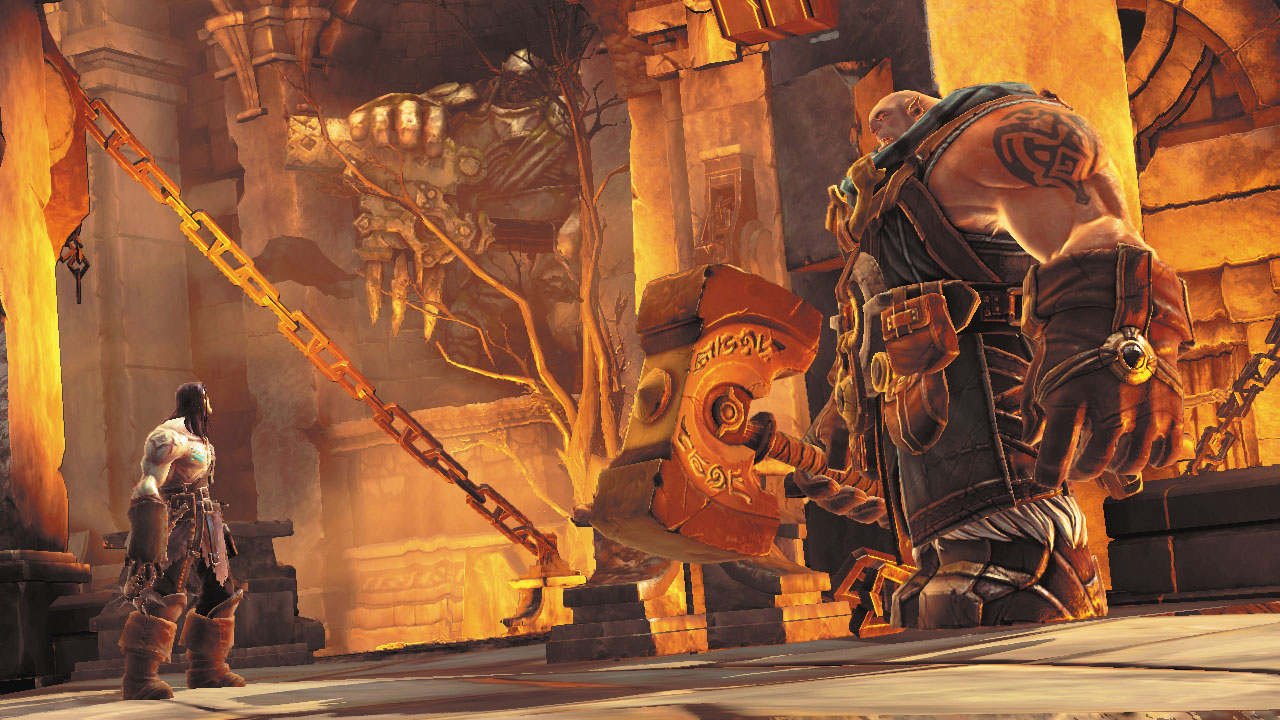
Exit the temple and speak with Karn outside. The young Maker is happy that you’ve accomplished your goal. Speaking with Karn also advances Muria’s side quest.
Return to Tri-Stone
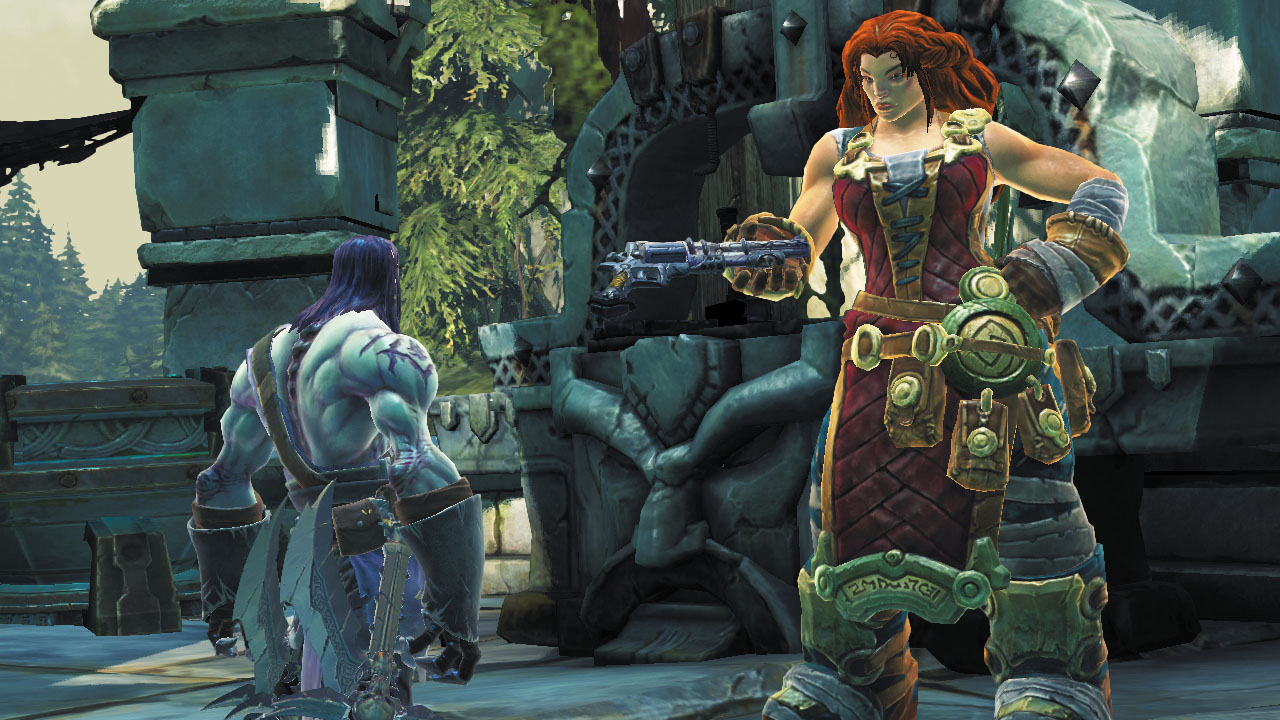
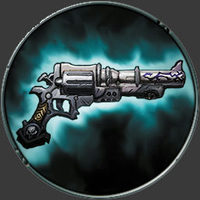
It’s a long way back to Tri-Stone, so take advantage of the map’s fast travel function if you’re in a hurry. Speak with Alya once you arrive to complete the Fire of the Mountain quest and receive an excellent new item—a powerful pistol called Redemption. This is sure to come in handy during the Horseman’s travels!
|
Redemption |