
Darksiders II: The Cauldron Dungeon Guide Walkthrough The Cauldron
The Cauldron: Areas 1-7
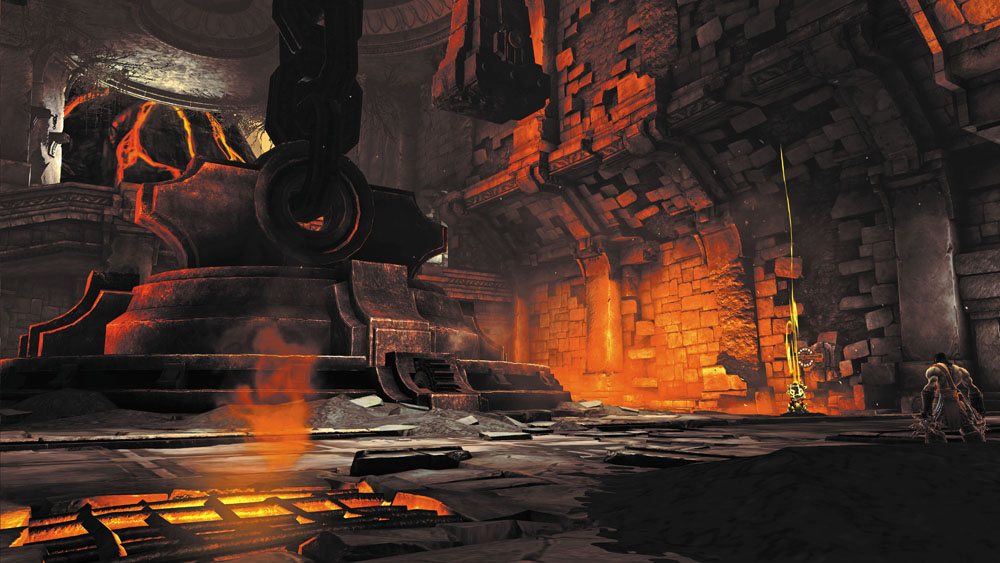
The oppressive heat of the Cauldron washes over Death as he enters this foreboding place. Corruption has taken hold in this once-sacred temple, and it must be confronted to restore the Fire of the Mountain.
The Cauldron Maps
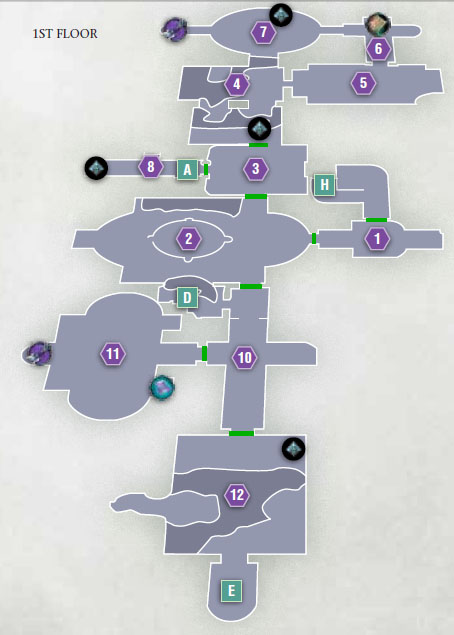
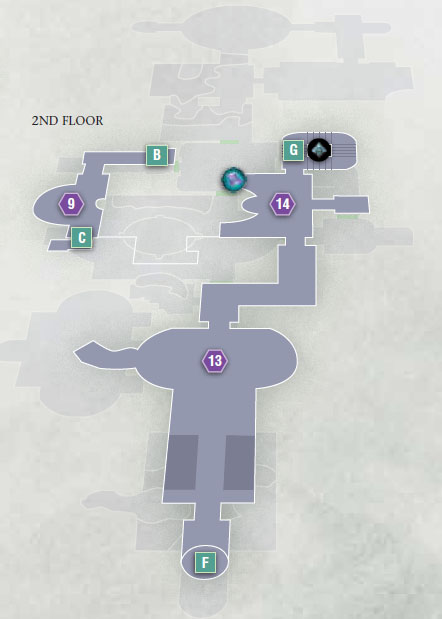
Area 1: Cauldron Entry
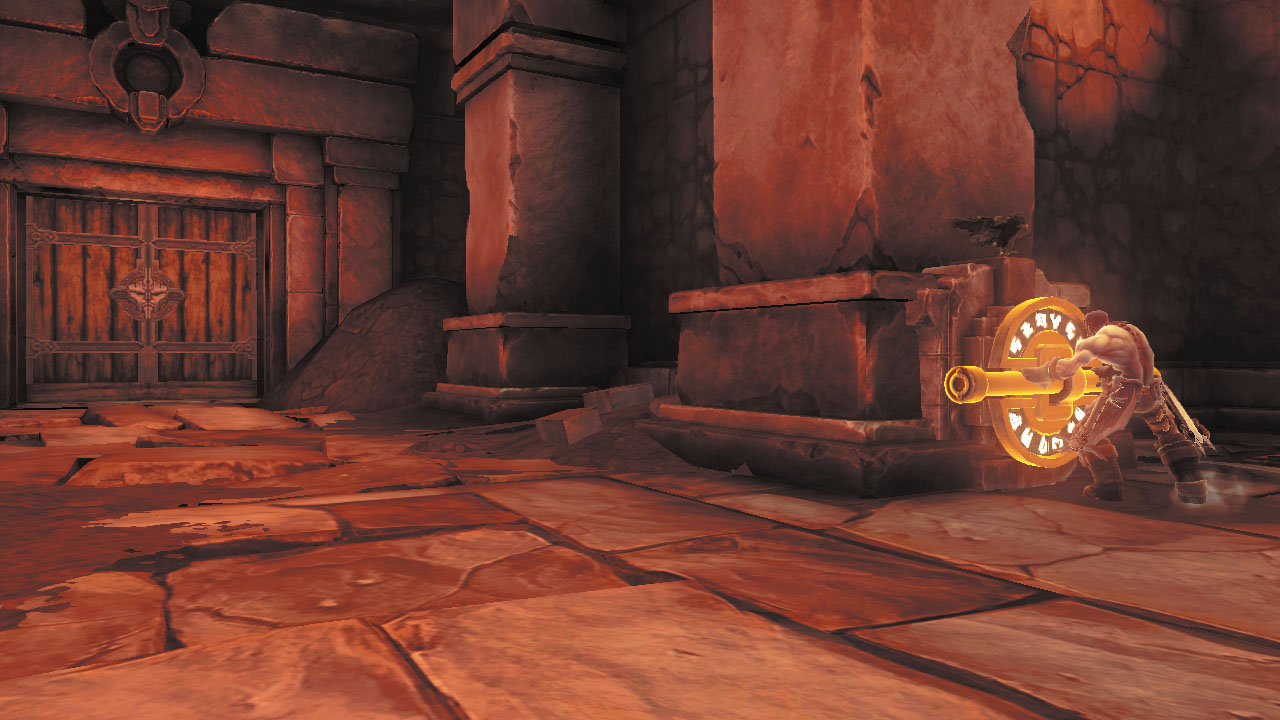
Destroy the debris in the Cauldron’s first room to discover minor items, and then push the handle on the wall to unbar the west door.
Area 2: Cauldron Chamber
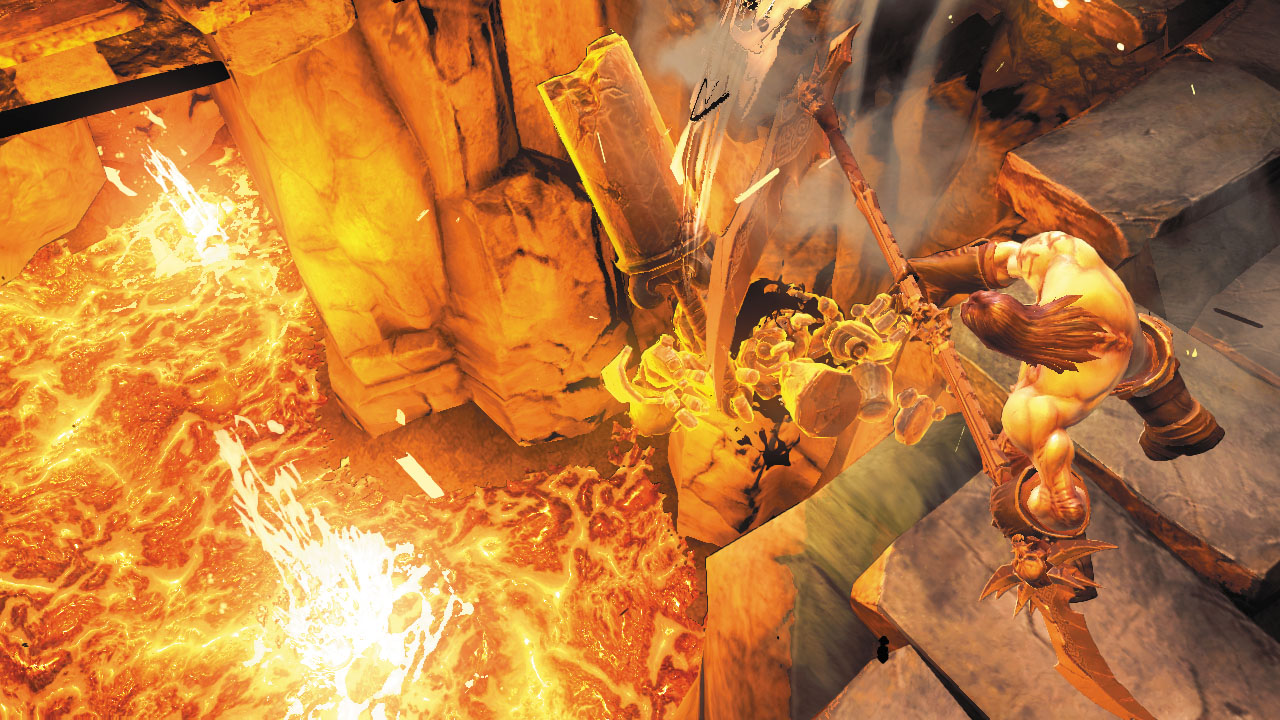
This wide chamber houses the Cauldron, but the massive device has been sealed so the Fire of the Mountain does not flow from the temple as it should. Slay the Construct Warriors to the west, and then open the chest they were guarding. Afterward, head north to discover a curious object called a Shadowbomb pod.
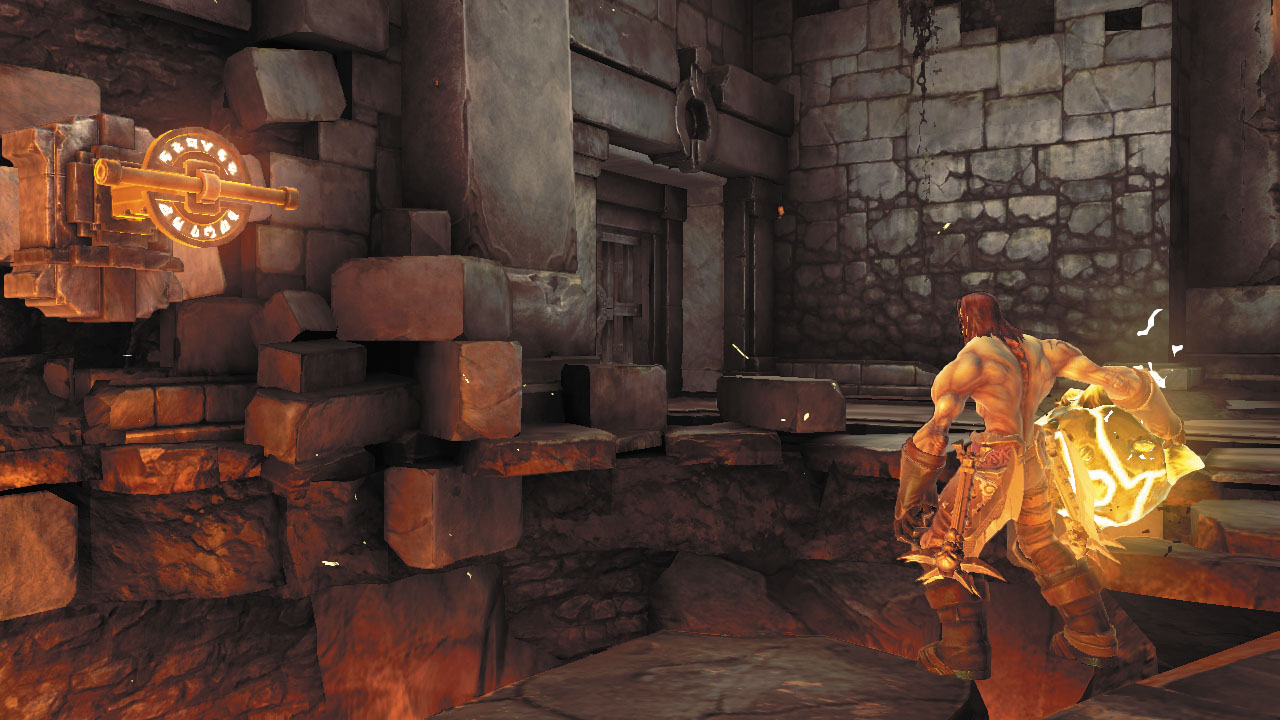
Press the Action button to collect a Shadowbomb from the pod, and then press the Aim button to take aim at the switch on the north wall. Press the Special Item trigger to hurl the Shadowbomb at the switch. The bomb sticks to the switch, then quickly explodes. This activates the switch and unbars the north door.
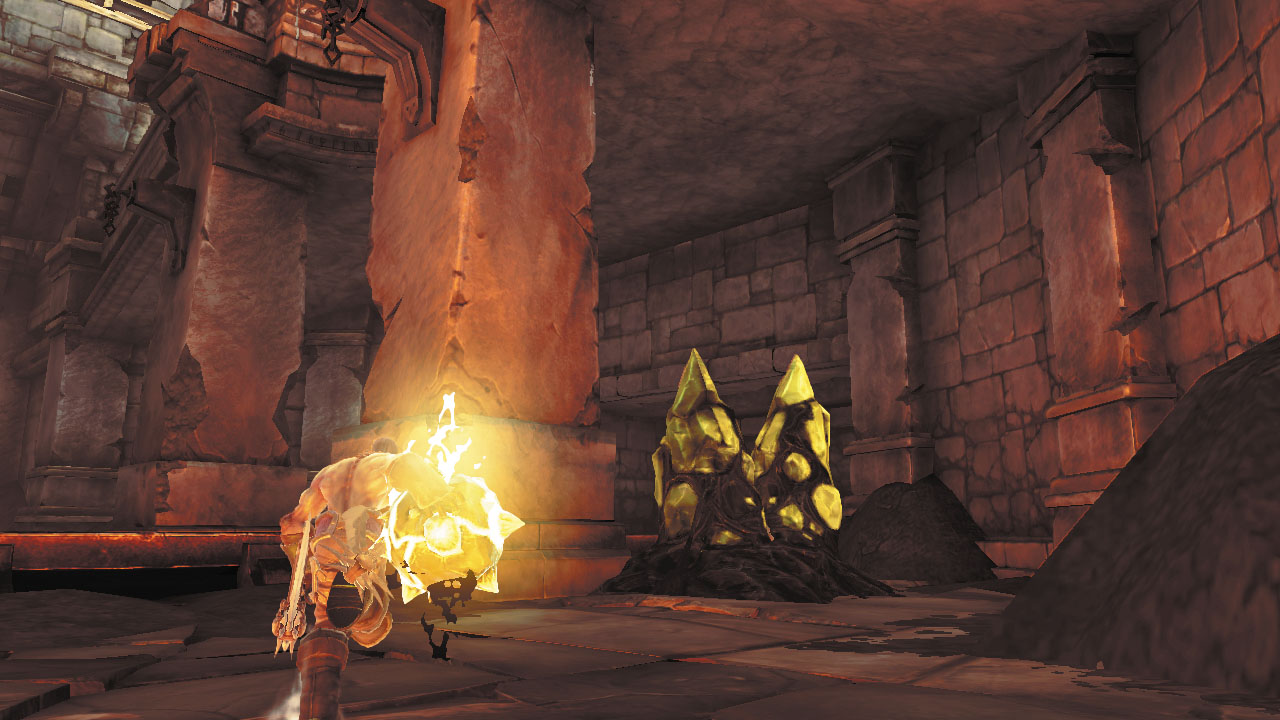
Before advancing through the north door, collect another Shadowbomb and run west, circling around the Cauldron itself to locate some yellow Corruption crystals. Stand back and toss the bomb at the crystals—it obliterates them when it explodes, exposing a hidden chest! Proceed through the north door after claiming your valuables.
Area 3: Statue Room
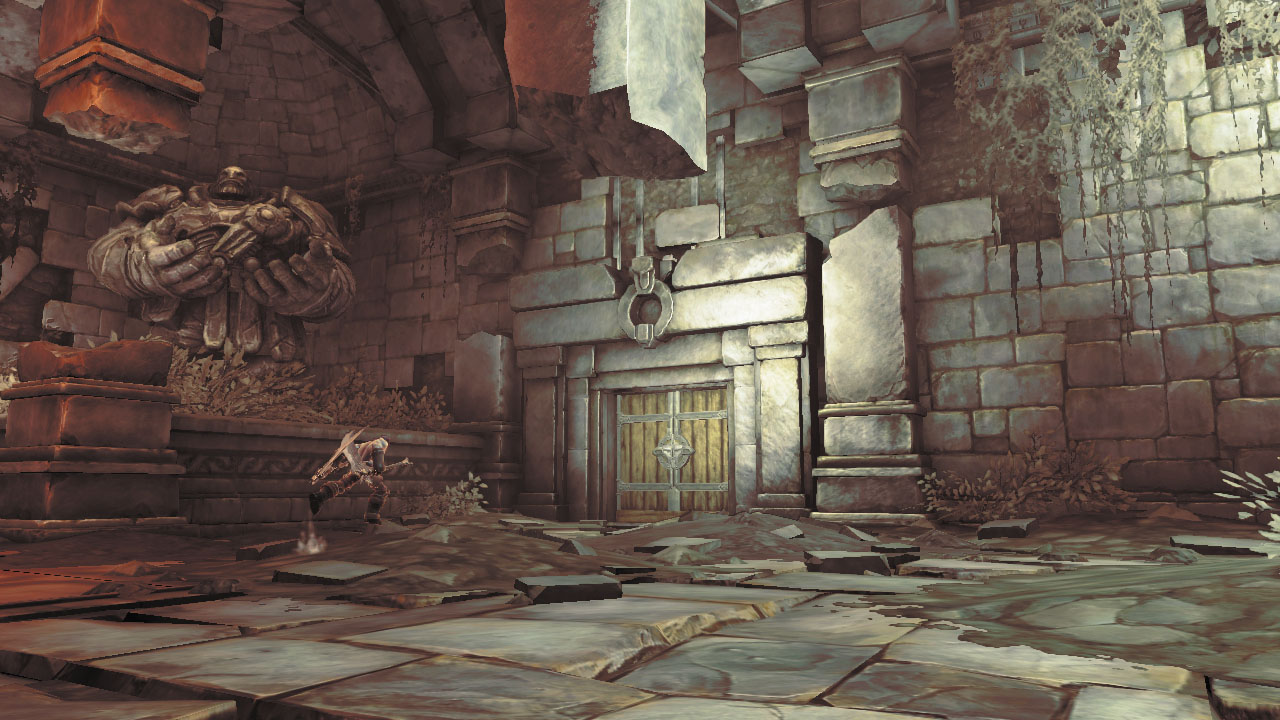
A giant statue of a proud Maker dominates the east side of this room, and a locked door lies to the west. Cut down more Construct Warriors here. The north door unbars after all enemies have been slain, allowing you to advance.
Area 4: Broken Floor Chamber
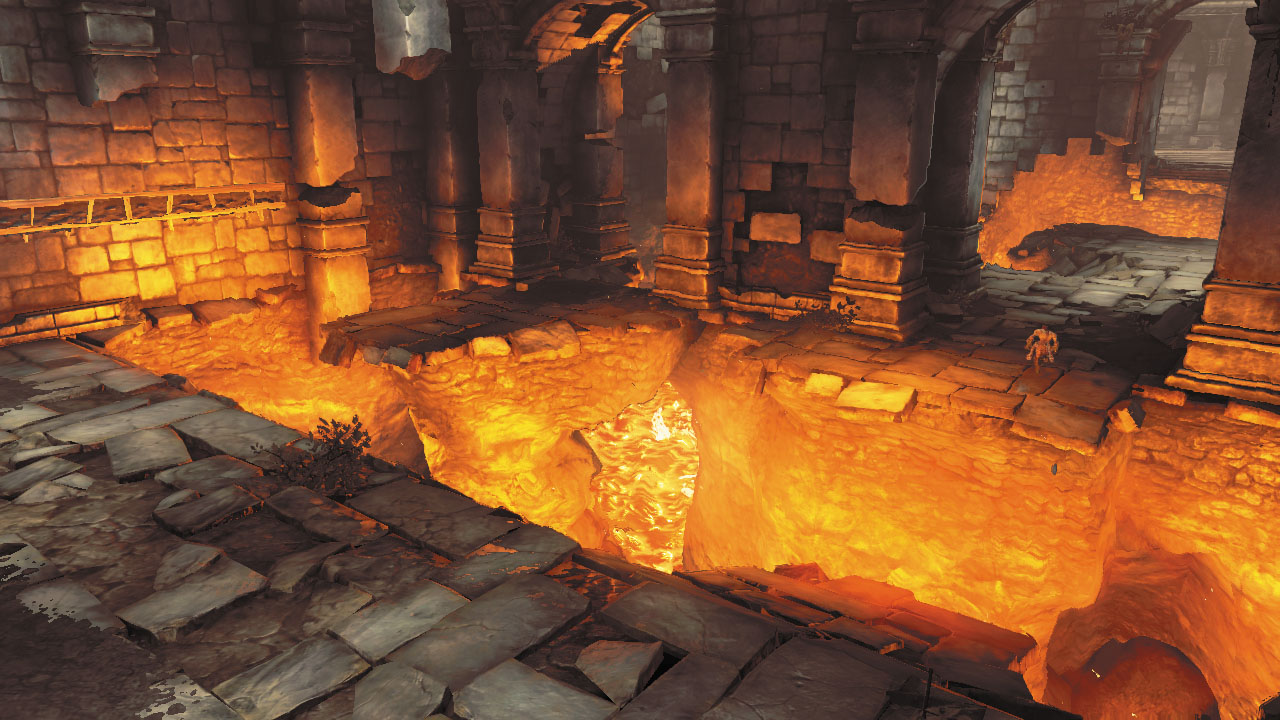
Beware of accidentally falling into boiling lava in this hazardous room. Run up the west wall and grab the long hand hold, then shimmy across and perform a 180 leap to reach solid ground. Jump over the next small gap in the floor, and then turn right and leap across to the sloping floor to collect a Boatman Coin. Work your way around the room again, this time moving to explore the chamber’s north half.

|
Boatman Coin |
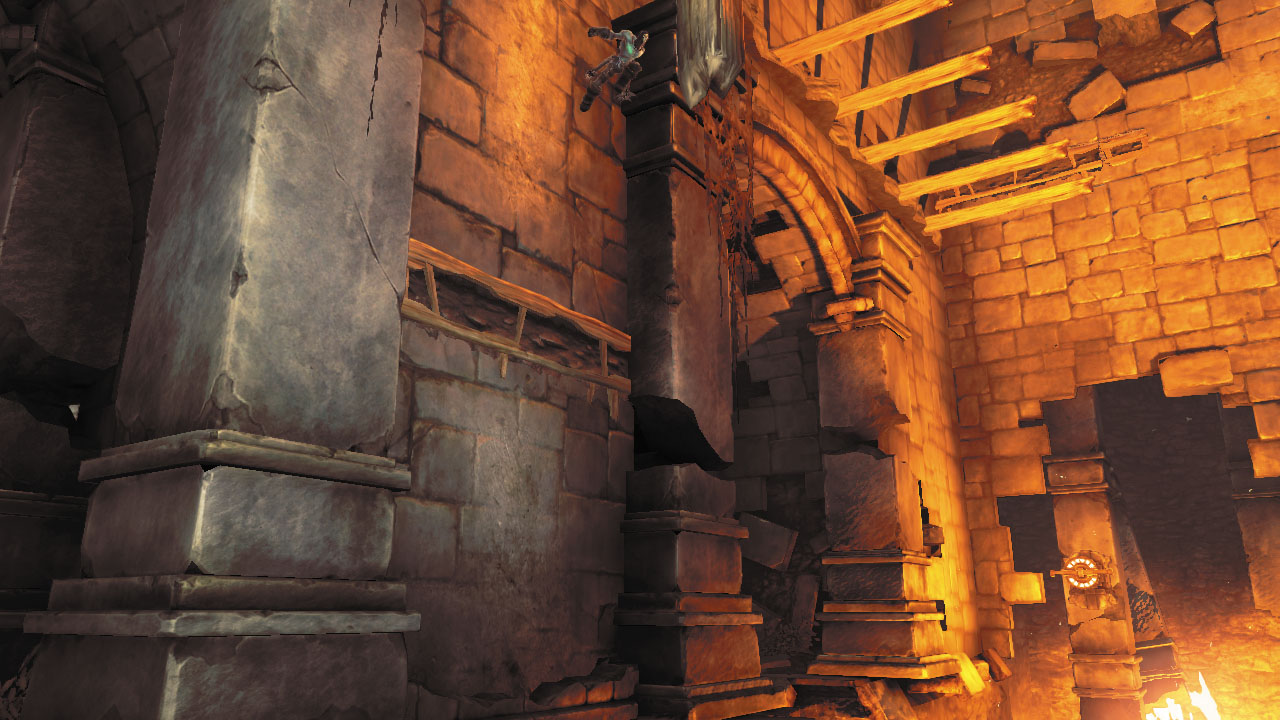
Run up the small south wall and grab a hand hold. Run up the wall again and jump to grab the hanging post behind you.
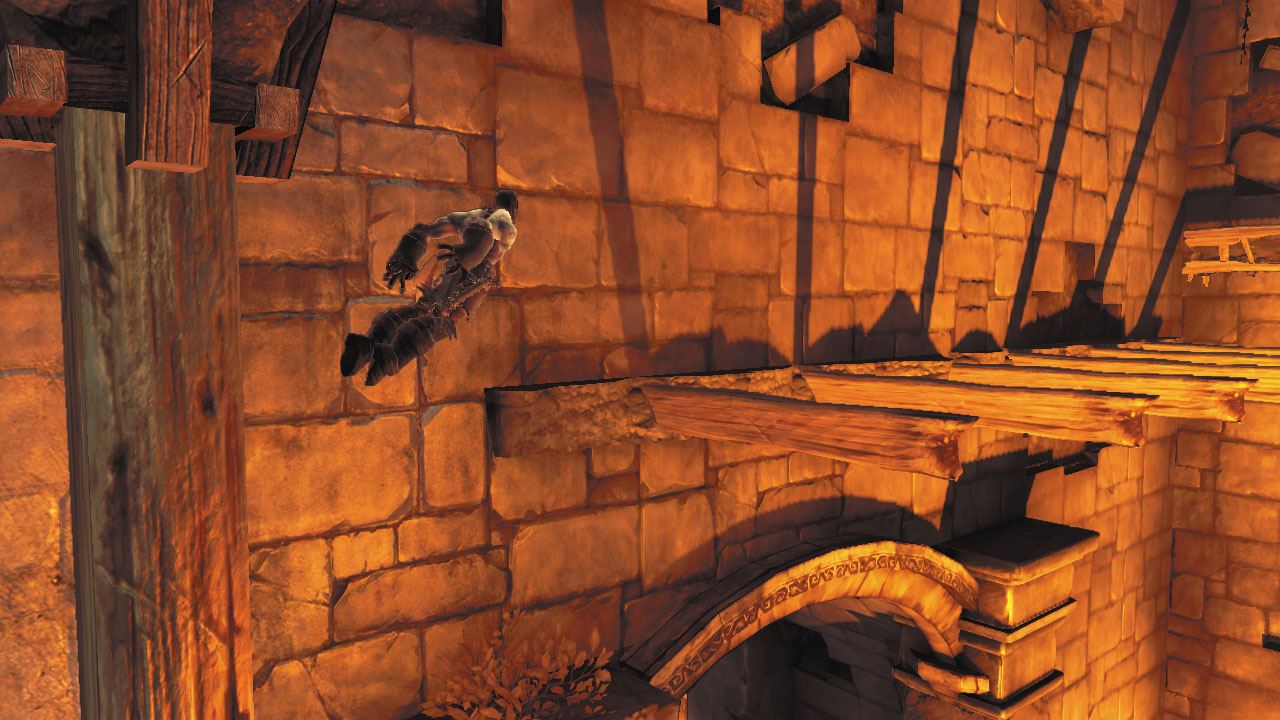
Circle around the post and perform a 180 leap to reach a series of beams.
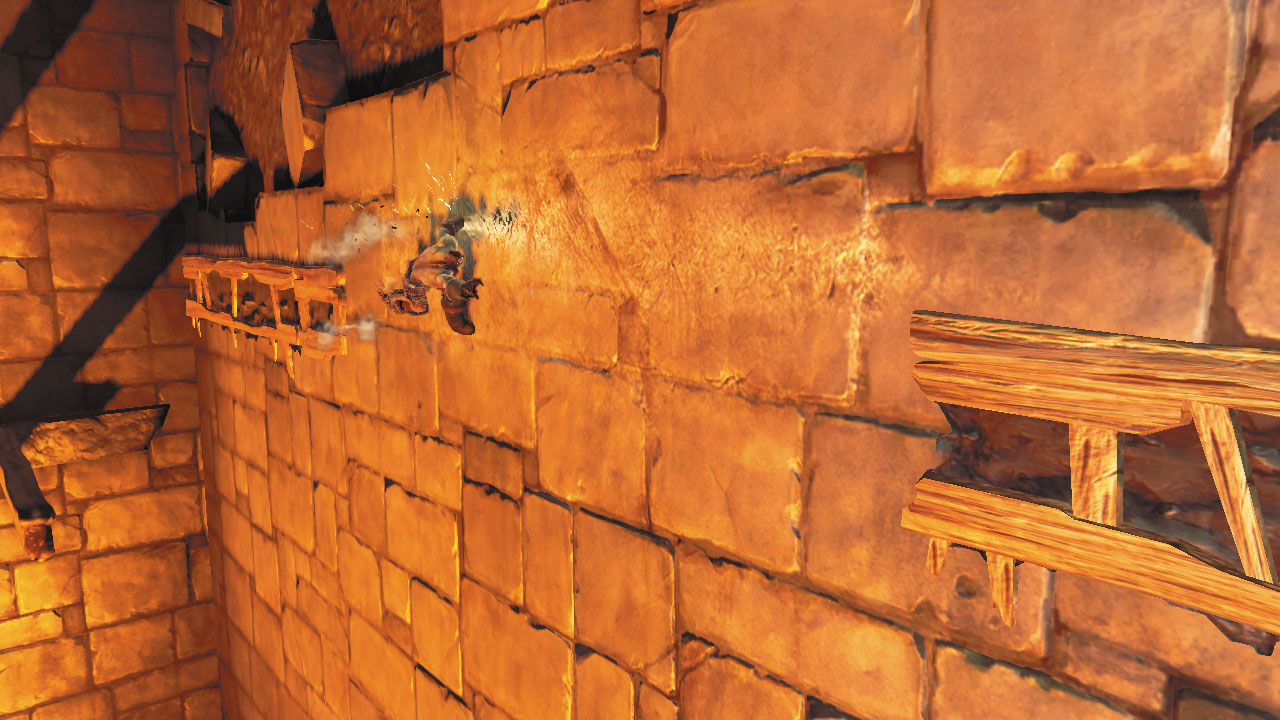
Leap across the beams to reach a wall with a hand hold, and then wall-run to reach another hand hold.
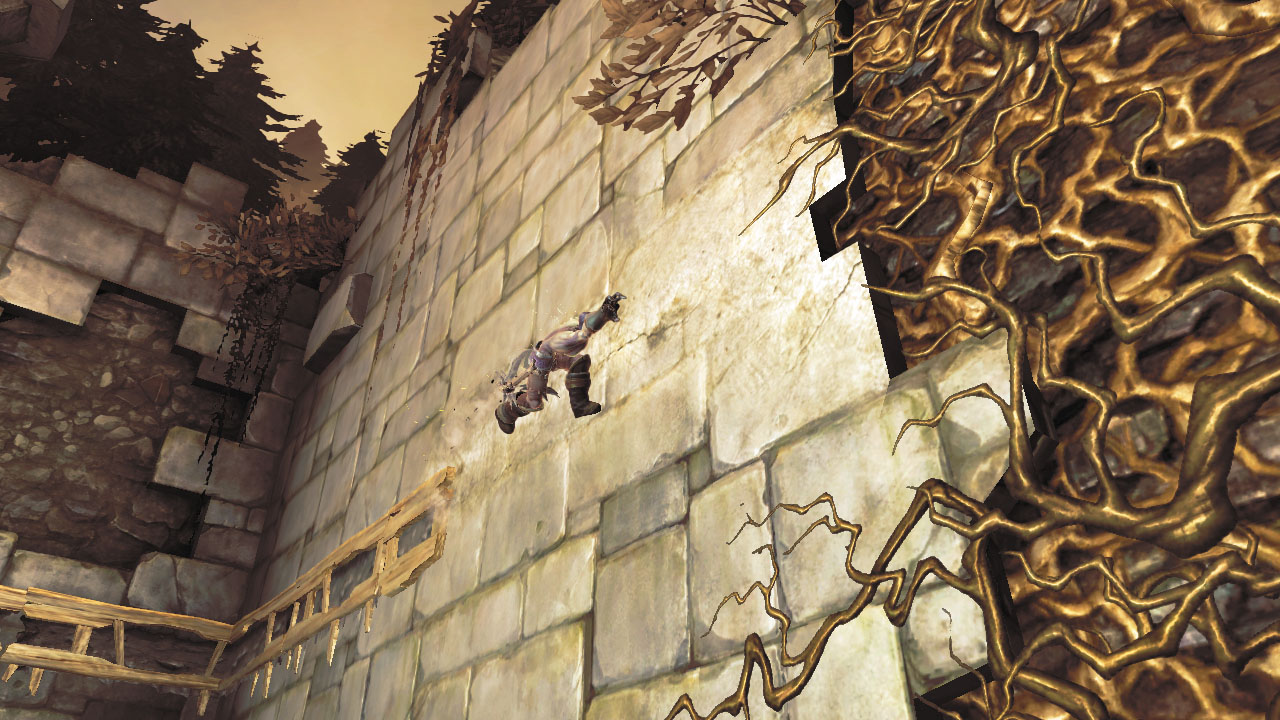
Shimmy around the second hand hold and wall-run to reach some growth. Climb down and press the Action button to drop to solid ground.
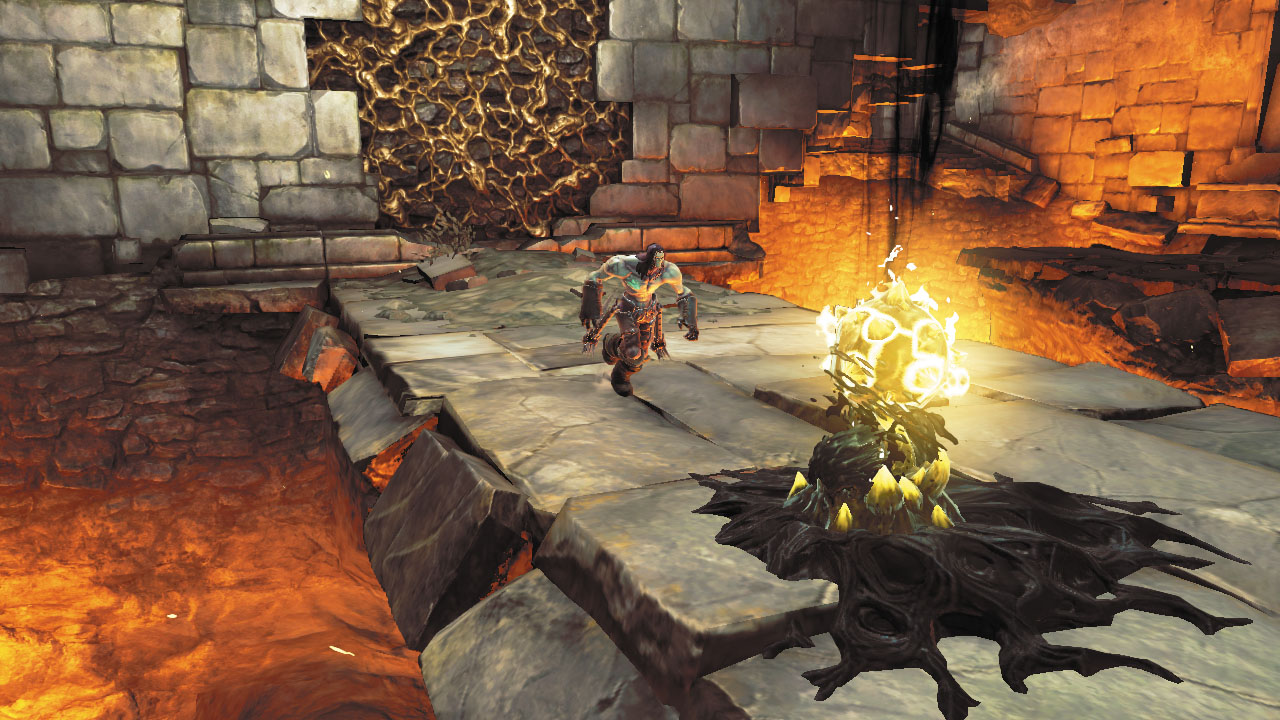
The growth leads down to a Shadowbomb pod. Collect a bomb and toss it at the distant switch to activate it and unbar the east door.
Area 5: Statue Room 2
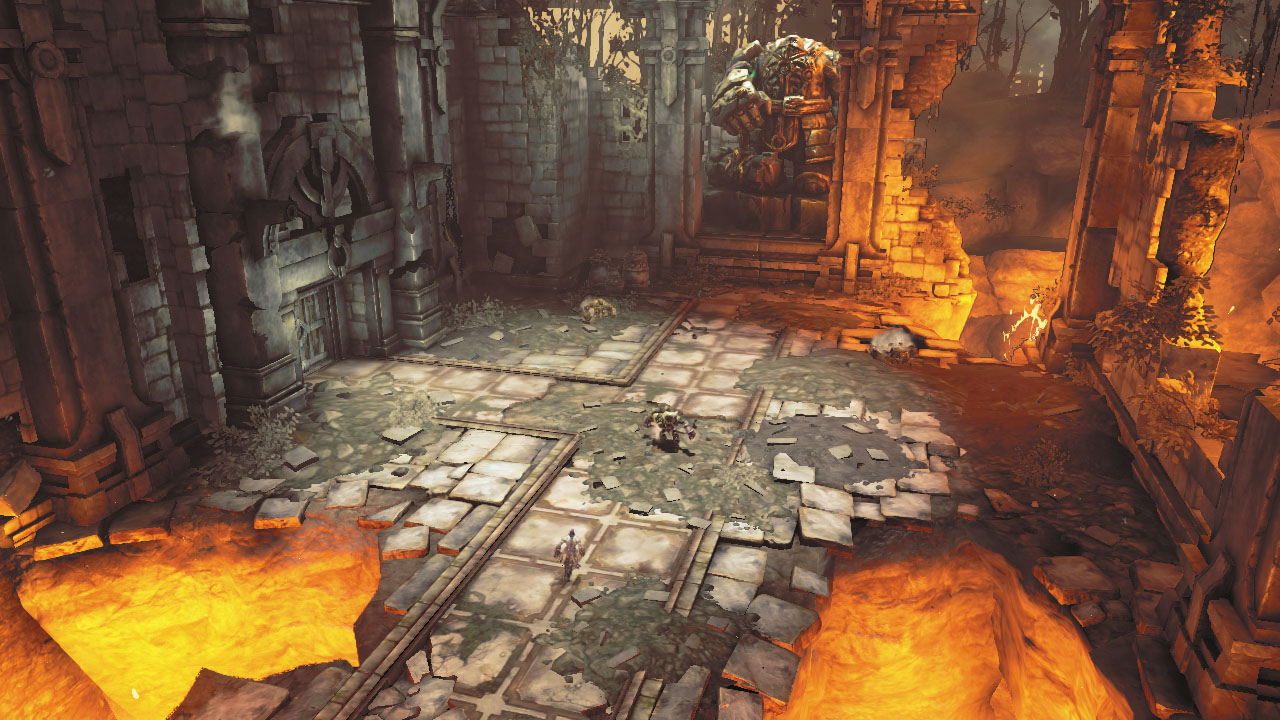
Beware: Construct Warriors ambush you in this wide chamber, along with new enemies called Construct Adjuncts. Take advantage of the ample space and Evade often to avoid damage. Proceed through the north door after the battle.
Area 6: Crumbling Corridor
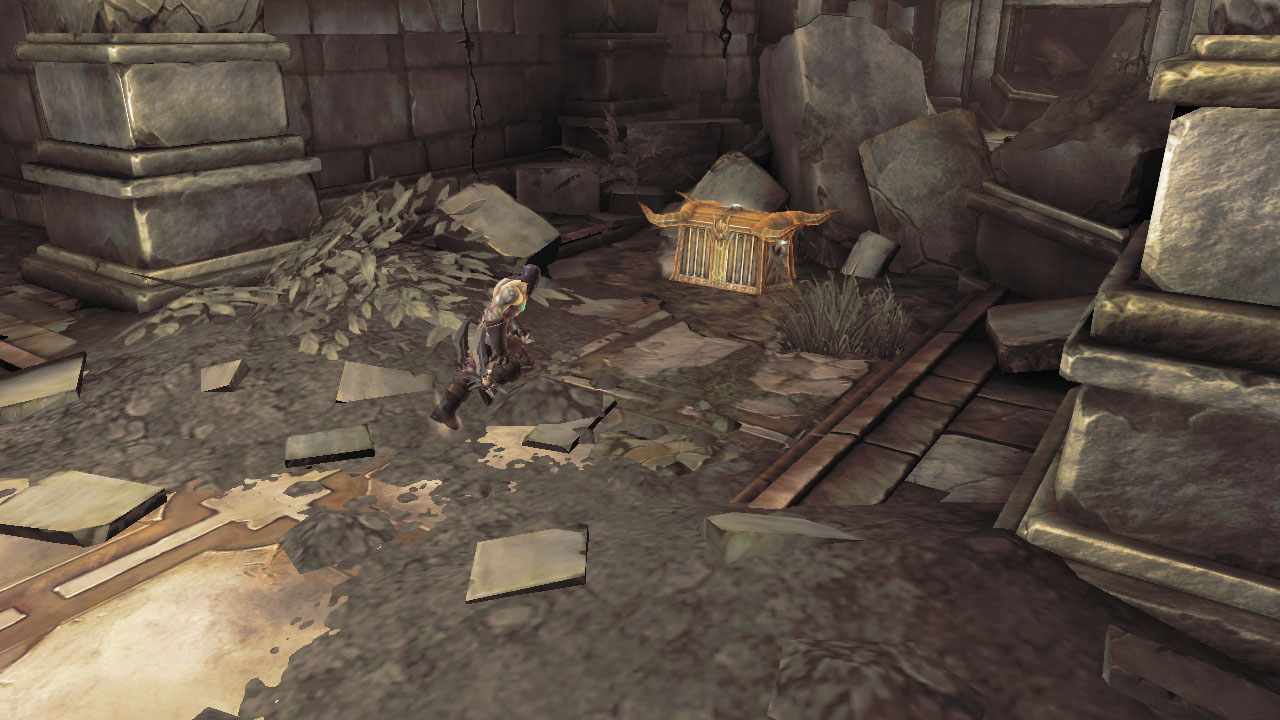
Cut straight across this ruined corridor to discover an ornate chest that contains the Dungeon Map. Now you can see the whole of the Cauldron by consulting your map. Rooms you’ve yet to explore appear as a darker shade of gray.
|
Dungeon Map |
Area 7: Stalker Arena
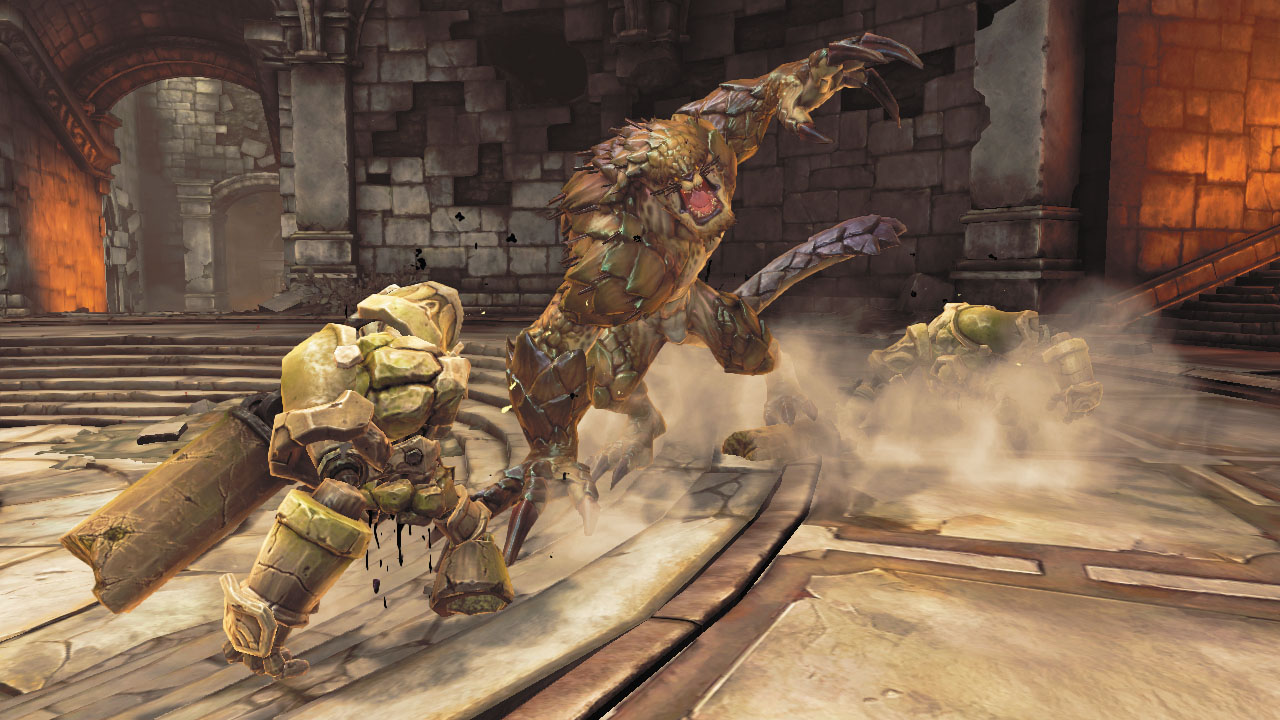
The crumbling corridor leads to a wide, circular room. Death witnesses a curious sight here: a monstrous beast known as a Stalker is being attacked by a relentless torrent of Construct Warriors. Pause and watch the battle, for the Constructs are doing you a favor in weakening the Stalker.
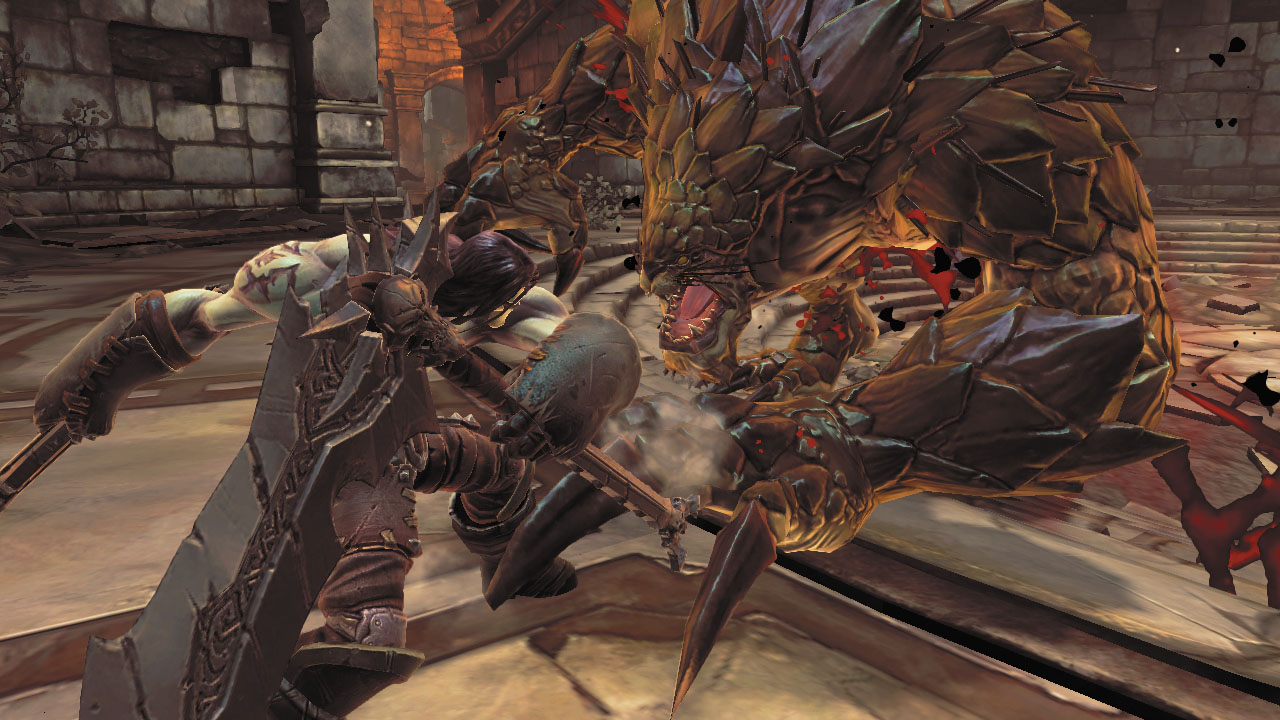
When the Stalker is near death, storm forward and join the fray. Cut down the remaining Constructs, then land the killing blow against the Stalker to advance Muria’s side quest.
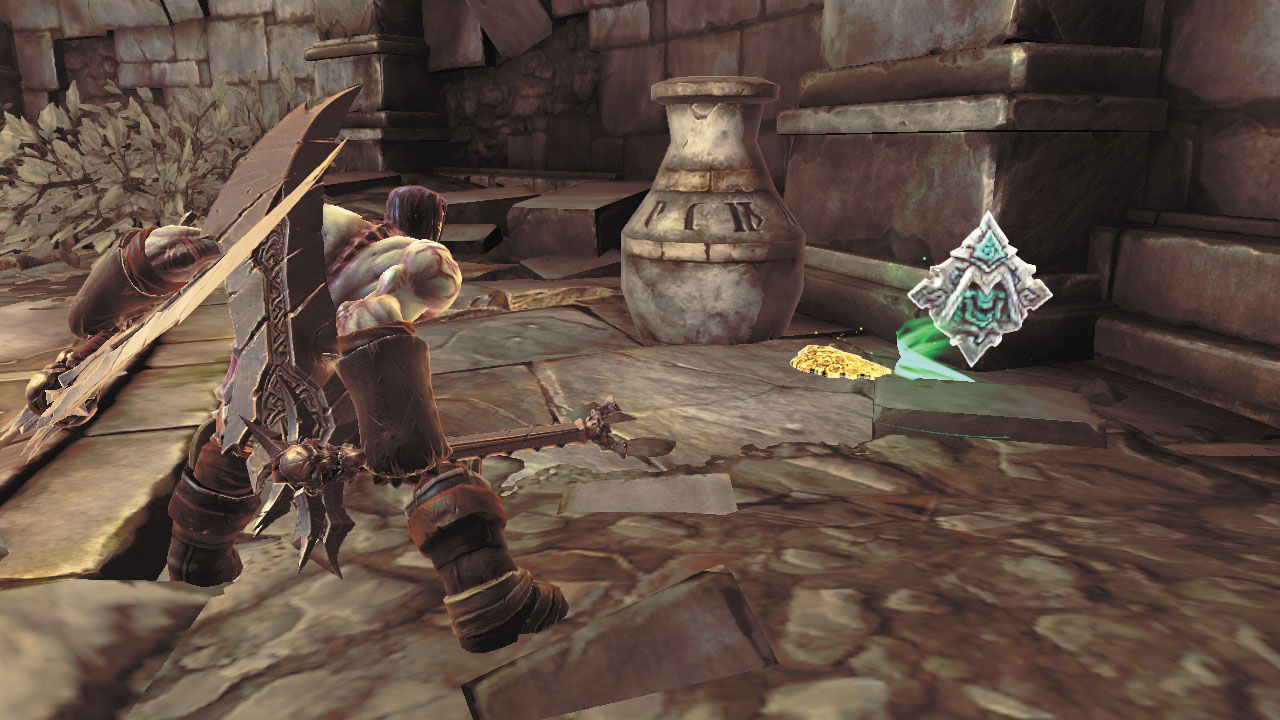
Destroy the arena’s outlying clutter to potentially score healing potions, along with a Boatman Coin.
|
|
Boatman Coin |
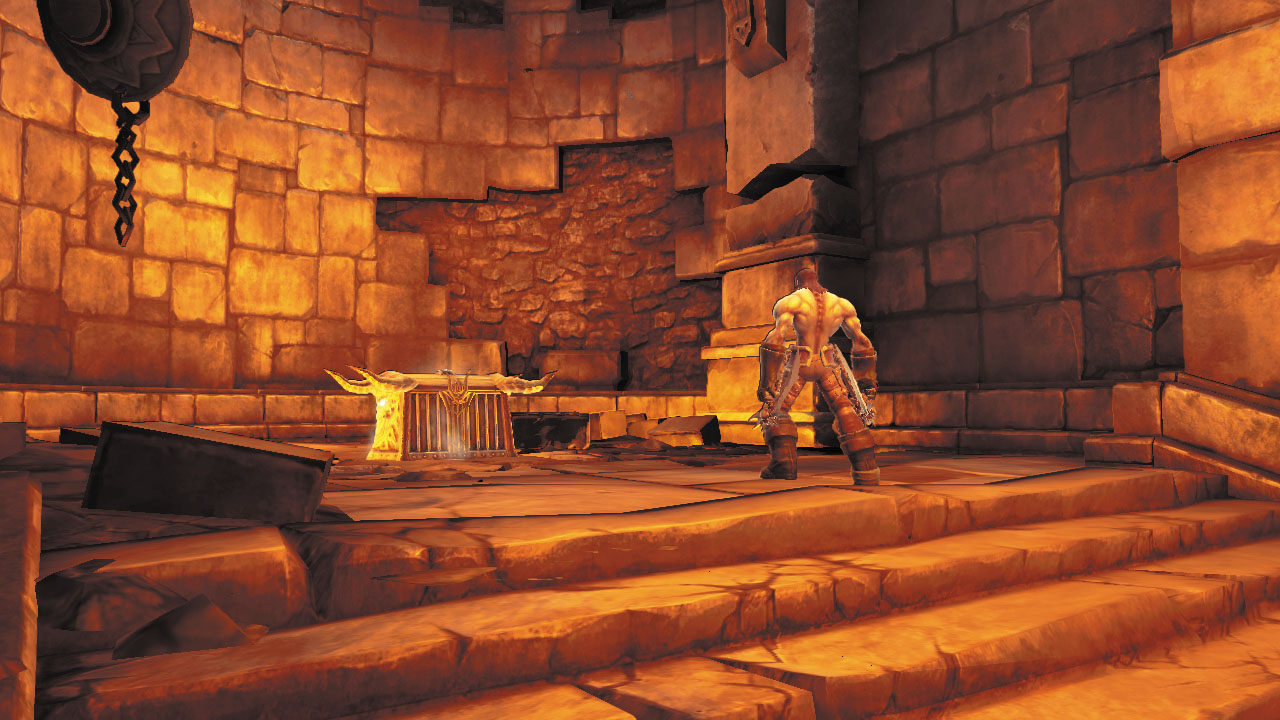
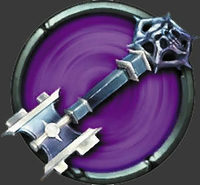
Open the ornate chest in the room’s west alcove to obtain a special item called a Skeleton Key.
|
Skeleton Key |
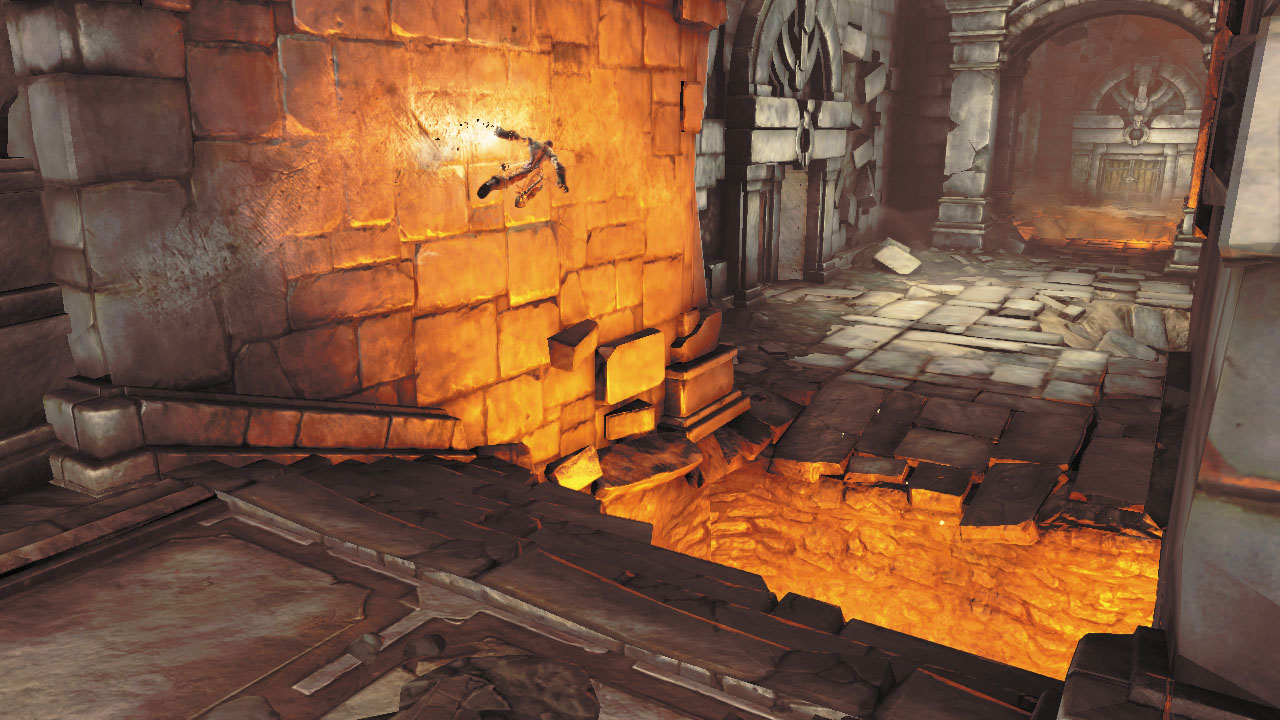
With the Skeleton Key in hand, wall-run across the south pit to return to Area 4. Continue moving south to reach Area 3, where more Construct Warriors guard the locked door you noticed before. Dispatch the Constructs and open the door with the Skeleton Key, which vanishes after use.
If you ever feel lost, press and hold the Movement Stick to summon Dust and send the crow flying toward Death’s next objective. Dust can help show his master the way forward at any time, so keep this in mind.