Nazi Zombies – How to Turn on the Power
Learn how to turn on the power and open the bunker in Call of Duty: WWII’s Nazi Zombies mode.
Call of Duty: WWII is finally here, and players can step back in time as the Call of Duty series heads back to its roots in World War II. The main storyline isn’t the only thing taking a trip to the past, though, and as players load into the all-new Nazi Zombies story, they’re going to find themselves looking at something quite different than previous Zombies experiences. In this article we’ll show you how to get started in Call of Duty: WWII’s Nazi Zombies mode, as well as walk you through how to turn the power on, finding the generator, and unlocking the Bunker.
How to Turn on the Power
Before you can unlock the Bunker and gain access to the next area of Nazi Zombies, you’re going to have to locate a generator and turn the power back on. This will then allow you to unlock the Bunker door for 1,250 Jolts (the new currency in Nazi Zombies). But first, we’ve got to find the generator.
From the starting area, head out and start taking down enemies to earn some Jolts. If you save your ammunition and melee attack them, you’ll earn some bonus Jolts, which will come in handy later—trust us.
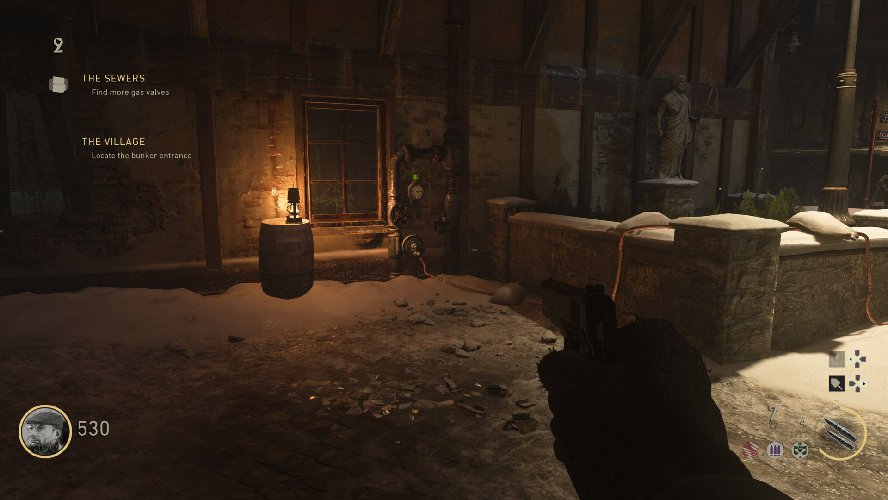
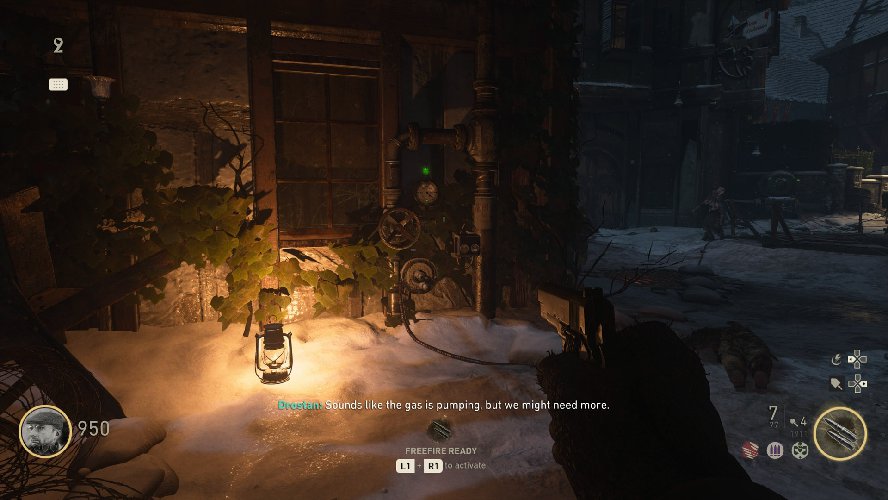
To work on turning on the power, you’re going to need to make your way to the generator, the only issue is, it’s currently hidden in the sewers, and there are a ton of enemies between you and it. So, head to the center of the village and look around for two gas valves. These valves will reward whoever turns them on with 100 Jolts, so make sure you’re working this out with your team to ensure everyone is earning the Jolts they need to do their job effectively.
The first valve can be found right as you enter the area behind the Geistchild Machine. Activate it, and then face the bunker doors.

From here, turn to your left and look for an alleyway. Head down the alley to find the second gas valve. Activate it to continue.

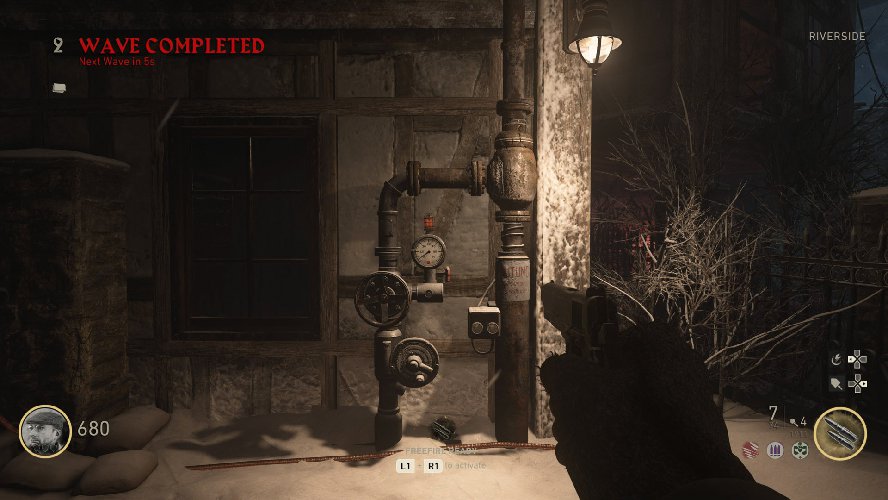
Now it’s time to find a third gas valve. This one is hidden behind the Riverside gate, so you’ll have to spend 1,000 Jolts to open it up. Once it’s open, find the valve and turn it on.

Once all three of the valves are activated, it’s time to return to the center of the village. Look out for a pilot light near a boarded-up well (there should be a green button that you can interact with), and then turn the light on to trigger an explosion that opens the well up, revealing several enemies. As they storm out of the well, take them out with explosives or your chosen weapon, and then once the way is clear, head inside and drop down into the well.
Follow the sewers to find the power generator, which you can power on to reactive several different gated areas throughout the village. When this is done, head back up out of the sewers and open the bunker door with 1,250 Jolts.
How to Activate Power to the Bunker
Once you’ve gained access to the bunker, it’s time to find and enter the Command area. Your goal now is to finish turning on the power, which will activate all of the perks and other doors and machines in the area. Move inside the bunker and look out for two doors. One of the doors will lead you to the Lab, while the other will lead to the Morgue. Collect some Jolts, and then unlock both of the doors to continue.
Head into the door that leads to the Lab (the door near the crank), and move up the stairs to find a large panel in the back right-hand corner of the area. Switch the panel to “ON”, and then head back down and into the Morgue. Look out for a similar looking panel, and switch it over to “ON” as well. Be aware, though, that you’ll need to activate both switches within a certain amount of time—it’s currently undetermined, so be quick about it.
Once both of the switches are turned to “ON”, the power should reactivate throughout the bunker, and all of the perk machines will work. You’ll also now be able to unlock any doors that previously required electricity.
Now that you know how to turn the power back on in Call of Duty: WWII’s Nazi Zombies mode, be sure to head back over to our Nazi Zombies guide for more in-depth help and assistance to finding every Easter egg and hidden item in the new Zombies mode.
