Stalker 2: Budmo Walkthrough – Should You Steal the Stashes
Steal the stashes or place vodka—a tough choice to make when valuable gear is right in front of you.

Side quests in Stalker 2 are packed with meaningful choices and provide an immersive experience comparable to the main missions. Budmo is one such side quest in Stalker 2 that becomes available after you meet Misha and Grisha upon entering the Garbage area. They will provide you with plenty of vodka and share the locations of three stashes belonging to their friend, Panas. Your task is to place vodka in these stashes, and they will specifically warn you not to steal anything from them.
In this guide, we will cover how to place vodka in the stashes and explore whether it is worth stealing from them during the Budmo side quest in Stalker 2.
All Budmo Mission Stash Locations in Stalker 2
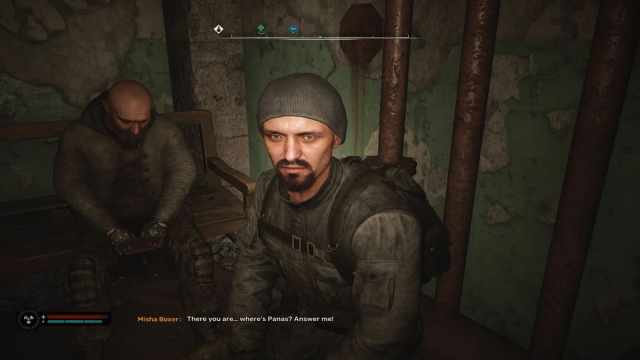
After accepting the mission from Misha and Grisha, your PDA will display three markers on the map, each indicating the general location of a stash. However, these stashes are not in plain sight. They are cleverly hidden, requiring some effort to locate—challenging, but not overly difficult.
Stash Location in the Poisonous Hole Area
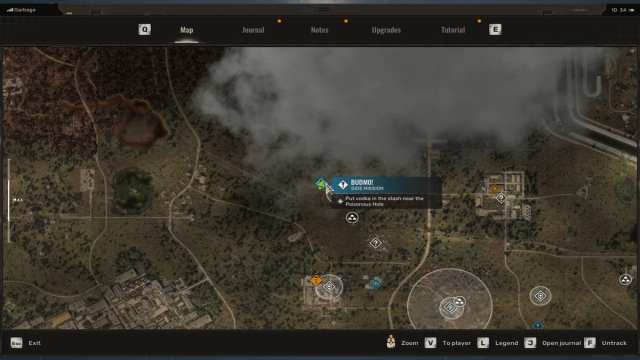
The first stash is located in the Poisonous Hole area, where the ground is covered in toxic waste. As you navigate past the green-colored toxic pools, you will discover a cave entrance. Inside the cave, the stash is tucked away at the far end.
Be cautious when entering, as two mutants may appear to block your path. To deal with them effectively, ensure you are equipped with strong weapons. Once the area is clear, you can choose to either loot the stash or place vodka as instructed.
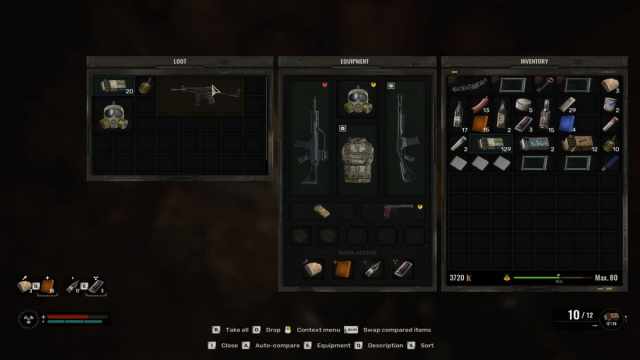
You get the following items inside the stash at the Poisonous Hole area while playing the Budmo side quest:
- Optician Mask
- Buket S-2 SMG
- Grenade
- PTM handgun ammo
Stash Location in the Pile of Concrete Blocks
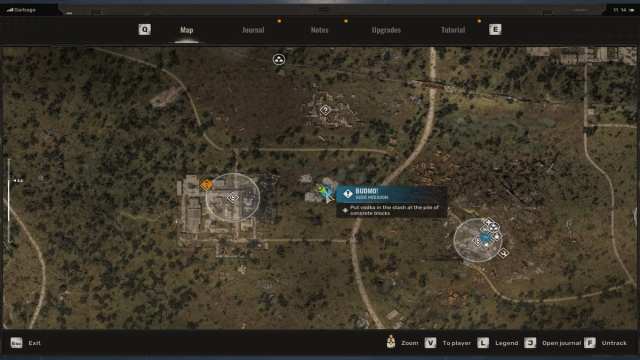
The second stash we recommend visiting is at the Pile of Concrete Blocks, found west of the Slag Heap safe house in the Garbage section. When you reach the marked location, head to the center of the crumbled concrete slabs.

Look for a cylindrical structure covered with yellow wooden planks. Use your knife to break the planks, and you will find the stash hidden beneath them.
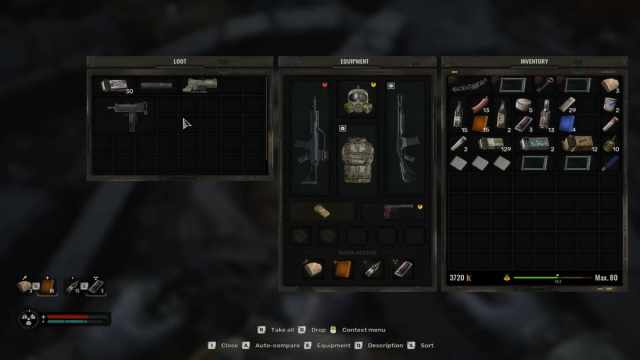
You will find the following items inside the stash at the Pile of Concrete Blocks area:
- M10 Gordon SMG
- Pistol Suppressor (PTM, APSB, Buket S-2, Zubr-19)
- RNBW 2x Scope (Rhino, Integral-A, Fora-221, Kharod, Mark 1 EMR)
- .45 ACP FMJ Ammunition
Stash Location on the Power Transmission Pylon
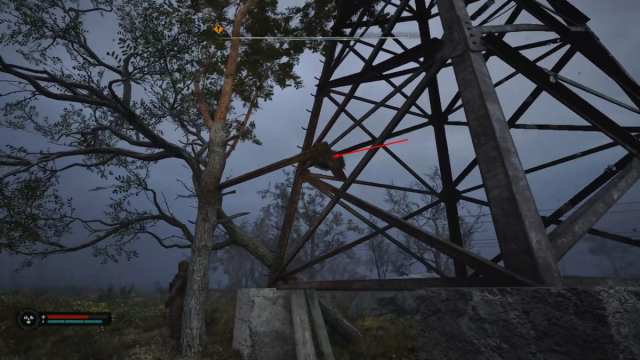
The final stash is located near the Power Transmission Pylon, northeast of the Slag Heap. If you visit this stash first, it may prove trickier to access compared to the other two. The stash is inside a bird’s nest, positioned above ground in the transmission tower.
To reach it, climb the fallen tree nearby, then use a wooden log connecting the tree to the tower. Carefully jump across, and you will be able to interact with the bag to complete your task.
We did not get a chance to find out what was inside the stash at the Power Transmission Pylon at first. That is because we did not kill Panas Shun. As a result, he leaves the Garbage area in Stalker 2 and aims to head towards Duga or Pripyat as he does not want to stay drunk forever or be drunk buddies for Misha and Grisha.
However, for the sake of information in this guide, we reloaded the save file, went to the Power Transmission Pylon first, and found the following items inside the stash:
- HILKA Detector
- Moonlight Artifact
- Flash Artifact
Related: How To Update the Stalker 2 DLSS Version on PC
Encountering Panas Shun
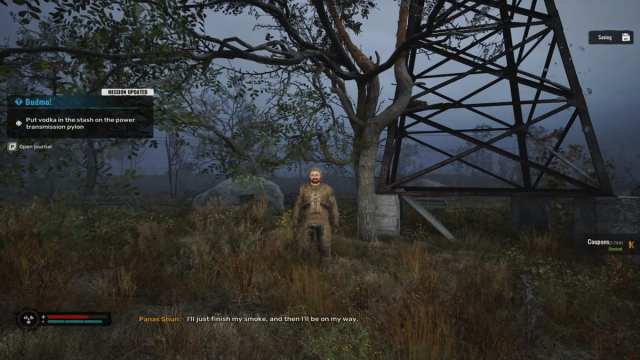
After you have interacted with any two of the three stashes—whether by stealing items or placing vodka—Panas Shun will appear when you approach the third stash.
If you have been stealing from his stashes, he will confront you, accusing you of theft, and immediately become hostile. Be prepared for a fight if you have chosen this route.
However, if you have been placing vodka in the stashes instead, Panas Shun will show up at the final stash with questions. At this point, you will have the option to attack him, but if you choose not to, he will reward you with 1,754 Coupons.
How to Put Vodka in Stashes During Budmo Side Quest in Stalker 2

To stash vodka in Panas Shun’s bags during the Budmo side quest, you first need to interact with the stash. Once you have done that, hover over to the vodka consumable in your inventory, and right-click it.
This will bring up a menu where you will need to select the “Put Down” option. A prompt will then appear, asking how many vodka items you want to transfer from your inventory to the stash. Dropping just one vodka per stash is sufficient to progress the Budmo side quest in Stalker 2, so avoid wasting extras by depositing more than necessary.
Alternatively, you can drag and drop the vodka directly from your inventory into the stash. This method will also trigger the transfer prompt.
Note: Be careful not to steal any items from the Panas Shun’s stashes. Taking even one item will alter the outcome of the Budmo side quest in Stalker 2, potentially changing the ending entirely.
Related: Stalker 2: Sunrise Suit Location Guide
Should You Steal the Stashed in Budmo Side Quest in Stalker 2
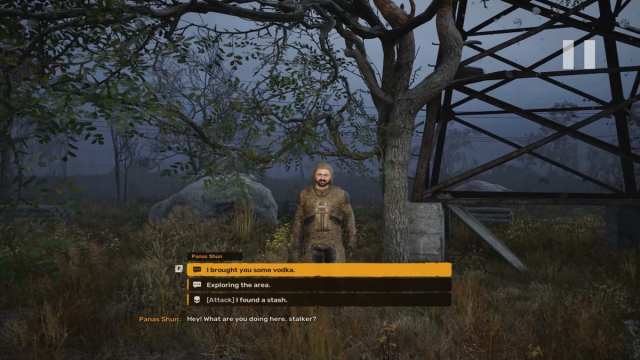
The Budmo side quest in Stalker 2 offers an early opportunity to loot two out of three stashes, allowing you to keep the valuable weapons and gear you find. These items are especially useful in the early game, as they can be difficult to acquire otherwise.
If you choose not to steal any stash items and avoid killing Panas Shun at the end of the Budmo quest, you will receive only 1,754 Coupons as a reward. This amount is modest and will barely cover a few consumables or ammo. Forget about purchasing weapons or decent armor with it.
By this point in the game, if you have already explored other stashes in the game’s world, you may have better weapons and gear in your inventory. Still, we recommend looting the stashes in Budmo for their weapons and attachments, as they can offer significant upgrades.
One stash, located near the Transmission Pylon, contains a single noteworthy item: the HILKA Detector. If you visit this spot last, the HILKA Detector will be unavailable. For this reason, we suggest looting the other two stashes first and skipping this one, as the HILKA Detector can be obtained later during the main quest A Minor Incident.
That is everything you should know on whether to steal the stashes or put vodka in them during the Budmo side quest in Stalker 2. For more tips, consider reading our How To Defeat Poltergeist Enemies, All Main and Side Missions List, and Kill Shah or Roosevelt in King of the Hill Mission guides.
