
Legend of Zelda Echoes of Wisdom – Lanayru Temple Walkthrough
Man I sure do hate the snow.

The Legend of Zelda: Echoes of Wisdom players are left with tackling three more temples after restoring Hyrule Castle and its town. One of the temples is in the snowy north, so here is the complete Lanayru Temple walkthrough for Zelda: Echoes of Wisdom.
Zelda Echoes of Wisdom Lanayru Temple Walkthrough
Enter the temple, hit the checkpoint, and move forward to see some track system that will come into play later. Go into the left room and defeat the Ice Octos to get five Rock Salt, then go to the right room.
You will have to travel across the water with either the Cloud or Ice Block Echoes and bind the fire symbol from the right pedestal to the empty pedestal on the left. This will activate the track, and the wall will move back to unveil a ladder. Traverse through the 2D room and use the Strandtula Echo to grab a treasure chest containing three Monster Fangs.
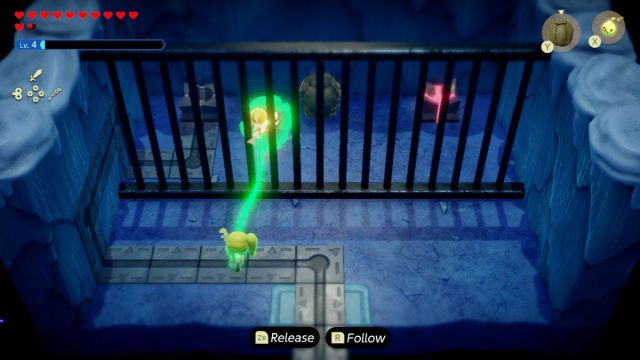
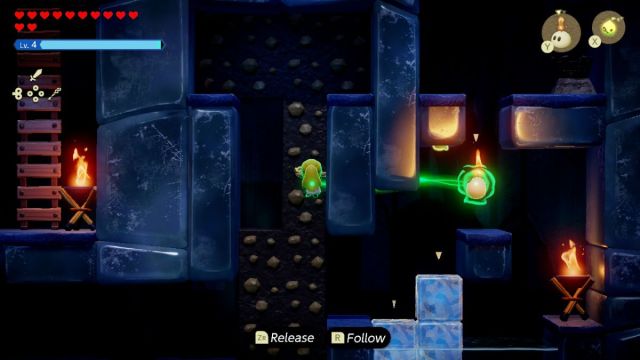
Use boulders to block the icy air vents, then go through the left entrance. Binding the fire symbol through the icy vent will change it into an ice symbol, which will still activate the track but do nothing. You will have to block the vent with a Boulder Echo through the gate so the fire symbol can safely move across.
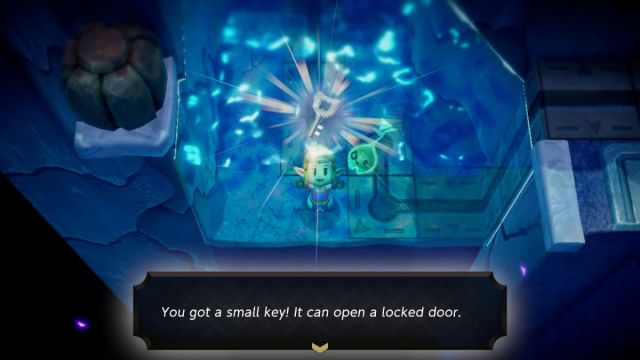
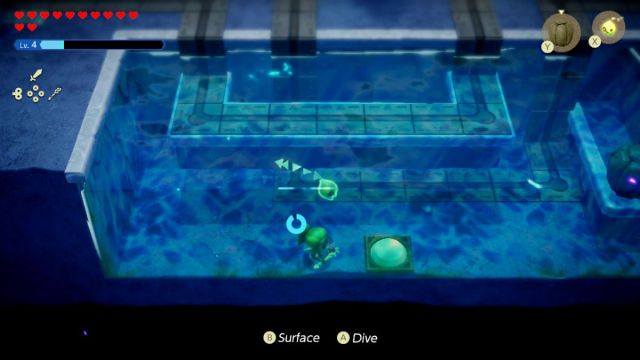
Jump in the water to grab the Small Key, then return to the previous room and place the ice symbol on the pedestal. Then place a Platboom Echo to get up to the locked door on the right after the ice has come back.
The falling icicles are used to pass by the vents in the 2D room by binding and moving them. Then, use either the Flying Tile or Cloud Echoes to get across the gaps, though there is an entrance upward in the middle of the room that contains a treasure chest with a Golden Egg.
Summon a Brazier or Ignizol Echo on the ice blocks to reveal a ladder. Drop down to the bottom of the 2D room and bind the fire symbol. Bring it back up to the pedestal at the top of the room while avoiding the icy vents to melt the ice in the previous room.
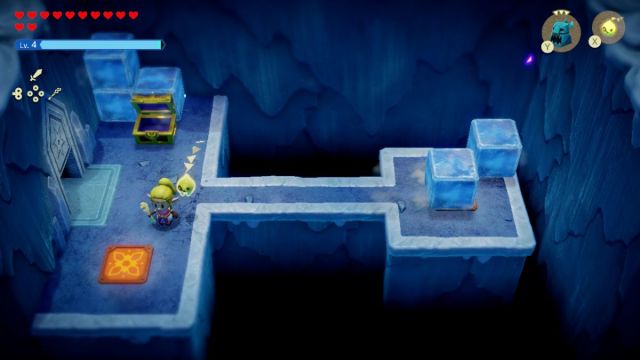
Go into the east entrance and push the ice block towards the right button. You will have to step on the bottom button at the same time as the ice block hits the right button to spawn a treasure chest containing a Small Key.
Bring it to the locked door in the previous room. Defeat all the Temper Tweelus to unlock the door and spawn a treasure chest with the Dungeon Map. Go through the left door and hit the checkpoint.
How to Defeat Green Slime in Zelda Echoes of Wisdom
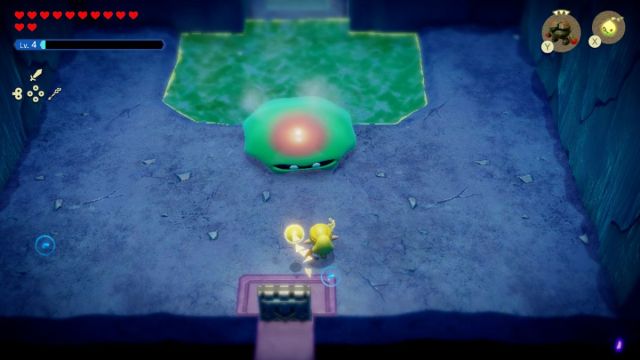
The Green Slime miniboss may be impervious to attacks at first, but you will have to freeze it before you can attack it. A Freezard Echo can work best for a steady icy stream, then attack it with other Echoes or Swordfighter Form.
This will cause the Green Slime to split into two, but keep the same strategy. Freeze the slimes as they continue to split up, but keep moving to avoid the falling slimes. Take a dip in the green hot spring to restore health when you can. Defeating it will unlock the north door.
You will have to light all the braziers in the room before moving on. Melt the icicles and use Ignizol Echo to light the braziers. The northeast brazier will require you to bind an Ignizol through the wall to light it, and the same can be done for the southern brazier as well. Be sure to make a trail of Water Blocks to the treasure chest containing 100 Rupees in the northwest before climbing south.
The next room will contain the Big Key, but you will have to puzzle your way around it. Take the southern entrance and go south again. Kill the enemies, grab the chest containing three Twisted Pumpkins, and head south again. Take the right door, then north to find a fire symbol.
Bind the fire symbol and drag it along the icy path while avoiding the obstacles. Place it in the northern pedestal to melt multiple ice ponds. The previous room will contain a treasure chest with a Monster Stone after diving in the water underneath the giant wall.
Go back into the multi-track room and place a boulder on the button in the water, then take the left entrance. Skip the next room and take the left door to find a fire symbol and some vents. You will have to block the fiery vents with a Boulder Echo to change the fire symbol into ice before placed on the opposite pedestal and freeze the water in the previous room.
Starting at the east entrance, summon an Ice Block Echo to push towards the button across the ice. Then jump the gate and step on the other button at the same time as the ice block touches to open up trh north entrance. Defeat the White Wolfos to move on.
The next room will require blocking all icy vents to get the fire symbol from one corner to the opposite pedestal. This will heat up the wall in the room with the ice symbol. Take the ladder and hit the button to get back to the room.
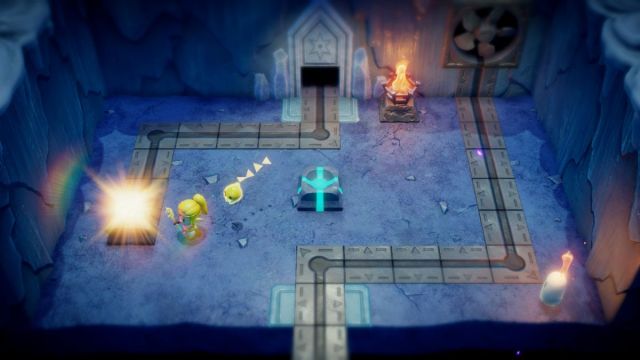
Light the brazier, then move the ice symbol over the fire to change it before placing it on the pedestal. Reset the room by leaving, and place the ice symbol on the pedestal. Go to the previous room and hit the yellow button to unlock the gate and get the Big Key. The door to the boss room is on the right, where players will fight Skorchill for a full Heart Container and Nayru’s Sanction.