
Zelda Echoes of Wisdom – Gerudo Sanctum Dungeon Walkthrough
Sand just gets everywhere.

The Gerudo Sanctum rift is either the second or third dungeon that The Legend of Zelda: Echoes of Wisdom players will encounter and requires a visit to the sandy desert. Here is the complete Gerudo Sanctum walkthrough for Zelda: Echoes of Wisdom.
Zelda Echoes of Wisdom Gerudo Sanctum Dungeon Walkthrough
The first room of the dungeon contains a wind cannon near a ladder that can be bypassed by binding a boulder to the right as you climb up. Either conjure a Boulder Echo or use the one in the room.
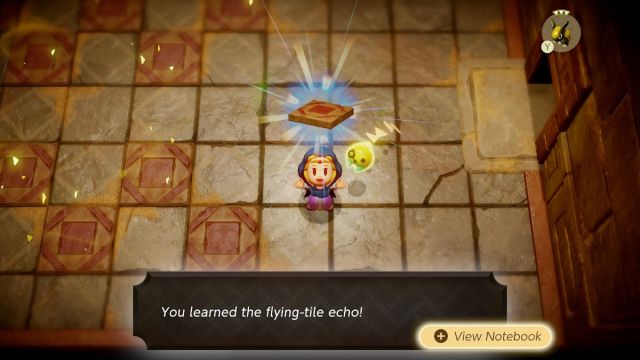
Hit the checkpoint and go to the left room to fight or dodge Flying Tiles for a chest containing Rupees. Make sure to learn the Flying Tile Echo before you leave. The room to the right has a time-sensitive rod attached to the door, so bind the rod to give yourself more time and use the Flying Tile to get across the treadmill path.
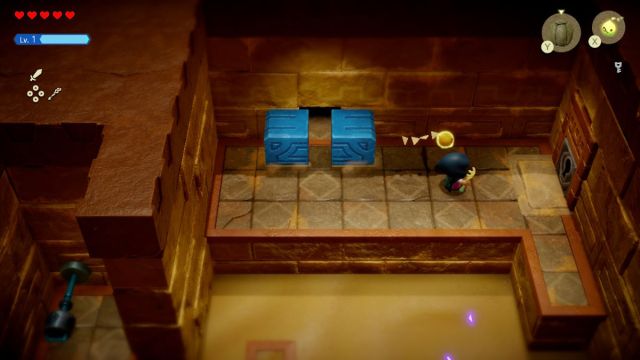
Bind the far wall in the small room to create a doorway to a chest containing the Small Key and use it at the front entrance. Learn the Snake Statue Echo in the next room and proceed north. Defeat the two Mothulas in the next room with flying Echoes or Swordfighter Form, then learn the Mothula Echo.
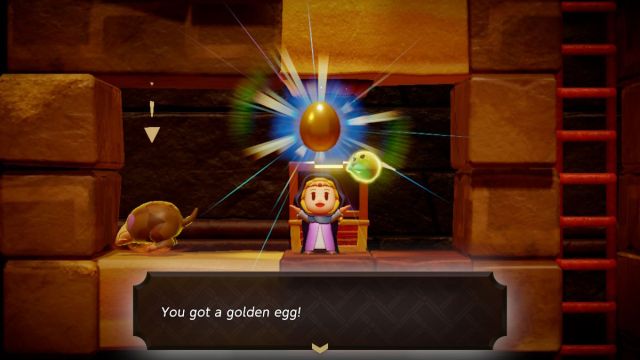
Follow the path to a room with treadmills and boxes, so destroy the boxes with a Flying Tile Echo and travel over on it to a ladder below. Defeat the Caromadillos in the next room and continue south. You can even use a Holmill Echo to bury through the sand for a chest containing a Golden Egg for smoothie making.
Hit the checkpoint and bind the east wall for another entrance. This room has a Holmill to defeat and a chest with 10 Rock Salt by blowing away the piles of sand with Wind Cannon or Tornando Echoes. The room to the west has a Poe to defeat by distracting it and then using Swordfighter Form. Learn the Poe Echo, grab the dungeon map from the chest, and move south.
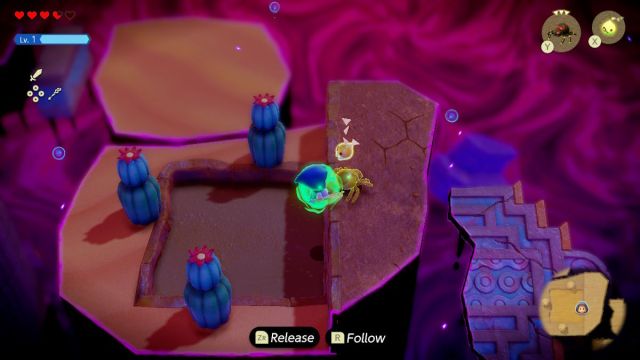
Follow the path outside in the Still World, binding a chest containing 20 Rupees, and then bind the lower tower section to create a ladder to a 50 Rupee chest. Stack some boxes or use the Crawltula Echo to get past the wall.
Hit the checkpoint, defeat the enemies, grab the Monster Stone chest under the sand dune south, then Holmill Echo the sand patch to the left to tunnel down into a room with a 50 Rupee chest. Warp back and take the east path down and over the disconnected platforms. Ignore the entrance to the left.
Use Crawltila or Platboom Echoes to ascend the high wall. Defeat the Redeads, clear away the sand dunes, and bind the lower tower section to create a ladder. Learn the Hawk-Statue Echo and return to the entrance to the left of the disconnected platforms.
This room has another time-sensitive rod to bind. Then, use the Flying Tile Echo to travel across the room before the blocks close the entrance. Learn the Cat-Statue Echo in the next room, bind the northern statue out of the way, and go north.
How to Defeat Bow Link
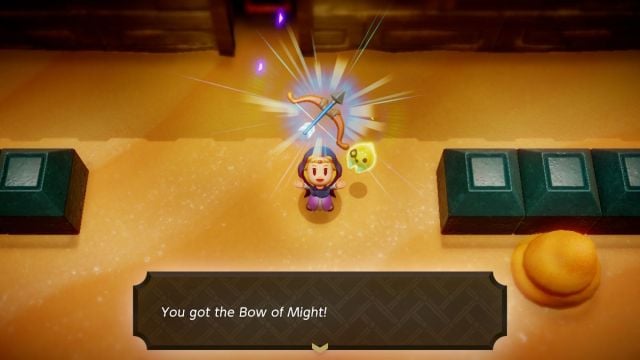
Hit the checkpoint, and the next room will contain an evil Link with a bow. Use a combination of fighting Echoes and Swordfighter Form to defeat Link and his copies to earn the Bow of Might. It can be used to fire arrows while in Swordfighter Form.
Shoot arrows at the purple goo web in the next room to continue further. Hit the checkpoint and bind a Boulder Echo to get past the flames. Learn the Elephant-Statue Echo and grab the chest with the Small Key.
Return to the time-sensitive rod room and use the Small Key on the west door. Bind the northern wall to reveal a passage. The next room has you binding the fire cannon to light three torches, but send a Flying Tile at the corner Wind Cannon to stop extinguishing one torch. It reveals a final clue for the two statues necessary, so warp back to the room where you first saw the ornate tablet and two pressure plates.
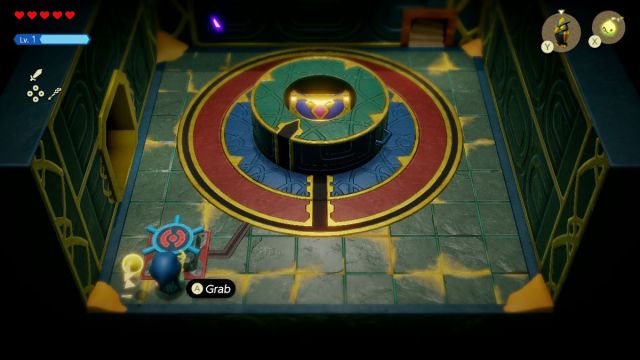
Place the Elephant-Statue Echo on the left plate and the Hawk-Statue Echo on the right plate to unlock the door. Bind and pull the pillar to empty the sand out of the boss door room, then go into the right room. Use the corner wheel to align the blue slit with the red slit, then turn the wheel so the green slit is either facing west or east.
Bind the green slit and pull so it lines up south with the other slits. Grab the Big Key from the chest and take the northern exit to the boss key room. In the next room, you will fight the boss, Mogryph, who will reward you with a full Heart Container once defeated.