How to Complete Background Checks in Starfield
No place is sacred or safe
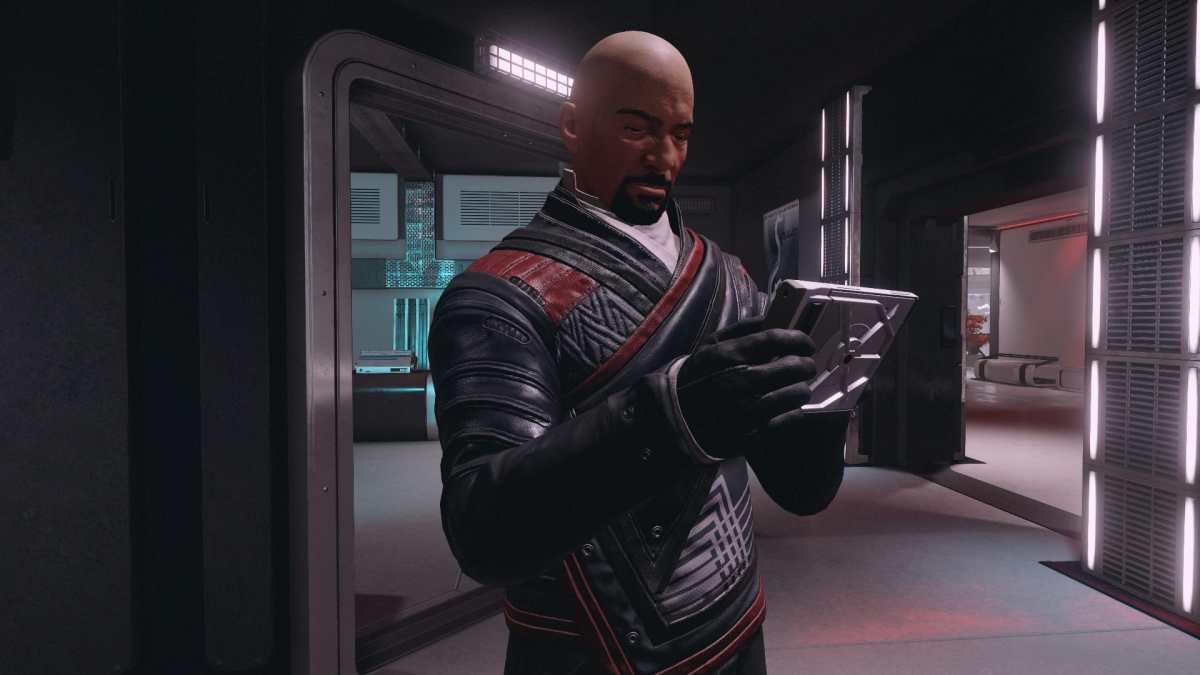
Our last tangle with Ryujin Industries revealed that there’s a high-level mole somewhere in the system. And now it’s up to us to stomp them out of existence. Here’s how to complete Background Checks in Starfield.
How to Complete Ryujin Faction Quest Background Checks in Starfield
Last quest, we found out that Ryujin’s intellectual property was being sold by a high level mole to competitors. And now it falls to us to sniff them out and deal with them. So, let’s get right into it.
Speak to Dalton Fiennes
First things first. We’ll need to speak to the security officer, Dalton Fiennes. He’s on the executive floor of Ryujin Industries. Once you’re on the executive floor, head to the second landing. Just above the lobby but below Ularu’s office.
He has the office on the far back wall.
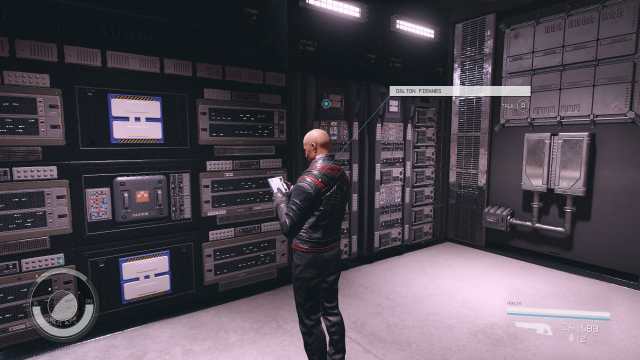
Speak to Dalton, and he’ll give you the rundown of the mission. You’ll need to infiltrate Ryujin Industries as an anonymous outsider. Your badge will be turned off, and the guards will be hostile towards you if they catch you. To that end, he’s handed you a Disruptor to avoid killing anyone if it comes to that.
All of these precautions are here because you’ll need to upload a program to Ularu’s computer.
Speak to Nyx
If you’ve completed the Crimson Fleet Faction quest, you’ve heard of Nyx. He’s the best hacker in Neon and possibly the galaxy. And he’s waiting for us in Madame Sauvage’s Place. This bar is located in Ebbside on Neon, so make your way there.
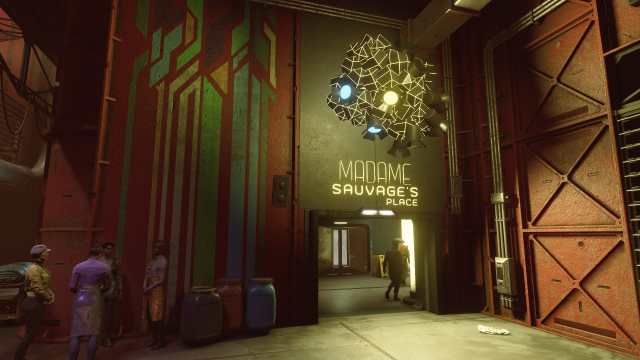
The Ebbside door beside the Mining League is the quickest way there.
Nyx will be in the corner just to the left of the door. I’ll be honest. I expected him to look a little more goth, with a name like Nyx.
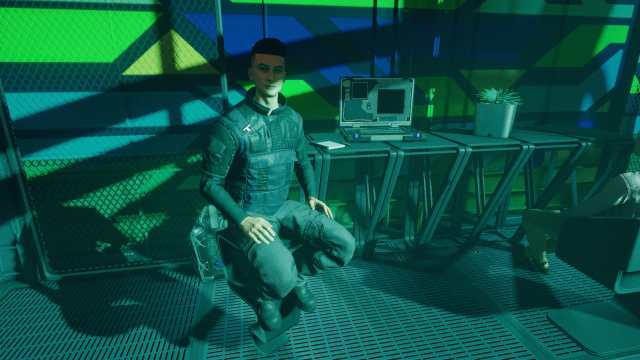
He’ll give you the program, but you’ll either have to pay or do a favor.
Option 1: Pay
You can buy the program for a pure 2,500 Credits.
Option 2: Persuade
If you persuade Nyx, he’ll give it to you for 1,000 Credits.
Option 3: Do a Favor
It’s always favors with these people. He’ll want you to also put the program on Camden Cho’s computer while you’re in Ryujin’s Tower. I’ll include how to do that in this guide. But rest assured, it’s on the way to where you’re going.
Note: if you opt to do this favor, Camden Cho will be fired. This has an impact on the information you’ll get in the quest “The Key Ingredient”, another Ryujin Industry faction quest. Of course, you can still complete that quest without Camden, but it may be worth just coughing up the 1,000 Credits.
Once you’ve made your decision, you’ll need to infiltrate Ryujin Tower.
Infiltrating Ryujin Tower
So, we won’t be entering Ryujin Tower through the front doors.
Leave Madame Sauvage’s Place, then turn left. You’ll be in a somewhat desolate and grimy corridor. But at the end of it is a series of metal stairs. Climb them all the way to the top.
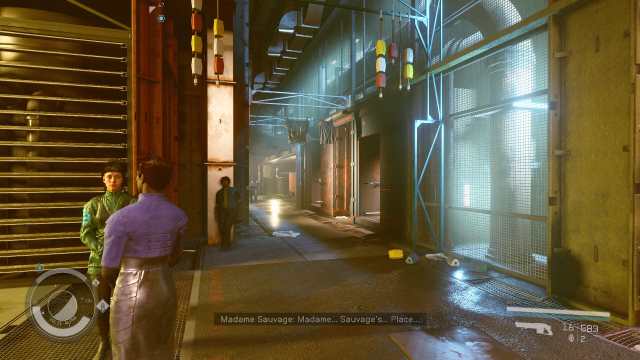
You’ll hit the roof, and up there, you’ll find a button and a vent. Hit the button.
The button will cause a machine to your right to turn, bringing up a long crate with a plank sticking out of it. Yeah, we’re about to platform.
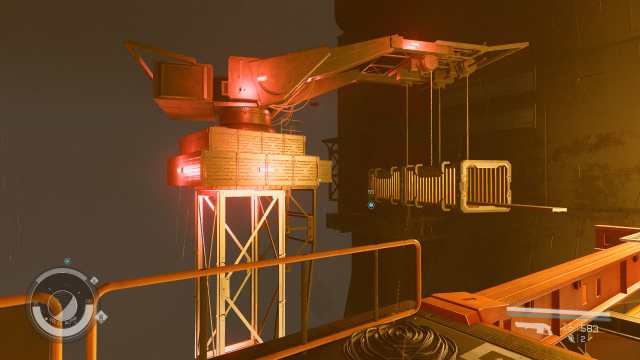
Make your way into the crate, then drop down onto the metal path. The path will lead to a vent. Enter it, and you’ll be in Ryujin Tower.
Get to Ularu’s Computer
So, now’s a good time to equip that Disruptor Dalton gave you. This will prevent you from outright killing anyone.
Note, when it comes to using stealth, you must crouch to have the stealth meter at the top. You must also have at least one point in Stealth. Moving slowly will keep your hidden status up. Unequip your spacesuit for better stealth. Likewise, use your photo mode to move through the building to check blind spots for guards. This may feel like cheating, but it makes it easier.
I also highly, highly, highly recommend you not bring companions in. I initially brought Barret. And while I love the man, he ran out in front of the guards, then returned to me with them in tow, talking about how he should buy Vasco a gift while we’re here. Sometimes, he would vanish, and I would get notifications about Ryujin bounties without ever interacting with anyone.
Now, let’s navigate this place.
Once you enter, you’ll see a yellow storage container and a mobile table. Jump up on these to access the vents above the room.
Related: How to Do the Starfield Money Glitch on PC and Xbox
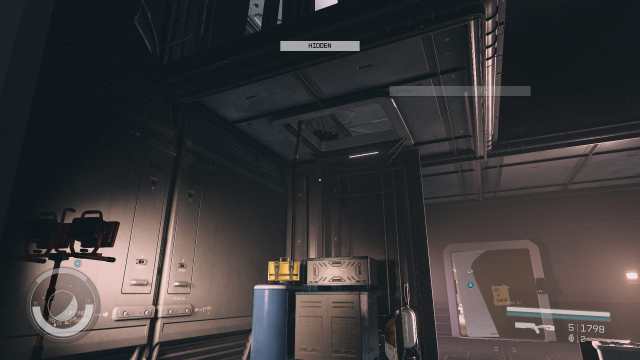
Drop at the only available place to drop. You’ll be in a closet. It’s safe to open but not purely safe to go outside. There’s a guard down the hall you’ll need to get past.
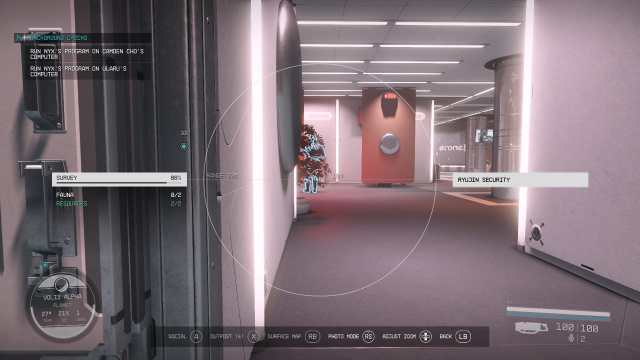
Fortunately, this guard doesn’t move and doesn’t look in any direction but in front of him. Use the poles to the right to avoid the line of sight and keep crouched.
Enter the left room. You’ll see that there’s a terminal to your right. Interact with it, then start the Drone Demo program. This will distract the guards in the room to the left.
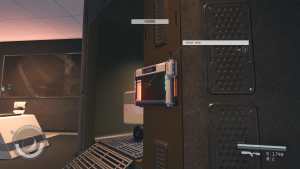
While they’re looking at the drone (and possibly Barret), turn right and open the door immediately. This will lead to a stairwell.
Climb the stairs to the very top.
Once you’re on the top floor, open the door to your right. This is a bathroom. But more importantly, it’s a room with a vent.
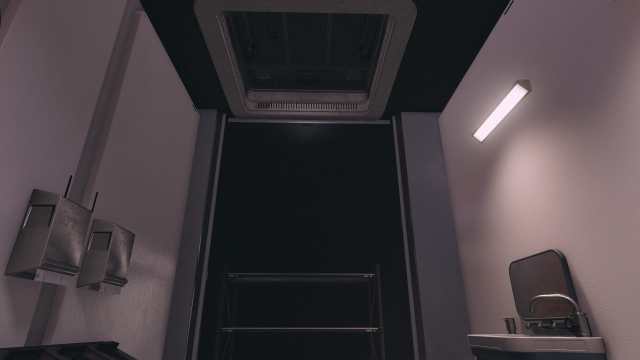
Interact with the hatch above the shelves to open it. Then, climb inside. The hatch to your left will take you to a maintenance closet. The hatch to your right will take you to the kitchen.
The right hatch is by far the best choice. There are fewer guards, and it’s closer to both computers.
To get into Camden Cho’s office, the first door you’ll encounter when using the right hatch, you’ll need to lockpick it. Fortunately, it’s only a novice lock. Once you’re inside, interact with the terminal if you need to run the program for Nyx. Then select Rover. It will upload automatically.
I also highly recommend you lockpick this door no matter what. Because a guard will come down this hallway, but note once it’s lockpicked, a guard will eventually enter.
So, use the vent within Camden Cho’s room immediately after uploading the program. You’ll need to climb up on the drawers. And you may need to equip a pack with a boost to do that. But remember to interact with the hatch first to open it.
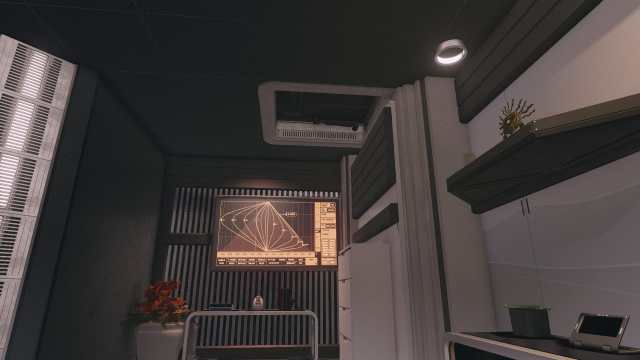
You then have two options. Wait for the guard to leave the room and begin the patrol again or take the hatch into the boardroom.
The boardroom is a difficult place to be. It’s at the center of the floor with guards on all sides. But, unlike Camden Cho’s room, it has windows and a few openings to watch the guards pass. This makes timing your escape easier, whereas, with Camden’s room, you rely partly on luck, as the blind spots are so large. Photo mode does make this room easier to manage, however.
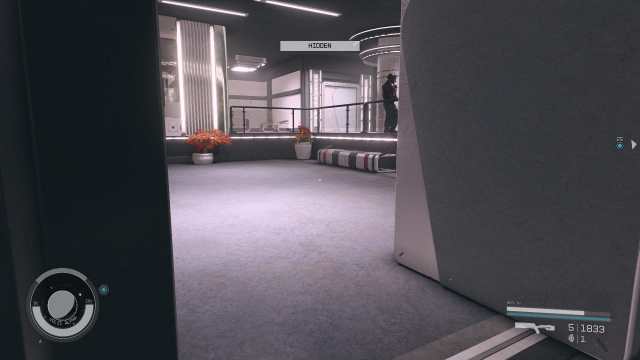
The view from the boardroom.
Whichever route you pick, your end goal is the same. And that’s the room in the very back. You’ll know you’re in the right place because there’s a random storage box to the room’s left on a white table. Enter it, then access the vents.
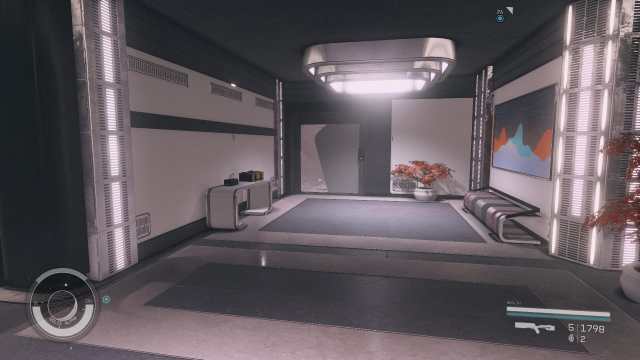
Go left, then climb up.
This next room is full of guards. But there are only two we really have to worry about. The first is to the right, in the recessed area. You can avoid alerting them by staying pressed up along the left-hand wall.
The second guard is the troublesome one. They move in a straight line, and we aim to access the stairs to the far right.
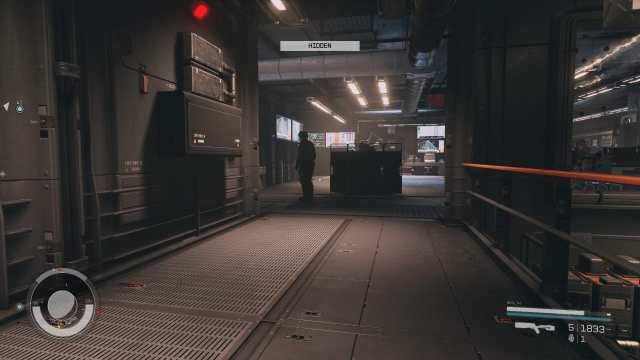
This is the easiest to do when they’re almost in front of you at the end of the hall but staring at the wall to your left. When this happens, sneak past them and head immediately to the stairs.
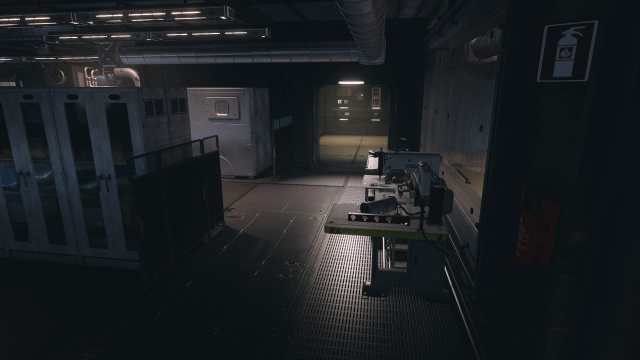
This door leads to the stairs.
There are technically two other ways to get through this area, but after extensive testing, this is the best method.
Once you’re up the stairs, you’ll find metal railings to your left, which look out over the area you just passed. The guards down here can spot you easily, so it’s still important to time when you move. The second issue is a guard in an alcove to your right, along the wall.
In this section, your stealth meter can quickly go from hidden to caution. So, move strategically.
When you’ve made it to the end of this section, you’ll find two doors that open up onto the balcony. There’s also a terminal to turn on to cause the robots to shoot the guards. But I chose not to do this, to maintain the stealth of the mission.

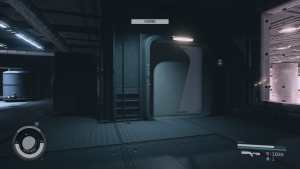

If you choose not to activate the terminal, you’ll have to be aware of both the patrolling robot and the guard that will come from the right side. Use the window beside the balcony to determine where they are before dropping.
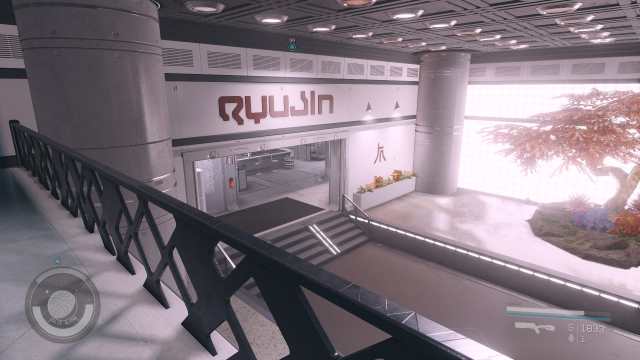
Here’s where things get a little semi-murderous. Head left, and you’ll be in a large, tech-oriented room. There will be one guard on the console to the left. And another guard at the top of the stairs to the left.
Our goal? The vent up the stairs is reachable only by jumping up on cabinets.
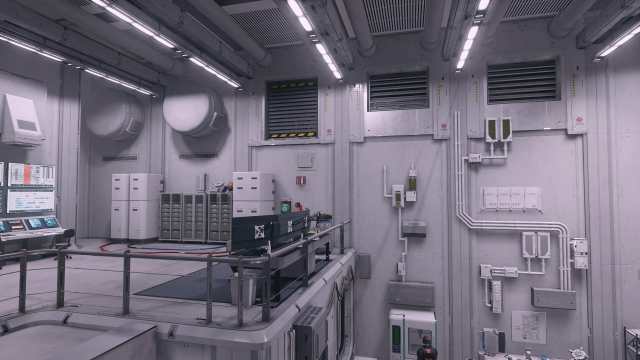
I have found no way to get past this part other than killing the guard at the top of the stairs. He never moves, never turns. Possibly, this is a bug. I don’t know. But you’ll need to use your Disruptor on him. Do it as soon as you see him.
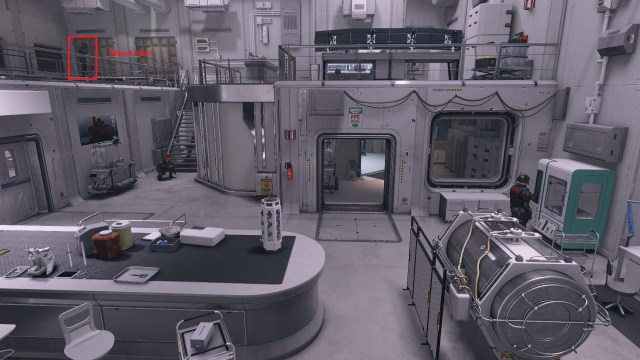
Climb up the vent, then follow it to the end. You’ll open it to find yourself looking at a catwalk on the edge of the huge room where the robot was patrolling. Follow it straight across, and you’ll find yourself in another vent.
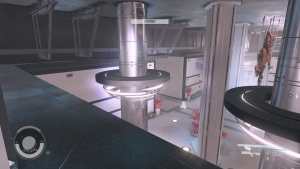
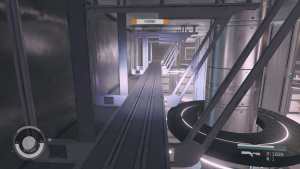
This one leads to the open area close to Ularu’s office. This one is quite empty, and I didn’t run into anyone. But that doesn’t mean there isn’t anyone patrolling. Save before dropping down, then make your way into Ularu’s office.
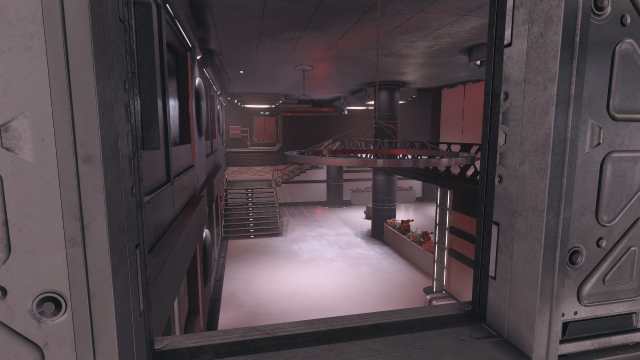
Once there, interact with her terminal and run the program. You can then leave through the vent in the corner of her office.
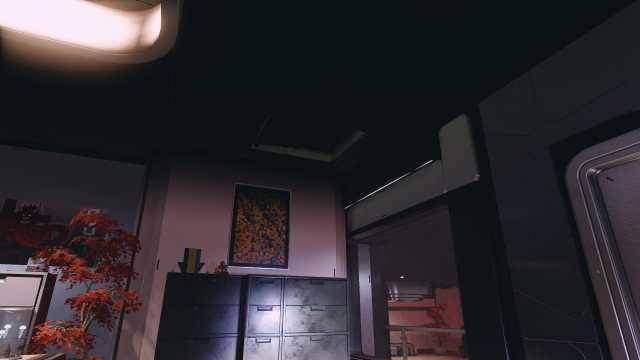
This will take you back outside to Neon.
Return to Nyx
Job well done! Just jump back down to the roof or fast-travel to Neon’s Core. Nyx’s apartment is in Ebbside, behind Madame Sauvage’s Place. You’ll need to head up some stairs, and his door will be there.

His apartment looks exactly like you expect. Speak to him and have him look through Ularu’s computer. He’ll hand the slate to you. Now, you have to return it to Dalton.
Related: Best Powers in Starfield Ranked: Powers Tier List
Speak to Dalton
You can now return to Ryujin Industries without any muss or fuss. Head up to the executive floor and give the slate to Dalton. He’s on the floor between Ularu’s office and the lobby.
He’ll reveal who he believes the culprit is. And he’ll also hand off your credits and a few meds. Nice!
