
Tears of the Kingdom: All Bargainer Statue Locations in TotK
Get ready to throw a lot of seeds
Despite the eerie darkness and constant heart-wrenching Gloom, I’m fond of the Depths in The Legend of Zelda: Tears of the Kingdom. The allure lies in collecting Poes and locating every Bargainer Statue to trade them. Here is our guide to the TOTK Bargainer Statue.
Tears of the Kingdom: All Bargainer Statue Locations Listed
There are six Bargainer Statues total, and five of them only need a little bit of exploration to reach. There’s no quest related to these Bargainer Statues, but they’re a great source of loot. There will be multiple paths you can take, and I will point you toward the easiest jump point along with the precise coordinates of the actual statue.
The Depths Armor Set is so helpful as you set out to find all the statues. One piece will prevent heart loss in the Gloom for a set period, and it refreshes quickly. This is so useful because the Gloom will impede your path and make you less efficient. So, once you’ve unlocked two statues, buy the Tunic right away.
To get the Depths Armor Set, you’ll need to visit the Bargainer Statues in the guide below. There are three pieces in the set:
- The Tunic of the Depths – 150 poes, 2 Bargainer Statues found.
- Gaiters of the Depths – 200 poes, four statues found and six statues.
- Hood of the Depths – 300 poes, six statues found.
How to Find the Plains Bargainer Statue in TotK
This is likely the first Bargainer Statue you’ll find, as it’s very close to the Chasm you enter for “Camera Work in the Depths”. During that quest, you’ll unlock the first Lightroot, Nisoij Lightroot. Its coordinate are 0454, -0897, -0469.
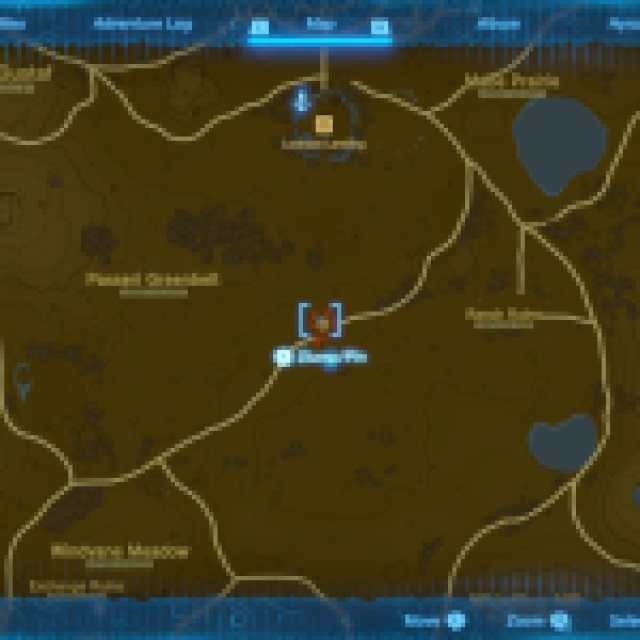


You can click all of these maps to make them larger!
From Nisoij, you just need to travel southeast, through the white stone roots. Once you’re through the roots, you’ll enter an extensive field and see a Lightroot in the distance. Go towards this Lightroot, and when you’re almost on it, keep an eye to the left.
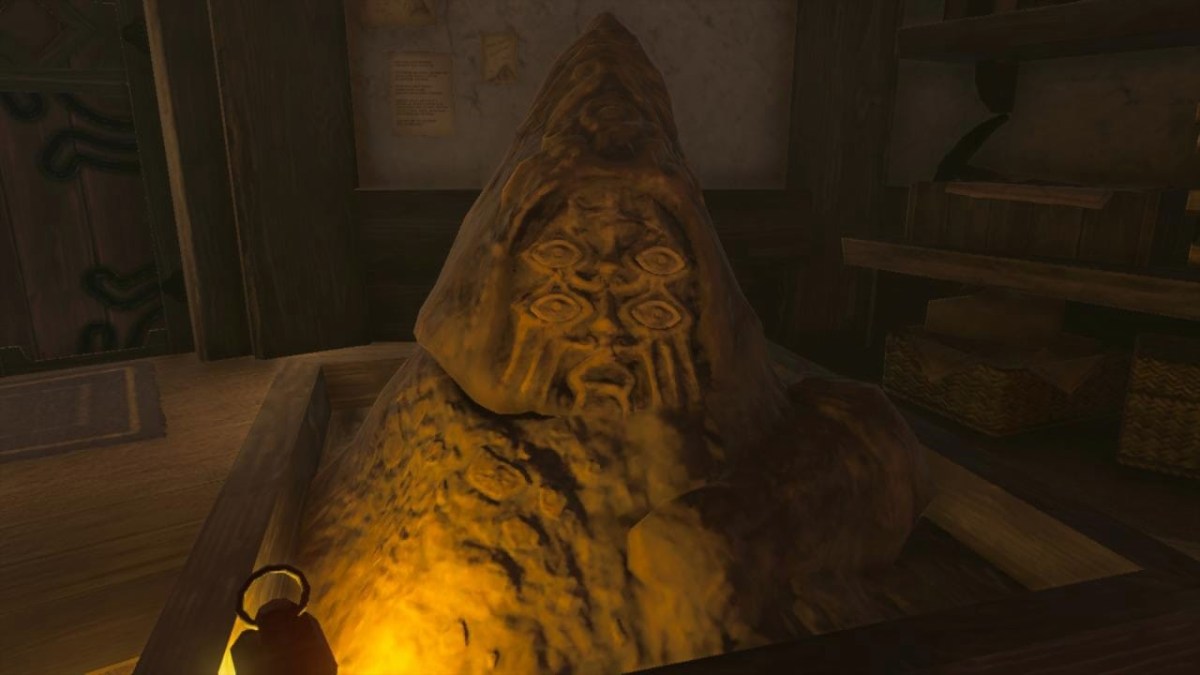
The Bargainer Statue will essentially look like just a brown lump of rock, but it is covered in white mushrooms. This is the only thing that makes it stand out from the background.
How to Find Wellspring of Courage Bargainer Statue in TotK
The fastest way to get to this one is to head to Faron in the far South of the map and drop through the Hills of Baumer Chasm at coordinates 0334, -2084, -0471. Be careful as you drop, as you’ll be falling into a Yiga Clan stronghold. And they’ve got flamethrower cars.


Make a beeline to the nearby Büğüş Lightroot to illuminate the area. Then, head south, following the valley and the cave wall left. Eventually, you’ll hit a pond. When you make it here, turn left, and you’ll see a Lightroot in the distance.
Get to that Lightroot, then go right where you’ll see the Left Leg Depot.

At the entrance (seen in the image below), use ascend twice.

Once you’re up here, the Bargainer Statue is much more accessible, but note that it’s massive. Shimmy up its arms to make a wish on its platform beard. Its exact coordinates are 0917, -2429, -0458.
How to Find the Cliff Bargainer Statue in Tears of the Kingdom
The next Bargainer Statue is best accessed through the Drenan Highlands Chasm, which is in the very far north of the map, in between Eldin and Hebra. Its coordinates are -0043, 2988, -0616.


Once you’ve dived in, head southwest, but be aware that there’s an Obsidian Frox here. Get too close, and it will inhale you.
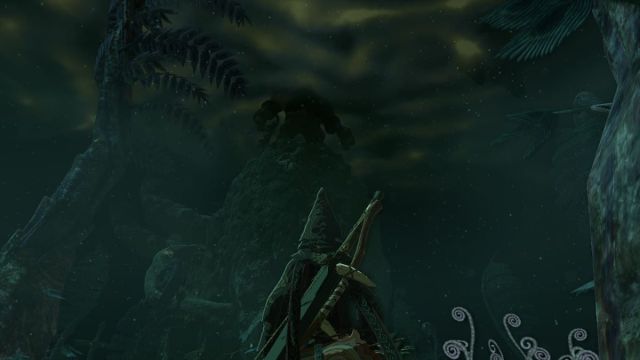
Cross the field, and you’ll reach a chasm full of rock roots. Far across it, there’s a mountain. On this mountain, at the peak, is both a Lightroot and the Bargainer Statue. For this Statue, climbing is really all you can do. Keeping right will make crossing the chasm easier, but there is a Lightroot at the bottom, which I recommend you get before progressing.

Once you get across the Chasm, you’ll be able to see the Bargainer Statue standing atop the cliff. Just like the Wellspring of Courage Bargainer, climb up its limbs to get to its head. Its exact coordinates are -0984, 2728, -0624.
How to Get to the Wellspring of Power Cliff Bargainer Statue in TotK
The best access point for this Bargainer Statue is through the East Akkala Plains Chasm, just east of the Ulri Mountain Skyview Tower on the far west of the map. If you see a swirly bit of land, you know you’ve found the right chasm. Its coordinates are 3842, 2300, 0048.


If you jump into this hole, you’ll be jumping down into the territory of an Obsidian Frox. If you land on top of him, or too close to him, it can be deadly.
Try to glide north, and you’ll quickly see a Lightroot.
Make your way there to light up your surroundings, then continue north with a slight western slant. Expect to do some cliff climbing, and if you find yourself at a pond, know that you’re going the right way. Follow the pond’s edge north west until it ends, then head directly north, up the mound of rocks.
This mound is actually the Bargainer Statue! He’s just very hard to see. His exact coordinates are 3701, 2595, -0415.
How to Get the Wellspring of Wisdom Bargainer Statue in TotK
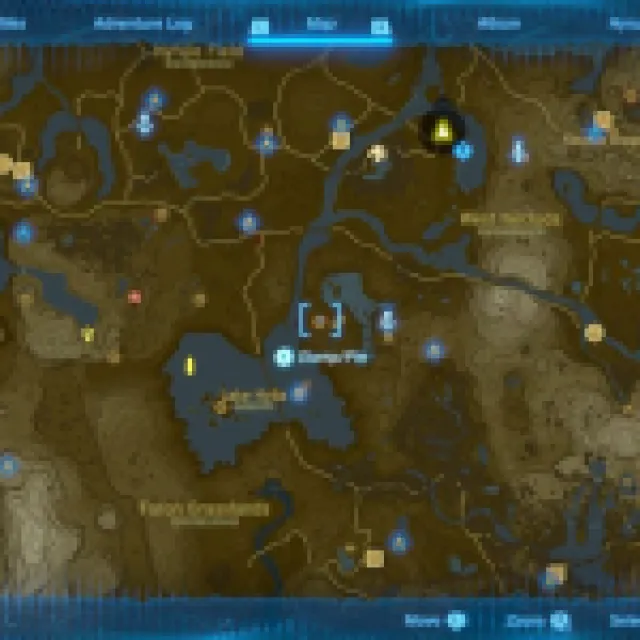
For the last Wellspring Bargainer Statue, we’ll need to go south of the Wellspring of Power. Head to Naydra Snowfield Chasm, to the left of Mount Lanayru Skyview Tower. If you haven’t found this Skytower, the Chasm is almost directly north of Hateno Village, though you will have to climb a few mountains to get there. The exact coordinates are 3527, -1482, 0168.
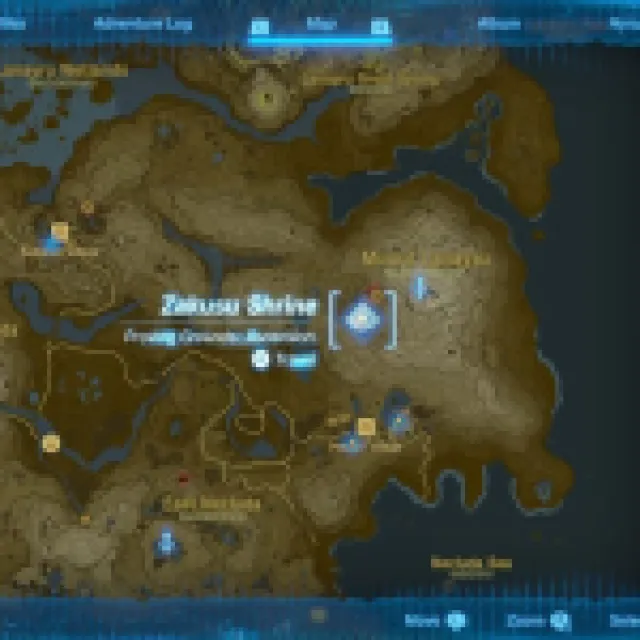


There are two Lightroots nearby once you drop, and I recommend grabbing both. Once you do, check your map for the chasm icon. It should look like a small yellow sunflower. From this chasm icon, we want to go exactly right. The Wellspring of Wisdom Bargainer Statue is one of my least favorites, because it’s at the bottom of a dark hole near water. I have drowned in this water multiple times. Please try to avoid my fate by throwing Brightbloom Seeds as you descend.
If you throw a Brightbloom Seed and it sputters out and dies, it means there’s water.
If you followed my instructions, you’ve likely seen a ridge above the water. If you stand on it, you can look directly at the Bargainer Statue. Glide across the top of the waterfall, then climb up it. Its exact coordinate sare 3846, -1333, -0895.
How to Get the Great Abandoned Central Mine Bargainer Statue in Tears of the Kingdom
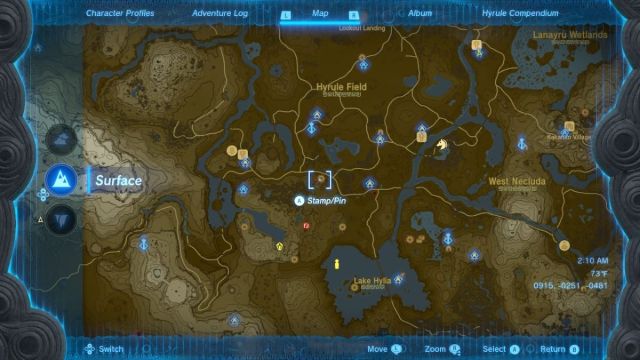
This is the last statue! And to find it, we’ll actually need to go above ground. From Lookout Landing, head south through Hyrule Fields until you hit the castle walls of Gatepost Town Ruins. The exact coordinates for the Great Abandoned Central Mine Bargainer Statue are -0564, -1526, 0019.
At this spot, you’ll see that there are a few crumbling rocks in the wall with water spurting out of them. Use a bomb or a hammer to knock out the rocks.
Water will pour through the hole. Go through the new entrance, and you’ll find a Bargainer Statue head. Speak to it, then head up the path towards the Temple of Time Ruins. Inside will be a statue you can pray to, and it will assign you the quest “A Call From the Depths.”
Now that the water is drained, you can find the sixth statue, which is directly beneath the Temple of Time. The only issue? You won’t be able to interact with it until the quest is done. To do this, you’ll need to find each of the statue’s eyes, dump them into the nearby chasm, then fetch the eyes in the Depth and bring them to the Bargainer Statue in the Great Abandoned Central Mine.

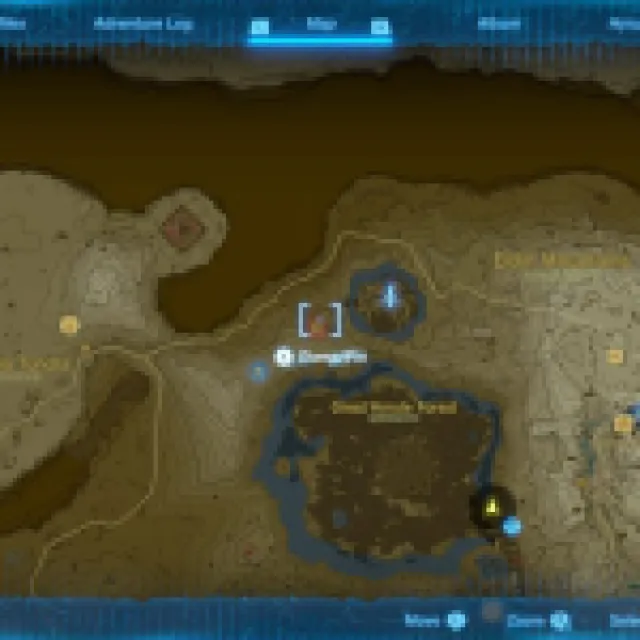
If you just want to see the Statue, I recommend going through the Great Plateau North Chasm. This chasm was immediately to the right of the gate you broke open. From here, you only need to go South and slightly east, and the Temple (which is big and white) is obvious. The other chasm points nearby will make you use mine carts and flying contraptions, at least if you want to get to the temple quickly. The Bargainer Statue will be at the very top of the temple.
ToTK Bargainer Statue Rewards
Upon discovering new statues and interacting with them, others will also offer their clothing for sale. For instance, the second bargainer statue found sells the Tunic of the Depths, and subsequently, all statues, including the one in Lookout Landing, will offer the Tunic of the Depths. The equipment unlocks in the following order:
- Dark Tunic (150 poes)
- Tunic of the Depths (150 poes)
- Dark Trousers (200 poes)
- Gaiters of the Depths (200 poes)
- Dark Hood (300 poes)
- Hood of the Depths (300 poes)
- Tunic of Memories (400 poes)