
Shadow of the Tomb Raider: Hunter’s Moon Cart Puzzles
Here’s how to get past the hanging bells and complete the cart puzzles in Shadow of the Tomb Raider.
Part way through the first chapter of Shadow of the Tomb Raider, you’ll find yourself exploring your first set of ancient ruins in Cozumel. Soon after surfacing from the water within the ruins, you’ll find a large cavern that contains several short environmental puzzles for you to solve. These puzzles feature bells, carts, and pulleys that you will need to use in order to proceed through the ruins and reach the top. This guide will explain how to get past the hanging bells and solve the cart puzzles within the Hunter’s Moon story mission in Shadow of the Tomb Raider.
Hunter’s Moon Cart Puzzle Solutions
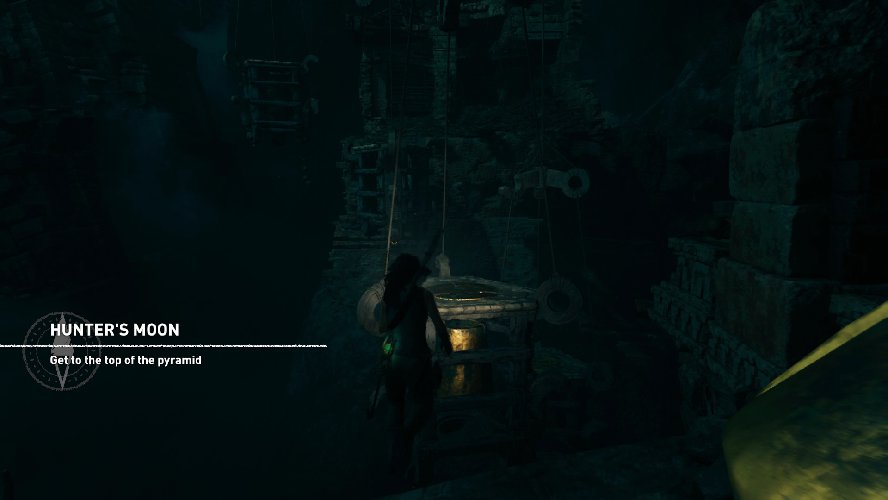
During the Hunter’s Moon story mission in Shadow of the Tomb Raider, your task is to find a way to get to the top of the pyramid. We’ve chosen to start the puzzle walkthrough here, as it’s your first real taste of puzzle solving in the game. As you explore the ruins, you will eventually reach a dark cavern that contains a series of hanging bell pendulums that you must traverse and manipulate to reach the higher levels. Before we get started, keep in mind that Survival Instinct is your friend here, so don’t be afraid to activate it when you get stuck.
Cart Puzzle #1
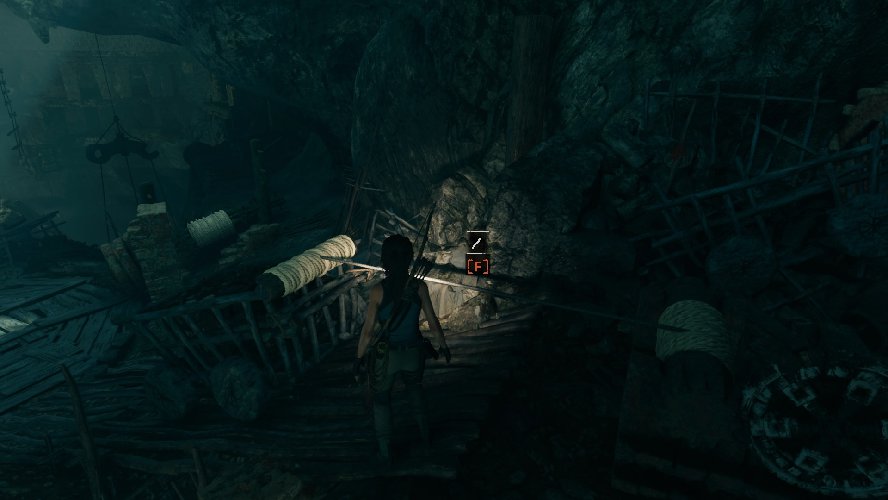
Jump across the series of hanging bell pendulums to reach the platform on the other side. Be ready to grab onto the sides and climb up if necessary. Head to the right, then look for a path leading to a set of stairs on the left, where you will find a cart that can be pushed.
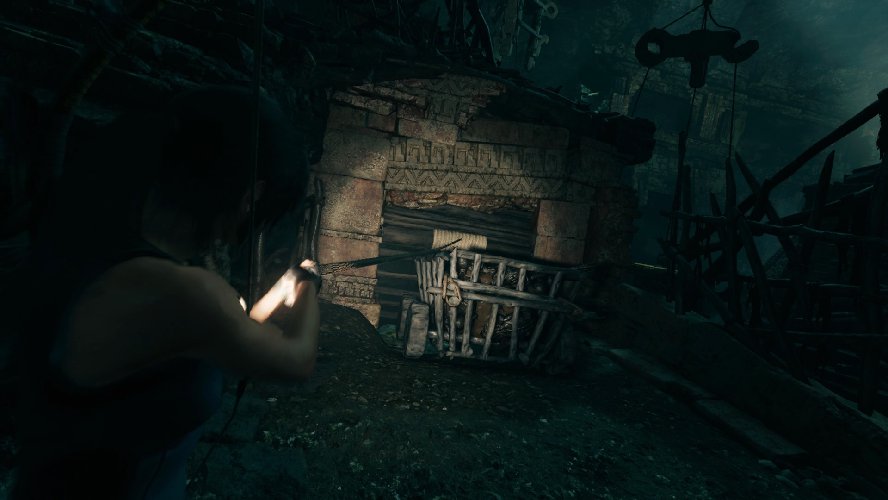
Notice the rope wrapped around a section of the wooden grate ahead of the cart. Aim at the coiled rope with your arrow, then shoot and pull the rope tether to break open the passage. Now, grab the cart and push it through the new opening so it rolls downhill.
This causes another hanging bell pendulum to raise on the right. Finish looting the area, then head up the steps and jump onto the raised bell pendulum.
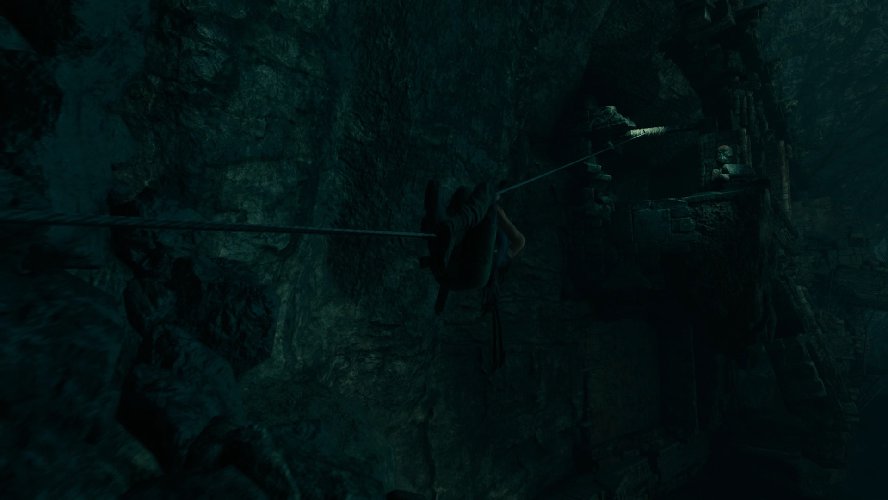
Jump across the hanging bell pendulums once again to reach a new pathway. Don’t forget to hit the Death Whistle carving hanging up on the right. While standing close to the rope-covered pole, shoot a rope arrow across the chasm at the other rope pole on the opposite side to create a tether to climb across.
Continue along the path and make sure to examine the Mural on the right before going forward. Ahead is a floor trap, so be sure to cut it before trying to cross. Leap to the next hanging bell pendulum, then jump over to the rough wall and climb up.
Cart Puzzle #2
This next section of the ruins requires pushing a cart through a pile of debris. To do so, you must line up the cart so that it can roll down the ramp.
Start by pushing the nearby cart so that it is positioned on the circular wooden platform in the center. Look up to where the light is shining from and be sure to shoot the Death Whistle carving before you proceed.

Grab the crank on the upper part of the rope machine and rotate the center platform so that the cart is facing the pile of debris. Make sure the coiled rope on the cart is on the side closest to the crank. Then, cut the rope that’s currently tethered on the crank machine itself.
Shoot a rope arrow at the rope coil on the cart to tether it to the top part of the crank. Use the crank once more to wind up the rope and pull the cart up the ramp.
Now, cut the rope connected to the cart. It will roll down the ramp and bust through the debris, freeing up a new bell pendulum path.
Now you’re in the home stretch. Jump across the remaining bell pendulum, then quickly jump and grab the hanging ladder. Scramble up the wall ahead and climb across the wall hangings until you reach the rough patch of wall on the far side. Rappel down to trigger a cutscene.
Finish up the Hunter’s Moon story mission and continue on to conclude the Cozumel chapter. Lara’s journey in Shadow of the Tomb Raider has only just begun. Make sure to check out our Shadow of the Tomb Raider Guide Hub for more puzzle solutions.