
Routine Complete Walkthrough
Complete walkthrough for all puzzles in Routine.

Routine has some interesting puzzles and can be confusing, especially when you’re fearing for your life at every corner. Here’s a complete Routine walkthrough with all puzzles solved for every chapter.
Chapter 1
Interact with the terminal and print out your ID card. Go through the basic controls and equip your helmet and suit before heading outside.
Getting the C.A.T.
Follow the hallway on the left and enter the room on the right. Take another right to the room with the projector screen, and here you can pick up your C.A.T. from the table. It’s your all-in-one tool for the rest of the game.
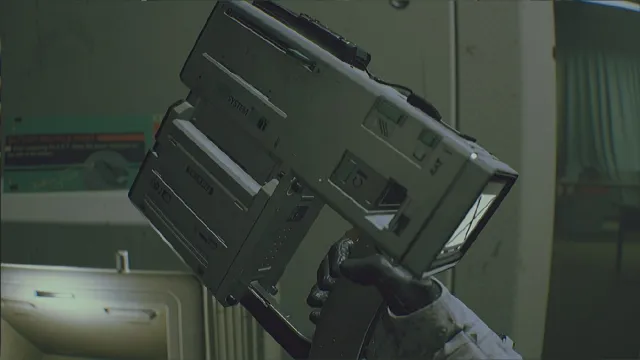
Open the other door in the room and pick up the battery. Now head back to the room with the projector screen. The recyclable battery dispensers give you one third charge but only work if your C.A.T. is out of charge.
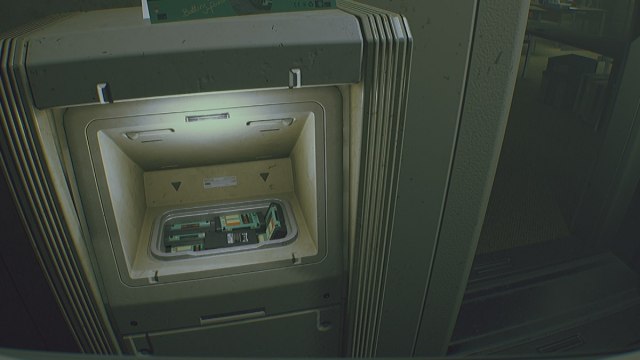
Press R to inspect your C.A.T and power it on with the button next to the battery. Next, step close to the screen and press the wireless connection button. You can now view your tasks and save the game.
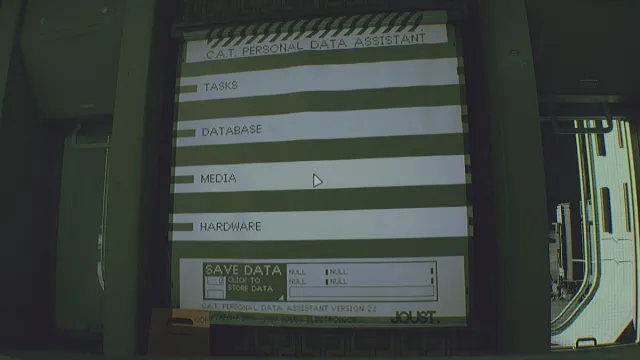
Arrival Elevator Keycode
The Arrival elevator keycode can be found in your C.A.T Database section. The keycode is 7082.
Unlock the elevator with the keycode and head upstairs. Head to the left, and you’ll be tasked with finding an ID and a way to find an access code.

Leaving Arrival
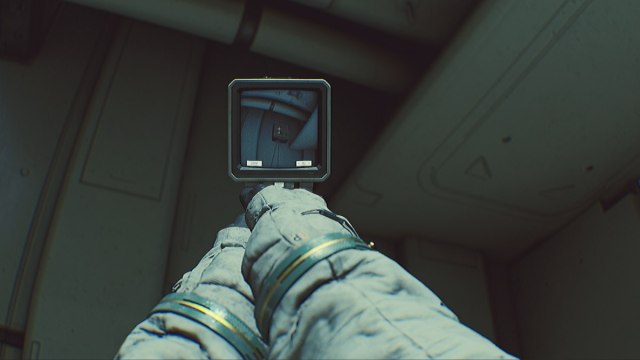
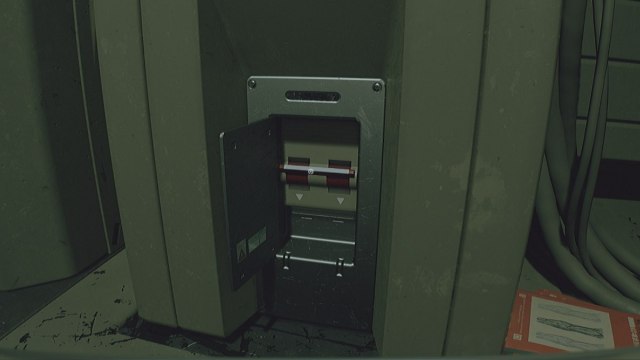
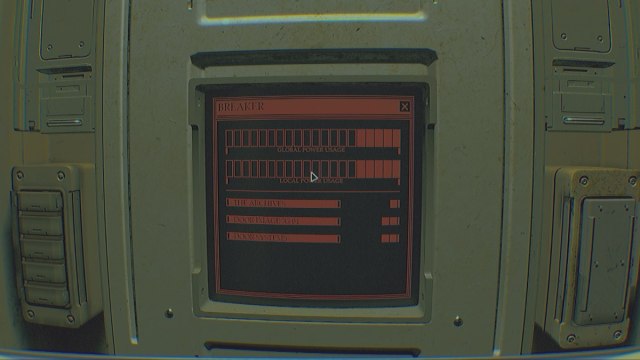
To open the gate on the right, you can overload the fuse box up on the wall with your C.A.T by pointing and shooting.
Head straight ahead and get inside the train. Pick the Mall as your destination.
Chapter 2
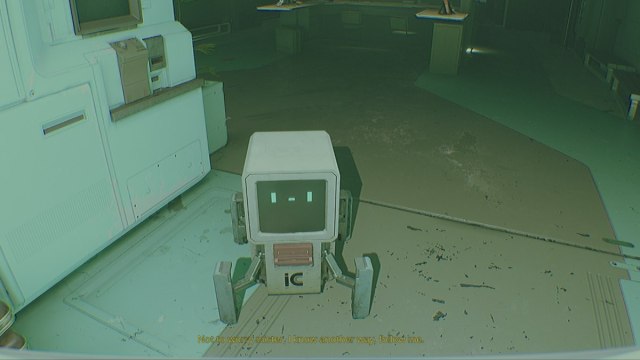
Walk ahead and pick up the batteries on the counter. You can interact with the button on the counter to get assistance from the cute little robot.
Follow the Robot
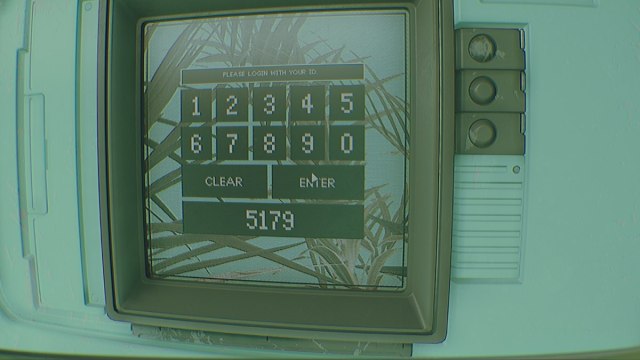
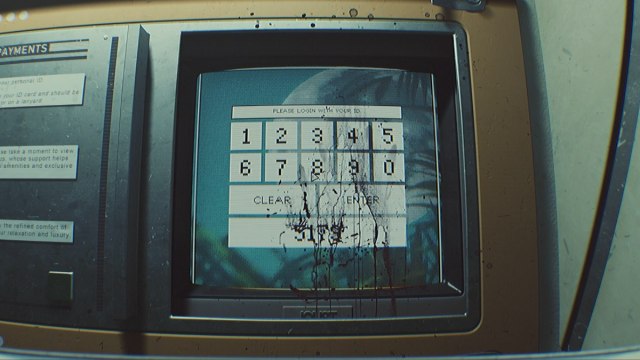
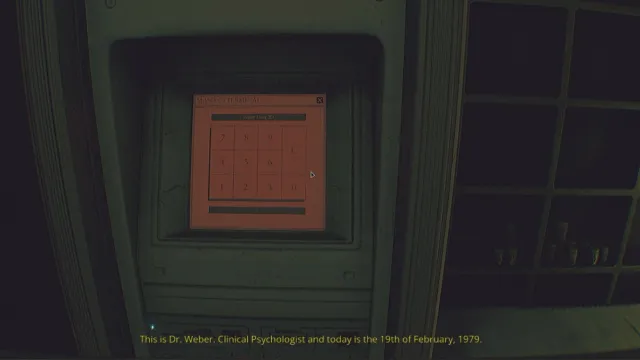
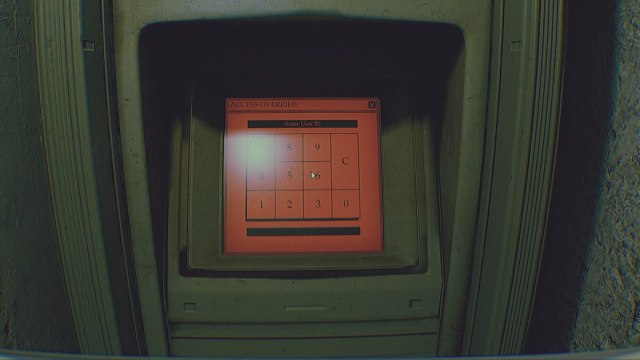
Interact with the terminal and input the code on your ID card. You can view it by looking down at your chest.
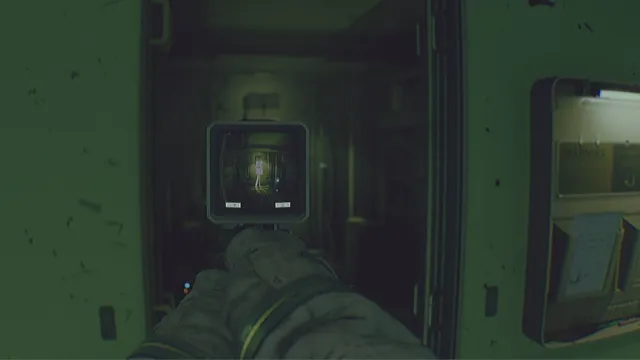
Follow your cute robot companion as he leads you down the scary-looking maintenance ladder.
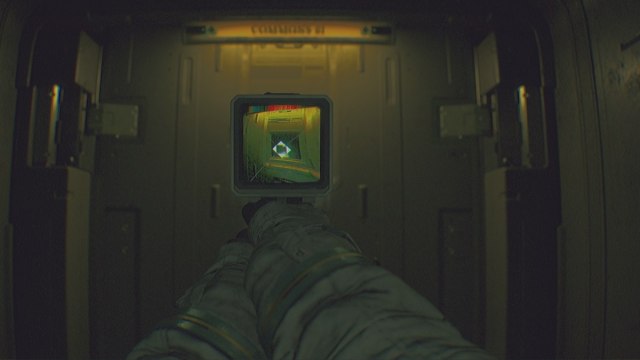
Head towards the right and overload the fusebox to your left with the C.A.T.
Crouch and crawl inside the narrow vent that unlocks here(there will be a lot of these).
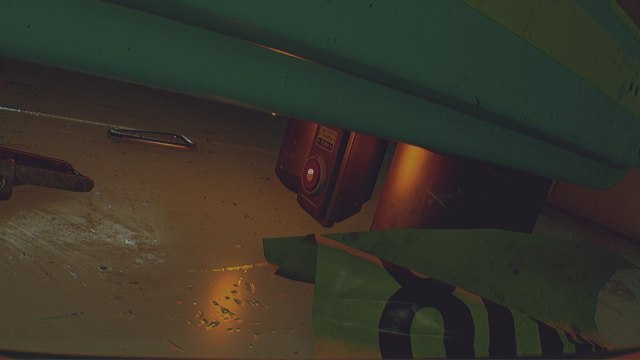
Use the deep crouch controls (CTRL+Space+S) to press the lockdown button under the table.
Running from the Robots
Hide in a corner or prepare to make a dash as the killer robot 05 cuts down the door. You can survive one hit from them. They’re terrifying but easy to outrun. Note that the checkpoint to save the game is to your left.
3 robots will be patrolling the area. Leave the room, take a right, a left, and another right until you see the Megazone store. Crouch and head inside.
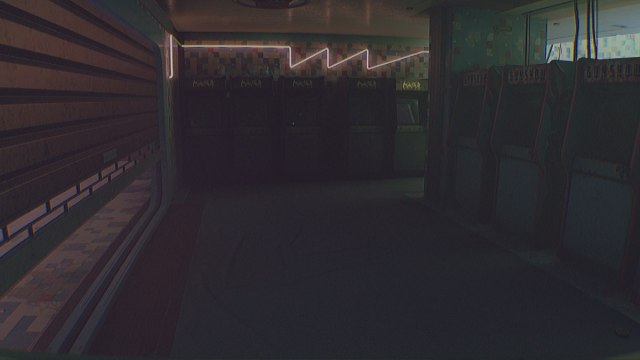
Feel free to play the optional and out-of-place bodybuilder posing game on the console(My high score was 9000).

Getting the Ultraview Module
Shoot the fusebox above one of the arcade machines in Megazone and head inside the office. Unlock the shutter to O’Neil’s Electronics Store.

Head outside Megazone, take a left, and head to the blue children’s area. Keep going forward, crouch under a shutter, and reach O’Neil’s Store.
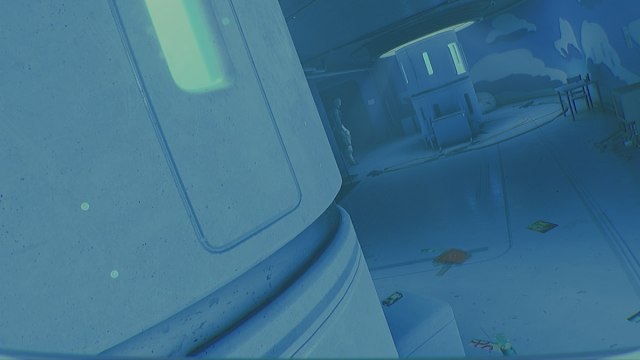
Pick up the Ultraview Module from a pedestal in the store and interact with the terminal in the back.
O’Neil Electronics Password
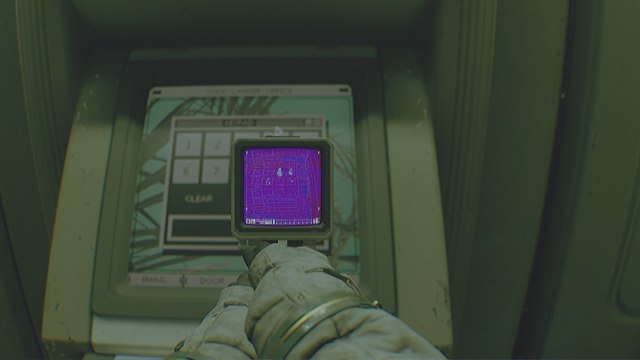
The store enters lockdown, and you’ll have to find a pin. Use the Ultraview Mode(Toggle it by inspecting your C.A.T. and interacting with it) and point it at the console. It will show fingerprint traces. The password is 4579.
Leaving the Mall
To leave the Mall, you need to reset the fusebox on the left side of the Mall from the room where you entered. There’s a robot here, but it’s easy enough to outrun.

Use the Ultraview Module to get the pin for the Exit Shutter Maintenance Access locked door. The pin is 1842.
Head inside and peek to your right to get a clear shot at the fusebox inside.
Now head back to John’s office behind Megazone and open the Exit Shutters.
Watch in horror as the one sign of friendship in this game is torn apart in front of you. Bring out your stun gun because the robot here will not move out of your way. Run towards the Exit Shutters.
Enter the Living Quarters
Take the Elevator back to the Station and get inside the train. Pick Residential as your next destination. Once you arrive, save the game and move forward.
Crouch and interact with the lever below twice to restart the faulty Residential Elevator Door Access terminal. Head down the elevator.
Input your ID into the terminal on the left and watch a nice little ad before the terminators show up to dismember you.
Run straight ahead and stick to your right. Use your C.A.T to overload the fuse box here.
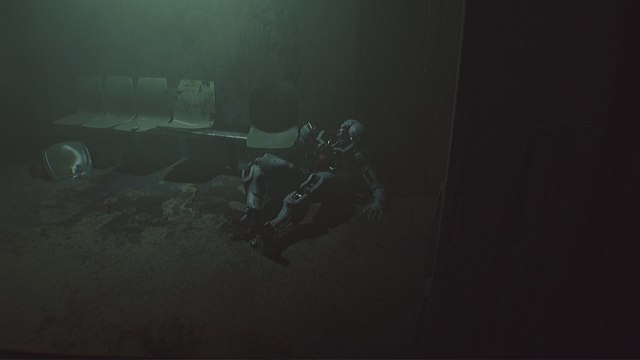
Enter the back area with the broken robot, but beware, as they’ll start patrolling this area as well.
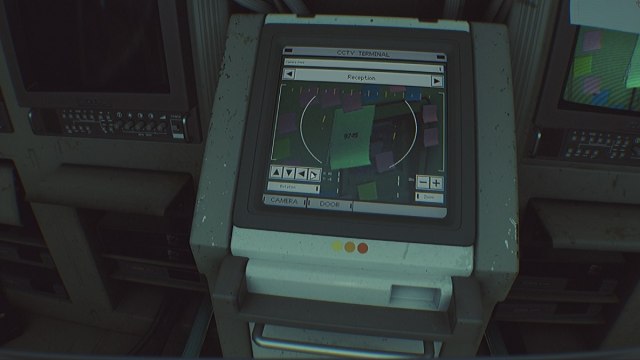
Enter the Reception Room
From here, head left and proceed till you reach the surveillance room.

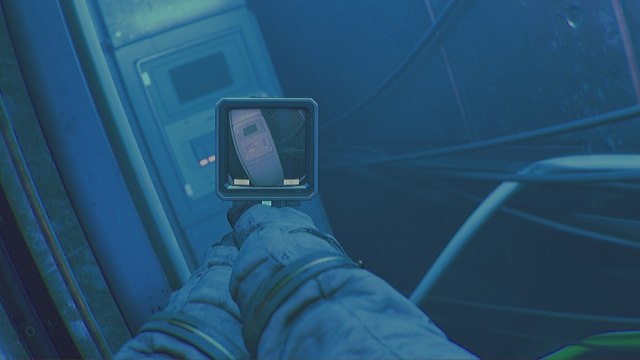
Use the surveillance camera to get the reception passcode. The reception passcode is 9745.
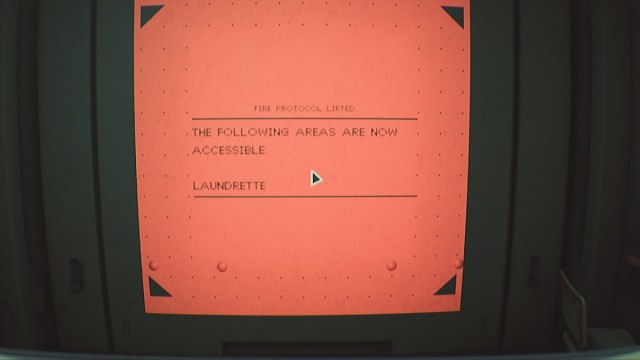
Exit the door, head straight, take a left, and another left while avoiding the robots. Enter the Reception Room and interact with the screen on the wall to unlock the Laundrette.
Get Kei Koyama’s ID Card
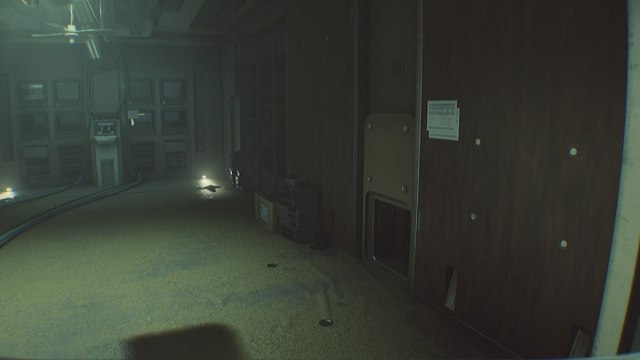
Head back to the surveillance room, as the Laundrette is right next to it.
Go downstairs and enter the office in the back. You can find Kei Koyama’s keycard above the terminal here.

Make your way back to the exit through the vents(the other route will be locked) and head back to Arrival via the train.
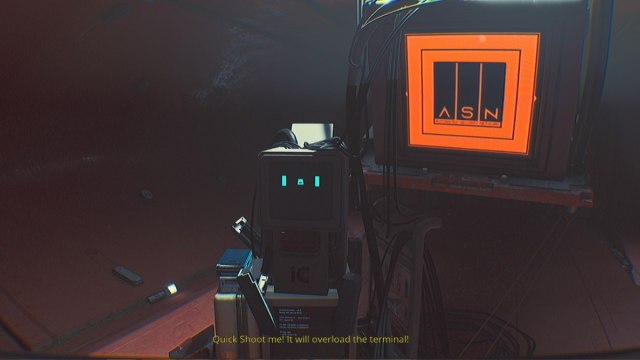
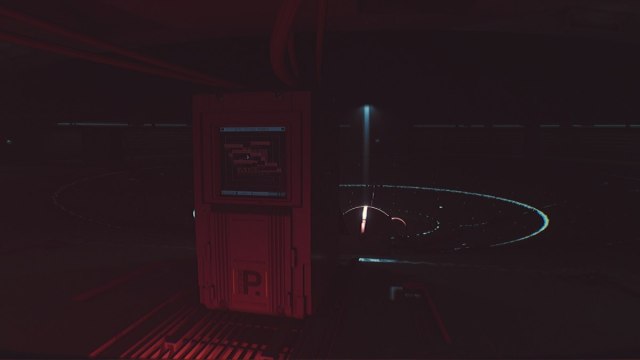
Opening the A.S.N. Terminal
Go back to the main terminal sticking out of the ceiling in the Station. Scan Kei Koyama’s card and then use the Ultraview Module to get the security pin. The pin is 1960.

Use your C.A.T. to overload the system and honor his sacrifice.
Now take the elevator to enter the A.S.N. core.
Chapter 3
Chapter 3 is a quick puzzle to deactivate the A.S.N.
How to Deactivate the A.S.N.
Interact with the first terminal to initiate shutdown.
Interact with the second terminal and then manually lower the levers labelled A3, A14, A15.
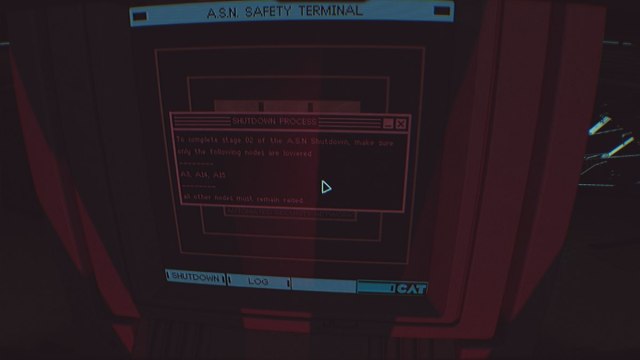
Interact with the 2 core levers that show up and then shoot the A.S.N. core with your C.A.T.
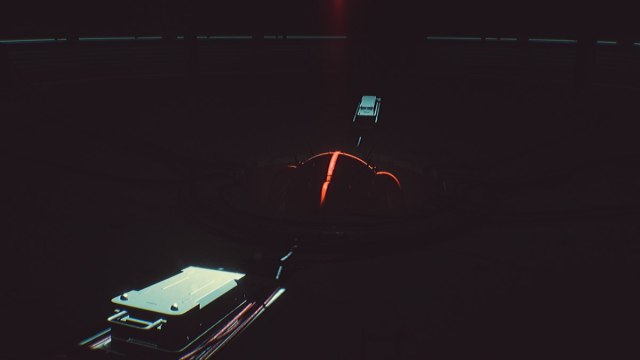
The Moon is now free of killer robots, and our little friend has been avenged. Rest in Peace little buddy. But things aren’t over yet.
Chapter 4
Enter the narrow passage on the left as you exit the room.
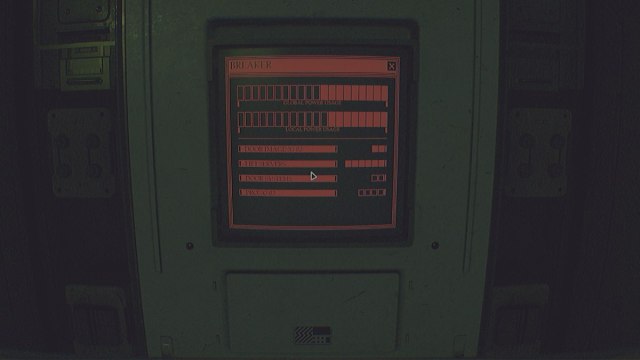
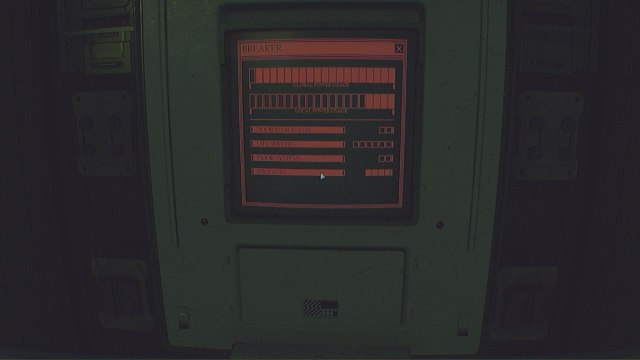
Crawl into the vent on the right and activate all the breakers.
Interact with the Archive screen that shows up. It will tell you, that you need a Security Clearance module.
Move forward and enter the door on the left. Take the vent on the left till you enter the reception room.
Pick up the Security Clearance module from the table on the right in the Reception Room. Now you can equip it by inspecting your C.A.T. and can unlock the doors in this area with Security Clearance Level 1.
Power the door to the Commons and head inside.
Find the circuit breaker for the Server Elevator. The elevator is located near the kitchen-like area in the Commons. Make sure to press the down button once you get inside.
Interact with the terminal downstairs and run the diagnostics tool after connecting your C.A.T. and it will list the damaged modules.
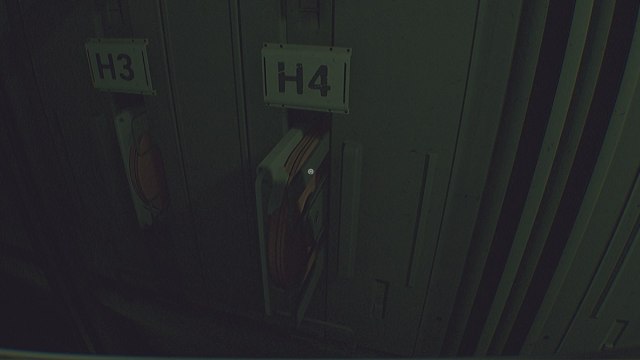
Pull out all 4 damaged modules(E2, B3, F3, and H4) labelled on the server rack. Restart the server. Unfortunately, this also attracts something much worse than the killer robots. Prepare to die a bunch with various horrifying animations.
Open Kalis Locker
It will take a little bit before it shows up, so rush back to the Archive screen and attempt a restart. Check the Emails, and you’ll get the pin code for Kalis’s Locker. The pin for Kalis Locker is 6460.
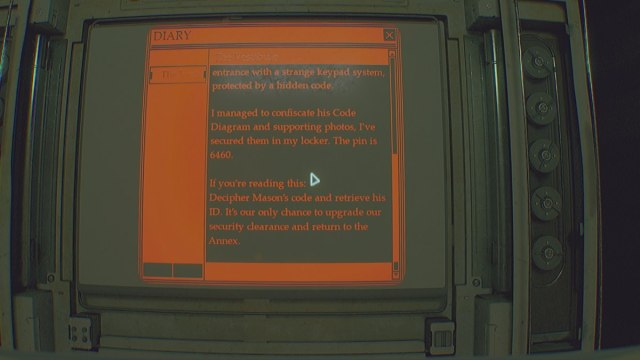
Decipher Mason’s Code
Head to her locker and you’ll find a code sheet and four photos. The code sheet has symbols on the front and corresponding numbers on the back. Make sure you rotate it, as it’s easy to miss.
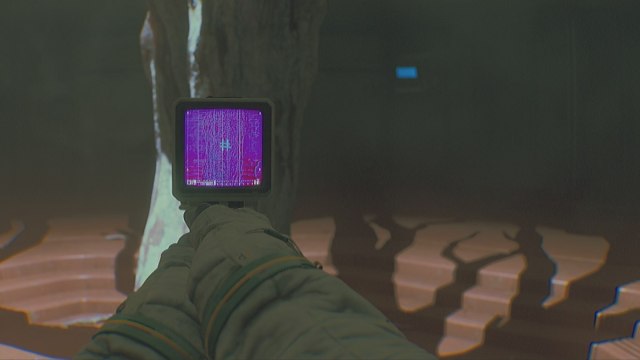
The photos in the locker are the locations where you can find the symbols with the Ultraview Module on your C.A.T.
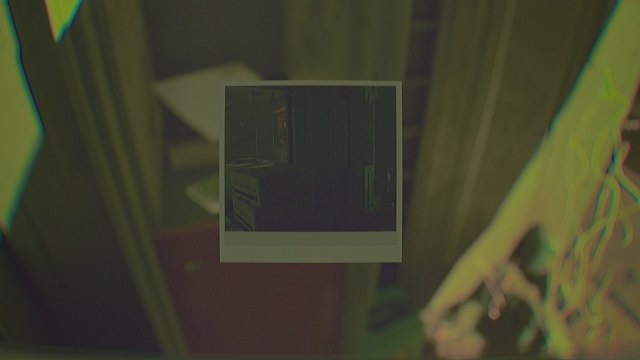
The locations are the Apple Tree, the Reception Room, the bathroom with the numpad, and a location with wiring near the middle of the Commons.
Here’s the solution for this puzzle.
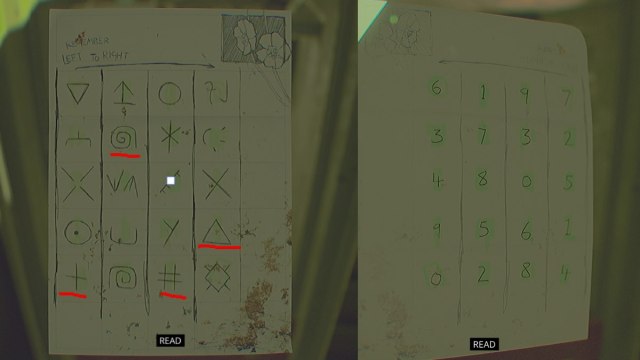
You have to read it from left to right, so Mason’s pin code is 4329.
Be warned that this process is quite difficult due to the monster lurking in the halls. It will often hide in corners waiting to ambush you, and will one-shot you if you’re caught. It can even sneak up on you from behind and is especially difficult to deal with in this area. We suggest opening as many doors as possible so you can make quick escapes.
Acquire Security Clearance Level 2
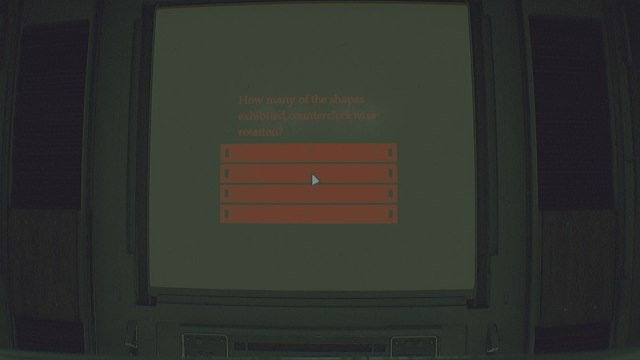
Now head inside and interact with the big screen. You’ll have to go to the visual and audio testing rooms one by one. Feel free to answer however you want, as the answers don’t impact anything.
Then head down into the drained pool of water, crouch under the wall, and find the keycard with the pin. Head back and enter it in Mason’s Terminal behind the big screen and upgrade your security clearance to level 2.
You’re now ready to head outside using the elevator. Activate the Elevator breaker from in front of the Reception and take the lift upstairs using your Security Clearance Level 2.
Chapter 5
Walk on the surface of the moon and head towards the signal tower right in front of you.

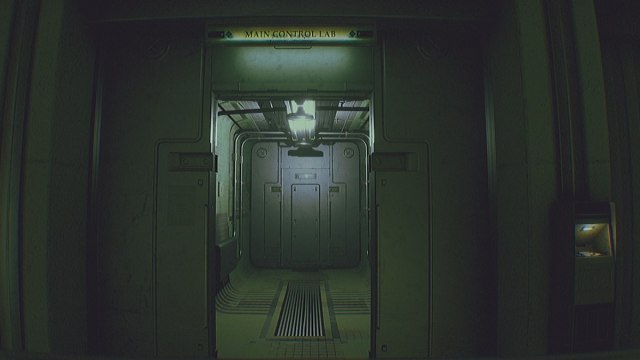
Enter the airlock and head down the elevator into the Annex. There’s an airlocked door for the Main Control Lab that scans you, but it won’t open until you solve the Chemistry Lab puzzle.
Enter the door to the left and head into the vent in the room to the right. Save the game and go through another vent to enter a large room.
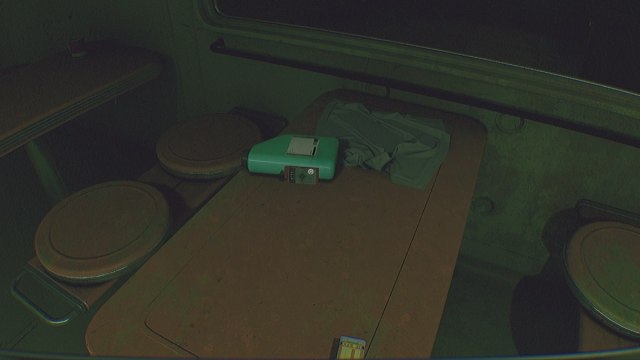
Find Maria’s keycard on the table in the middle and say hello to our old friend, the walking sleep paralysis demon. This jumpscare was NOT ok.
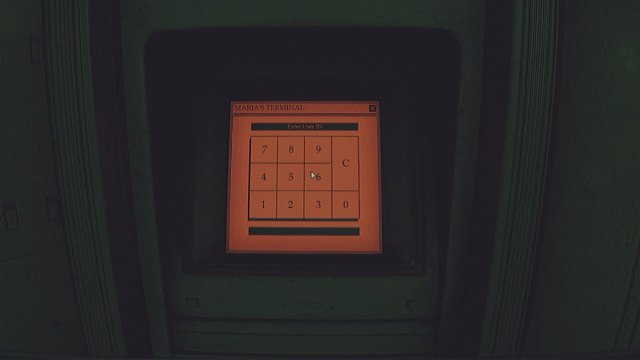
Enter the small room at the back and punch in Maria’s ID. The code is 6175. This will open the door in the corner.
Chemistry Lab Formula Puzzle
Follow the path, and you can open the shortcut that leads back to the main hub area. Your goal is to find the vent next to the tables and make your way to the chemistry lab.
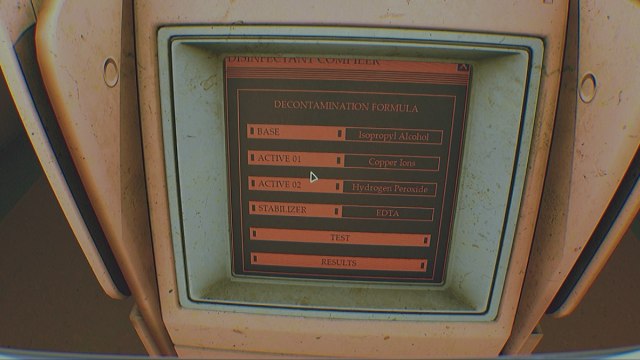
Inside the Chemistry Lab, you need to read the notes and create the most effective decontamination formula using four different ingredients. Here’s the solution:
- Base: Isopropyl Alcohol (IPA)
- Active 01: Copper Ions
- Active 02: Hydrogen Peroxide
- Stabilizer: EDTA
With this task complete, head back to the Main Control Lab in the very first room.
Enter and get the keycode from the keycard lying on the floor amidst a pile of horrors beyond comprehension.
The pincode is 1275. Use this to go to the room on the other side of the glass in the lab and enter it into the terminal on the right.
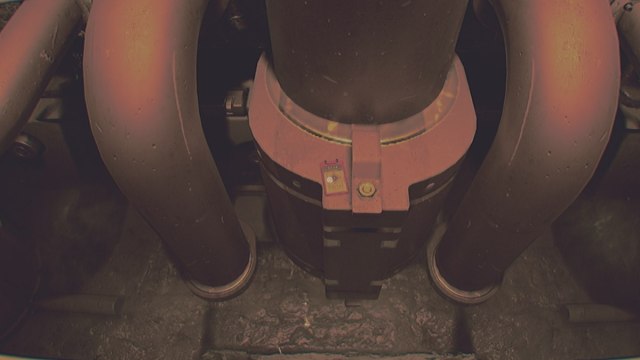
Take the ladder and go down the underground passage till you come across a red valve at the very end. Interact with it to drain the water from one of the earlier save rooms.
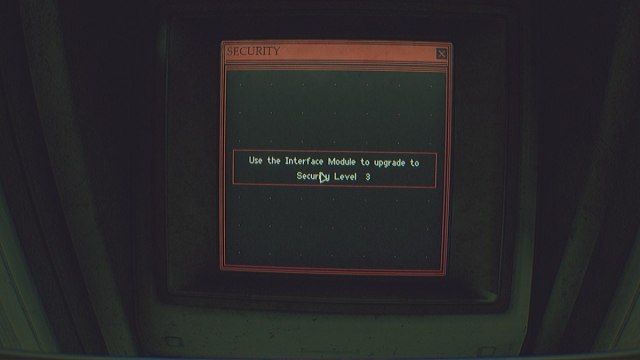
Acquire Security Clearance Level 3
Go back to the save room, which will now have a ladder leading down the passage since the water has been drained.
Follow the path until you reach the office at the end. Interact with the terminal and enter the pincode 1275 once again to unlock it. Upgrade your Security Clearance to level 3 here.
Now head back outside to the elevator and press the button on the right side to leave for the surface again.
Take another scenic moonwalk and return to the first area with your Security Clearance 3.
Chapter 6
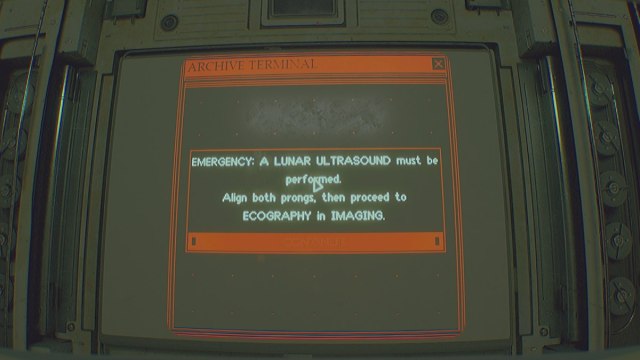
Interact with the main Archives screen after powering it on. It will tell you to align Prong 1 and Prong 2 before commencing the Lunar Ultrasound.
Prong 1 is located right next to the Reception Room with the breaker nearby. To adjust it, move it up, down, left, or right until the Proximity reaches 100% and then zoom in until you get 100% Clarity.
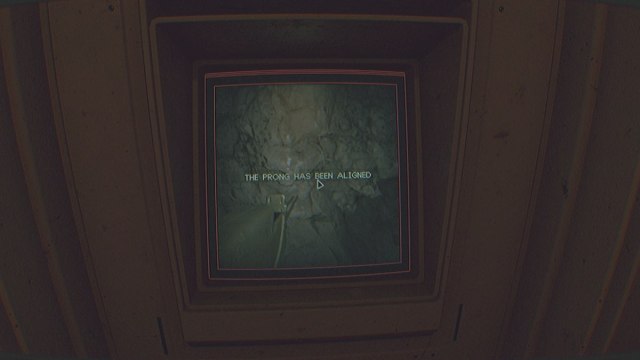
Prong 2 is located near the rightmost corner of the Commons area. Make sure you’re quick while doing these, as the creature will eventually spawn in. The breaker is right opposite to the Prong 2 room.
Once both Prongs are aligned, head to the red Echography room in the Imaging area.
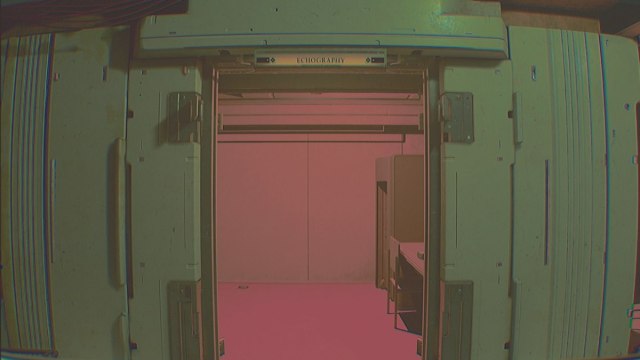
From here, just activate the Lunar Ultrasound using the terminal in the back of the Echography room.
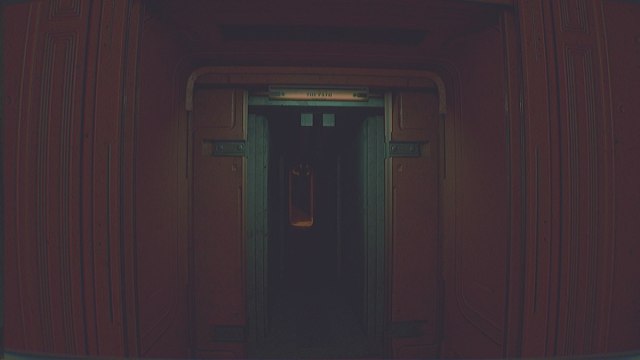
It will prompt you to go and manually adjust the injection in the Induction Chamber. This room is labelled as the Path and is directly opposite the breaker in the Imaging area.
Now we’ll let you play the rest of the game yourself as there’s nothing else to solve. We hope you found this guide useful!