
Resident Evil Requiem Complete Walkthrough – Leon & Grace ARK Final Mission
One more for the road.
In Resident Evil Requiem, the whole ARK section of the playthrough starts after Leon defeats the mutated plant and enters Umbrella’s lab, the ARK.
Leon’s goal is to save Grace and stop whatever Zeno is planning in ARK with Elpis. Here’s a complete walkthrough of both Leon and Grace’s parts in the ARK in RE9.
Spoiler Warning
Complete ARK Walkthrough – Resident Evil Requiem
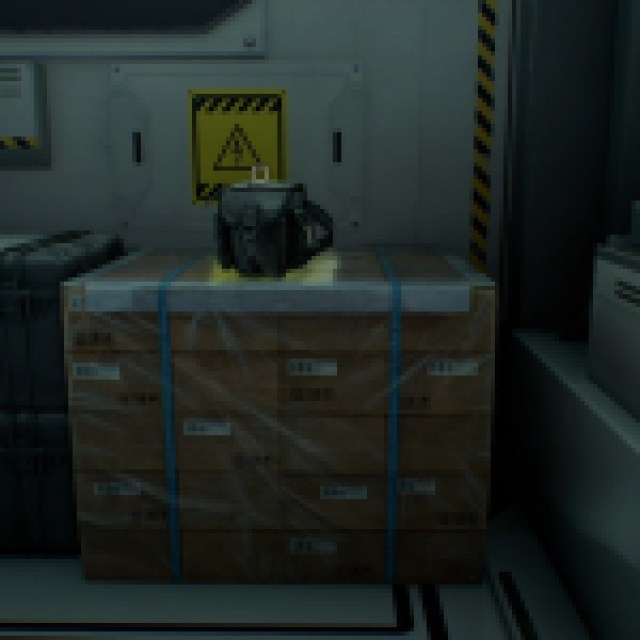
After entering the ARK, keep going until you get to the save room (left of the hallway). Save and manage your inventory before you head outside to the other unexplored part via the staircase. Before going down, destroy the Mr. Raccoon on top of the container on the right.
Head straight to the Server Room. On the left, you’ll find a green herb on the cart. Also, you’ll see some white canisters around, which will be important later.
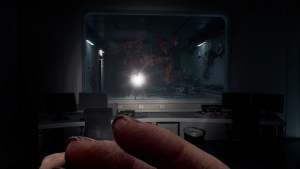
Go to the next room and grab the module on the desk. Interact with the monitor for a cutscene.

Head back to the server room and equip a hand grenade if you have one. Aim at the door and wait for the elite guards to open the door. Throw it fast so you can hit all of them at once. If not, try to deal with them one by one by choosing one side first.
If you choose the left side, destroy the white canister to release a smoke that can blur their vision. These elite guards shoot fast and hit hard, so be careful being exposed to their line of sight at all costs.
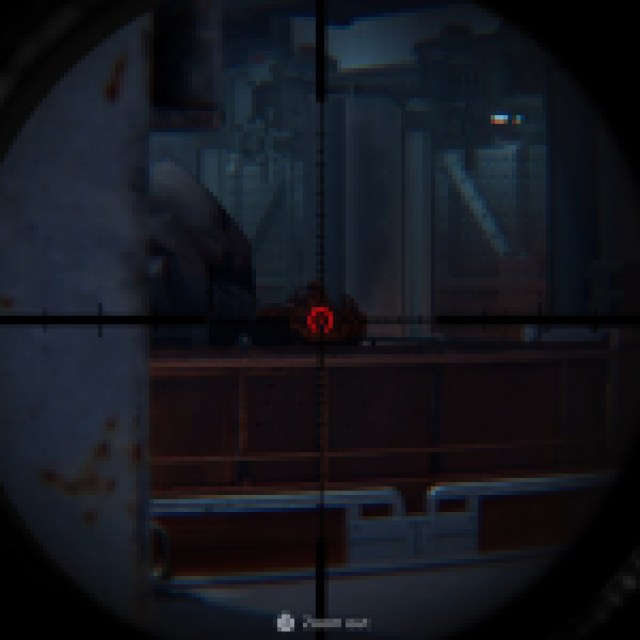
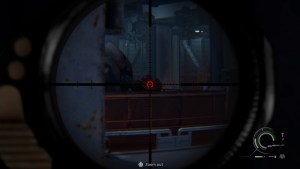
After dealing with the elite guards, run to the next area on the right. More elite guards will show up on the other side. Use the boxes as cover and bring out your rifle. Snipe them one by one by slowly peeking at the enemies from right to left.
Eventually, the others will stay hidden, so turn right and head up the ladder to go to their side. Run across and try to snipe them again from above before dropping down.
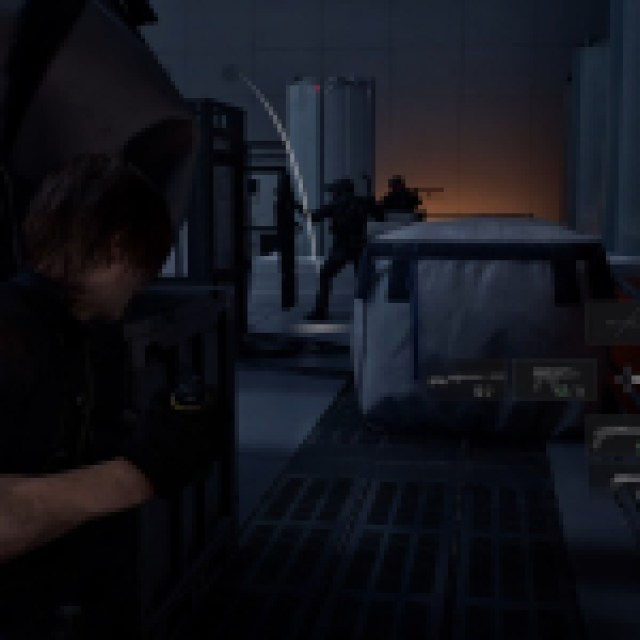

After dropping down, pick up the ammo from the dead guards. More will show up on your right, including one with a shield. If you have a hand grenade, use it on the elite guard with the shield, then deal with the rest normally.
Head straight and turn left up the stairs to return to the save room. If you don’t need to save or buy anything from the supply box, turn right instead. Follow the only path ahead until you reach the top of the staircase.
Turn right and loot some ammo inside the room. You can also read the documents on the monitor showing prices for Umbrella’s infected monsters. Return to the center and head straight toward the main door.


Moving ahead will trigger a cutscene with the commander.
Commander boss fight


The fight against the commander begins in a small room with four pillars at the center. Using guns doesn’t really affect the commander, as he dodges the bullets. Use your melee hatchet for the fight.
The commander basically parries most of your melee hits, so it is better to wait for him to attack and parry him first. He attacks fast, but doesn’t have much variety in his melee attacks. Once you get the timing of his attacks, it’s easy to parry all his attacks.
After getting a successful parry, use two slices with your hatchet and back off. The commander recovers quickly. There are times when you both attack at the same time, and it triggers a duel. In most situations, nothing happens, but there are some quick-time events that require you to hit a certain button, so pay attention to those.
When you keep getting the best of him, he’ll throw a smoke down and back off to use his gun. Just use the pillars as cover and wait for him to come back to you using his melee weapon.


Keep doing the parry + two melee hit combos until you defeat the commander. Pick up the Mortal Edge hatchet from him and loot around the small room. Exit through the door and go up the stairs back to where you dropped off. Head to the door, and it triggers a cutscene with Zeno and Grace and another one with Leon and Grace.
Grace’s turn to shine


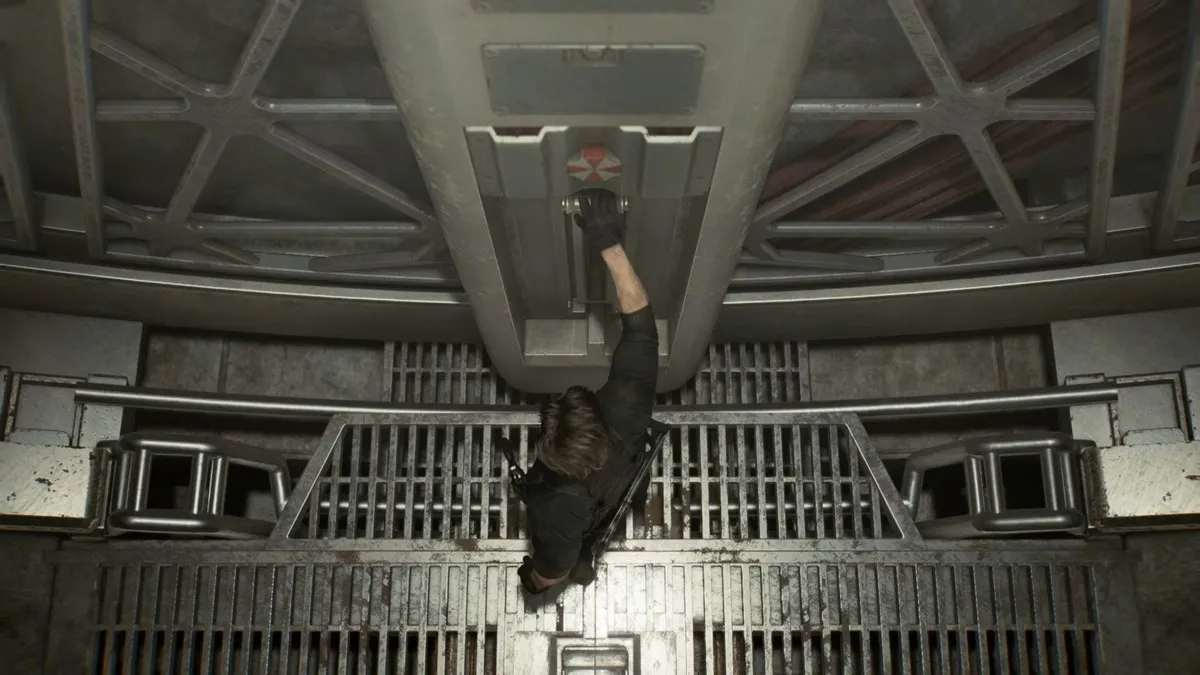
After the cutscenes, you’ll play as Grace and go along with Leon through the dump. Move forward, and you’ll see a big crane blocking the way. Head to the only way forward and interact with the vent on top. Leon will give you a boost, and you’ll crawl your way through the vents and into the ARK laboratories again.
You’ll drop near the dump control room. Head forward and up the stairs to the control room. You can’t activate the crane without the Override Key.
Finding the Override Key
Continue going straight and up the stairs. You’ll reach a safe room and a storage chest. You can grab all the useful things you left in your storage chest here. Use everything you saved, especially those Molotov Cocktails or even Empty Bottles.
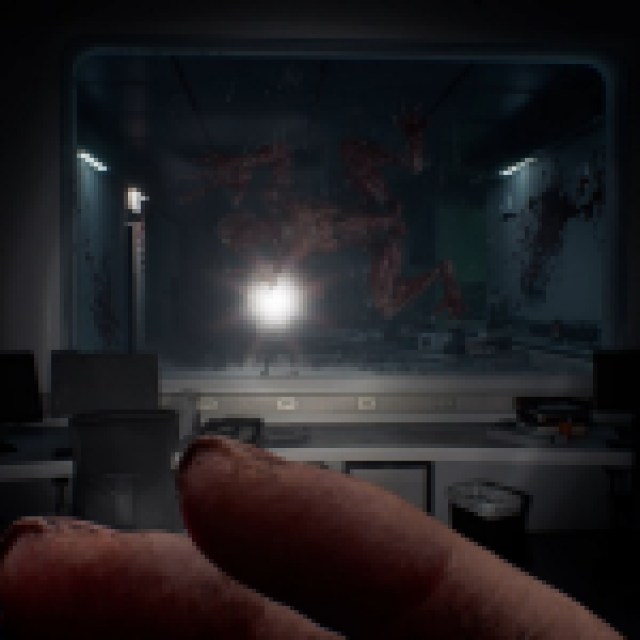
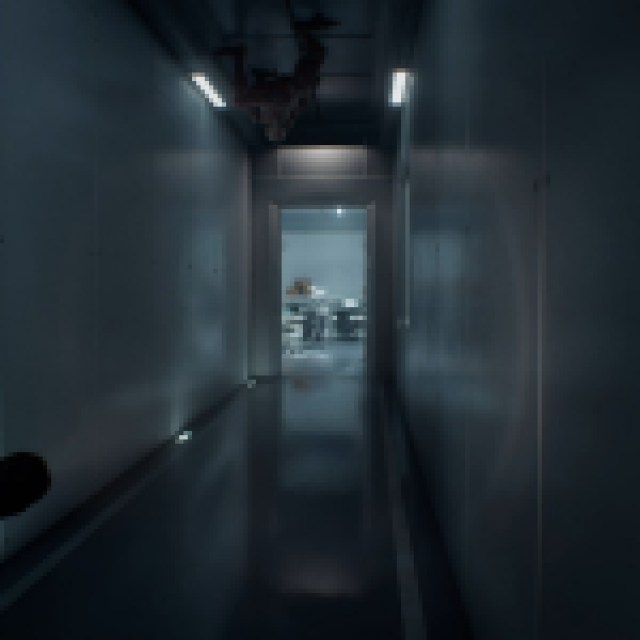
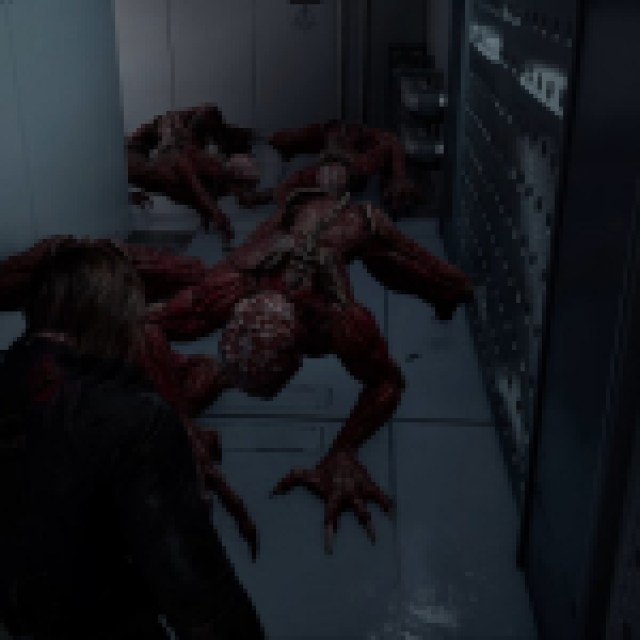
Head up the stairs and through the door. Go to the end of the hallway and enter the only open door. A licker will roam around the glass window, but won’t be alerted yet. Remember, these lickers respond to sound.
Crawl your way through the labs and grab the green herb on the desk. Turn left and grab the Empty Bottle near the beds (one with the zombie, who will wake up later).
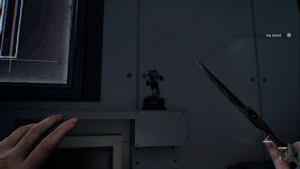
Pick up the Makeshift Knife on the desk and pay attention to the licker’s movements. There’s a safe inside this room. Its combination is known much later on, but here’s the code to it: 10R, 90L, and 20R.
Head to the next room. The door on your right is locked, but there’s another hallway here on the right. Before going to this hallway, turn left and unlock the door so you can have a shortcut to the save room.

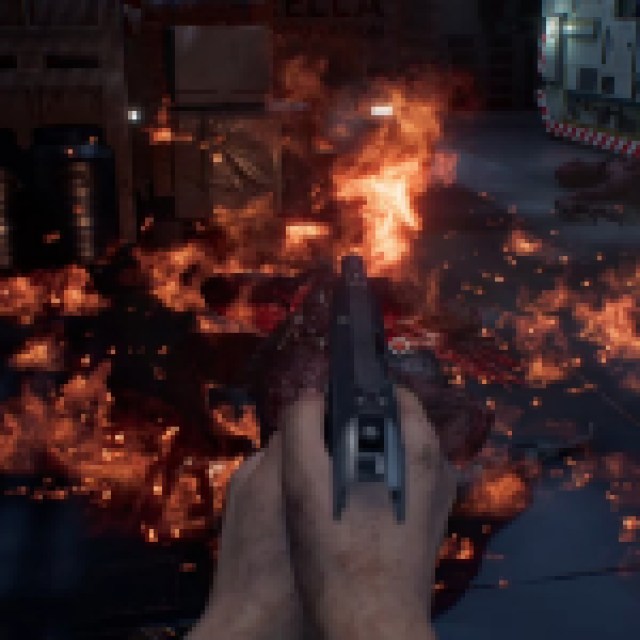
Go back to the hallway to find a licker crawling on the ceiling. Crawl to the door to avoid alerting the zombie inside. Grab the Bottles of Acid on the desk and crawl back to the hallway behind. Shoot the licker and alert the other one in the previous room. Both will rush you. Try to hold one hallway and throw a Molotov Cocktail when the licker is close to you.
Hope that you get both of them together so they can get stunned by the fire. Use the Bottle of Acid, and hopefully, they both die from this combination. If you don’t manage and end up wasting these resources, I suggest restarting since it’ll be harder later on.


Once you clear the lickers, go inside the room where you got the Bottles of Acid. Clear the two zombies and grab the Override Key (Dump Control Room). Head back to the hallway and clear the zombie in the hallway.
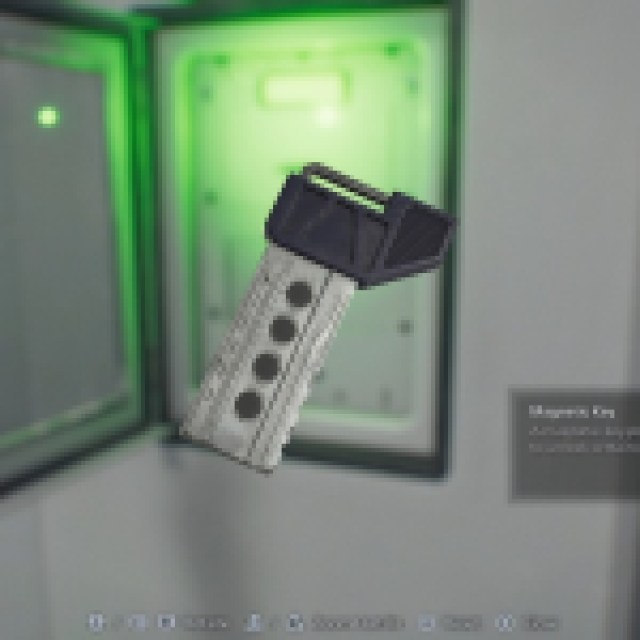
Run to the Lab Room and save. Go back and go down the staircase. A licker will start roaming this area, so just crawl your way down. Use the Override Key on the control panel to let Leon through. Look back and grab the Magnetic Key from the box on the wall.
Head to the central refining system
Go back up and avoid the licker. Use the Magnetic Key to open the room inside the save room. Before going through this way, head back to the Bioweapon Repository 02. Open the door and grab the Molotov Cocktail on the right. This wakes up the zombie next to it.

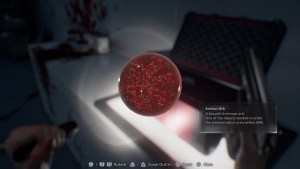
Clear it and open the case at the back. Grab the Animus Orb inside. Quickly run to the right and grab the Transfusion Bag. Bait the new zombies to one side and run in the opposite direction to save your bullets.
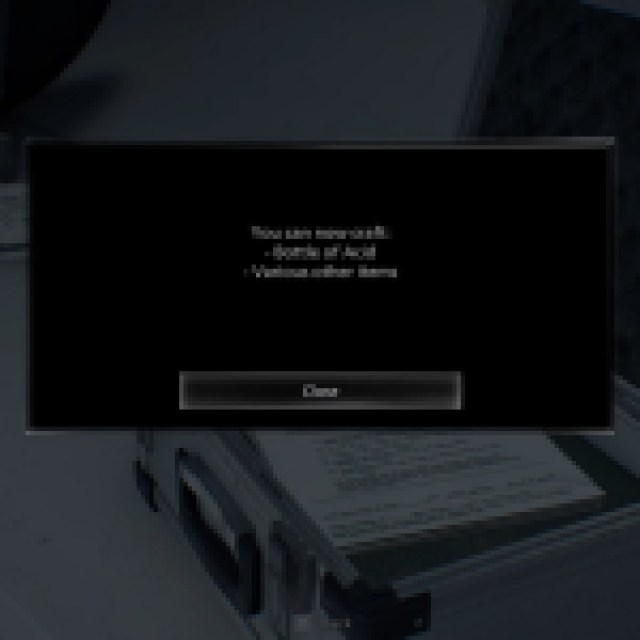
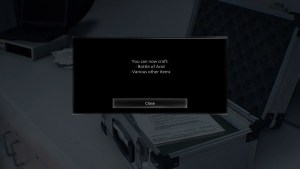
Go back to the Lobby and place the Animus Orb at the locked door. Turn left and enter the small room. Interact with the document inside the case so you can learn how to craft the Bottle of Acid. Turn your Empty Bottles and some leftover blood into Bottles of Acid as many times as possible. There’s also a safe inside. The combination is 50L, 60R, and 80L.
Head out and take the unexplored hallway in the lobby. Go through the door and move to the Anteroom. Go down the staircase, grab the green herb, and read the note for the combination to the Sterilization Chamber safe.


There are lickers inside this area. Crawl to the left and open the storage container on your immediate left. Grab the Hip Pouch and the Empty Bottle. Lure the lickers together and throw a Molotov Cocktail. When they are stunned, throw a Bottle of Acid on them.
Open the storage container on the leftmost side and grab some handgun ammo. Move closer to the center and grab the Scrap inside one of the opened containers. Keep going straight and ignore the zombie first. There’s another licker to the right and another one farther ahead. If you make noise, both of them will run to you.

You can use the center there as a choke point and lure them together for a Molotov Cocktail hit. Once they take the full hit of a Molotov Cocktail, it only takes 5 or more hits to defeat the licker. After dealing with the two lickers and the zombie, turn right into one of the other open containers and grab the Scrap and the document for the Medical Control Room safe.
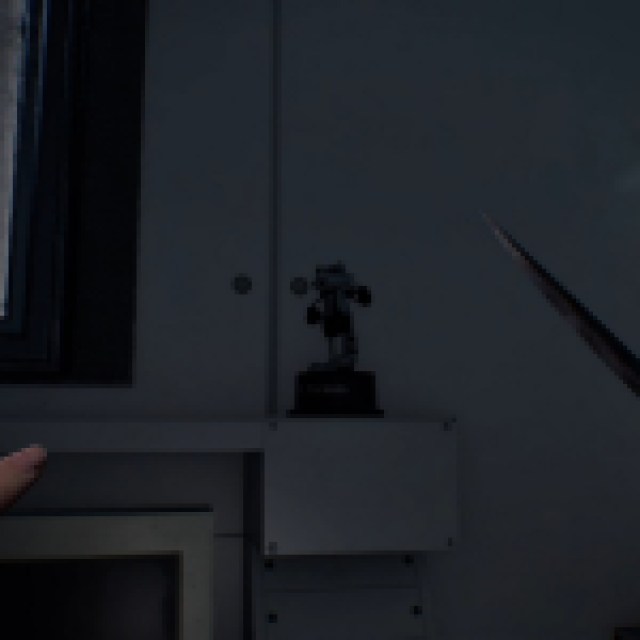
Open the remaining containers for more resources, but both should contain a zombie. Go up the stairs and through the room. You can save here. Interact with the monitor to update your map. To the right, there’s a Mr. Raccoon on the shelf. Open the case and grab the Noblesse Orb inside. There’s a Med Injector on the desk as well.
Run back to the Lobby, but there will be some lickers to annoy you in the Anteroom. Wait until they move to one side and crawl to the open side to cross. Open the safes to get more resources. If you already opened them, go straight to the Lobby and place the Noblesse Orb to open the next room.
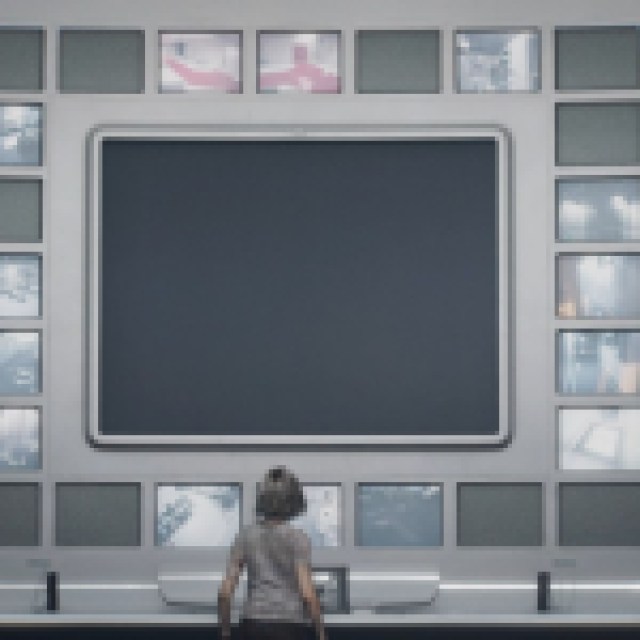

Interact with the monitor in the right to grab the file. Afterward, interact with the main monitor at the center. This triggers a long cutscene. The story now shifts to Leon, a few minutes earlier, when Grace opened the way.
Leon’s path to destroy Elpis


Leon’s part starts at the dump, but he is noticeably getting worse and worse because of the infection. As you go up the ladder and enter the Back Room, take all the materials around.
Go through the hallway to find two zombies. Move a little more forward, and you’ll experience blurred vision because of the infection. This is random and will now happen throughout.
Grab the hand grenade on your right and turn left to the hallway leading to Bioweapon Repository 11. Grab the legendary module inside the suitcase and some machine ammo by the side. Go through the next door and through the hallway.
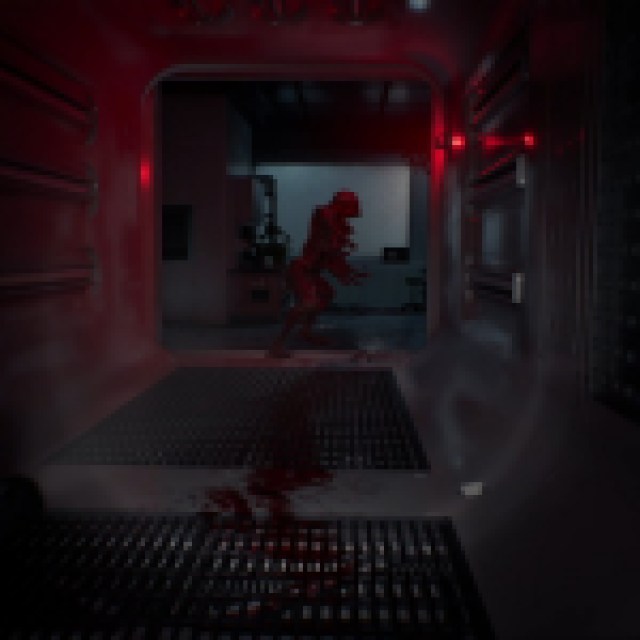
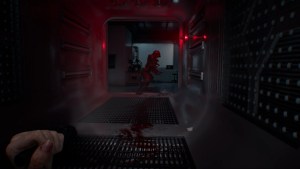
Move forward until you reach the first staircase going down. A licker will drop down from the vents and literally alert all the others. In a few seconds, there are going to be some other lickers dropping from the back.
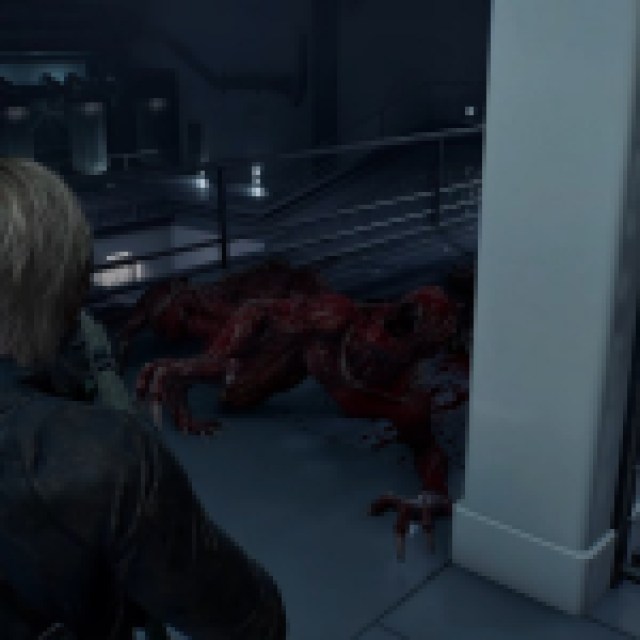
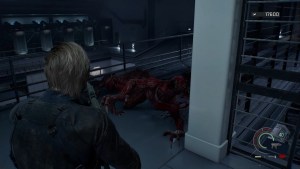
The best strategy here is to run back to the hallway before the railings and hold them from there. You’ll fight the first two lickers one by one. After dealing with the 2nd licker, a 3rd one will drop on top of you if you are holding the corner. Deal with the third licker, and the 4th one should come soon.
After the 4th, you can continue forward. Once you drop down, there will be more. Go to the center and find the licker roaming around. Loot all the open storage containers and the breakable boxes in the area. Once done, go to the control panel and press the button. Go straight and enter the door.
There’s one licker on the wall, but there’s also another one hiding to your left. Crawl to the right and prepare to burst them down with a shotgun and a fully-loaded machine gun.
Loot the room, go to the control panel, and press the button. Another path opens up in front of you. Go through it and up the stairs until you reach the control room. Loot the supplies by the desk and the case. Get the Override Key (Bioweapon Repository 11) from the box. Open the locked door and go back. However, when you reach the Bioweapon Repository 11, there’s going to be a whopping six lickers.

You should have a hand grenade here from the supplies you took before. Shoot one licker and go back through the door. Make sure the door closes. The lickers will all pile up before they open the door. They’ll eventually open it, but have your hand grenade ready. Throw it once they open it. This should stun all of them.

Go inside and start running to the propane tanks (one on the left and one on the right). Use both of them to deal with all six lickers. Throw them fast and shoot them quickly. Clear the remaining and use the Override Key on the locked door.
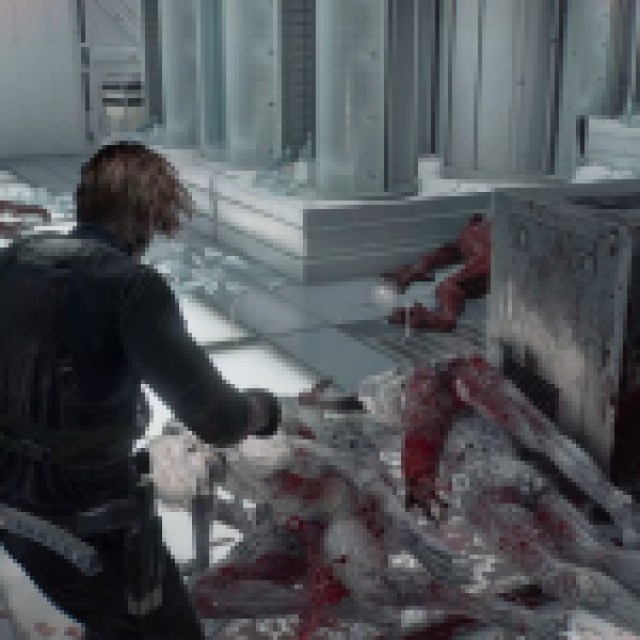
This should trigger a lockdown. You’ll have to survive until the elevator opens. Zombies will start breaking through the chambers. These are easier to deal with than the lickers, but hopefully you still have ammo remaining. You can use some of the weapons they drop to save more ammo.
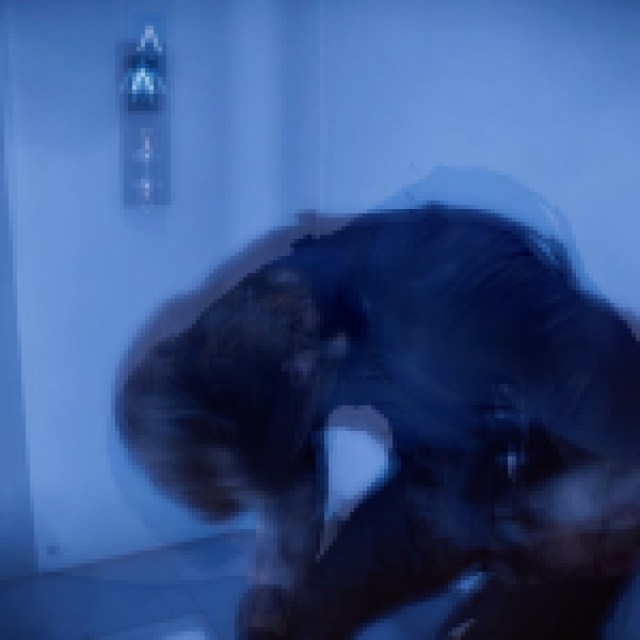

Take the elevator up, and Leon will now permanently feel the effects of the infection. Walk up to the staircase leading to the ARK to trigger a cutscene.
Grace’s turn to do the rescuing


After all the cutscenes, the story shifts to Grace and also builds on the story of her mother and Spencer. Grace catches wind of what’s happening to Leon on one of the monitors. Take the only open door and go through the room. Go to the elevator on the side and use it to get to Leon.
Interact with Leon to trigger a cutscene.
Two ending choices
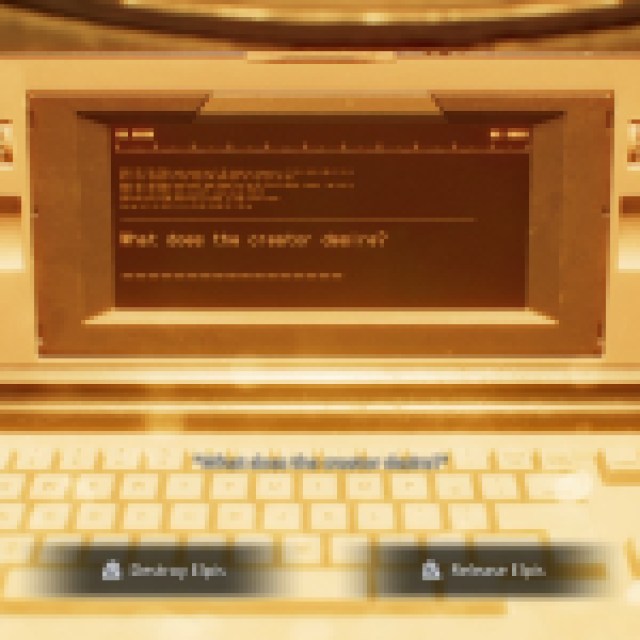

In the cutscene with Grace, Leon, and Zeno, Grace tries to make a deal with Zeno. Zeno spares Leon, and Grace gives him the code. Zeno agrees, and you have two choices on what to put in the prompt: Destroy Elpis or Release Elpis.
Choosing any of these will trigger a significantly different ending. However, once you go through one decision and reach finish the game, you are given a choice to go back to this moment and choose the other decision without losing all your CP bonuses and progress.
I would say that picking the right order of endings will also affect how you feel about the ending. For a spoiler-free ending, the walkthrough ends here. If you need help through both endings, here’s another walkthrough that will have spoilers.