
How to Remove the 30 FPS Cap in The Blood of Dawnwalker Cutscenes
Modders to the rescue!


The Blood of Dawnwalker is out now on PC and has been met with fairly positive critical reception. It’s an Unreal Engine 5 title and can be pretty demanding, even if the experience is largely stable. That said, it has a few oddities, like a 30 FPS cap on cutscenes, which can be pretty jarring.
Thankfully, the PC modding community has already addressed that, and here is how you can remove the 30 FPS cap from The Blood of Dawnwalker’s cutscenes.
Remove the 30 FPS Cap in The Blood of Dawnwalker Cutscenes
By default, The Blood of Dawnwalker’s cutscenes are capped at 30 FPS, which makes transitions between gameplay and cutscenes feel choppy and inconsistent. The mod by yuhgirlbrittney on Nexus Mods fixes that and also removes the cap from the main menu.
Here is how you can install the mod:
- First, make sure the game isn’t currently running.
- Next, open the following link and download the mod zip file. The latest stable version is 1.2.
- You will need a free Nexus Mods account to initiate the download.
- Now, head over to where The Blood of Dawnwalker is installed:
- Right-click on The Blood of Dawnwalker in the Steam library.
- Select Manage, followed by Browse local files.
- In the Dawnwalker folder, open Binaries, then the Win64 folder, and extract the mod zip file there.
Dawnwalker\Binaries\Win64
That’s all you need to do, and the next time you launch The Blood of Dawnwalker, its menu and cutscenes will run at an uncapped framerate.
You can also use a custom FPS limit with a positive number value, such as 60, 90, 120, or 144, by editing the configuration file (DawnwalkerCutsceneFPS.ini) in Notepad. For instance, if you want to set the cutscene framerate to 60 FPS, enter that value for the CutsceneFPS= variable, like this:
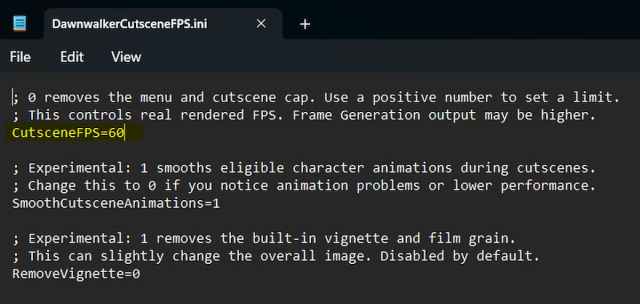
Setting the value back to 0 will remove the FPS cap, which is the default value set by the mod author.
Disable Film Grain and Vignette in The Blood of Dawnwalker
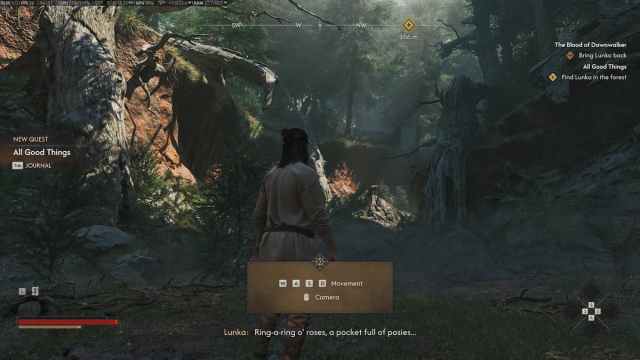
In addition to removing the framerate cap, yuhgirlbrittney’s mod also lets you disable both vignette and film grain post-processing effects for a cleaner image.
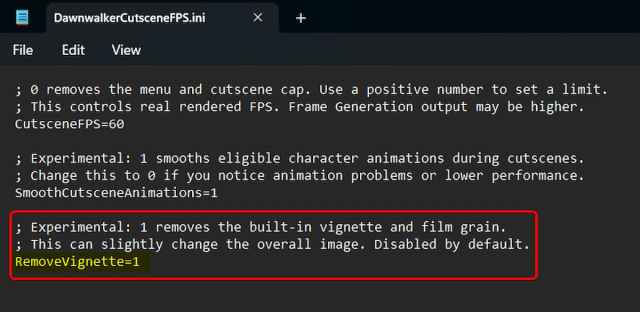
- Open the DawnwalkerCutsceneFPS.ini file in a text editor like Notepad.
- Set RemoveVignette to 1.
- Save the file and exit.
Delete Mod
To delete the mod, go back to the Win64 folder and delete the following files.
dwmapi.dll
DawnwalkerCutsceneFPS.ini
DawnwalkerCutsceneFPS.log
All credits for the mod go to yuhgirlbrittney on Nexus Mods, and I’d keep an eye on the mod’s Files tab for updates and experimental versions.
I hope that Rebel Wolves officially addresses this in an update because the current FPS cap on the cutscenes doesn’t maintain a consistent presentation.


