
How to Complete Riogok Shrine in Tears of the Kingdom (TotK)
Insert your family friendly pole joke here.
Riogok Shrine in TotK is a fun or extremely frustrating shrine, depending on how much you like to Ultrahand things together. But if you want a hint or just to speed run it, this is the guide for you. Here’s how to complete Riogok Shrine in The Legend of Zelda: Tears of the Kingdom.
How to Complete Riogok Shrine in Tears of the Kingdom (TotK)
Even getting to Riogok Shrine can be a pain and a half. So, if you know it’s here somewhere, but don’t know precisely where to go, here’s what you need to do.
Getting to Riogok Shrine in Tears of the Kingdom (TotK)
From Outskirt Stable, glide across the chasm towards the mountain East, with the tall walls. I’d recommend not diving into the circular ruins here unless you’re ready for a fight. There’s a massive Gleeok within.
From the top of the mountain near the circular ruins, glide west, trying to go as directly south as possible from the stable or its nearby Tsutsu-um Shrine. If you do so, you’ll find a chasm with Riogok Shrine tucked within. And this is a great shrine to pillage if you want a powerful bow.
If you can’t quite find it, its coordinates are (-1440, -1616, 0089).
Now, let’s get to the puzzling.
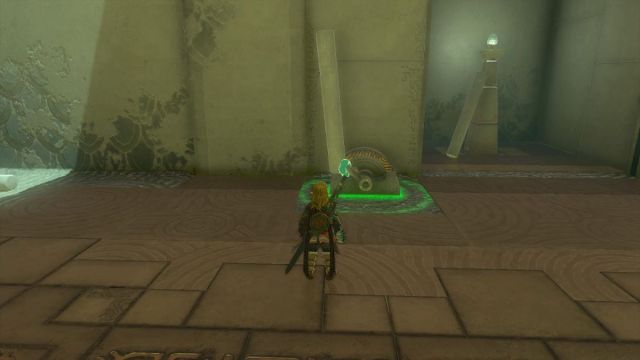
Puzzle 1
The puzzles start immediately, but it’s pretty straightforward.
- Attach the steel pipe to the central cogs with Ultrahand.
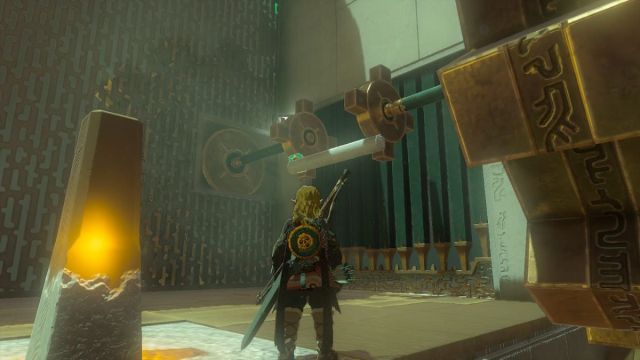
- Slap the orange column to start the gears.
- Enter the next room.
How to Get the Hidden Chest in Riogok Shrine in Tears of the Kingdom (TotK)
If you want the hidden chest, you’ll need to use multiple powers at once. Here’s what you’ll need to do.
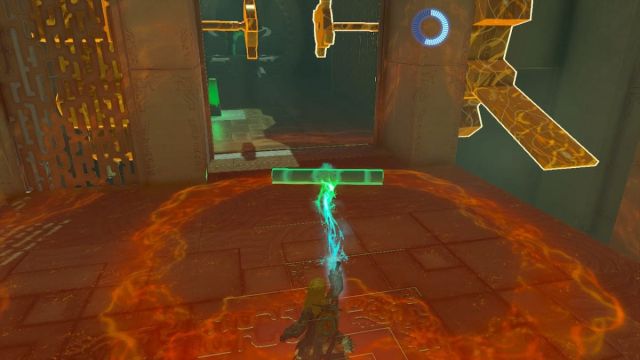
- Use Ultrahand to detach the pipe you used in puzzle 1. The door will shut.
- Use rewind on the gear to the right.
- As it’s rewinding, use Ultrahand (you need to use them both at once!) to grab the pipe.
- Attach the pipe to the end of the pipe in room 2.
- Attach the long pipe to the chest, which is in the alcove next to the door.
- The chest will fall.
And for your efforts, you’ll get a Mighty Construct Bow. Not too bad for minimal effort!
Related: How to Get Dragon Parts in Tears of the Kingdom
Puzzle 2
I’ll be honest! This one took me a while to figure. But here’s what we need to do. We’ll need to make a lever to open the closed door, then use the poles to lift the platform up the Goddess statue. If you followed my instructions for the secret chest, skip the next three bullet points.
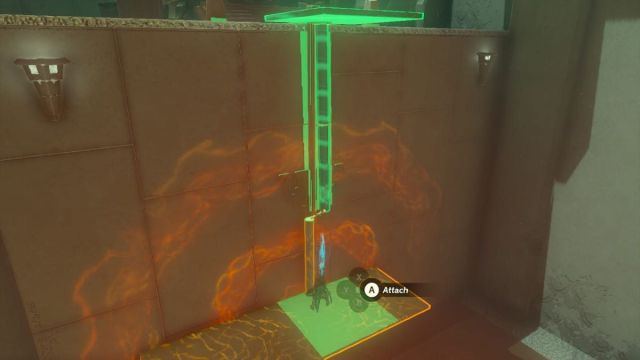
- Use Ultrahand to detach the pipe you used in puzzle 1. The door will shut.
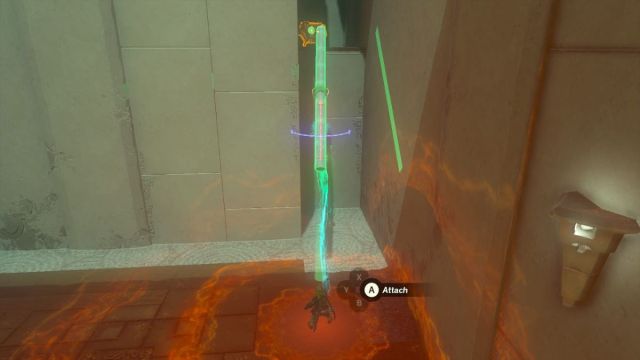
- Use rewind on the gear to the right.
- As it’s rewinding, use Ultrahand (you need to use them both at once!) to grab the pipe. See picture above if you’re confused.
- Attach the pipe to the end of the lever. It doesn’t have to be perfect, mine definitely wasn’t.
- Use Ultrahand to pull the lever to the far left.
- Grab the pole in the now open room.
- Use Ultrahand to lift the three poles onto the platform on the other side of the room.
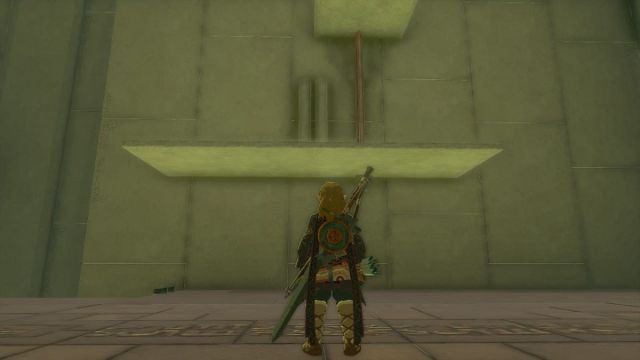
- Ascend through the platform.
- Use Ultrahand to attach the pole vertically to the bottom of the lift.
- Place the next pole so that it’s standing beside the pole attached to the lift. The second pole should lean against the wall but not be attached to anything.
- Lift the platform using the pole it’s attached to. If you’re struggling, try pressing the right joystick up.
- Once you get the prompt to “attach”, do it. The pole that’s leaning against the wall should attach perfectly to the bottom of the pole. If it’s not straight, re-do it.
- Repeat this process with the third pole.
- Once all three poles are attached, ascend to the top of the lift.
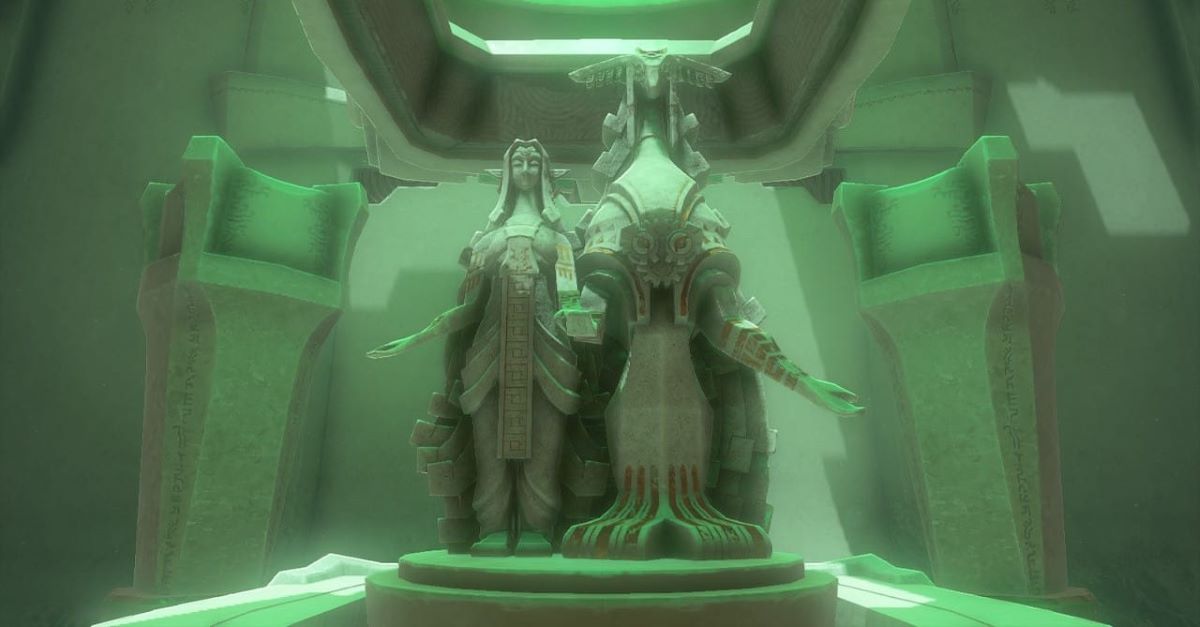
- Claim your Light Blessing.
The second puzzle I found to be persnickety. But it’s rewarding once it’s done, right?
If you want to check out another nearby shrine, here’s how to complete Jiosin Shrine: How to Complete the Jiosin Shrine in Tears of the Kingdom.