
All Puzzle Solutions in Oubliettes in Sea of Stars
Who would've thought Artificer would save the day.

After fighting the two annoying clowns in the town of Horloge, you’ll get imprisoned in the Oubliettes in Sea of Stars’ Throes of the Watchmaker DLC story.
The crew is tasked with saving Valere, but a new hero, Artificer, comes to save the day. You’ll use the previously non-playable character in the new DLC and work your way through multiple puzzles in the Oubliettes, and here are all the solutions to each puzzle.
Complete Oubliettes Puzzle Guide in Sea of Stars – Oubliettes Walkthrough

The Oubliettes or dungeon starts when the crew, particularly Valere and Zale, meet Pif and Pouf in the Town of Horloge. You’ll eventually fight Pif and Pouf and discover how you are absolutely useless in fights against anyone in the Clockwork Castle.
This leads to you losing and being detained in the Oubliettes. You’ll go through some scenes and use Artificer for the first time. Valere and Zale are locked up somewhere else while the rest of the crew have their own cells in the Oubliettes.
Use Artificer to go through the Oubliettes, and you’ll encounter several puzzles along the way. The first steps are pretty straightforward until you reach the area with the lever, three vents, and a keyhole with a lightbulb next to it.
Lightbulb Keyhole Puzzle Solution
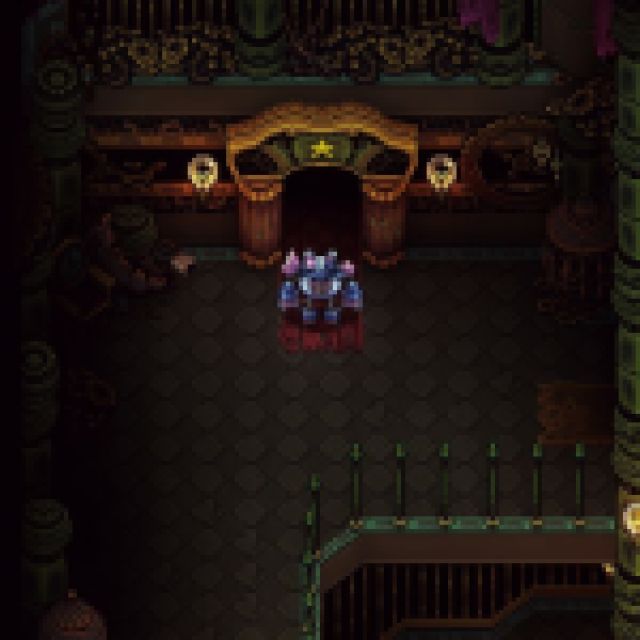

In this area, you’ll see three vents in the center of the room – one on top and one on each side. Before interacting with any of these, you can go up to the second level on the left side of the room using the vents. Keep going and you’ll see a room with a star symbol on top. Go inside, fight your first enemy, and interact with the object inside.
Combat tip: They are initially weak to Laser-type damage, which is Artificer’s normal attack, so you should keep using it even if you have a lot of MP.
Go outside and look for the brown box to push down to the center. Afterwards, go to the other side of the room. You’ll see another box and push it down to the first floor as well. Go down and work with the boxes near the vents.
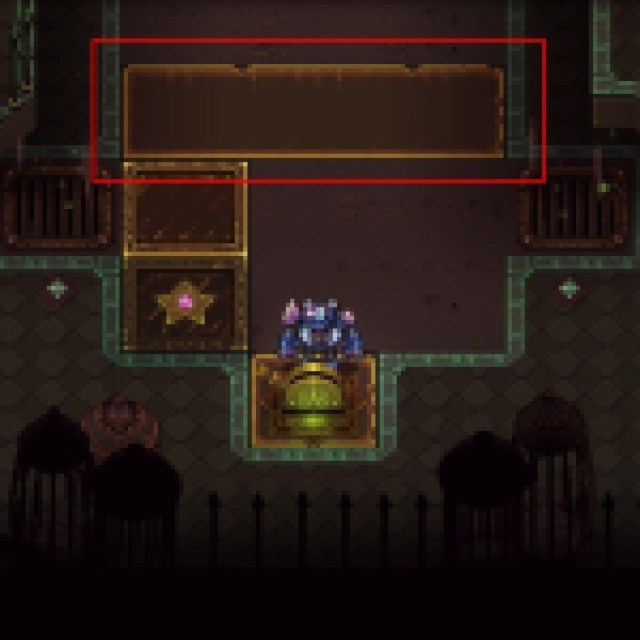

Your goal is to increase the pressure on the center vent so you can reach farther up to open the chest in the middle. To do this, you must block the two other vents using the boxes so that all the air flows through the center vent.
You’ll see a wall and a lever in the middle. Pulling the lever will bring the wall up so you can push the boxes to the vent.

While the wall is down, push both boxes to the sides and bring them down. Bring the wall back up and push each box up, which will get blocked by the wall. Push them each to the sides to block the vent.
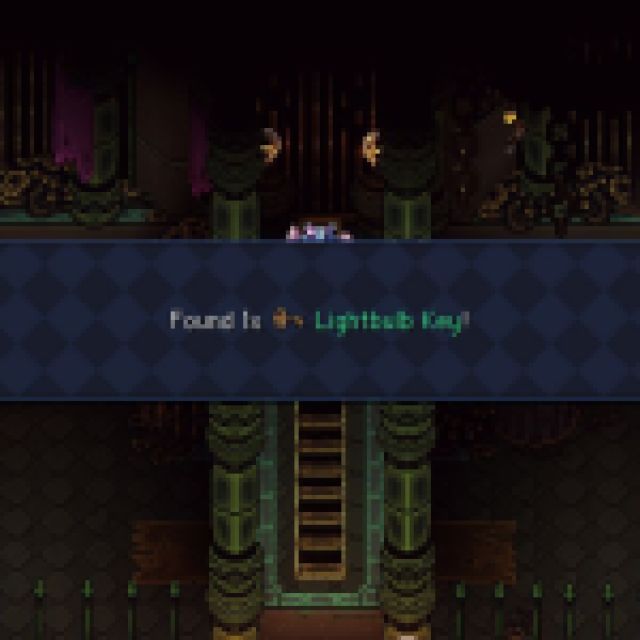

After you increase the pressure, you can jump a little higher now from the vent, and you’ll get the Lightbulb Key. Jump down and head to the keyhole with the purple light bulb.
Use the Lightbulb Key to open up the path to the next room.
Oubliettes Second Room Puzzle Solution


In this puzzle, there are three golden plates in the middle. Stepping on one will trigger a corresponding pathway after using the lever. You can see which platforms are activated by looking at the diamond icon at the top. If the light is on, it means it will move up.
Also, if you look at each platform, you’ll see one line on each. Pay attention to their positions. The one on the right has the line a little higher than the one on the left, and the center is a vertical line instead.
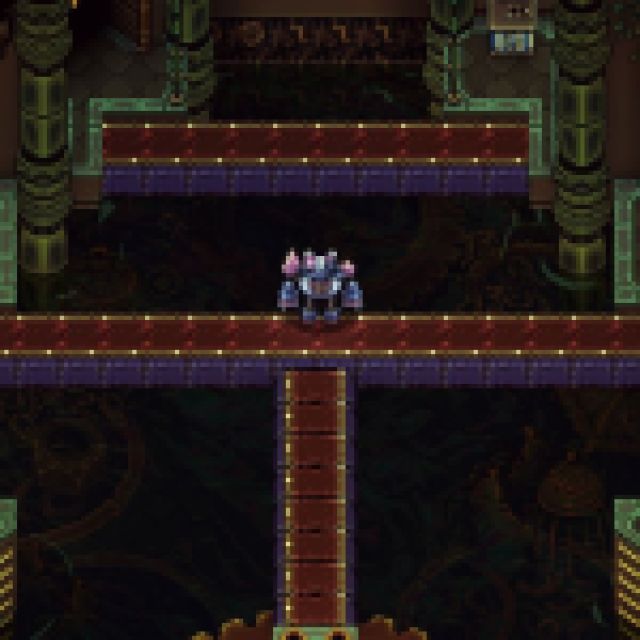

These lines are clues to which pathway opens up, and you can use the image above as a reference as to what it looks like when they are all activated.
There are two doors, one on each side. First, you want to activate the left and center plates and pull the lever. Go to the door, and there will be another puzzle.
Left Room Puzzle Solution
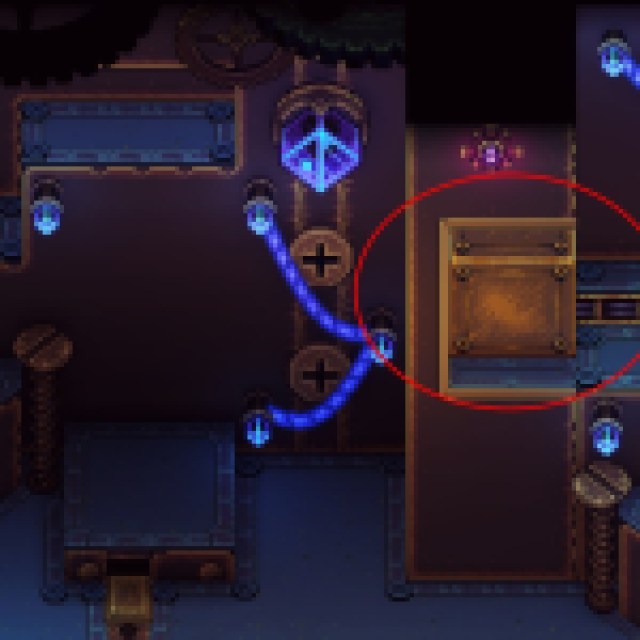

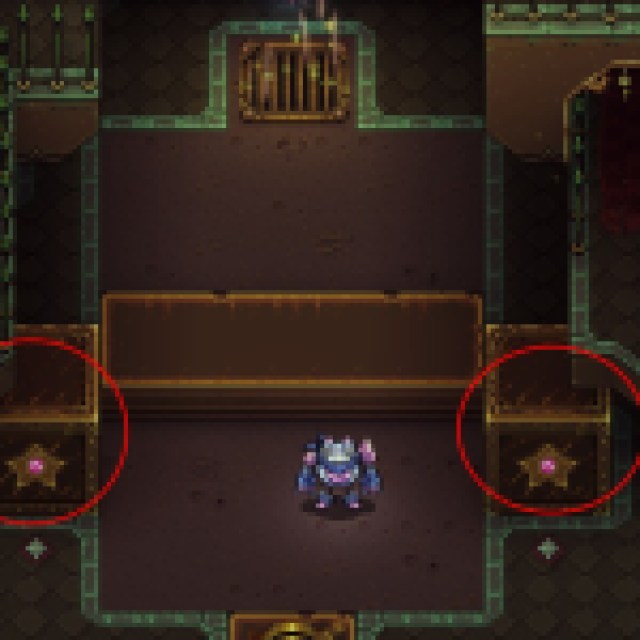
This one is simple since you only have to climb on the left side first and step on the platform. It should lower until it reaches the ground while the other platform on the right elevates.
Once it reaches the ground, it will lock in place for a few seconds. Use this short time to climb onto the right side and push the box inside the moving platform. This should unlock one of the two locks needed to save Valere. Go back outside and feel free to loot the other side as well.
Right Room Puzzle Solution


Next, use the lever again to reset the pathways. Step on the right and center plates and use the lever again.
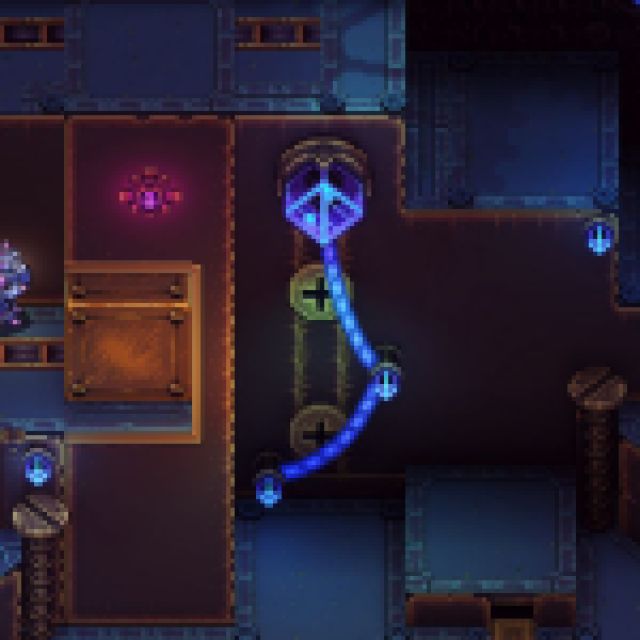

Go to the room, and you will see a similar puzzle. However, this time, you’ll have to run up first to the top floor and push the box down before stepping on the platform. It has the same mechanics: lower the platform by stepping on it until it reaches the ground, and wait for it to lock.
Once locked, go to the other side and squeeze the box into the platform. Go outside and reset the pathway again using the lever.
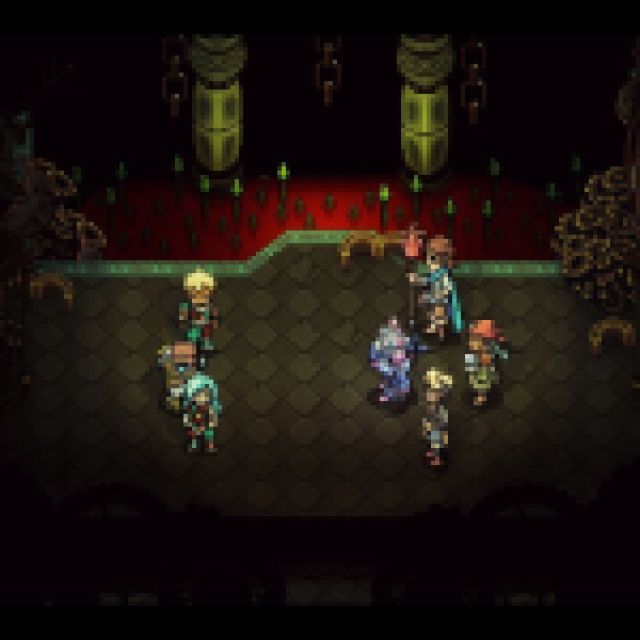

Only step on the center plate and activate the lever. Head to the middle, and you should see Valere and the others. Once you save them, they’ll discuss why the Solstice Warriors couldn’t do anything to Pif and Pouf.
You’ll learn to adjust to the environment, giving Valere and Zale a new archetype for this new adventure.
Now, you need to escape the Oubliettes with your crew. The path is straightforward from now on. This part focuses more on teaching you the new combat mechanics. Go through the enemies and you’ll eventually exit the Oubliettes and make your way back to the Town of Horlage.