
All Lucky Dice locations in Shattergrave Barrow in Tiny Tina’s Wonderlands
Tiny Tina’s Wonderlands is filled with interesting mechanics that players can take advantage of, including the Lucky Dice. Hidden in different areas, players can track down Lucky Dice to get extra loot and increase luck for all their loot throughout the playthrough. Recommended Videos You can really help maximize your rewards by tracking down as […]
Tiny Tina’s Wonderlands is filled with interesting mechanics that players can take advantage of, including the Lucky Dice. Hidden in different areas, players can track down Lucky Dice to get extra loot and increase luck for all their loot throughout the playthrough.
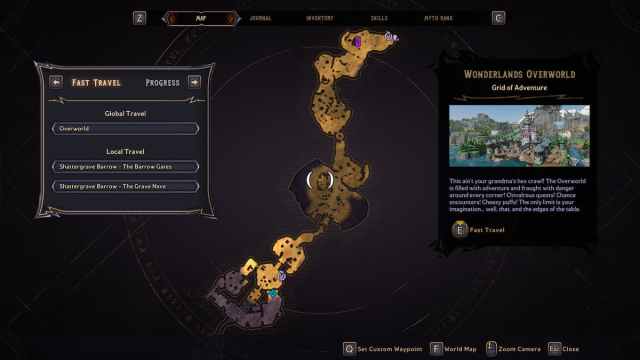
You can really help maximize your rewards by tracking down as many of these as possible. In this guide, we will show you where to find the Lucky Dice in the Shattergrave Barrow region. There are 12 Lucky Dice in total in this area.
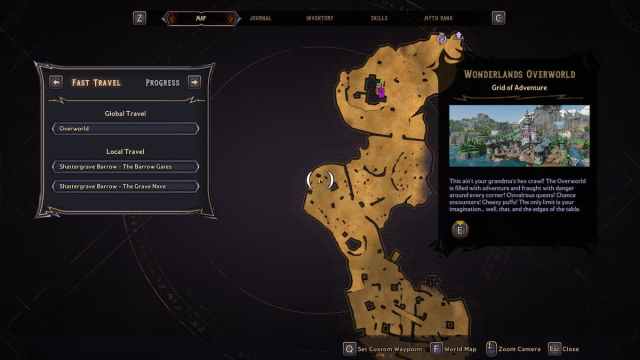
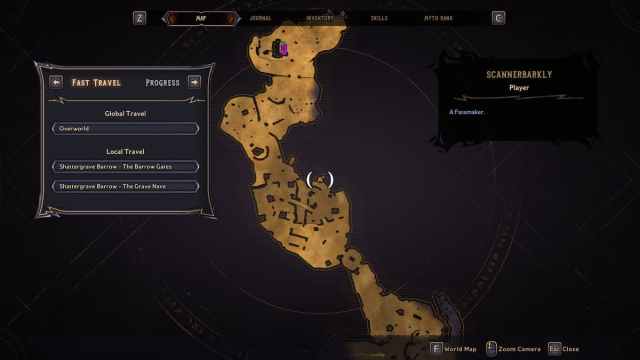
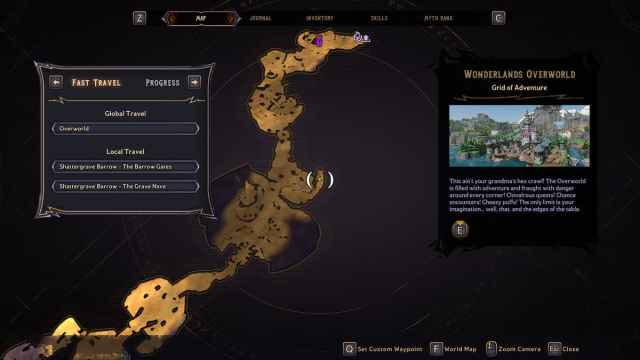
Lucky Dice locations in Shattergrave Barrow
Lucky Dice #1
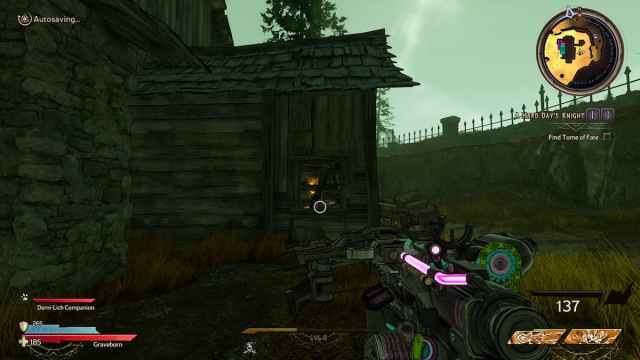
The first Lucky Dice can be found at the very start of the area, in the back of the first building. You can smash through a wall to get at it and the loot inside of it.
Lucky Dice #2 – Morham’s Crop
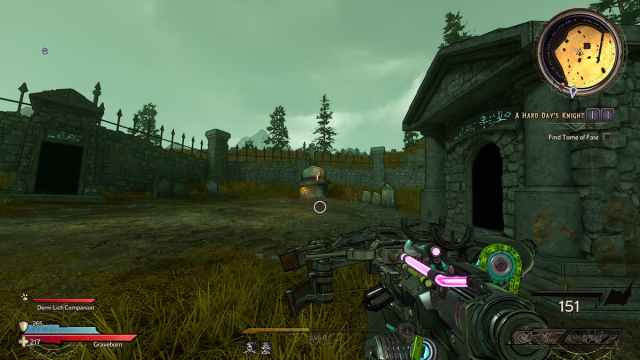
Make your way into the next area and keep to the right. You will see the next Lucky Dice beside a headstone.
Lucky Dice #3

Continue through the area, keeping to the left, and you will come to an area with some trenches in it. On the left side you will find a raised area with an open grave and a dice inside.
Lucky Dice #4 – The Bone Grove
Continue through the area until you get to a flooded region called The Bone Grove. On the right, you will see a raised area. Jump up there, then all the way around to the back to get the next dice.
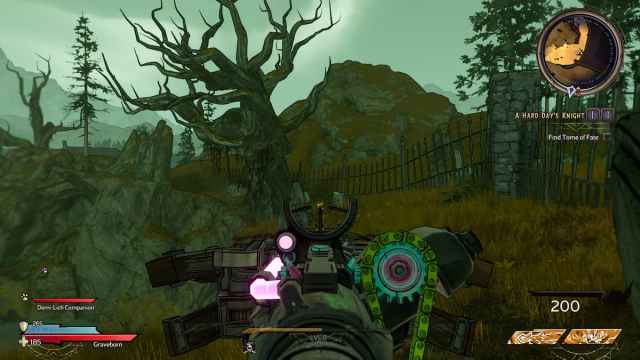
Lucky Dice #5
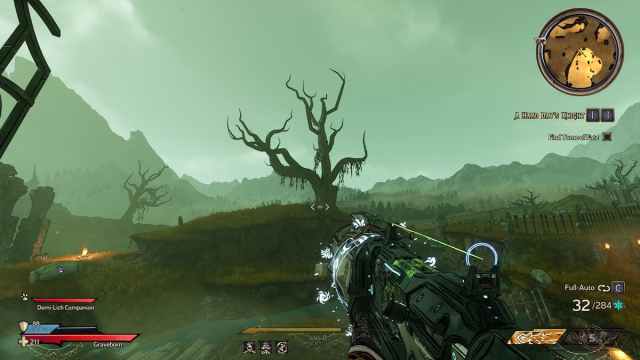
On the opposite side of the area, before you get to the large tomb, you will be able to see a singular tree on a hill. Climb up and drop down behind it to the find the next Lucky Dice.
Luck Dice #6
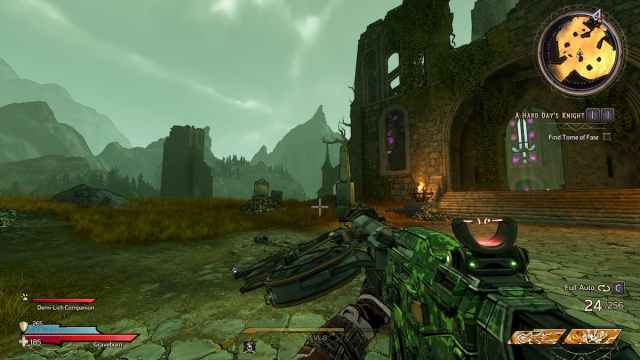
Continue through the area, up a slightly curved set of steps, and you will come to a large building. Around the left side you will find the next Dice you are looking for.

Lucky Dice #7
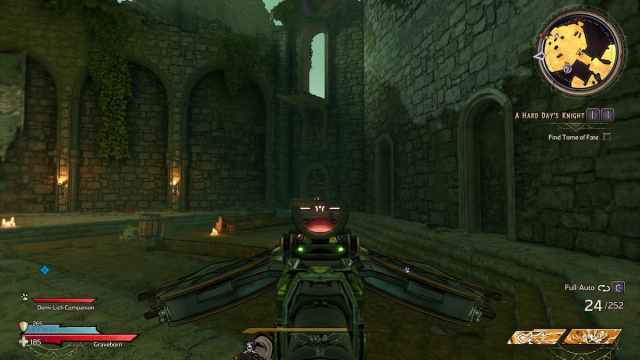
Now, double back and go into the big building. On the right side, you will find a wall you can break with your melee attack with the next Dice behind it.

Lucky Dice #8
Go to the left side of the area and jump up the part of the wall with the yellow paint. Head to the weapon chest then look to the left to see the next Dice.
Lucky Dice #9
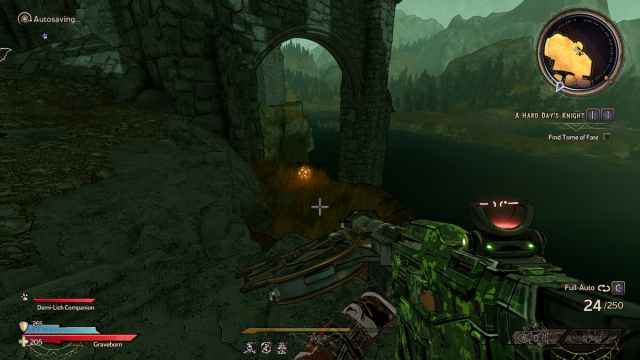
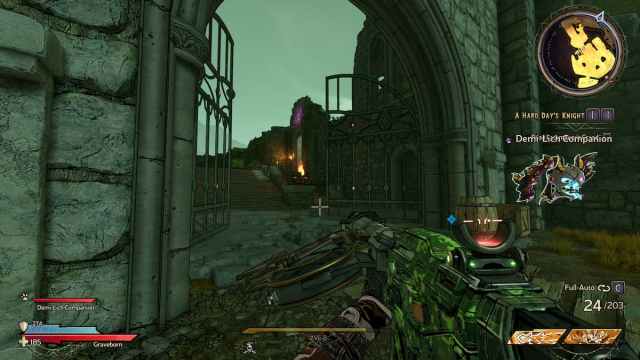
Go through the arch on the right, and the next dice can be be found on a raised platform in this new area. Stick the left wall, jumping across the gap to the yellow paint. Take the next right, then the next left, and follow the path all the way around, using the crate to get to the Dice.

Lucky Dice #10
Follow the level until you open the double gates with the chain, then you will find the next dice tucked away beside the stairs directly after the gates.
Lucky Dice #11
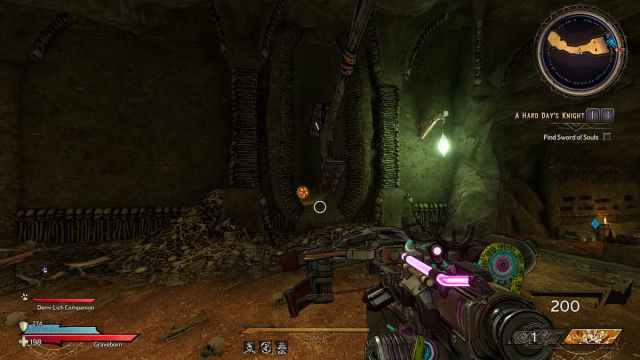
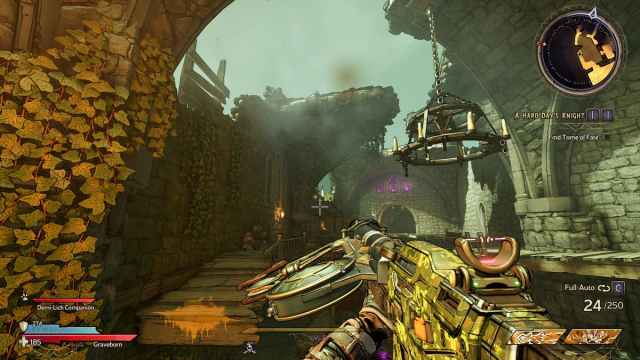
Continue through the level until you get to the large hammer swinging from the ceiling. The next dice is in an alcove on the left wall.
Lucky Dice #12
The final Lucky Dice can be found in the final room. Here, you will find a multilayered room. Just go right and up to find a small door you can go through to find the last Dice.