
All Captain Aganmi’s Raider Crew Member Locations in Queen’s Domain
Find all four missing raiders and collect the rewards from the wreckage.


Captain Aganmi is one of the NPCs you’ll encounter while exploring the flooded ruins outside Obmuer Temple in Queen’s Domain. He’s looking for four missing members of his pirate crew, the Iryupe Raiders, and asks you to find out what happened to them. Here’s where to find all four missing pirate crew members in Queen’s Domain and how to collect the rewards.
All Pirate Crew Member Locations in Queen’s Domain
Two of the missing crew members are on the Isle of Neasied, while the other two can be found around Obmuer Temple. You’ll need Wind Dash to reach the more difficult locations.
| Crew Member | Location | Where to Find Them |
|---|---|---|
| Pirate Crew Member 1 | Isle of Neasied, near Knight’s Encampment | On the beach on a ledge to the right above where you start the game. |
| Pirate Crew Member 2 | Cemetery Precipice, Isle of Neasied | Inside a hidden button opening in a stone structure past the second Crystal Monument. |
| Pirate Crew Member 3 | Obmuer Temple, near the Wing Altar | Drop down into the circular opening that you reach before the teleport station in Obmuer Temple. |
| Pirate Crew Member 4 | Obmuer Temple approach | On a small grassy platform across the water in the temple’s flooded area. |
You can collect the necklaces in any order. We recommend picking up the first two while exploring the starting island and collecting the remaining two once you reach Obmuer Temple.
Pirate Crew Member 1 — Knight’s Encampment
The first pirate crew member is found near the starting beach on the Isle of Neasied. Fast travel to the Knight’s Encampment and take the staircase to the left of the Crystal Monument. Continue along the elevated path until you reach the area overlooking the ocean.
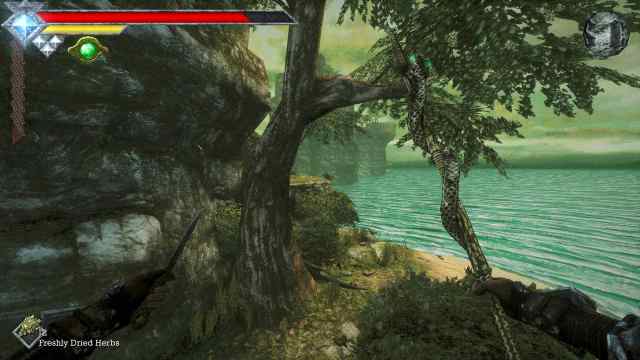
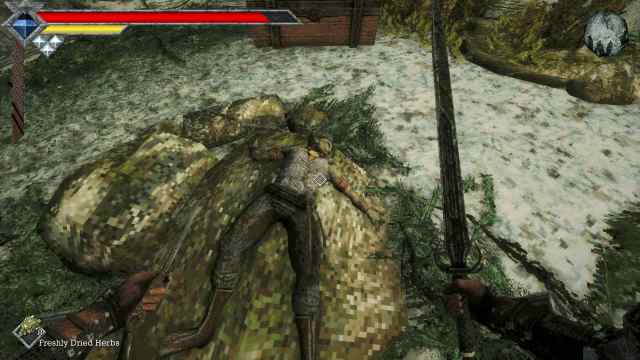
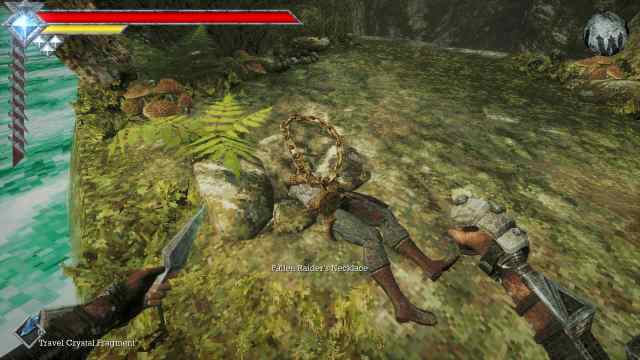
Look across and you’ll see an elevated grassy area across the beach. Jump and dash across and you’ll find the Raider lying under a tree. Approach the body and interact with it to collect the first Fallen Raider’s Necklace.
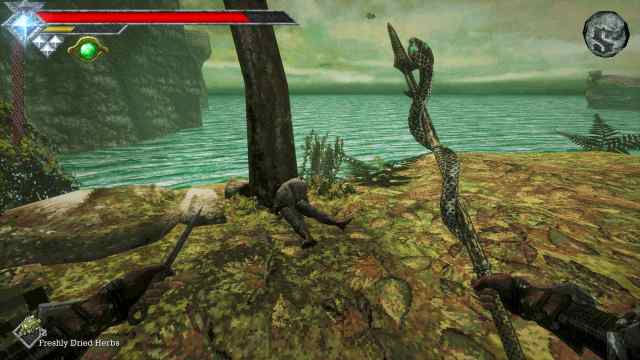
Pirate Crew Member 2 — Cemetery Precipice
The second pirate is hidden near Cemetery Precipice, and this is probably the easiest one to miss. Fast travel to the Cemetery Precipice Crystal Monument and head toward the large stone structures in the graveyard. Look for a tall gravestone near the corner of the cemetery. There’s a hidden switch behind it that opens a passage in the nearby stone structure.
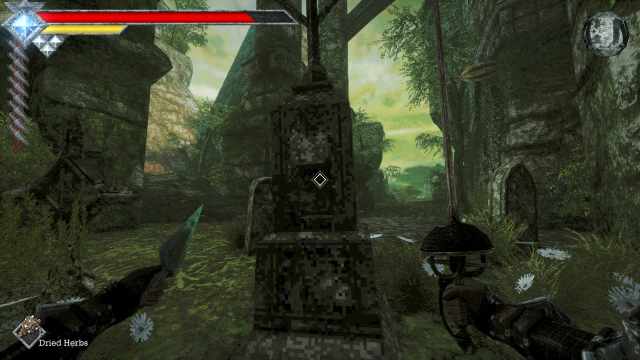
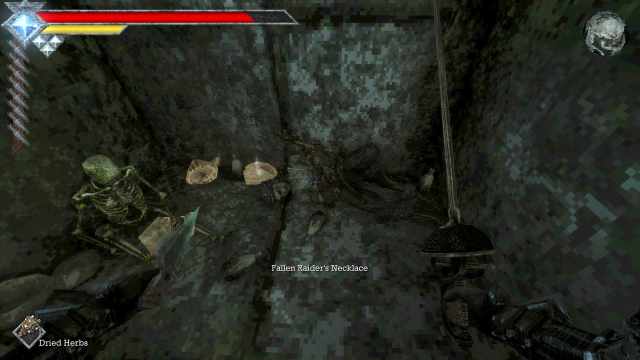
Once you’ve activated the switch, use the nearby ledges to climb higher. You’ll see a stone platform with a brazier facing the newly opened passage.
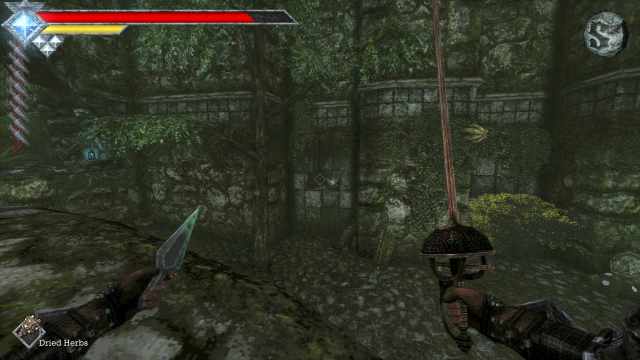
Use Wind Dash to cross the gap and enter the opening in the wall. The pirate’s body is hidden inside.
Pirate Crew Member 3 — Obmuer Temple Wing Altar
The third pirate is located near the Wing Altar in the Obmuer Temple. After progressing through Obmuer Temple and defeating Dagoom the Sea King, return to the Wing Altar area.
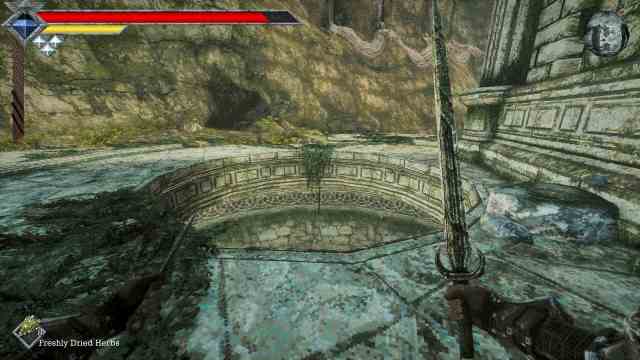
Walk backwards on the path until you reach the area with a circular opening in its floor under the Barnacle enemies. Drop through the opening to reach a small chamber below.
You’ll find the missing crew member’s body beside a treasure chest containing an additional Throwing Knife. Collect the Fallen Raider’s Necklace before leaving.
We suggest using a Travel Crystal Fragment to return. Getting back from this area can be inconvenient, and using the fragment is the simplest way to return to your last Crystal Monument. Or, you can use this detour as an excuse to tackle the Trident puzzle.
Pirate Crew Member 4 — Obmuer Temple Approach
The final pirate is found on an isolated grassy platform near the approach to Obmuer Temple. Start from Aganmi’s Camp and follow the flooded ruins toward the stone ramp leading to the temple entrance, where you can also collect the Trident weapon. Instead of climbing all the way toward the entrance, look across the water for a small stretch of land beside a broken stone tower.
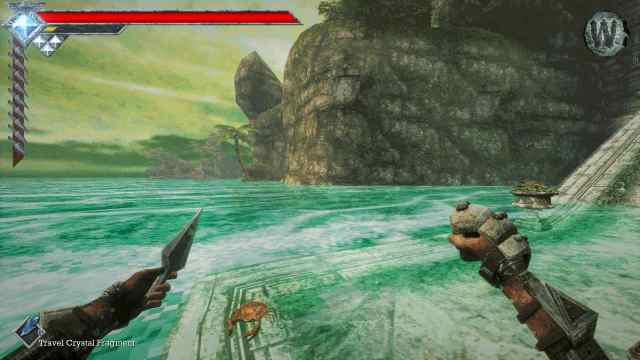
Use Wind Dash and Cestus combo to cross to the platform. You’ll need at least two dashes and have to position yourself carefully to reach the grassy section without falling into the water. The pirate’s body is lying on the ground near the ruins. Interact with it to collect the fourth and final Fallen Raider’s Necklace.
How to Complete Captain Aganmi’s Quest in Queen’s Domain
Once you’ve collected all four Fallen Raider’s Necklaces, return to Aganmi’s Camp outside Obmuer Temple.
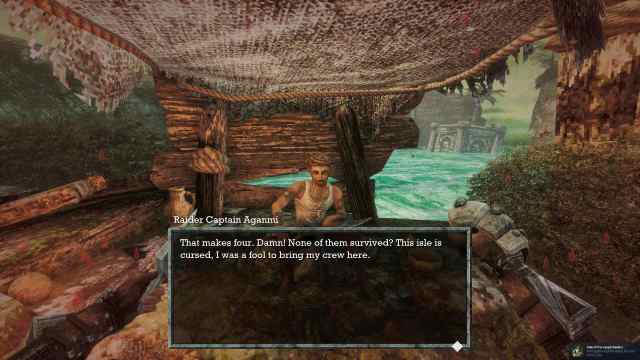
You’ll receive the following rewards:
| Reward | Effect or Use |
|---|---|
| Aganmi’s Necklace | Accessory that provides gradual HP regeneration and some Poison resistance. |
| Raiders’ Chest Key | Opens the locked treasure chests at the nearby Iryupe Raiders’ shipwreck. |
| Fate of the Iryupe Raiders achievement | Unlocked after reporting the fate of all four crew members to Aganmi. |
Aganmi’s Necklace is useful during the earlier parts of the game because its passive healing helps recover HP between encounters.
Where to Use the Raiders’ Chest Key
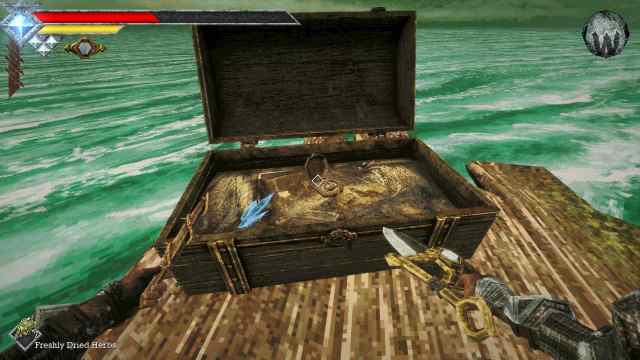
After completing the quest, return toward the area where you found the fourth pirate near Obmuer Temple. Look behind the bushes overlooking the water to spot the remains of a shipwreck across several small islands.
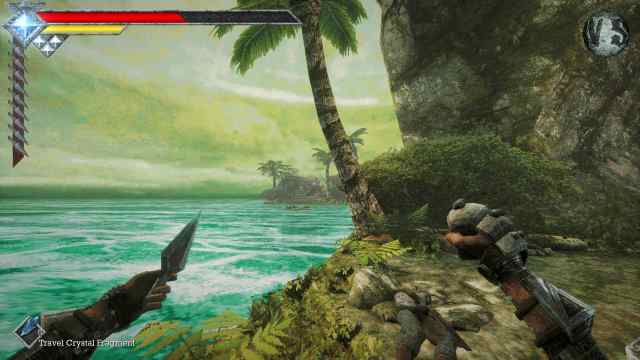
Use Wind Dash to reach the first platform, then continue toward the wreckage. You’ll find two locked treasure chests that can be opened using the Raiders’ Chest Key.
| Treasure Chest | Reward |
|---|---|
| First chest | Wraith Blade |
| Second chest | Elegant Compass |
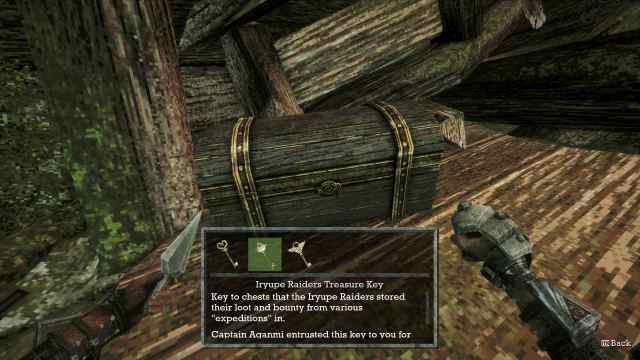
The Wraith Blade is the more useful reward, offering fast Slash and Pierce attacks along with a magical special attack. It’s worth collecting if you’re still progressing through the early and middle areas of Queen’s Domain. Make sure to open both chests before returning to the main route.
That’s all you need to know about Captain Aganmi’s raider crew member locations. You can also check out the best early-game weapons for your run.


