
Luigi’s Mansion: Dark Moon – Gloomy Manor Walkthrough – A-5 Sticky Situation
Find the Mushroom Amethyst and the Coffin Amethyst in the latest section of our Gloomy Manor walkthrough.
We’re nearly at the end of our free Gloomy Manor extracts from Luigi’s Mansion: Dark Moon eGuide. Things are getting tense!
The Mushroom Amethyst and the Coffin Amethyst are in this part of the Manor, but don’t fret: we’ve got you covered!
GET ACCESS TO THE FULL GUIDE NOW
During this mission, many of your objectives will appear in random locations. However, several objectives will remain consistent across multiple attempts. Similarly, most of the mission’s enemies appear in random locations. Each time you enter a new area, be prepared to face groups of Greenies, Hiders, or Slammers.
Clear Webs Near the Guard Hall
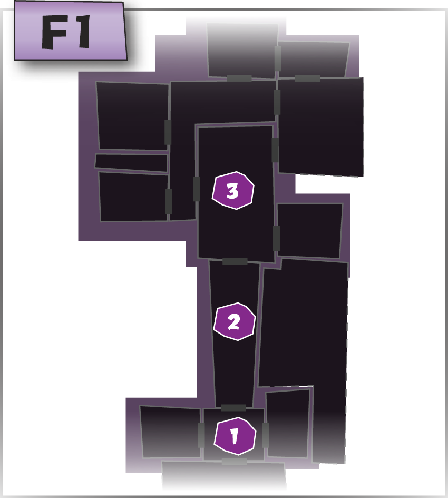
 When the mission starts, you’re transported to the Entrance. Check the Touch Screen map to determine if any of the surrounding rooms contain webs. If the Front Yard, Mudroom, and Garage are all clear, consider moving directly to the Guard Hall.
Once again, the Front Yard does contain a small amount of treasure. However, it’s much easier to gain this mission’s 3-star rating if you limit unnecessary exploration.

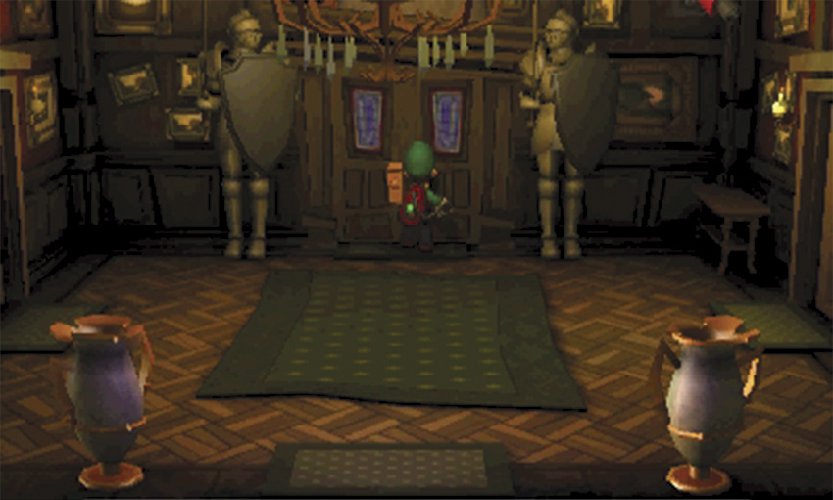
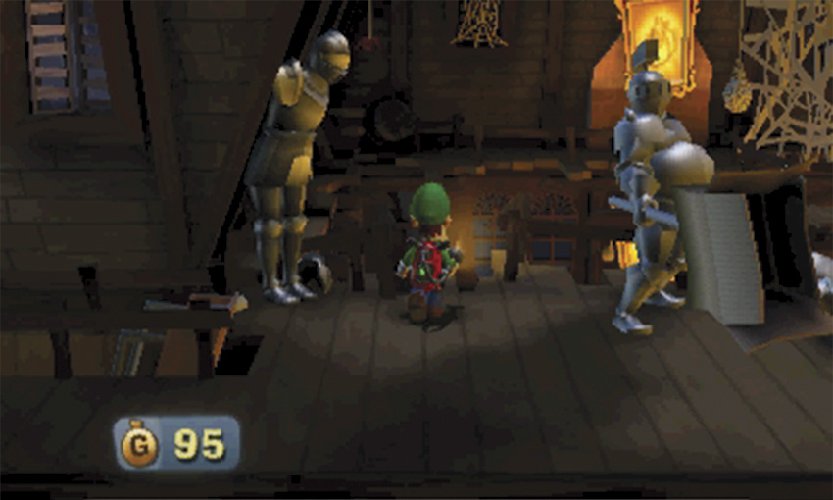
 The Guard Hall should contain only a few webs, but they can be fairly difficult to spot. Check each suit of armor from head to toe and vacuum any webs you see. As you deal with the aggressive spiders, remember to stay clear of the swinging swords. Once the Guard Hall is clean, continue to the Foyer.
When you clear an infested area, the room sparkles and the objective marker vanishes from the map. As long as the marker remains, there’s at least one web in that area.

 Once you reach the Foyer, use the Touch Screen map to see if the Coatroom has been infested. If so, take care of it now; if not, move on to the Common Hall.
Clear Webs Near the Common Hall

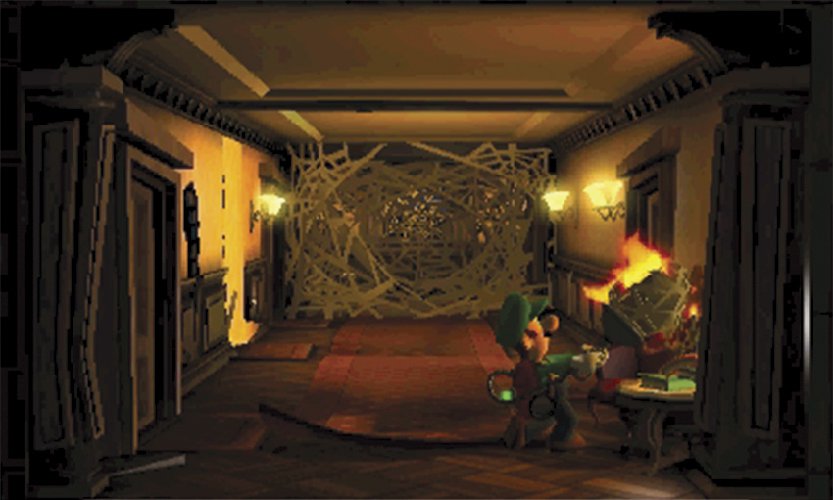
When you reach the Common Hall, check the map to see if the Lab, Secret Pocket, or Studio are infested. If so, take care of those areas first. If they’re clear, vacuum the ball of webbing lying on the floor. Use the Poltergust to carry the ball to the nearby candle, then use the flaming ball to destroy the large web to the north.
The Common Hall is full of spiders. Use the flaming ball to clear these pests as you move through the area.
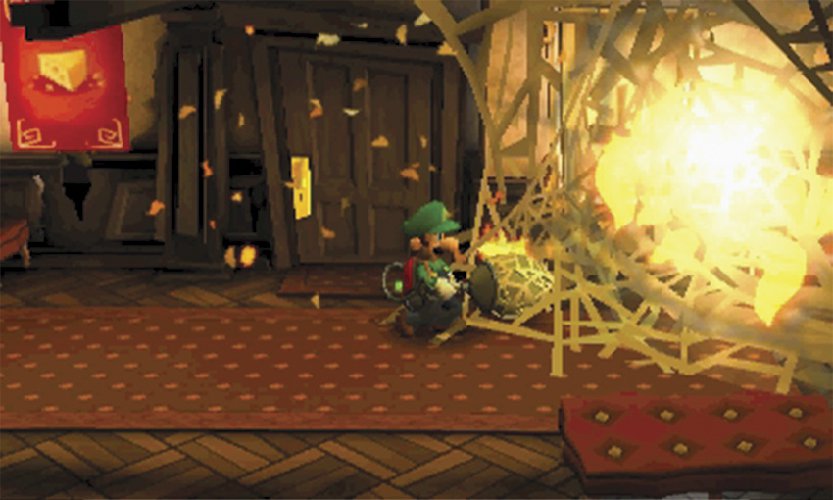
As you follow the path around the bend, burn any webs you see. Move quickly to ensure you clear the large webs near the Library door before the flaming ball burns out. Vacuum the posters from the wall and peek into the Library, then use the Dark-Light Device to pull the treasure from the nearby framed poster. When you’re finished in the Common Hall, use the newly cleared door to enter the Library.
If the web-ball burns out before you clear the Common Hall, move back to the area’s south end to find a fresh ball.

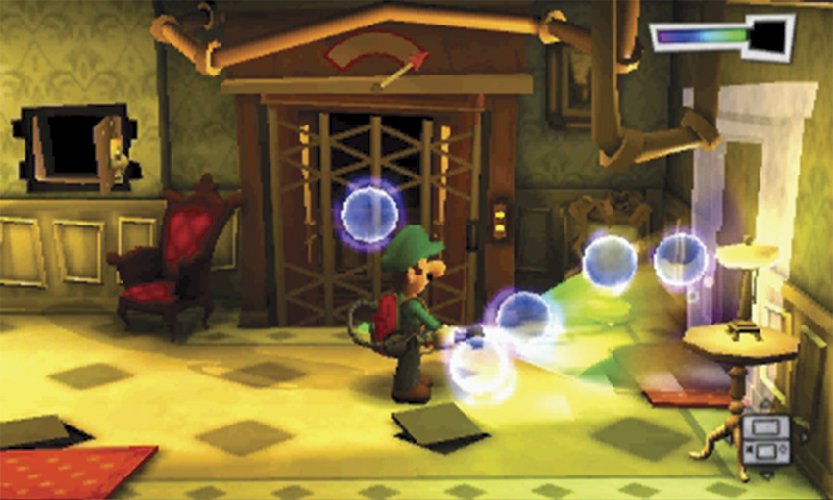
When you enter the Library, the piano and several stacks of books seem to have disappeared. Use the Dark-Light Device to reveal the piano, then capture all of the Spirit Balls to summon the Boo responsible. After you capture Ooga Booga, clear webs left in the room. Check the map for other nearby infestations, then leave the Library and return to the Common Hall.
 Boo Location
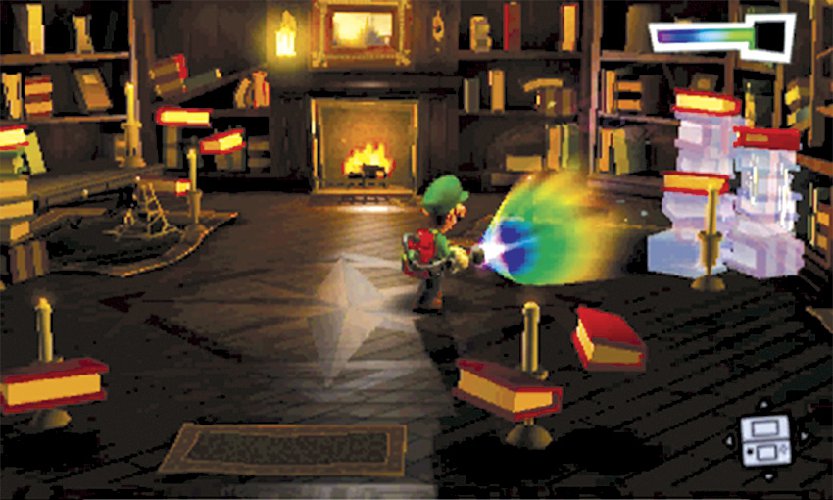
This mission’s Boo is located in the Library’s piano. Use the Dark-Light Device to reveal the missing piano, then utilize the established tactics to capture Ooga Booga.

After you return to the Common Hall, head through the door on the east wall. Move to the center of the Patio to find a Greenie and a Gold Greenie playing near the southern edge of the water. Capture both enemies, then search the rest of the area. Flash the purple flowers, spin the merry-go-round, and reveal the door to the area Under the Stairs. When you’re ready, use the door to the north to enter the kitchen.
The Patio contains a sizable chunk of this mission’s available treasure. It’s important to finish the mission quickly, but don’t skip this valuable area.
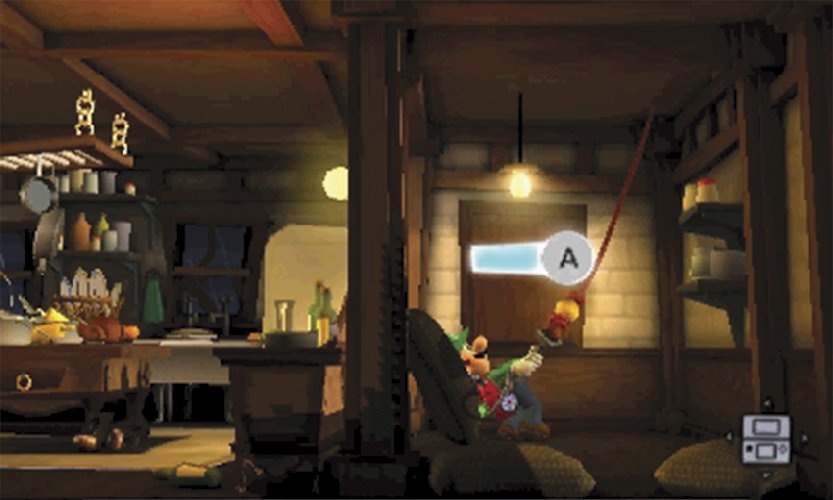
 Ensure the Kitchen is clear of webs and enemies, then use the dumbwaiter to travel up to the Dining Room.
Caution
During this mission, the Kitchen usually contains a group of ghosts. Stay alert!
Clear the Webs Near the Lobby
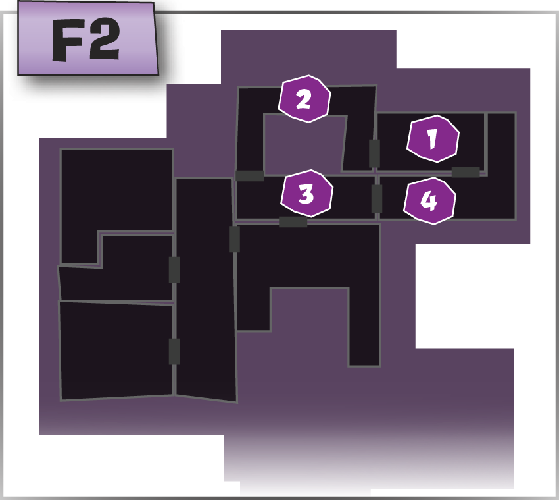
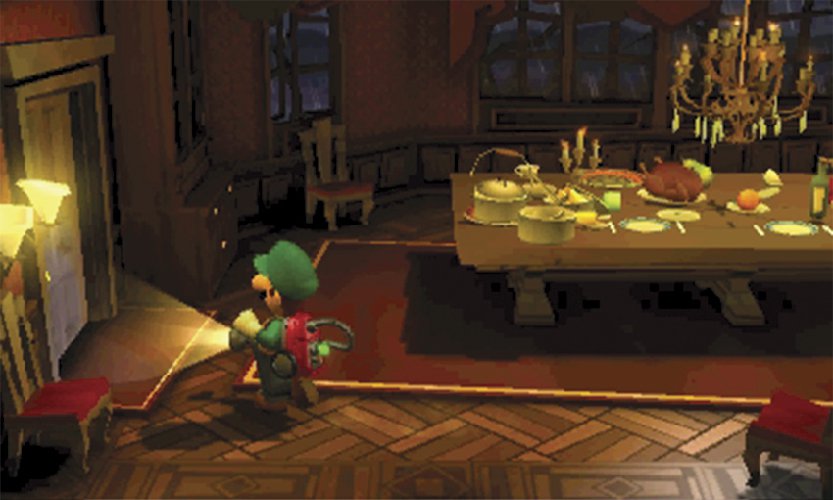
When you reach the Dining Room, clear out any ghosts, critters, or webs that might be in the area. When you’re ready, leave through the door to the left to enter the F2 level of the Library.
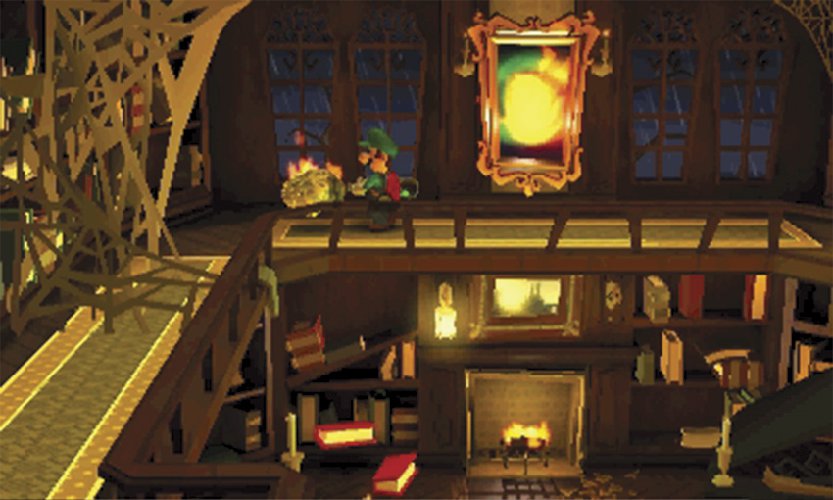
As you follow the walkway around the Library’s perimeter, use the Dark-Light Device to activate the framed sketch on the north wall. Vacuum the nearby ball of webbing, and carry it to the sketch before the flame vanishes. Once the ball is burning, use it to clear the large webs out of your path. Clear any remaining webs from the room, then follow the path to the Lobby.
Ensure the Lobby is clear of ghosts and webs, then use the Dark-Light Device to reveal the door to the right. When you’re ready, use the door to reach the Balcony.

When you step onto the Balcony, use the Strobulb to flash the bats hiding above you. Once the area’s safe, vacuum the web high in the northwest corner, just below the overhang. Use the Strobulb to ignite the grill, then vacuum the loose bundle of webbing to the right. Pull the webbing over to the grill, ignite it, then release it to destroy the nearby web.

After the web burns, flash the bats hiding above the Balcony’s east half. Vacuum the web-ball, then carry it over to the grill and light it on fire. Use the burning ball to destroy the large web at the Balcony’s northeast corner, then clear out any remaining small webs. When you’re ready, return to the Lobby and continue to the Foyer.
Clear Webs Near the Master Hall
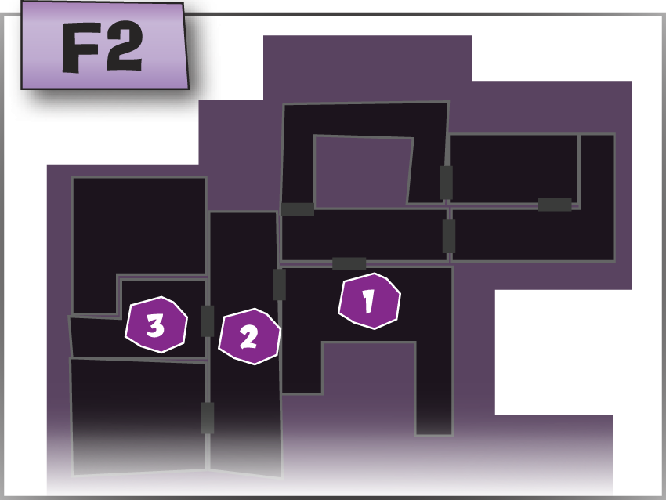

At this point, level F1 should be clear of webs. Now you must complete your search of level F2 and find a way to reach level F3. When you return to the Foyer, head through the door to the left to search the Master Hall.

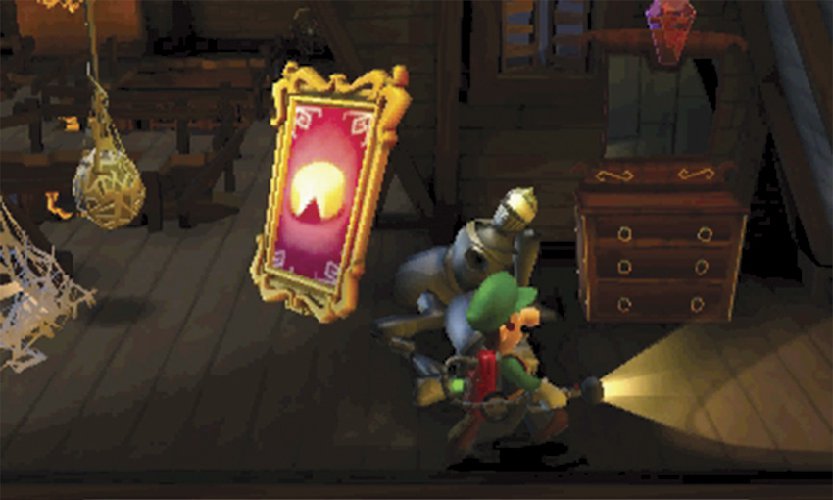
There’s a gold spider hiding in the large web on the Master Hall’s ceiling. Flash it and collect the treasure, then vacuum the web on the nearby painting. When the painting tips over, it knocks a candle sconce askew. Clear out a few of the spiders that appear, then vacuum the bundled webbing from the ceiling. As you drag the bundle over to the flame, avoid any spiders in your path.
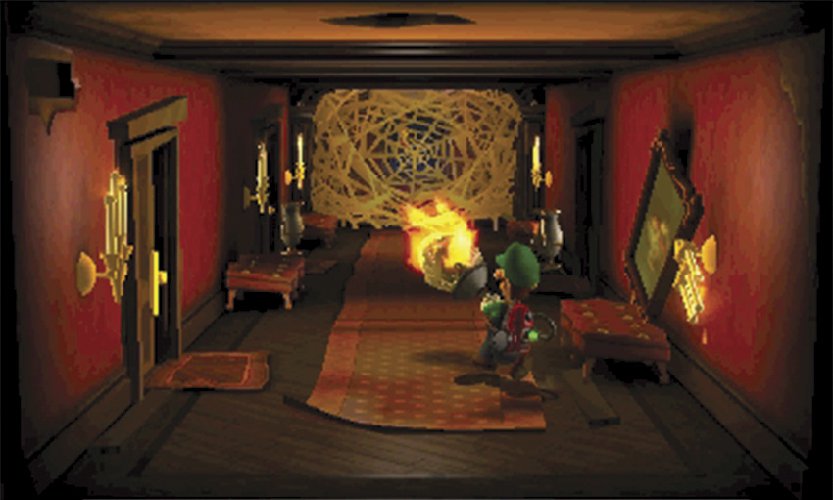
After the web burns, a ball of webbing falls to the ground. Vacuum the ball, then use the candles to ignite it. Carry the flaming ball to the Master Hall’s north end and use it to destroy the remaining web. When the web burns, it reveals a pull cord. This cord provides access to the Rafters on level F3. Before you head up, however, clear out the rest of level F2.
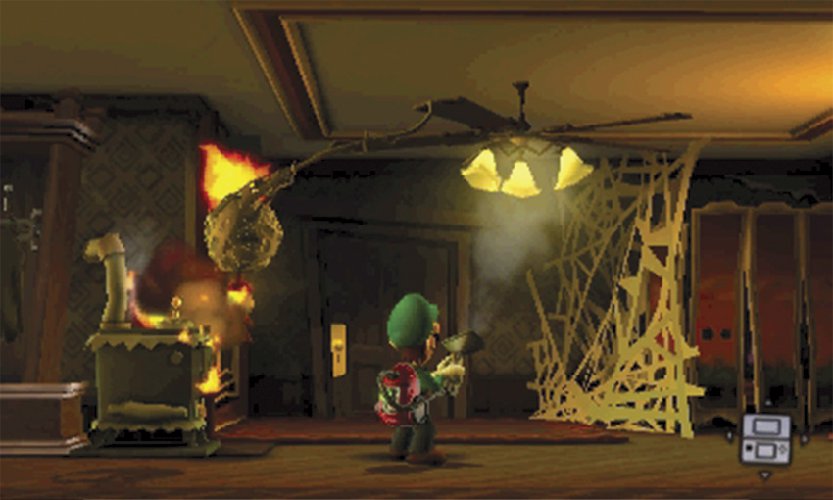
Check the map to ensure the Parlor is free of webs, then enter the Bedroom. Search the stove to stoke the fire, then vacuum the ceiling fan. When the blades spin fast enough, the webbing bundle attached to the fan passes through the stove’s flame and ignites the large web blocking the dressing area.
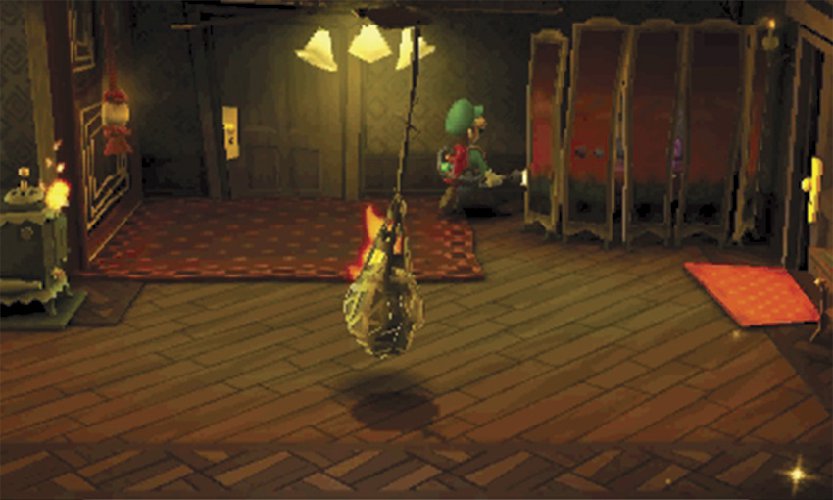
After the web burns, move behind the dressing screen and vacuum the area to collect the Mushroom Amethyst. Use the map to check for nearby objectives. If the Study is infested, use the Bedroom’s secret passage. If not, leave the bedroom and return to the Master Hall.
 Gem Location
After you clear webs from the Bedroom, vacuum the area behind the dressing screen to collect the Mushroom Amethyst.
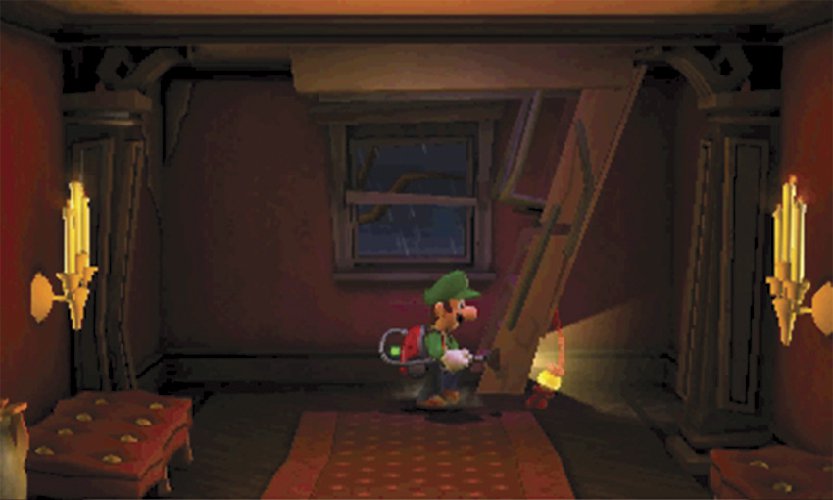
After you clear all of the webs on level F1 and level F2, return to the Master Hall’s north end. A-Pull the cord hanging from the ceiling to reveal a drop-down ladder, then climb up to level F3.
Clear Webs in the Rafters

When you reach the Rafters, hook back to the left to find a safe near the wall. Use the Strobulb to flash the safe, then vacuum any nearby webs.
Stand between the suits of armor to the right, then press  to step onto the narrow beam.

Use the Circle Pad to control your movement while on the beam, and tilt the Nintendo 3DS system to steady yourself if you start to lose your balance. Make your way across the beam and continue your search of the area.
Caution
Watch yourself around the suit of armor just east of the beam! If you get too close, the armor skewers anything in front of it.

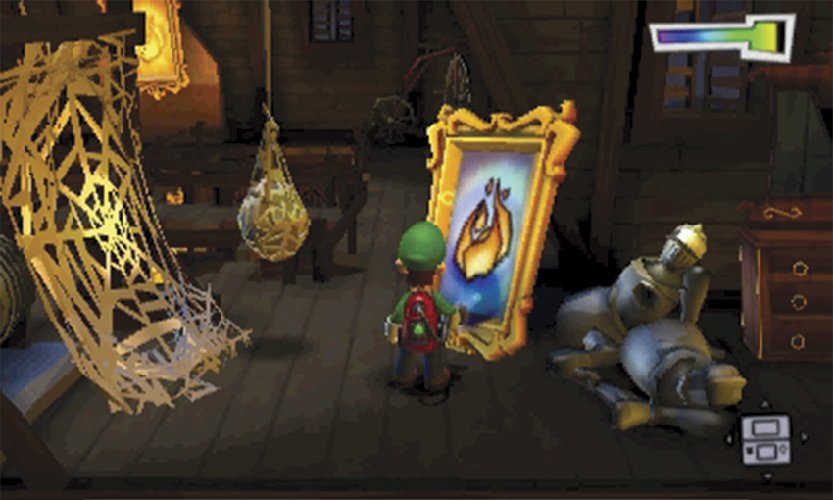
After you cross the beam, clear out any webs along the north wall. Use the Dark-Light Device to activate the framed sketch, then vacuum the nearby bundle of webbing and drag it to the flame. As you continue through the area, clear out the other webs along the path.
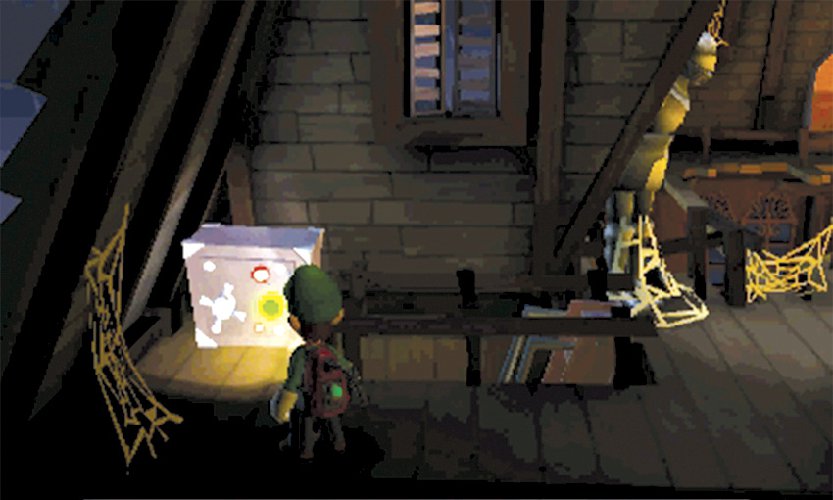
When you reach southeast corner of the area, use the Touch Screen to check your mission progress. If you’ve been thorough, the large web near the hanging bundle should be the last web in the mansion. Before you destroy it, search the nearby dresser and vacuum the Coffin Amethyst attached to the its mirror.
Gem Location
Before you destroy the last web, locate the dresser in the Rafters’ southeast corner and vacuum the Coffin Amethyst down from its mirror.
When you’re ready, vacuum the framed poster to reveal the sketch beneath it. Use the Dark-Light Device to activate the sketch, then use the Poltergust to vacuum the bundled web. Use the bundle to ignite the last web, then answer the Duel Scream to complete the mission and return to the Bunker.