
Luigi’s Mansion: Dark Moon – Haunted Catacombs Walkthrough
Find everything this area has to offer
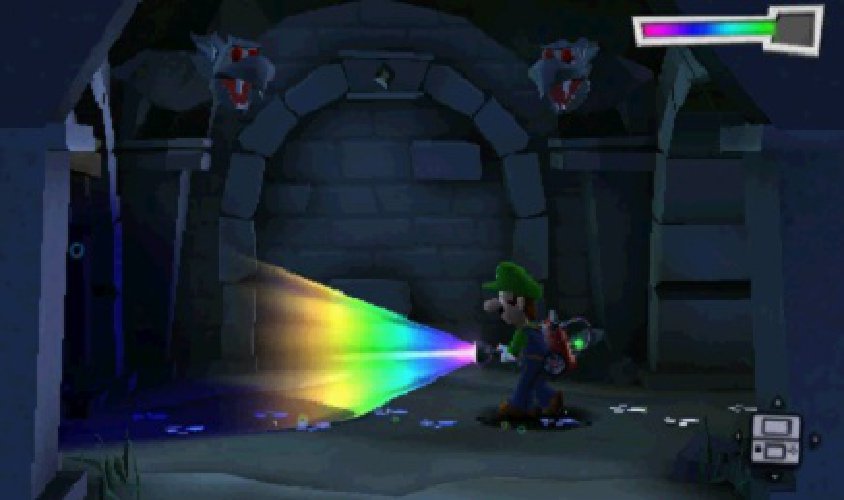
The Haunted Catacombs can be a very confusing area. This room is essentially a collection of intersections, but many of the available paths are simply illusions. One wrong turn, and you find yourself back where you started!
The Polterpup’s trail marks a safe path through the entire area, but it bypasses a number of important secrets. If you want to find everything this area has to offer, you’ll have to do a bit of exploration.
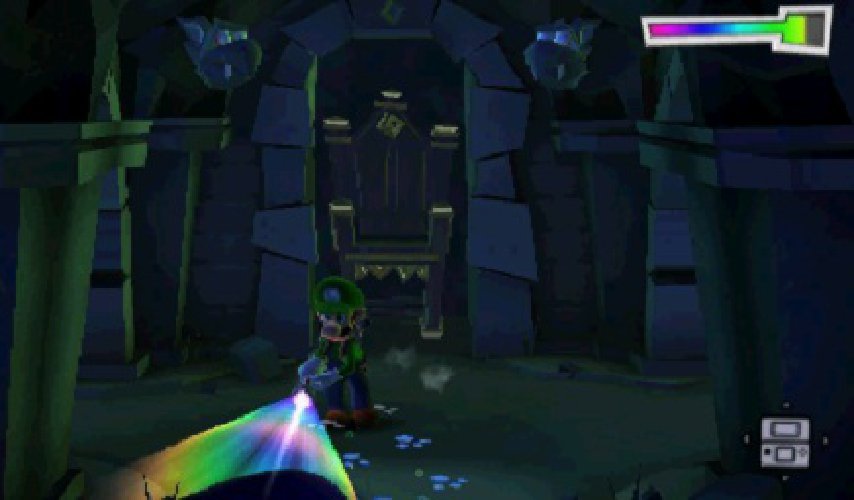
From the Throne to the Coffin Painting
After the throne carries you down into the Haunted Catacombs, take the following path to find the coffin painting:
From the throne, move two intersections to the south to find a suit of armor.
Move one intersection to the east. The coffin painting can be seen to the north.
Move one intersection to the north and vacuum the coffin painting.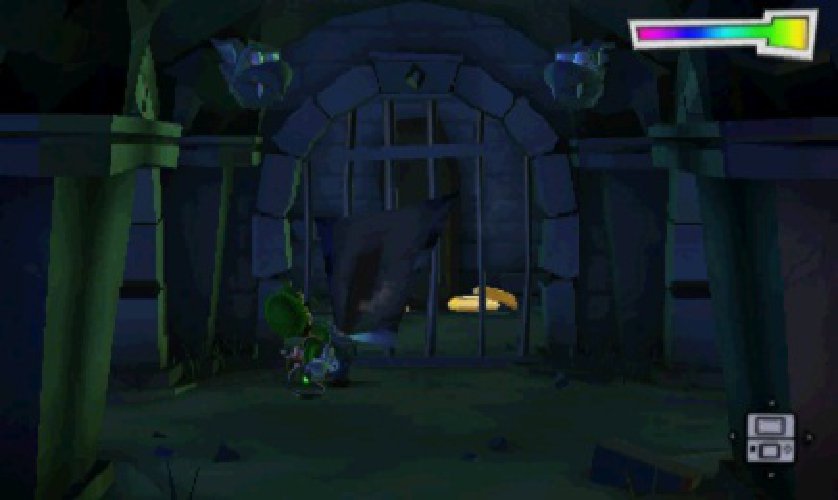
Once the painting is out of they way, you can see an actual coffin along the north wall. Unfortunately, the path is blocked by a set of bars.
From the Coffin Painting to the Coffin
The coffin contains a bonus challenge, so it’s definitely worth finding a route around the bars. Take the following path:
After you vacuum the coffin painting, move one intersection to the south.
Move one intersection to the east.
Move two intersections to the north. You have now passed between the sword-swinging suits of armor to arrive at the north wall.
Move one intersection to the west to find the coffin.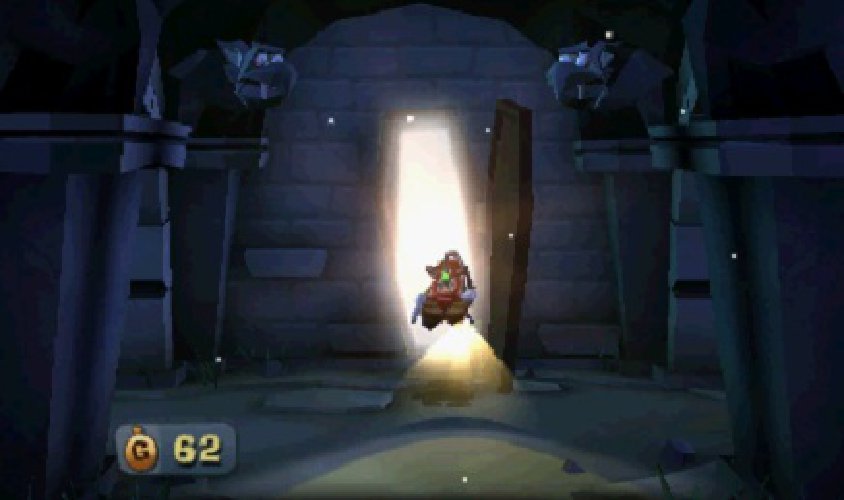
Grab the treasure on the ground, then open the coffin to enter a bonus challenge. Complete the challenge to earn your reward and exit the coffin. Now it’s time to head to the Underground Lab.
From the Coffin to the Underground Lab
If you return to the Polterpup’s trail, you can follow the tracks right to the Underground Lab. There’s a hidden chest near the door, however, so make sure you grab it before you head inside. Take the following path:
After you emerge from the coffin, move two intersections to the east.
Move one intersection to the south to find the door to the Underground Lab.
Move one intersection to the south and use the Dark-Light Device to reveal a hidden chest.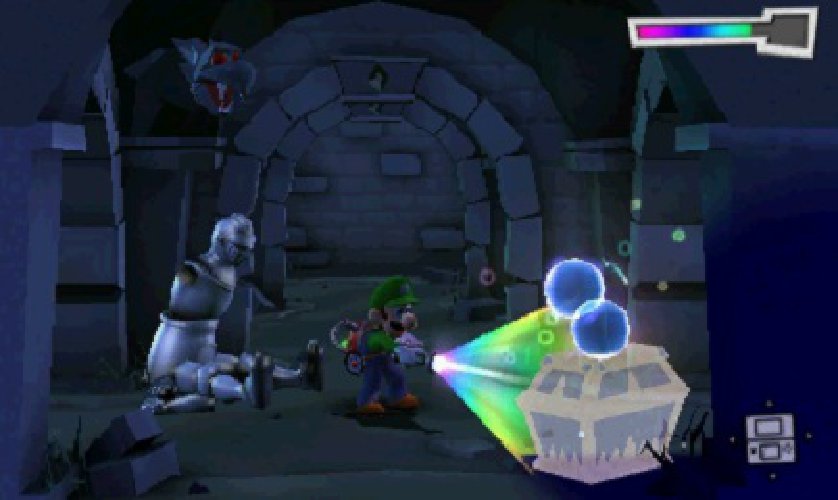
After you search the revealed chest, move one intersection to the north to return to the door. Head through the door in the east wall to enter the Underground Lab. During your first visit, this room contains a Boo and the Round Diamond. Make sure you capture the Boo and collect the Gem before you continue to the second half of the Haunted Catacombs.
From the Underground Lab to the Large Webs
The Polterpup doesn’t spend much time in the second half of the Haunted Catacombs. To find the secrets hidden in the area, you must to a great deal of exploring. Your first task is to find the large webs along the room’s north wall. Examine the suits of armor scattered around the area to reveal clues about valid paths, but you’ll need to stray from these clues to find an available chest.
Take the following path:
Exit the Underground Lab and examine the suit of armor.
Move one intersection to the east. There’s a suit of armor on the north wall.
Move one intersection to the south to find a chest.
Move two intersections to the north and examine the suit of armor.
Move one intersection to the east. There are large webs on the north wall and a suit of armor in the foreground.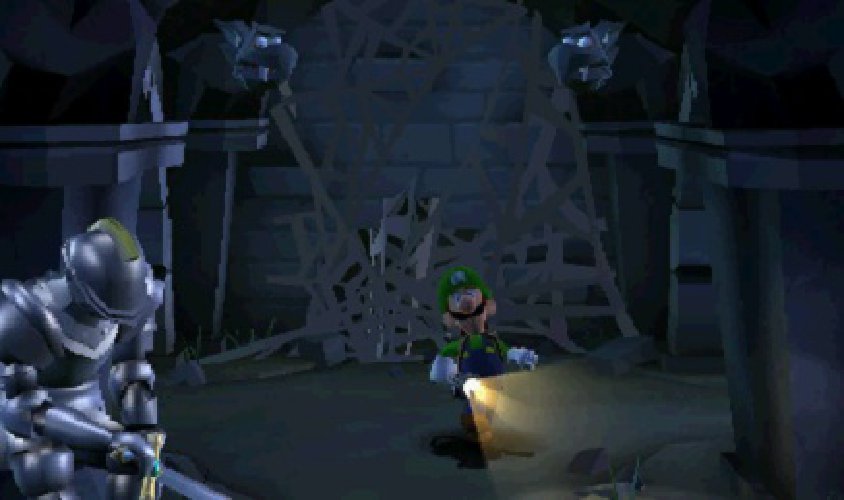
The Trillion Diamond is trapped behind the large webs. Before you can collect the Gem, you must find a way to clear the webs.
From the Large Webs to the Framed Sketch
Once you find the webs, it’s time to locate a fire source. Use the following path to reach the framed sketch hidden nearby:
Starting from the large webs, move one intersection to the south and examine the suit of armor.
Move one intersection to the east.
Use the Dark-Light Device to reveal the suit of armor on the north wall.
Move one intersection to the north and examine the suit of armor.
Move one intersection to the east to find the framed sketch.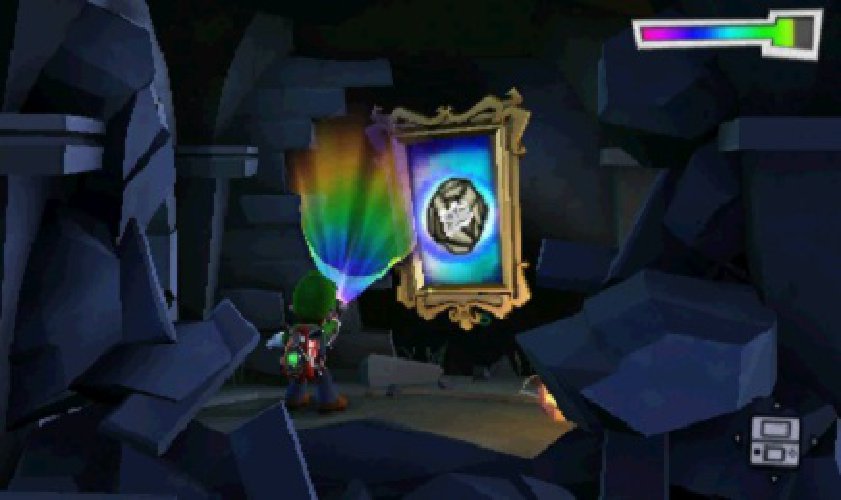
When you reach the framed sketch, use the Dark-Light Device to free the ball of webbing trapped within it. Vacuum the web-ball, then light it on the nearby torch.
From the Framed Sketch to the Large Webs
You’ve already established the correct route between the large webs and the framed sketch. After you’ve lit the web-ball, carry it back along the same path to return to the webs:
From the framed sketch, move one intersection to the west.
Move one intersection to the south.
Move one intersection to the west.
Move one intersection to the north.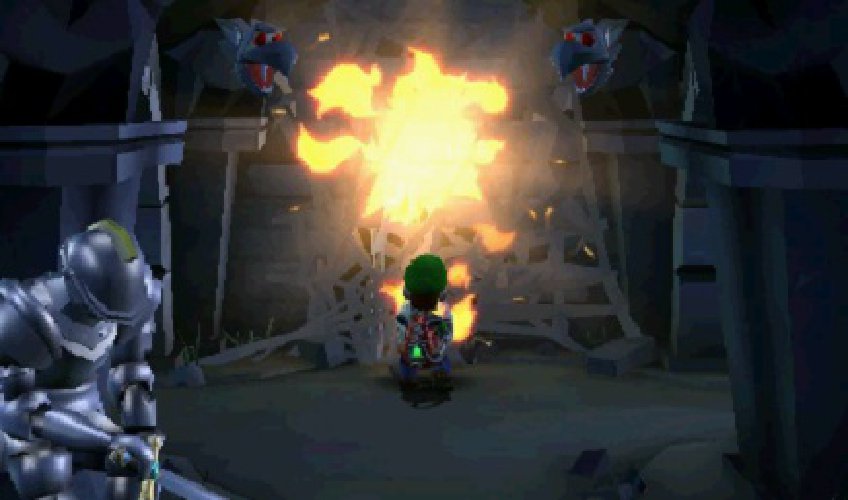
Use the flaming web-ball to clear the large webs from the wall, then collect the Trillion Diamond from the small hole.
From the Large Webs to the Cliffside
To reach the B2 level of the Cliffside, simply move two intersections south of the large webs—or, if you’ve already destroyed the webs, move two intersections south of the hole the north wall. 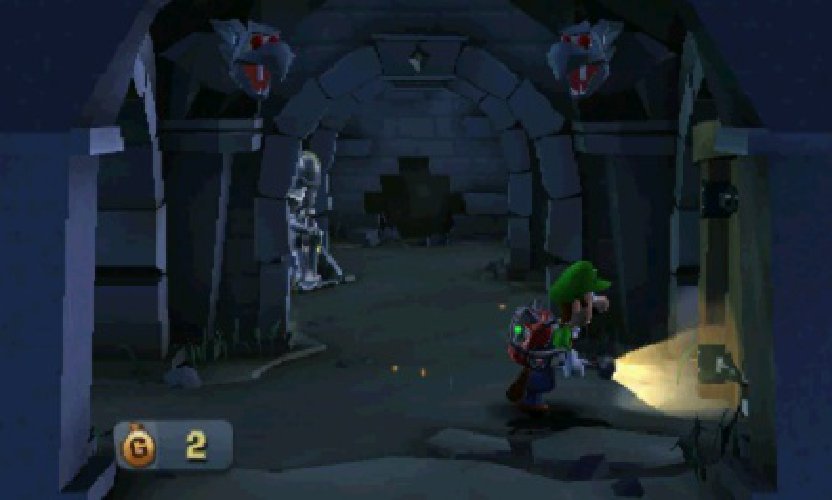
Open the wooden door in the east wall to find the B2 level of the Cliffside. This area contains the Baguette Diamond and some valuable treasure stashes. After you search the area, head back into the Haunted Catacombs.
From the Cliffside to the Dungeon Cells
You’re now ready to follow the Polterpup into the Dungeon Cells. To do so, you can intentionally make a wrong turn be instantly transported to the start of the maze, or you can follow the established path back though the area.
Take the following path to quickly reach the Dungeon Cells:
After you leave the Cliffside, move west. The wrong turn sends you back to the start of the maze.
Move one intersection to the south. You’re now just outside the Underground Lab.
Move one intersection to the south.
Move one intersection to the west. Open the door in the west wall to find the Dungeon Cells.
To follow the established route back through the area, take the following path:
After you leave the Cliffside, move north two intersections.
Move one intersection to the west.
Move one intersection to the south.
Move one intersection to the west. You’re now just outside the Underground Lab.
Move one intersection to the south.
Move one intersection to the west to find the door to the Dungeon Cells.
When you’re ready to leave the Haunted Catacombs behind, use the door in the west wall to head into the Dungeon Cells. You’re now free to track down that elusive Polterpup!
Ready to learn more? Get the complete official euide to Luigi’s Mansion: Dark Moon.