Luigi’s Mansion: Dark Moon – Gloomy Manor Walkthrough – A-3 Quiet Please
Lots of books, a Boo plus the Drop Amethyst, Pebble Amethyst and Rhombus Amethyst locations revealed in this free walkthrough
If you’re lucky enough to have picked up a copy of Luigi’s Mansion: Dark Moon, then why not take a look at our brand new official eGuide?
To celebrate the release of our eGuide we’re giving you yet another free sneak preview of the Gloomy Manor section.
GET ACCESS TO THE FULL GUIDE NOW
Use the Crank in the Foyer
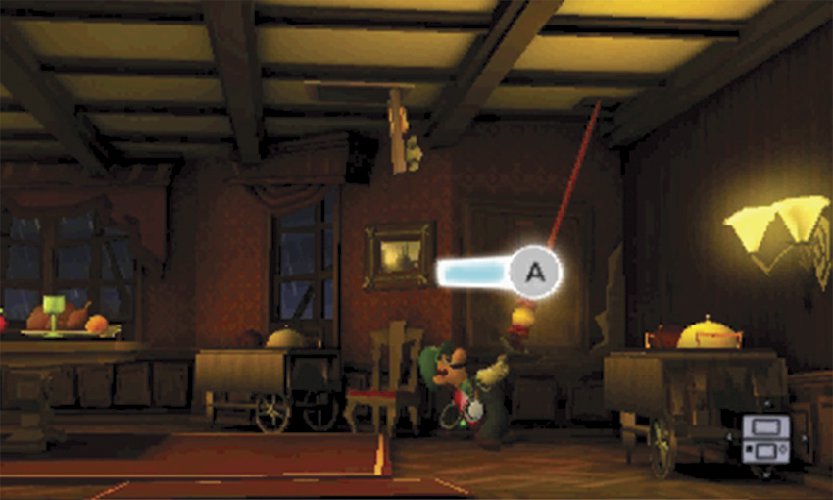
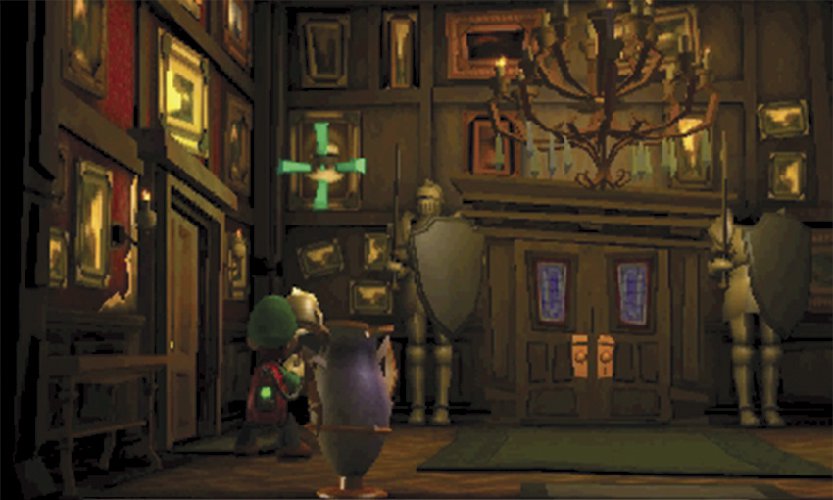
 When the mission starts, you’re transported to the Entrance. As you search the room’s objects, make sure you check the suit of armor just east of Guard Hall door. When you do, its helmet falls to the floor and treasure shoots into the air.
Collect the treasure, then vacuum the helmet into the Poltergust’s nozzle. Move near the painting in the northwest corner. Aim the Poltergust at the painting until a targeting reticle appears. Once it does, hold  to shoot the helmet at the painting to reveal the Drop Amethyst.
 When you’re ready, enter the Guard Hall and follow the path to the Foyer. During this mission, the suits of armor that normally line the area seem to have disappeared.
When you replay this mission after gaining the Dark-Light Device, reveal all four suits of armor to earn a shower of treasure.
 Before you activate the mechanism in the Foyer’s northwest corner, take a moment to search the Coatroom.
 During this mission, there’s a Gold Greenie hiding in the Coatroom. Search the various objects scattered around the room, then A-Pull each of the coats hanging on the north wall. Remove all four coats to reveal the Gold Greenie, then capture the ghost for a nice boost to your treasure-count.
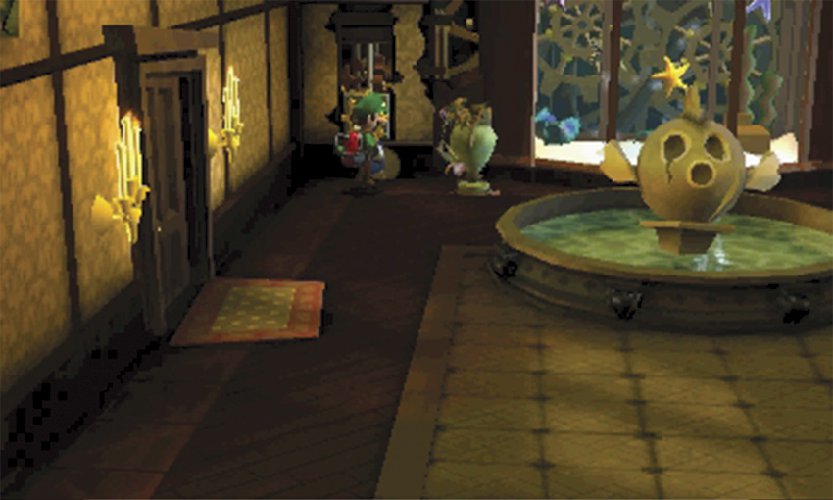
Return to the Foyer and activate the mechanism in the northwest corner. The crank Professor E. Gadd created allows you to move the aquarium on level F2. This opens a new path just up the stairs. The commotion stirs some mice from their hiding places. Flash each critter with the Strobulb, but make sure you catch the elusive gold mouse.
The first time you play this mission, there’s not much reason to explore the Common Hall and its adjoining rooms. You can find a little treasure, and you can sneak a peek into the library to see the source of the noise, but it’s probably best to head right up the stairs and explore the new path. After you gain the Dark-Light, however, you must replay this mission to capture the Boo hiding in the Studio.
 When you replay this mission, make sure you find the hiding Boo before you head upstairs. After you lower the aquarium, pass through the nearby door and follow the Common Hall to the Studio. A-Pull the cloth draped over the easel to find the underlying structure has disappeared. Use the Dark-Light Device to reveal the easel, then capture the Boo that appears.
Reach the Dining Room
 The door that leads from the Common Hall to the Library is still blocked by a large web. To reach your next objective, you’ll have to find an alternate route into the Library. Climb the Foyer stairs, then head through the door on the north wall to enter the Lobby.
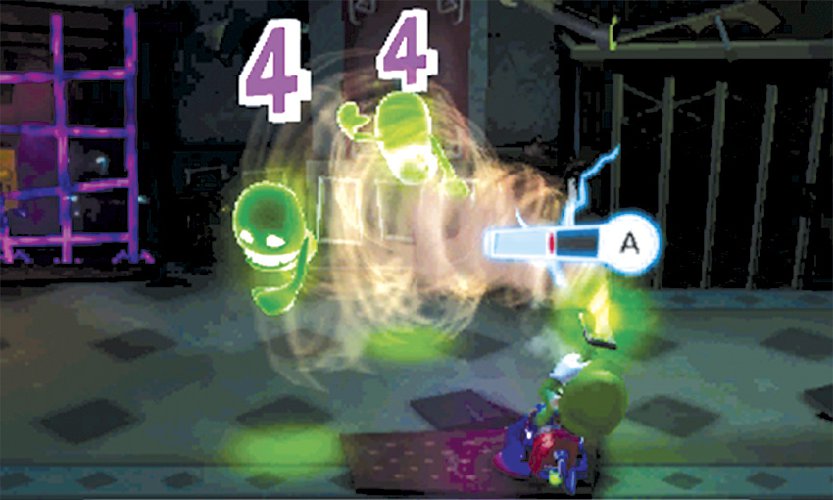
 When you first reach the Lobby, you walk in on two very surprised Greenies. Capture these two ghosts, then face the elevator and charge the Strobulb.
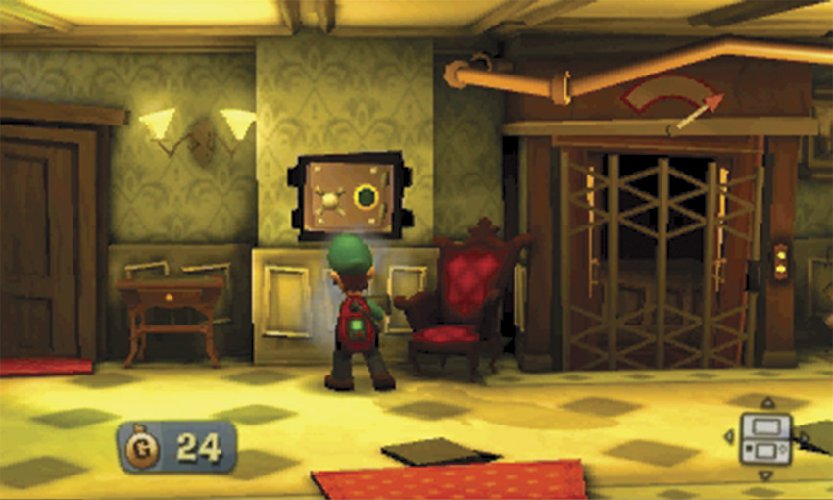
When the elevator arrives, it drops off a Slammer and several spiders. Try to flash the entire group with your charged Strobulb, then latch onto the Slammer before it recovers.
Once you clear all of the hostiles from the Lobby, search the objects scattered around the area. Vacuum the poster from the north wall, then flash the revealed safe with the Strobulb. When you’re ready, use the door in the northwest corner to enter the Library’s F2 level.
The door connecting the Lobby to the Balcony can only be revealed once you’ve acquired the Dark-Light Device.
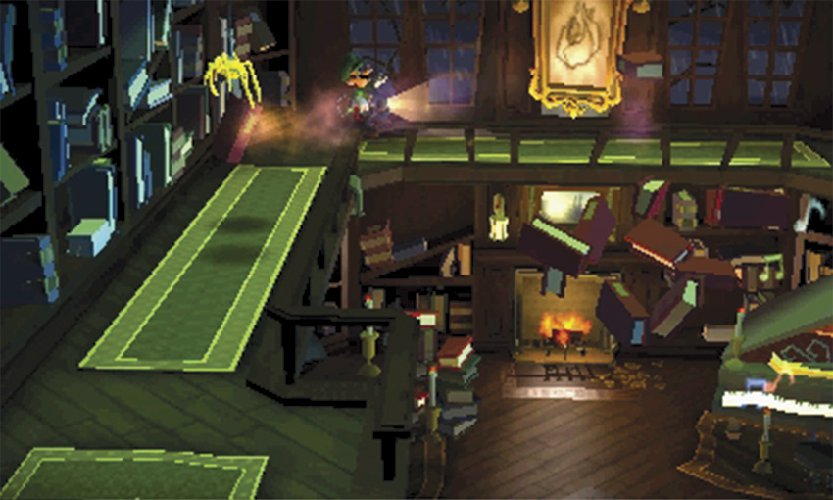
 The Library’s F2 level consists of a walkway that leads to the Dining Room. As you follow the path around the room’s perimeter, watch out for the incoming books thrown by unseen enemies. Whenever possible, use the Strobulb to flash the golden critters that appear in the area.
During this mission, gold spiders tend to appear when you’re well out of range for a Strobulb flash. When you spot one, run back into range and aim your flash toward the ceiling. When you reach the end of the path, watch for the two gold mice that skitter out from the last bookcase.
The framed sketch on the north wall plays an important role in A-5 Sticky Situation, but it doesn’t serve a purpose in this mission.
 During this mission, the Dining Room is filled with treasure! A-Pull the tablecloth and vacuum the treasure from the floor, then vacuum the chandelier to create a shower of treasure. Collect your reward, then A-Pull all of the curtains along the north wall to reveal yet another stash.
Locate the dumbwaiter in the room’s northeast corner, then look up to find the safe embedded in the ceiling. Use the Strobulb to flash the safe, then collect the Pebble Amethyst that drops to the floor.
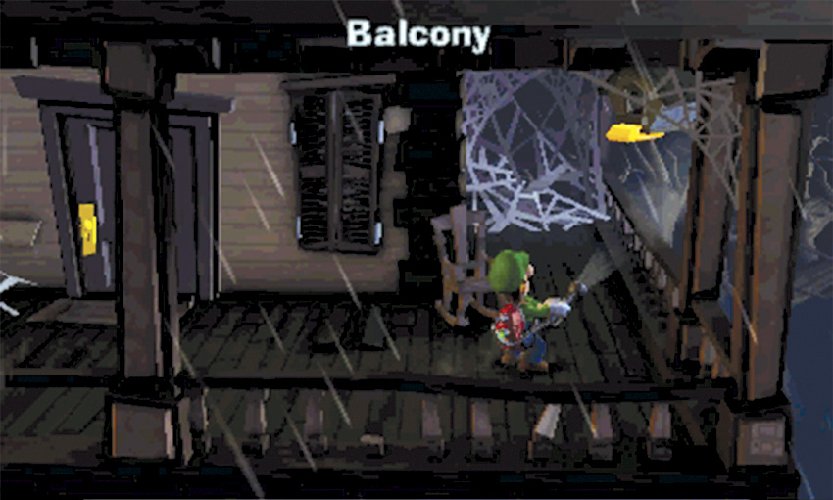
 The Dining Room’s dumbwaiter serves as a secret passage to the kitchen. Before you head back to level F1, however, use the door in the foreground to reach the Balcony. Locate the gold brick poking out of the birdhouse, then use a charged Strobulb flash to clear out the bats in the area. Use the Poltergust to vacuum the bills before they flutter out of reach, then vacuum the gold brick. When you’re ready, leave the Balcony and return to the Dining Room.
When you’re ready, A-Pull the cord hanging near the room’s east wall. Climb into the open dumbwaiter and drop down to the Kitchen.
Clear the Library
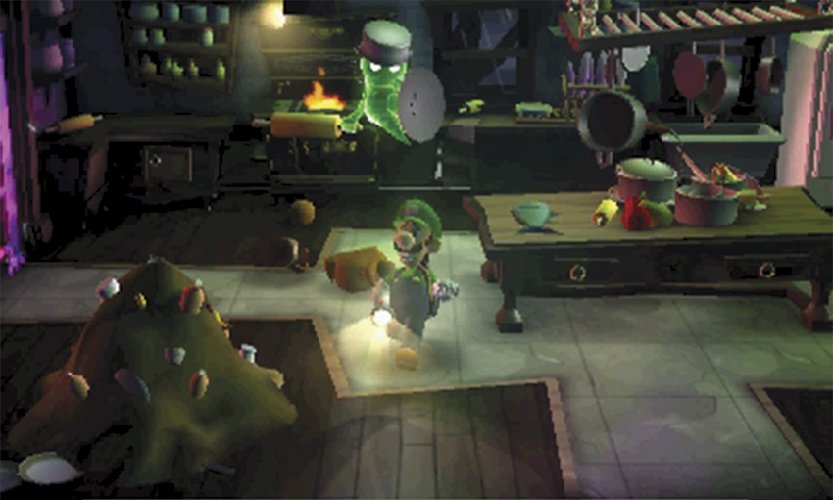
 Two of the three Greenies hiding in the Kitchen use extra equipment to enhance their offensive and defensive capabilities. The makeshift armor protects them from Strobulb flashes, and the rolling pins they wield deliver devastating spinning attacks. Approach the stove to reveal the first Greenie, then retreat to dodge its first spinning attack.
The trash pile contains several Hearts. Consider leaving it in place until you’ve cleared the Kitchen of enemies.
The spinning attack temporarily dazes the Greenie—this is your chance to counter! Flash the Greenie while its guard is down and latch on with the Poltergust. Capture the first Greenie to draw two more out of hiding. Capture all three Greenies, then search the drawers and cabinets located throughout the room.
Open the refrigerator to reveal a Gem encased in ice. Use the Poltergust to suck the ice out of the fridge, then carry it to the left. Melt the ice over the stove then collect the Rhombus Amethyst that falls on the floor. When you’re ready, use the door on the west wall to enter the Library.
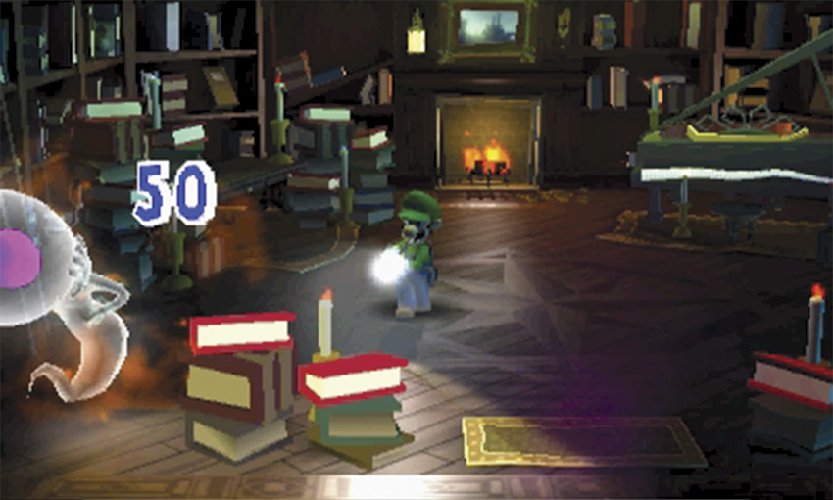
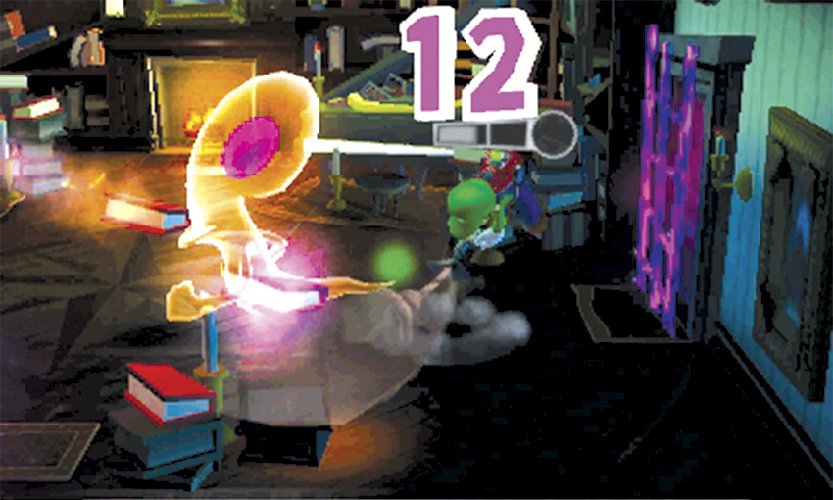
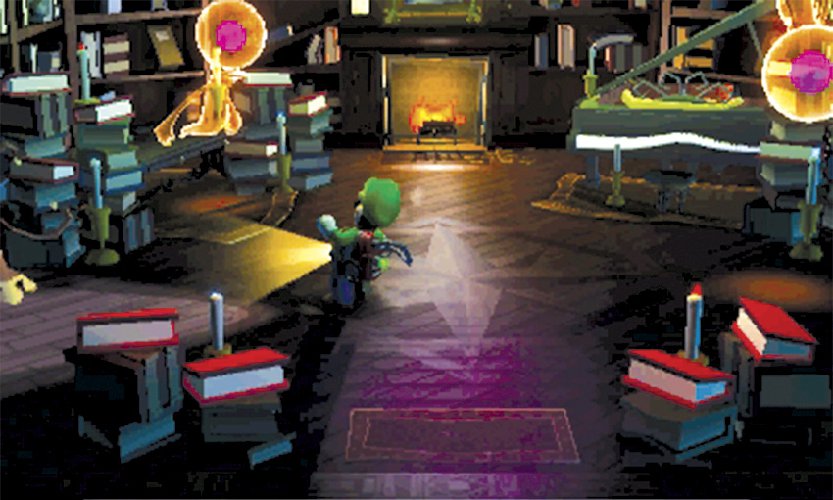
 When you enter the Library’s F1 level, the piano-playing Poltergeist vanishes. This powerful ghost uses a combination of stealth and telekinesis to launch a series of surprise attacks. The room contains five stacks of books; during the battle, the Poltergeist moves between them, stopping only long enough to throw a book. Watch the stacks for any signs of movement, then flash the Strobulb to stun the unsuspecting Poltergeist.
If the Poltergeist manages to lift a book if a stack, the book will absorb the brunt of your flash. To stun a Poltergeist, you must be either fast or lucky! If you’re having trouble timing your attacks, consider circling the room while snapping off a series of quick Strobulb flashes. You’re sure to catch the ghost eventually!
Once you stun the Poltergeist, latch on and wear it down. The ghost continues its attacks during the struggle, so watch out for incoming books. Dodge each attack, and perform an A-Pull whenever you manage to fill your Power Gauge. If needed, release your hold on the Poltergeist and stun it again to resume the struggle.
When you capture the enemy, two more Poltergeists join the fight. Use the established tactics to engage each ghost separately, and be sure to dodge incoming attacks during each struggle. After you capture all three Poltergeists, answer the Duel Scream to complete the mission and return to the Bunker.

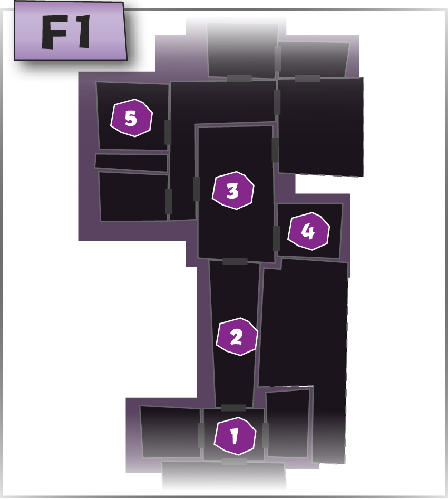

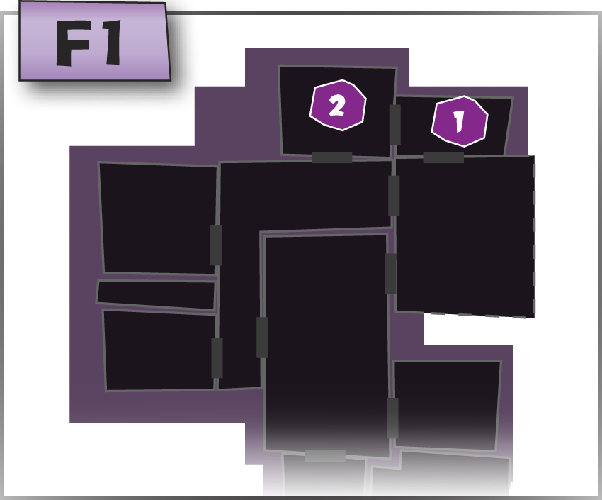
 Gem Location



 Boo Location


