
BioShock: Infinite – Collectibles Guide – Part 4
Get those last remaining scopes and voxophones!
You’re almost there! Almost ready to unweave the veil of secrets that clouds your true understanding of Columbia. If you’ve folloed along with Part 1, Part 2, and Part 3, by the end of this piece you’ll have all voxophones and kinetoscopes; no knowledge will evade you by the end. So grab any lock picks you see, be attentive and get set to learn more and more. Also, prepare to have your mind blown by the game’s conclusion, which may be unlike any game ending you’ve seen before! Let’s get going…
Voxophone 61/80
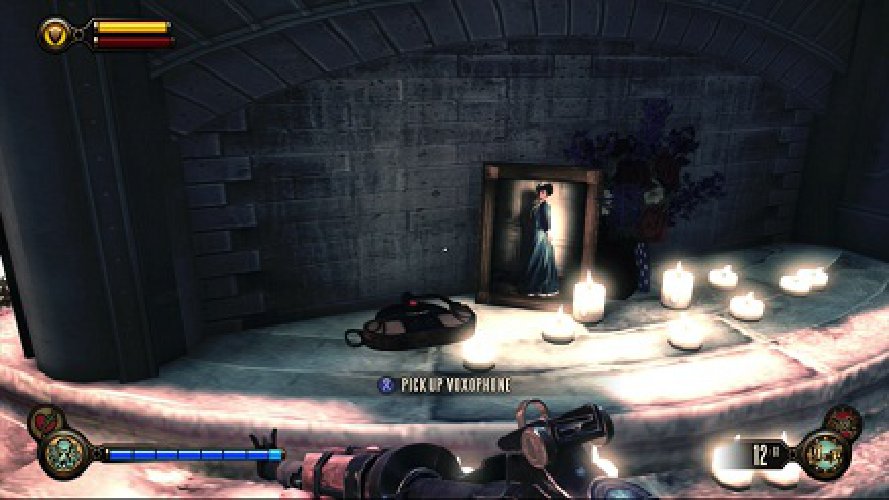
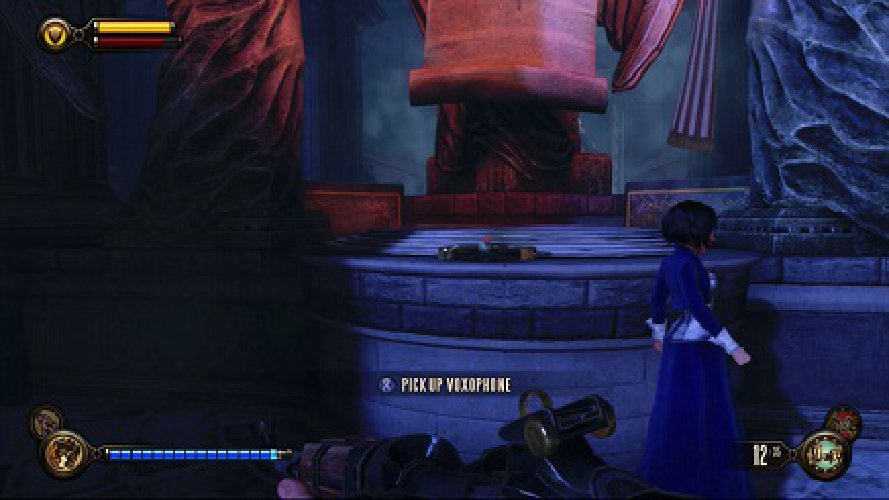
Follow your objective marker to Comstock House. After ascending some stairs outside you’ll find yourself before a huge statue of Father Comstock. Just behind him is a smaller statue of Lady Comstock and to the side of that, beneath a portrait of the Lady of Columbia, is a voxophone.
Sightseer 33/37
From the point where you found the previous voxophone, turn right and look for the sign that reads Memorial Gardens. Head that way and straight ahead is a telescope.
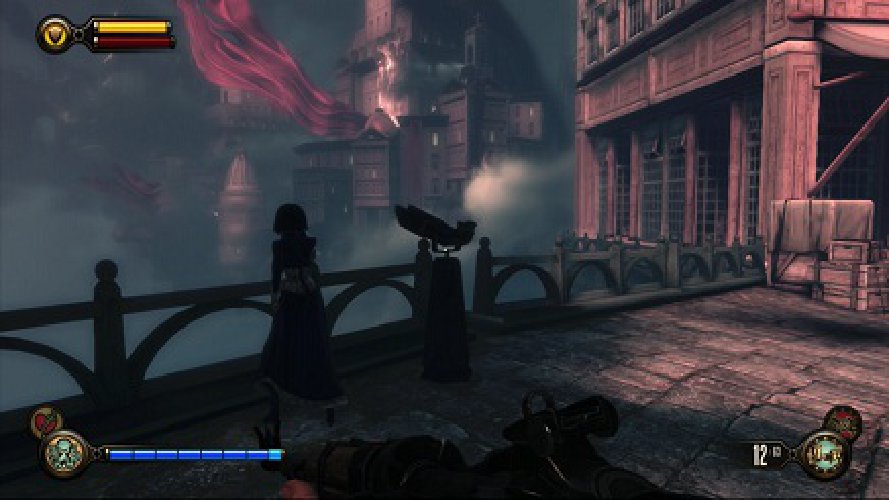
Voxophone 62/80
From the telescope mentioned previously, turn and follow the road to Memorial Gardens. You’ll find the section of a house bobbing up and down beside a broken path. Head around and into the house through the hole through the wall. Within and atop a piano is a voxophone.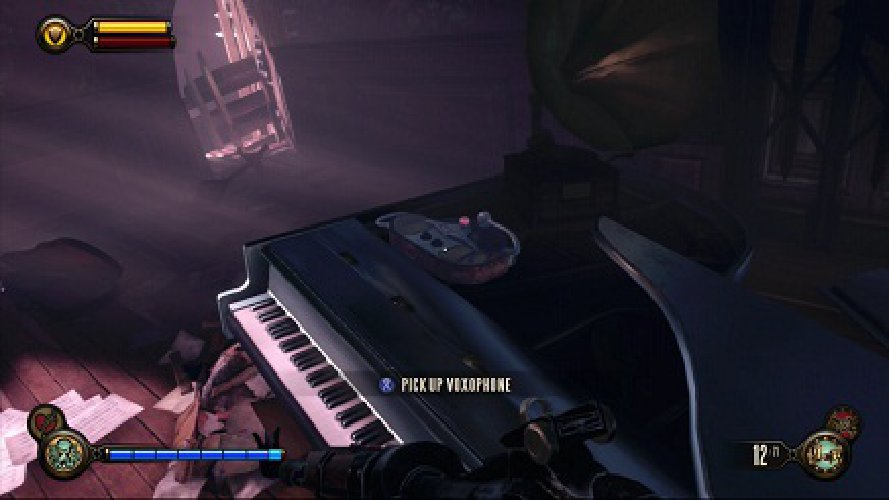
Voxophone 63/80
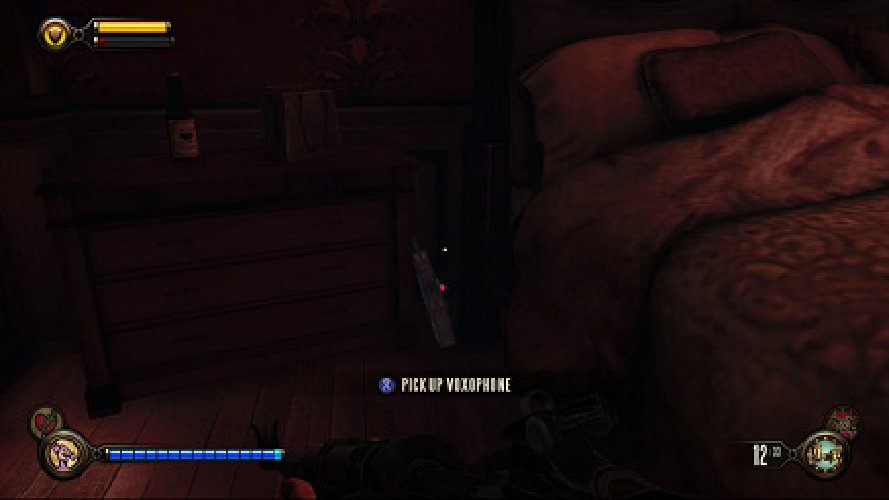
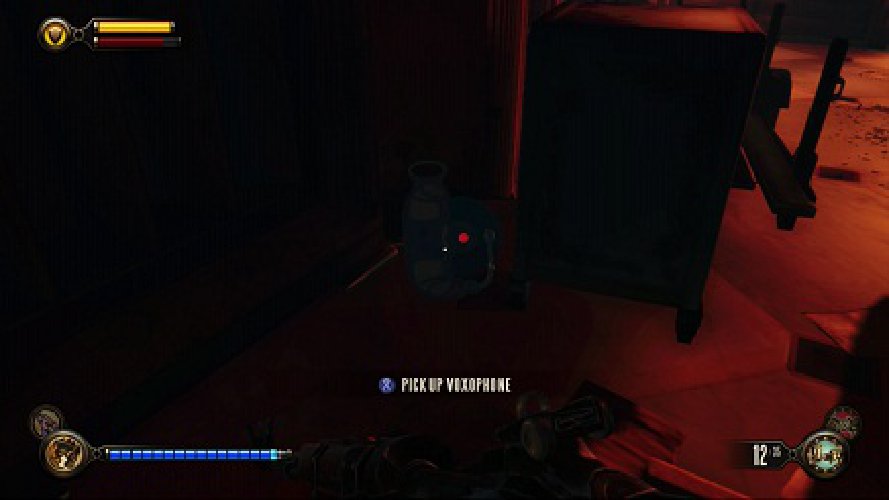
Once you and Elizabeth have visited the grave of Lady Comstock, head toward the Market District and you’ll find the Lutece Labratory. Head inside and up the stairs on the right. Once you are at the top of the stairs go into the room in front of you and to the left of the bed on the floor beside the dresser is a voxophone.
Voxophone 64/80
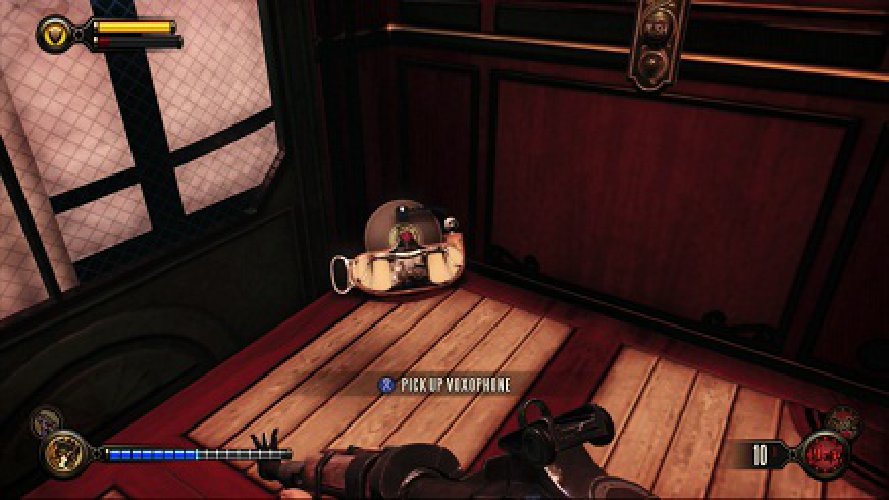
Still in the Lutece Labratory, head back downstairs and look through the house for the kitchen to find a voxophone on a table.
Voxophone 65/80
In the room just before the kitchen where there is a major tear that you must interact with to progress with the story, a voxophone will appear on the floor at the location of the tear once the tear itself has closed up.
Voxophone 66/80
Keep following the streets away from the direction you came. Soon you’ll unlock a gate and find you’re back in the courtyard from the start of the area. At this gate turn right around and you should see a store called Hudson’s. Get inside and into the lower room to find a code book on a shelf in the back. Head back to the courtyard and you’ll find the bank there. Once inside, ride the lift at the back, don’t worry about leaving the area, you’ll be back shortly.
Once down in the bank, head out and forward and kill any enemies that pester you until the area is clear. Face the enormous vault door at the far end of the room from the way you came and look left to see a doorway, head on through and follow the corridor until you reach an end room where hoarder is marked on the wall in blood. With the code book picked up earlier in Hudson’s store, Elizabeth will prompt you to use the typewriter on the desk. Do so to reveal a hidden compartment with a voxophone inside.
Voxophone 67/80
Continue through the bank as the objective marker tells you. You’ll find another large tear you have to open. Once that tear closes look behind where it was to find a voxophone.
Voxophone 68/80
From the tear and voxophone mentioned last, turn left and you’ll find a door. Go on through and turn right until you see a safe. The voxophone is resting against the safe on the side.
Voxophone 69/80
Make your way out of the bank and to the photography shop, the location of the final tear. Once you’re in you’ll find the final tear and once it closes a voxophone will appear on the table right next to it.
Voxophone 70/80
After your slightly hostile confrontation with Songbird, you will shortly find yourself within Comstock House. Make your way past the tears until you come to a room filled with husk-like people. Within this room is a Boy of Silence. Once he is aware of you his minions will come for you, defeat them and use the intercom by the gate. Opposite the gate is the lift that arrives shortly after your use of the intercom and inside is a voxophone.
Sightseer 34/37
Once the elevator stops, go left and proceed until you find a kinetoscope leaned up against a pillar/support column.
Voxophone 71/80
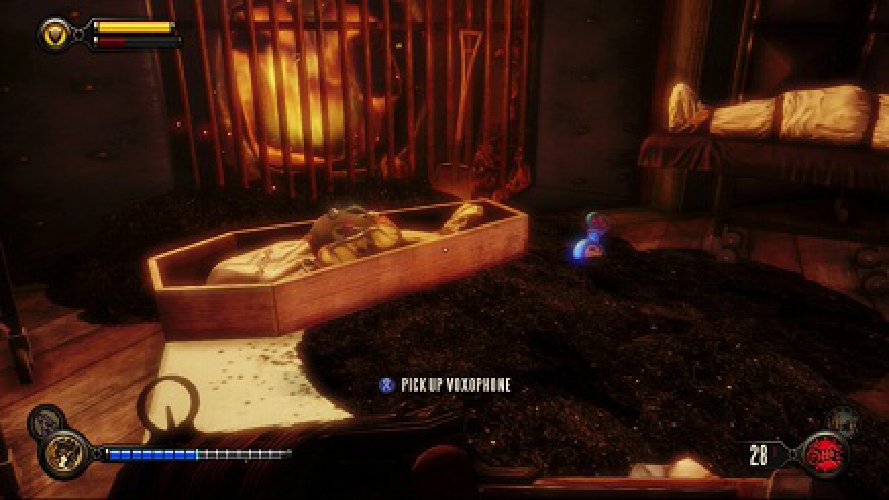
Again, at the elevator in which you ascended, leave it and go right heading through the doorway ahead. Take a left through there and in front of a furnace inside a coffin is a voxophone.
Sightseer 35/37
Onward through the level you’ll soon find an area where two turrets of a large gateway/archway. Destroy them and head through turning left and finding a door marked Where We Work. Go through and ahead you’ll find a kinetoscope.
Voxophone 72/80
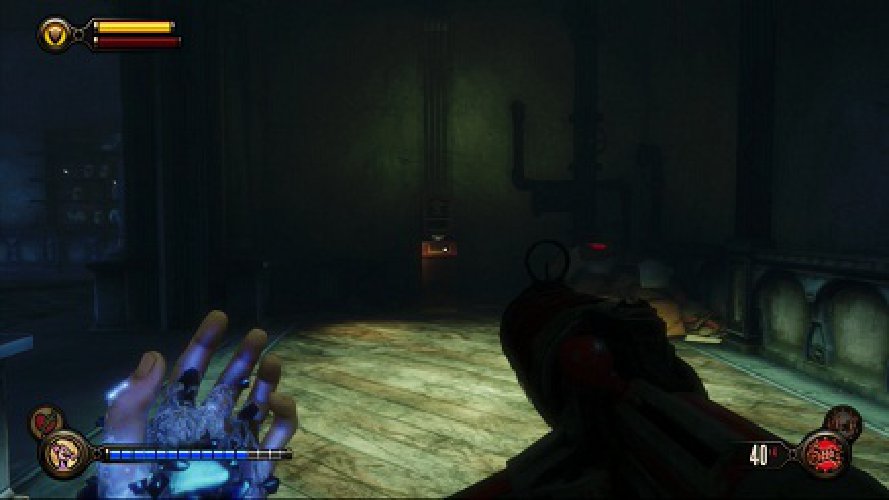
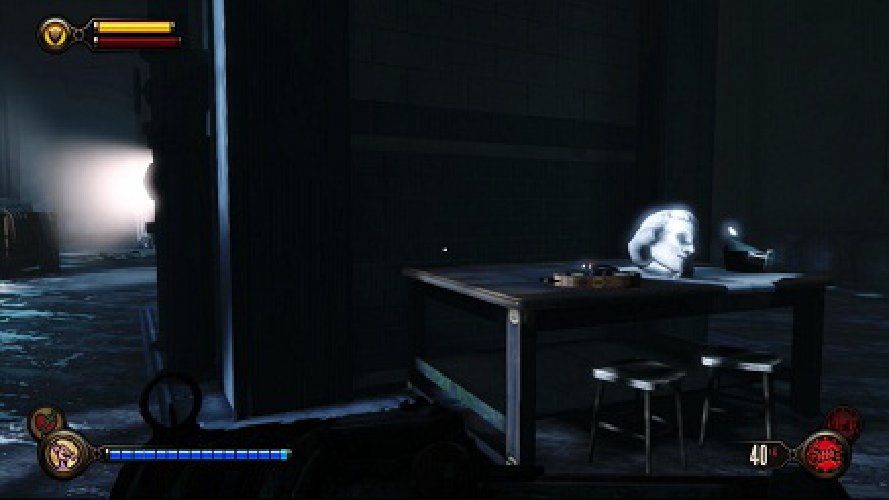
Just after the kinetoscope, you’ll find a room with another Boy of Silence and his extremely creepy friends. There’s a piece of gear beside the Boy of Silence. Grab it if you’re feeling adventurous. However, you could sneak past him and beyond the large wall/support column is a voxophone on a table to the rear of it.
Sightseer 36/37
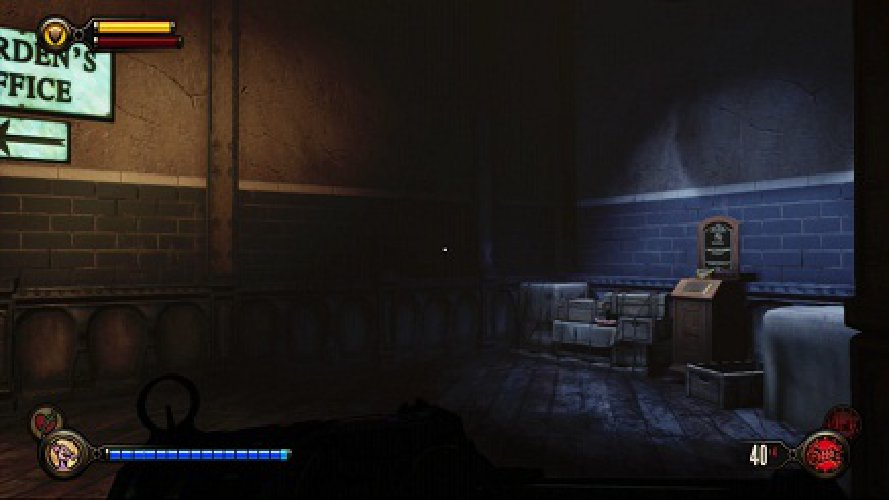
After the previous encounter with the Boy of Silence and the voxophone behind him, progress onward to the warden’s office. You’ll soon come to a corridor just after a room with a projector. At this corridor left takes you to the warden’s office, turn right instead to find a kinetoscope.
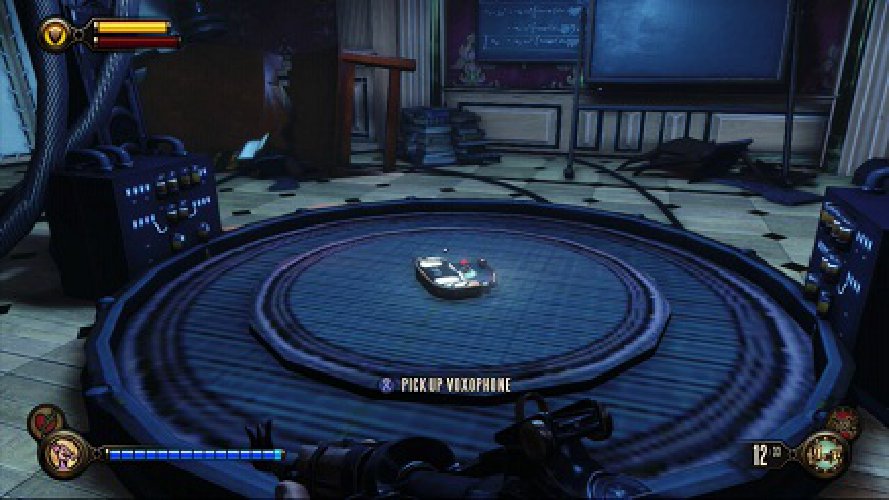
Voxophone 73/80
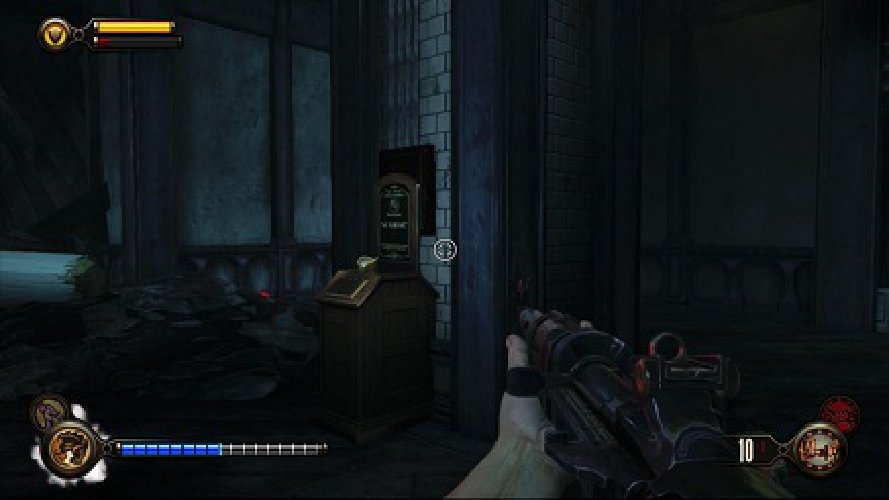
At the kinetoscope previously mentioned, turn around and head forward past the staircase you see on your right. Past the staircase and to your right through some windows, you’ll see a projector. Walk around and up to it to find a voxophone beside it.
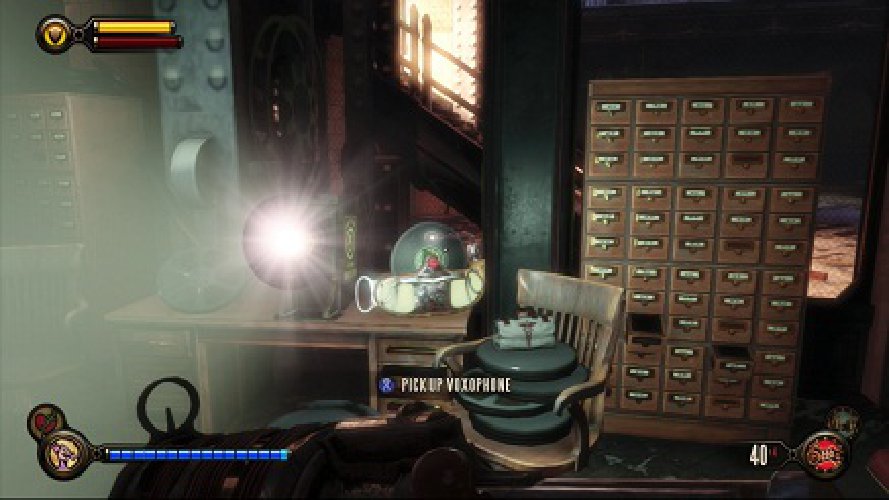
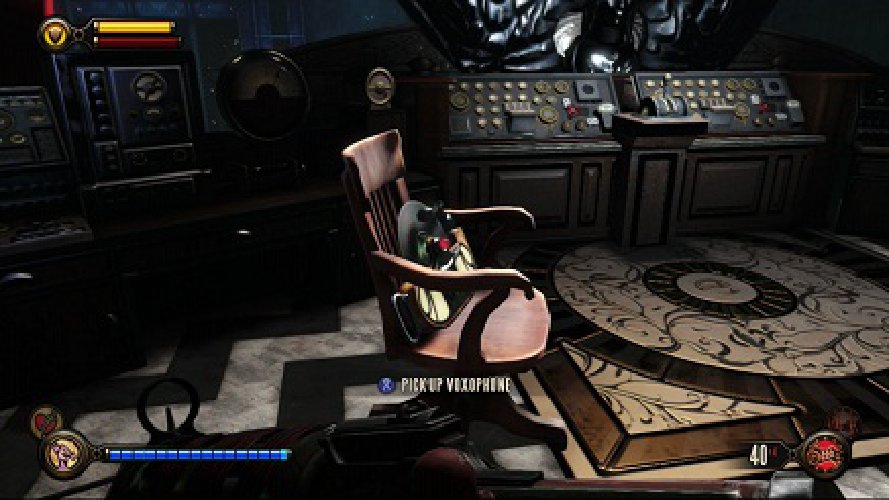
Voxophone 74/80
Continue to the warden’s office. Within the office itself you’ll find a voxophone on a chair, almost impossible to miss.
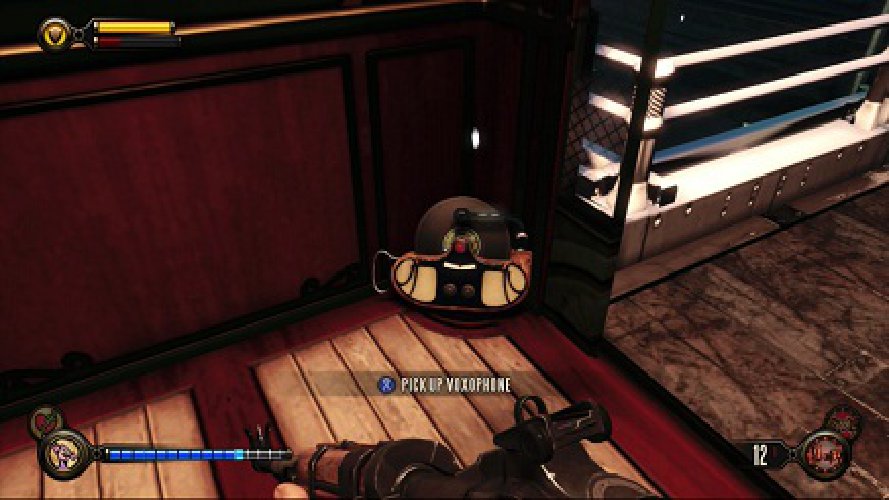
Voxophone 75/80
Once you’ve finished your business within the warden’s office (and the terrifying encounter within), you need to head back to the elevator you first rode to get here. Within the elevator is a voxophone, be sure to grab it before starting the lift so you don’t forget it when the lift stops.
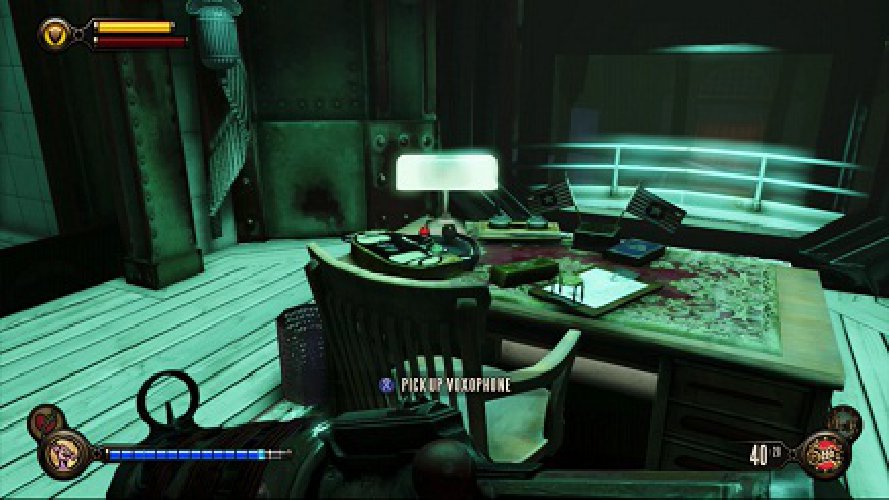
Voxophone 76/80
After freeing Elizabeth, follow your objective marker to the gate you must unlock. Turn around before you unlock it and unlock the door opposite instead, the one that leads you up to the platform on which Comstock was stood when Elizabeth was being operated on. A voxophone can be found on the desk.
Voxophone 77/80
On the large bridge where you’ll be taking a lot of heat from a variety of enemies, head along it to the building opposite the end that you start from. Once clear of enemies, unlock the door and go inside. Through the door on the left is a voxophone between two desks.
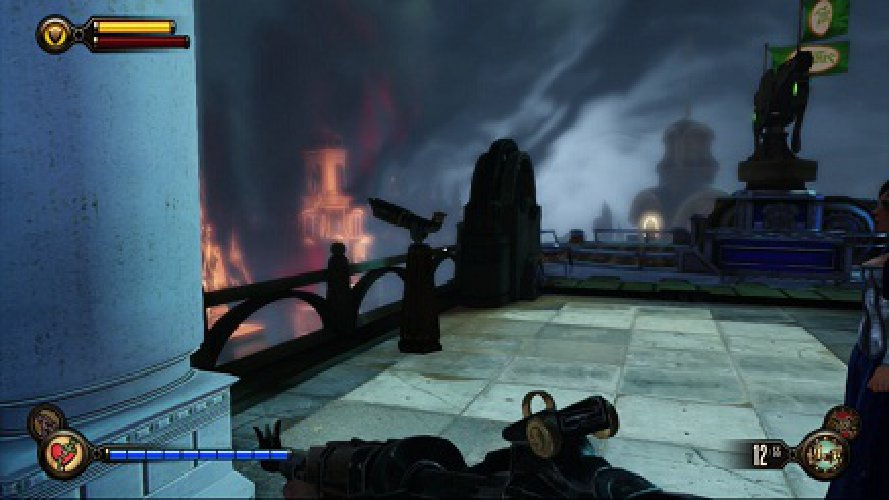
Sightseer 37/37
After clearing the enemies on the bridge, follow your objective marker and it will direct you to gondola that you must get on to proceed through the level. Before you hop on, look to the left when standing by it, there will be the last telescope.
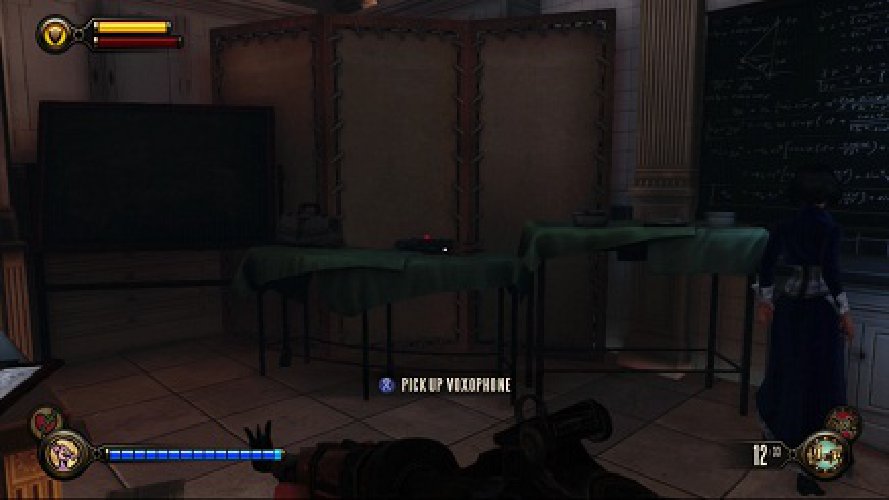
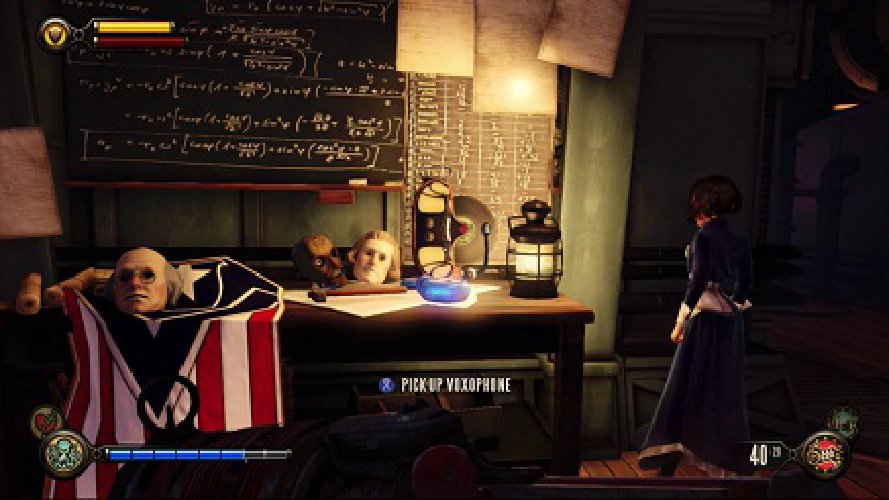
Voxophone 78/80
When on the second deck of the flagship, reach the button that clears the skyline. At this point turn around to see a door way on a slightly lower platform. Head through and go straight ahead until you find a voxophone beneath a chalkboard.
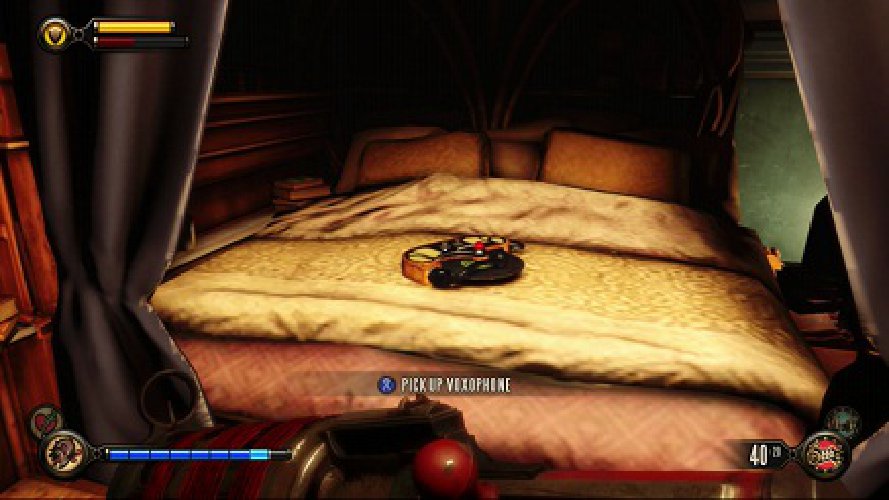
Voxophone 79/80
After the confrontation with Comstock, make your way upstairs and into one of the side rooms. On the bed is a voxophone.
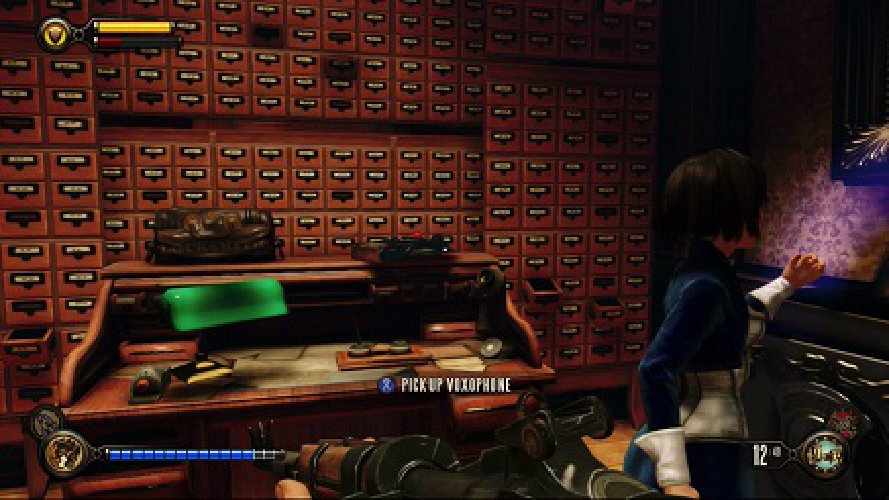
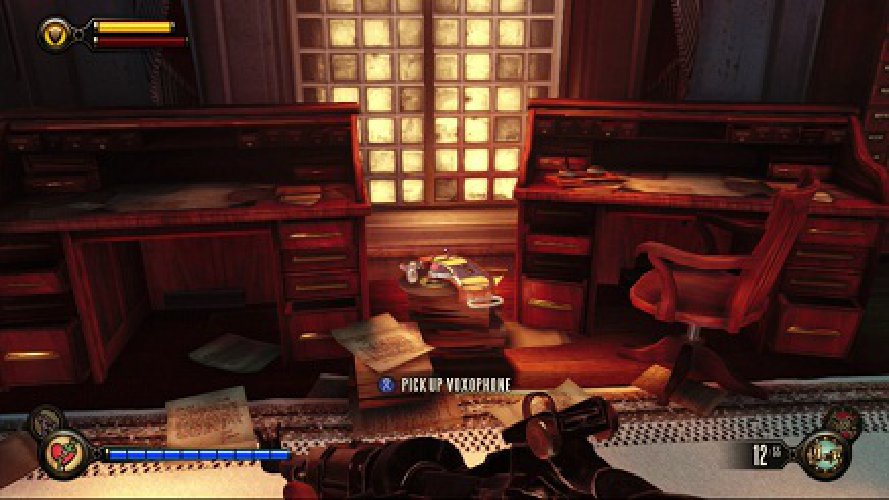
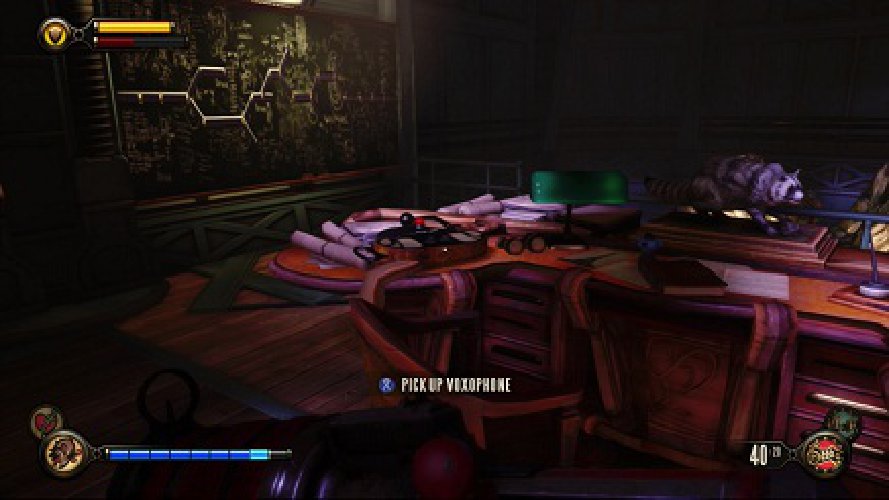
Voxophone 80/80
Simply go to the door the other side of the deck parallel with the last one. Into the office and on the desk you will find your final voxophone.
That’s it, the only secrets left to uncover are the ones that you will unravel over the rest of the game. Prepare for one of the best game endings you may have seen for a very, very long time if you haven’t completed the game already. Enjoy the rest of the game if this is your first run through and if you enjoyed the game as much as I did you’ll be starting another playthrough almost immediately after. Thanks for following this series and keep up with Prima via Twitter and Facebook so you don’t miss the latest guides and previews for upcoming games and be sure to check some of the other articles that detail the secrets of Bioshock as well as the various enemies you have enountered.