
How to Build & Control Mortar in WARDOGS
All the details on how to use Mortars in WARDOGS, including what's needed for their construction and how to master the controls.


WARDOGS has plenty of tools in its arsenal to help you overcome the enemy, and Mortars are extremely useful, though the building and control mechanics may take some getting used to.
Mortars are large, powerful weapons in WARDOGS that can be constructed at your FOB to strike enemy targets, though a significant amount of resources are required to build and maintain them.
Whether you want to become a master builder or plan to control Mortar attacks directly, we’ve got all the crucial information you need.
How to Build Mortar in WARDOGS
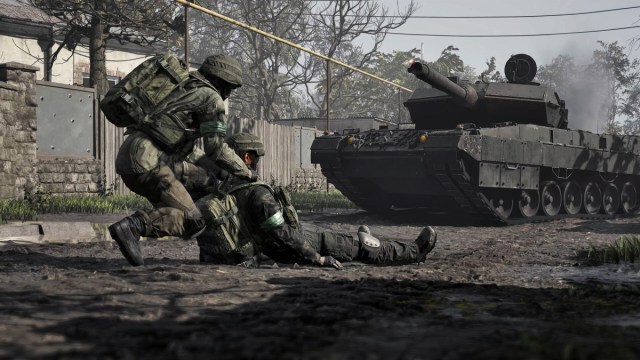
To build Mortar in WARDOGS, you need a Large Hammer and the required building supplies, as other Hammer types won’t suffice.
The Small Hammer allows for the building of basic objects, like sandbags and barbed wire, and a Medium Hammer allows construction of larger constructs like doors and gates. However, a Large Hammer is the only one that can build a Mortar.
Additionally, constructing a Mortar requires 91 Building Supplies, so you need to ensure you have enough. If you’re short, interact with Support players nearby, who will be able to deliver more materials to be used.
Extra supplies will be needed through construction, and you also need to ensure there’s a large amount of Ammo Supplies available, as each shot takes 30 Ammo Supplies, with a full three-shot barrage taking 90 Ammo Supplies.
How to Use Mortar in WARDOGS
There are two key controls for the Mortar in WARDOGS, as you’ll need to ensure the barrel is facing the right direction and at the correct pitch to accurately strike a target.
The compass shown at the top of the Mortar screen is the direction a shot will travel, which is adjusted using the A & D keys to move left and right.
With the W & S keys on the keyboard, the pitch for the barrel is controlled. The higher the elevation, the shorter the distance. With a maximum distance of 700m, there should be plenty of targets within range.
Utilize teammate callouts, especially pings from a Recon player, to identify the correct areas and targets to strike. With a bit of practice, you should become a master, and it’s a great way to maintain control of the battlefield.


