Shadow of the Tomb Raider Starter Guide The Journey
Cozumel
CHAPTER: 01
Location: Cozumel, Mexico
Region Summary

 Main Story Objectives
• Learn More About Trinity’s Dig
• Explore the Ruins
• Return to the Village
Challenges
 Whistle in the Dark: Knock down five death whistle carvings.
 In the Shadows — Learn More About Trinity’s Dig
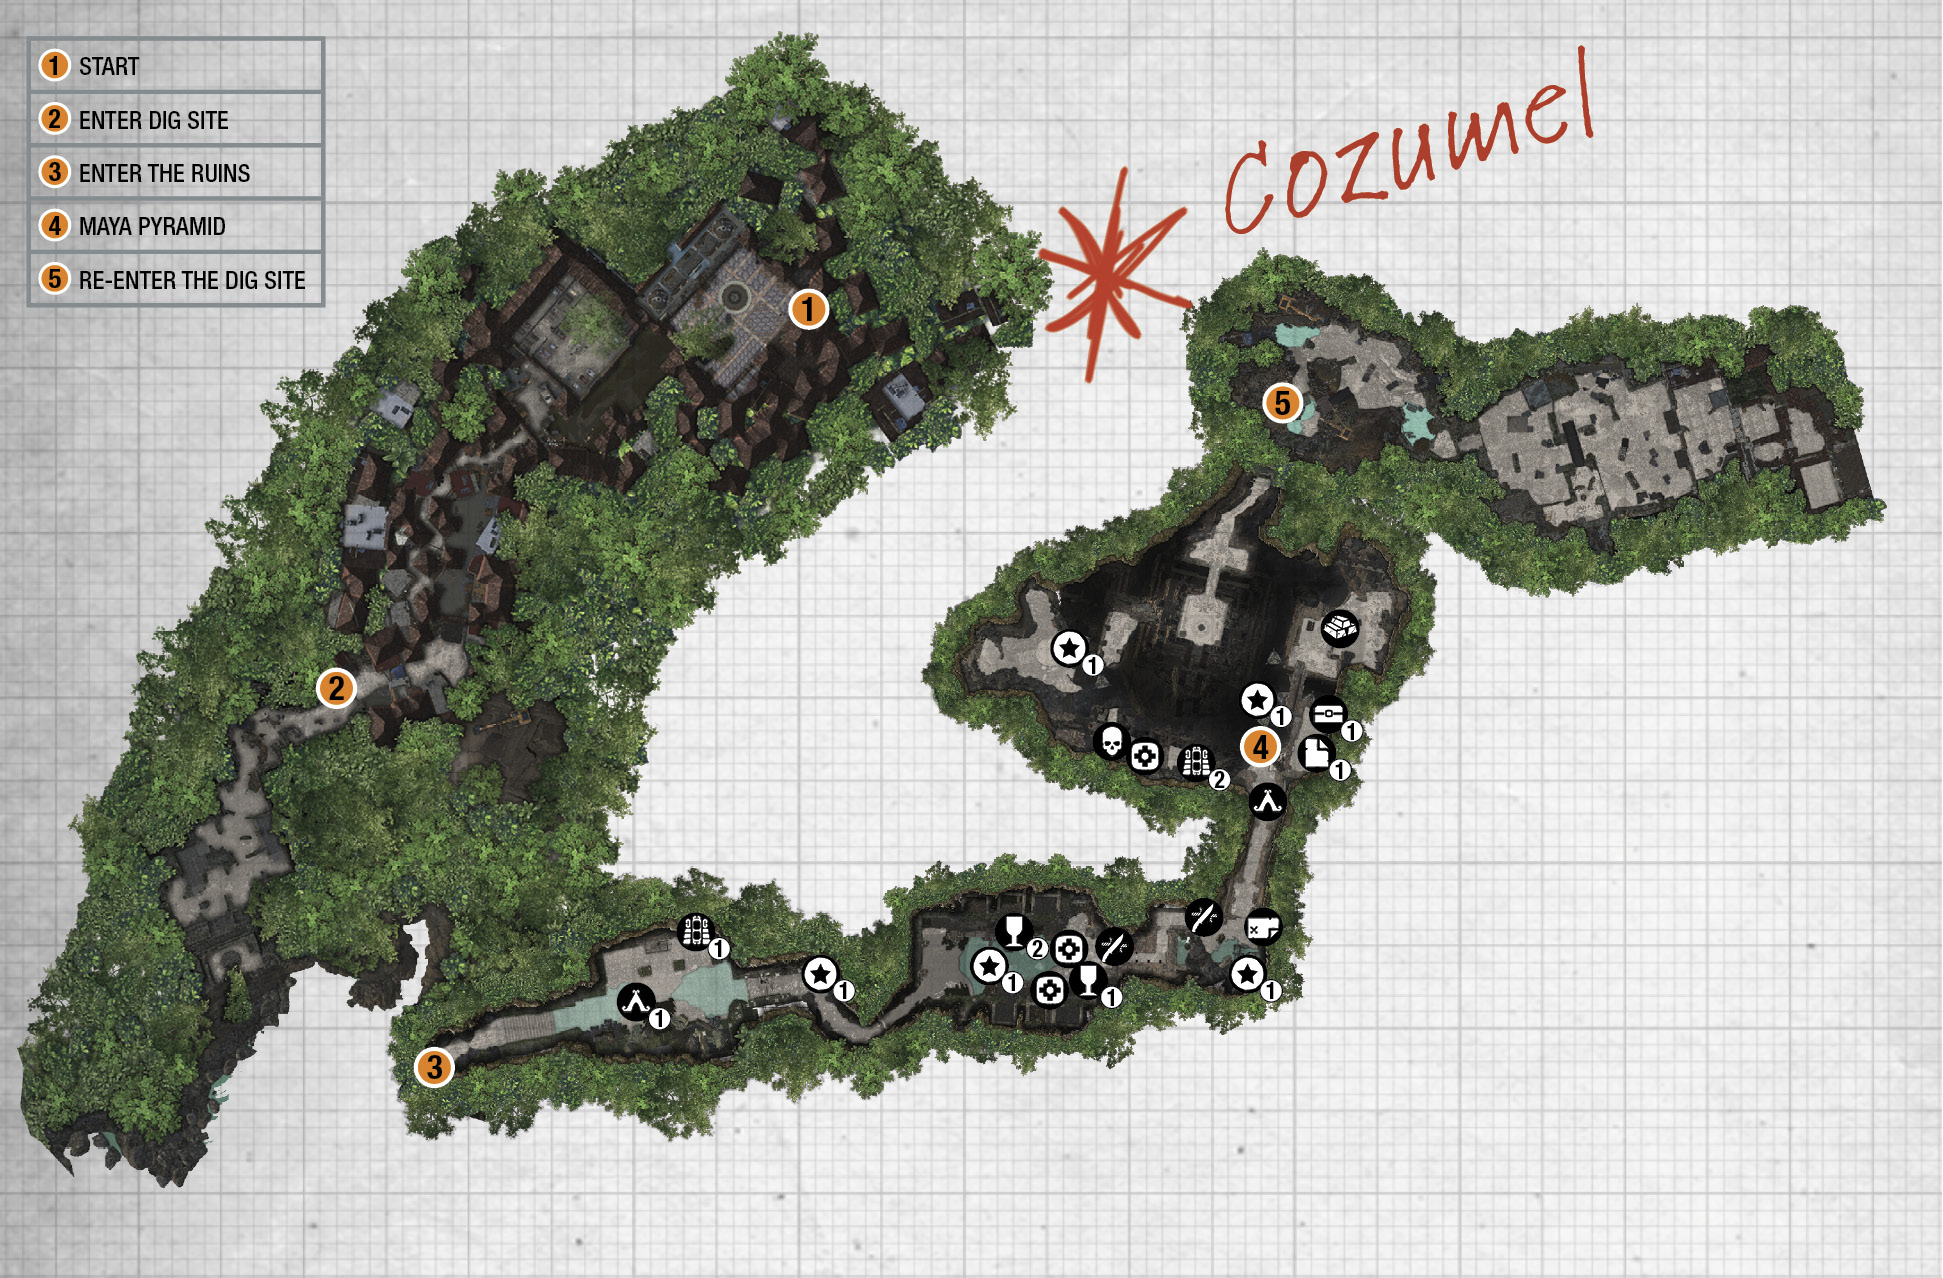
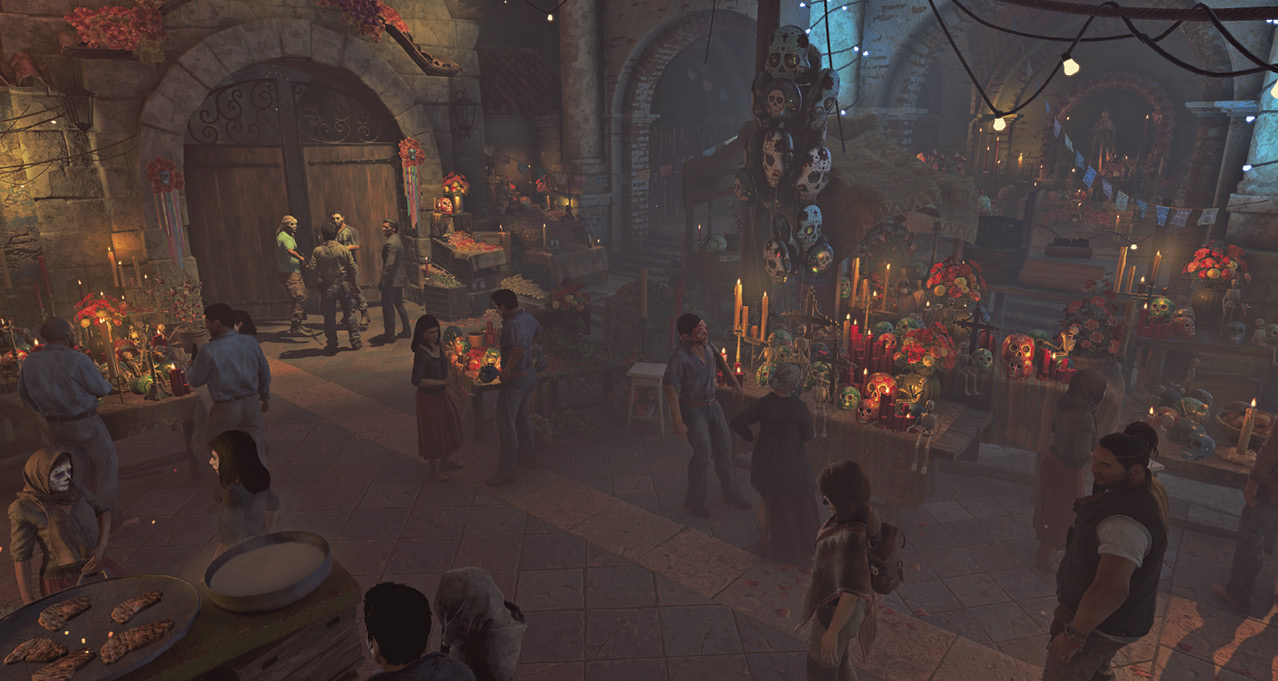
Follow Jonah down the steps (1) into the celebration. There are resources to collect and festivalgoers to talk to via exploring the entire courtyard, but your goal is to find Dominguez. Once you’re ready to move on, approach the wooden gate on the far side.
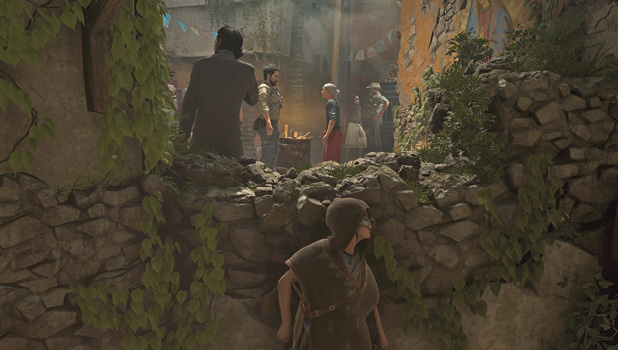
After Lara hops the fence, follow the pathway ahead and cut through the people on the left. Here, you see an open gate ahead; this is your next destination.
In the third area, continue along the winding path between the civilians and through the alley. At the far end, Lara ducks through a hole in the wall.
 Enter the Dig Site

Follow the path to the right and scramble up the wall to enter the dig site (2). At this point, Lara equips her weapons and gear.
Explore the Dig Site
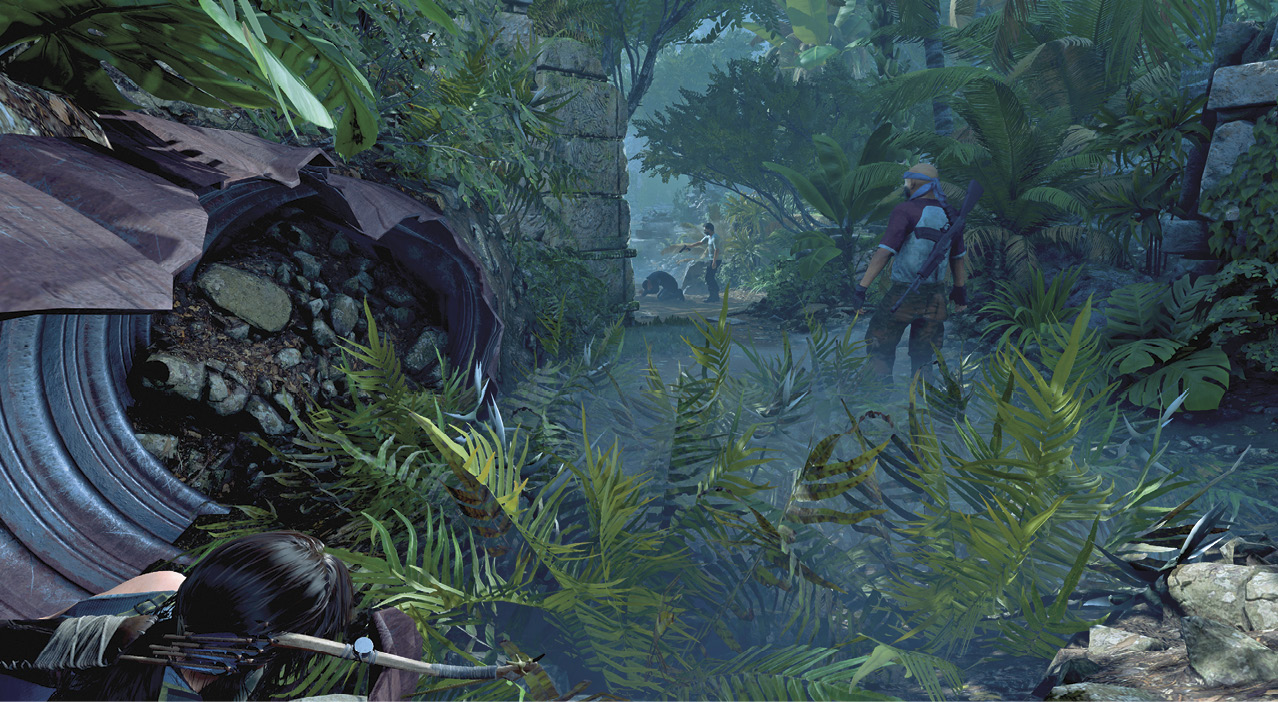
Cautiously, walk through the corrugated drainage pipe, approach the lone Trinity soldier, and perform a stealth takedown on the guy. Once Lara sets up at the stone wall, quickly aim at the second enemy’s head and loose an arrow to take him down. Collect resources around the perimeter of the ruins before scrambling up the far wall.
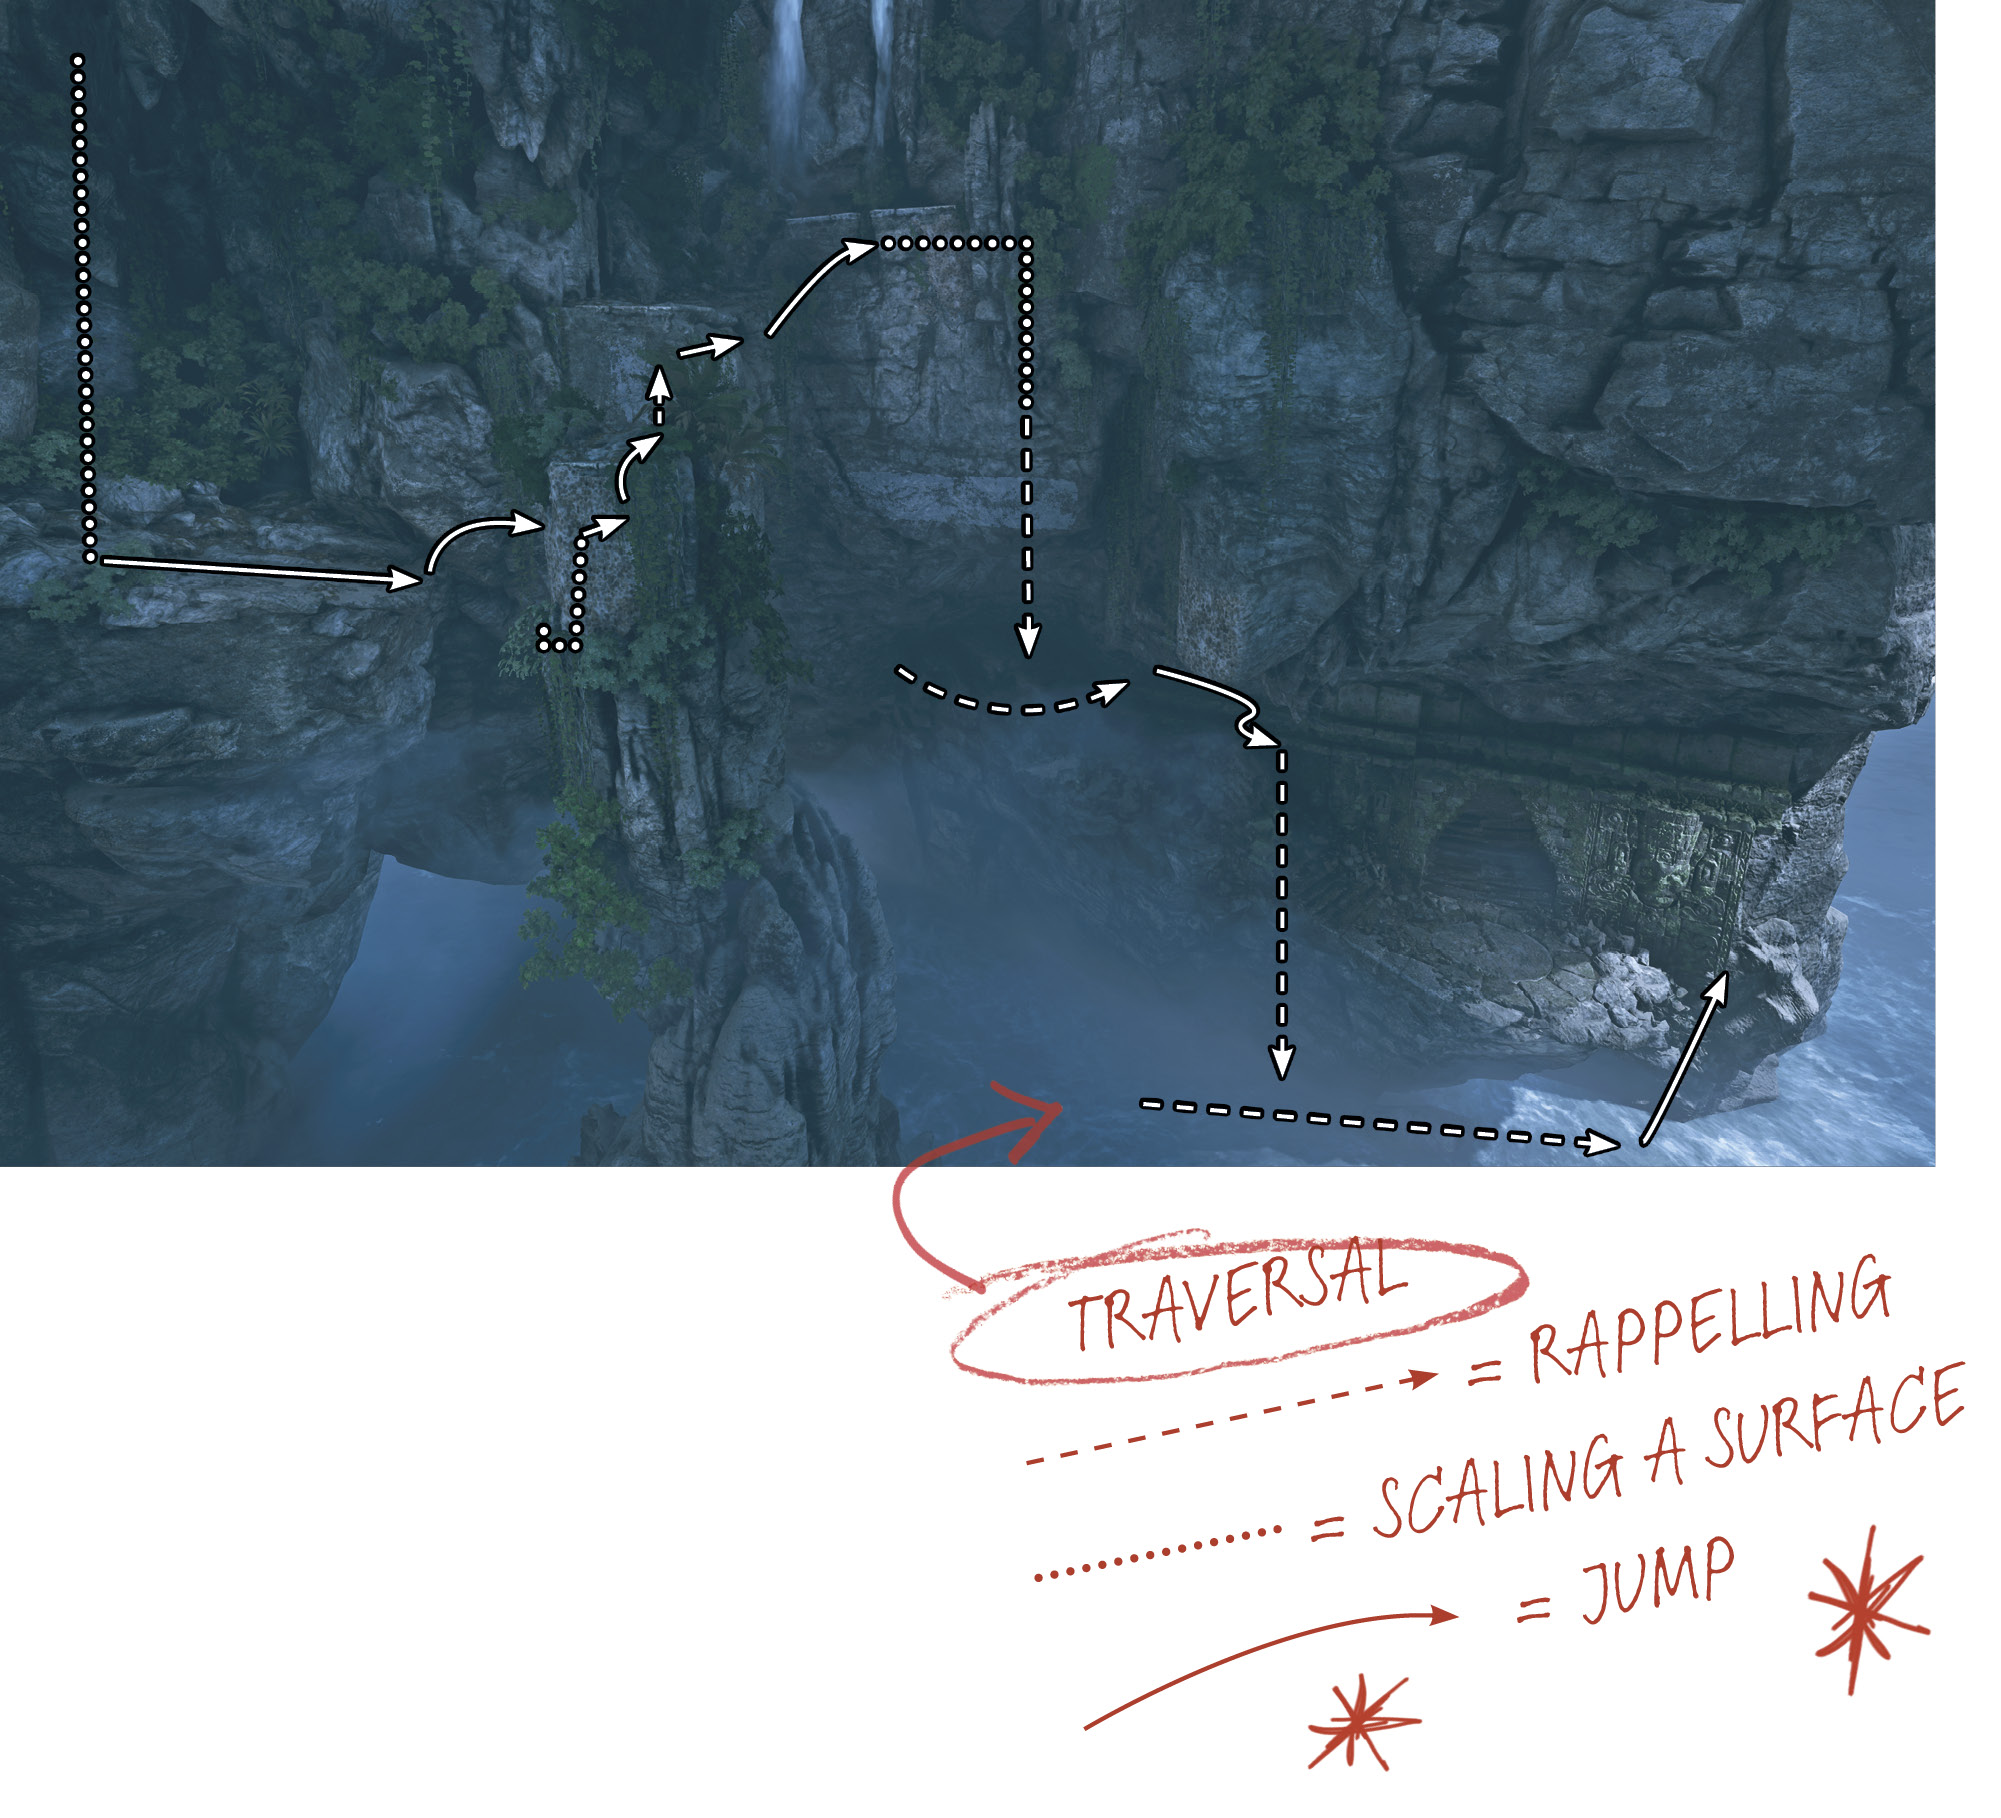
Look over the side of the cliff to spot your next destination—a cave opening near the water below. The treacherous descent teaches you how to axe-climb from a jump, rappel from climbable walls, scramble after a jump, wall-run, and rappel-swing. These skills are used on numerous occasions during the game, so learn well.
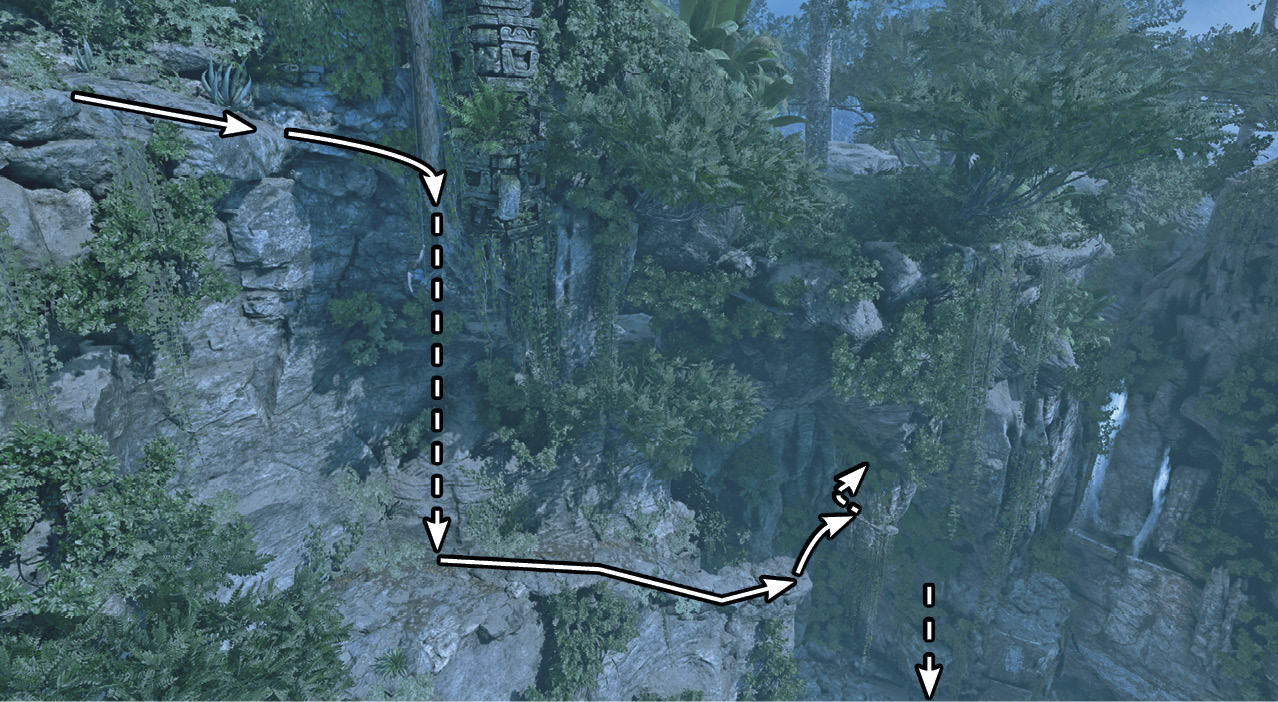
• Jump to the craggy surface onto the left, rappel down until you can’t go any farther, and dismount.
• Run toward the next ledge and leap to it. Shimmy to the left, jump to the next climbable wall, and rappel down until you can dismount.
• Jump to the pillar ahead and follow the craggy surface to the right and up to the small plateau. Run and jump toward the vertical boards, and scramble to the ledge.
• Leap to another ledge, shimmy to the right, and climb down at the craggy surface. Rappel down to the barnacles. Wall-run left and then right before leaping to another thin ledge. Move right and then down the climbable wall.
• Follow it right, then rappel down as far as you can go. Perform a rappel swing backward and then forward. Leap to the edge of the cliff and enter the cave (3).
 Hunter’s Moon — Explore the Ruins
Climb through the opening and wade through the water to enter the ruins. Examine the mural on the left to earn a little XP and increase understanding of Ancient Dialects. Keep an eye out for Murals, Relics, and Documents throughout the game.
The exit is blocked, but a white coil of rope indicates that the blockage can be pulled down with a rope-pull. Aim your bow at the rope and shoot a standard arrow to yank the debris out of the way. Note that shooting a rope arrow does not use up an arrow. Cautiously enter the tunnel and look down to spot a rope stretched between the two walls. Trip the spear trap by cutting the rope and scramble underneath, or jump over the line.
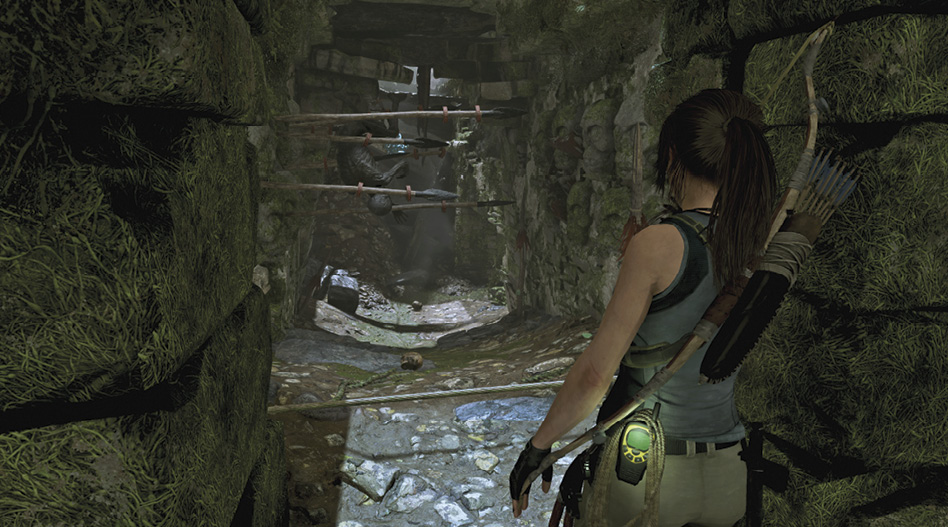
At the end of the corridor, turn right and follow the tunnel into the next cavern. Your objective leads you underwater, through a hole at the far end, but it is worth spending time exploring first. Find survival caches, the second death whistle, and relics. Search the upper walkway and underwater.
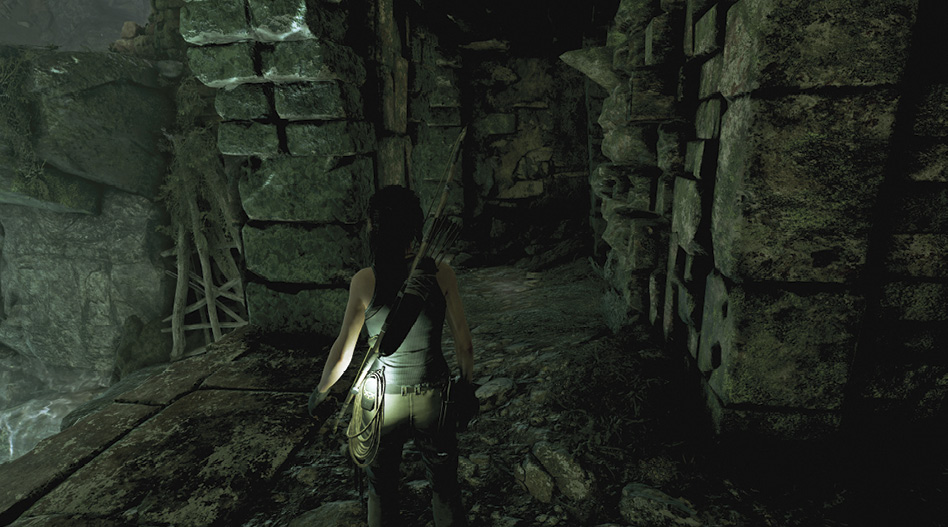
Dive underwater and swim into the tunnel marked by the objective beacon, and squeeze through a small gap in the wall. Swiftly swim until you reach a pocket of trapped air; take a breath before continuing. Keep pressing Up and rapidly tap the Interact button when the icon appears on-screen to exit the water.
Shoot another death whistle on the right before entering the next corridor. Cut or hop over another rope stretched between the walls. Jump to the craggy wall at the far end and climb to the ledge above.
Get to the Top of the Pyramid
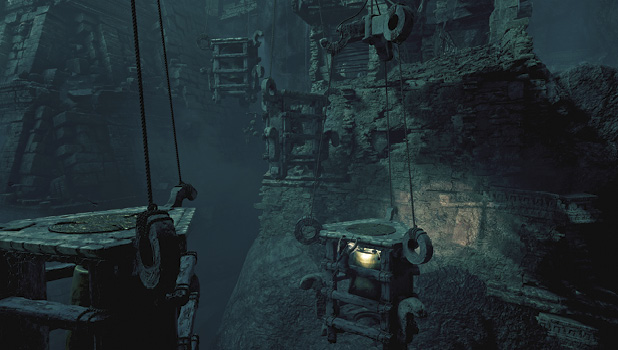
There’s no direct route up the pyramid, so you must find an alternate way. Follow the right walkway (4) to find three pendulums at varying heights; jump onto the first, and it lowers from the weight. Quickly leap to the second, continue left to the third, and then scramble onto stable ground.
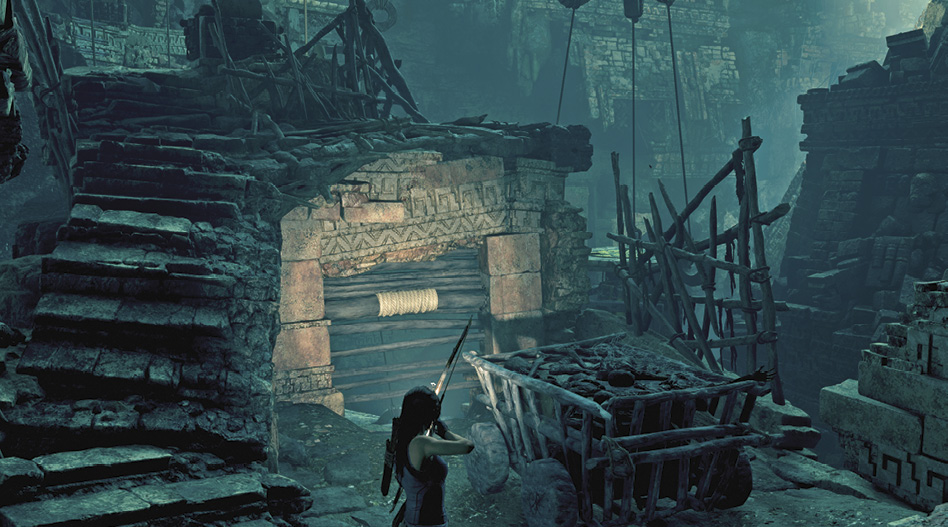
Run right, then follow the trail left up the steps to find a movable cart. First, use a rope arrow on the coil ahead to create an opening, then step behind the cart and push it down the hill, which causes a fourth pendulum to rise on your right. Climb the steps, but before hopping on, jump to the ruins on the left to find gold, an exotic resource.
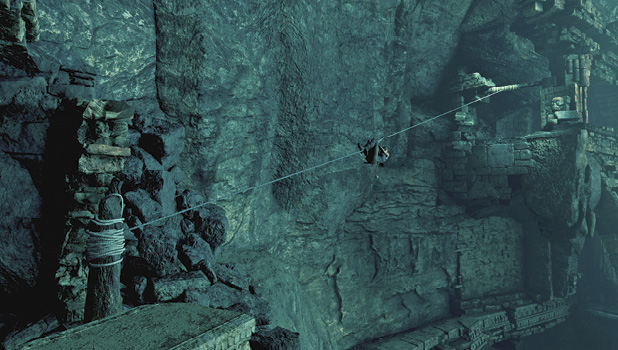
From the first pendulum, turn left and make a big jump to another bell. Climb on, then leap over to a walkway. The fourth death whistle carving hangs just outside the right pillar. Approach the post wrapped in rope and aim your bow at the rope-wrapped beam above the far ledge. Shoot an arrow to tether the rope between the two, creating a one-rope bridge.
Instead of following the walkway, hang off the ledge. Climb down the craggy surface, rappel, and swing to the lower level to find more goodies. Leap off the next ledge and scramble to the craggy surface. Climb onto the trail just past a trap.
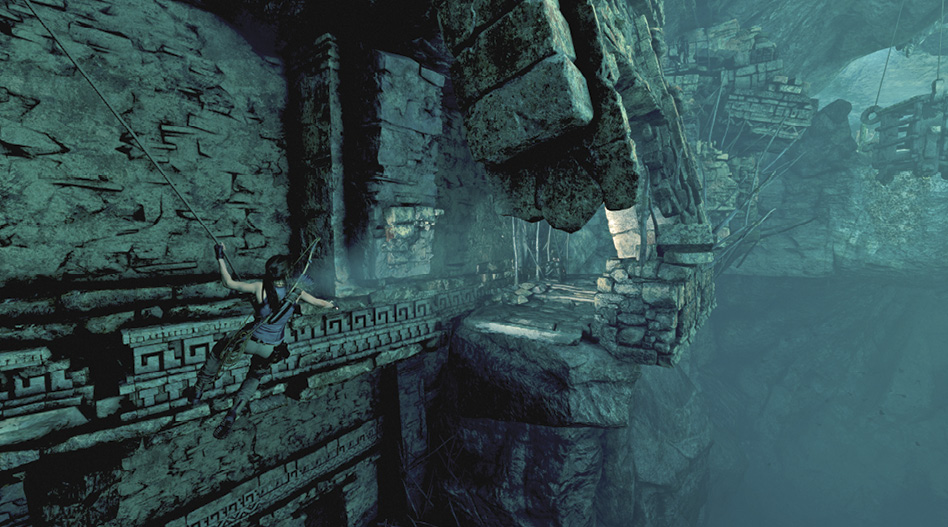
Run right and jump onto another pendulum, which lowers just as before. The next pendulum appears to be stuck on a pile of debris, so jump to the walkway on the left instead.
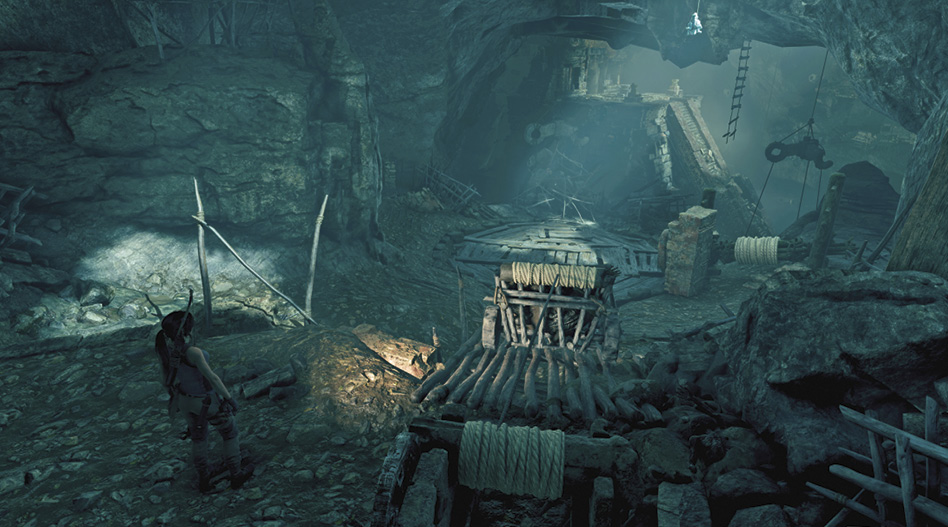
• Spot a cart to the right, walk around to the back, and push it down the hill, where it settles onto a turntable.
• Approach the cart and follow the wood planks to the right. Interact with the crank and rotate it clockwise, turning the cart 90 degrees.
• Aim at the rope above the cart handle and tether it to the spool on your right.
• Again, crank the gear clockwise to bring the cart up the hill as far as it will go.
• Cut the rope to send the cart into the debris, dislodging the pendulum.
Before you leave your position next to the crank, look above the ladder that hangs down ahead to find the final death whistle. Now use the rock that juts out toward the pendulum to reach it, and immediately jump left onto the ladder before the pendulum gets too low.
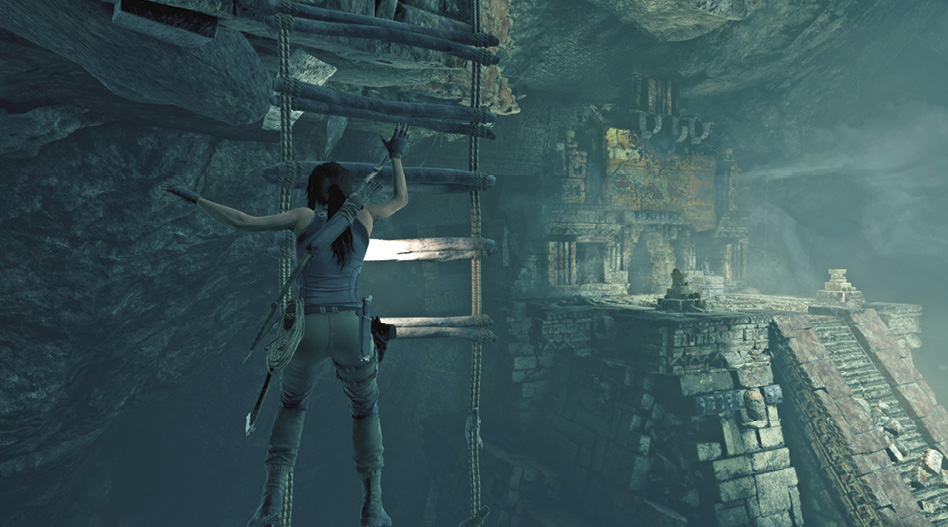
Climb up and follow the rocky trail right and up the steps. Jump onto the ledge, and move up and then right. When Lara loses her grip, grab on and continue until you reach the craggy surface. Rappel down to reach the top of the pyramid.
Return to the Village
Sprint straight ahead and break through the weak wall at the end of the tunnel to reach another portion of the dig site (5). Lara immediately hides in the vegetation wall as a Trinity soldier enters the area. Perform a stealth takedown and loot the guy before climbing the wall next to the elevator and walking up the muddy hill until you find more of Trinity’s men.
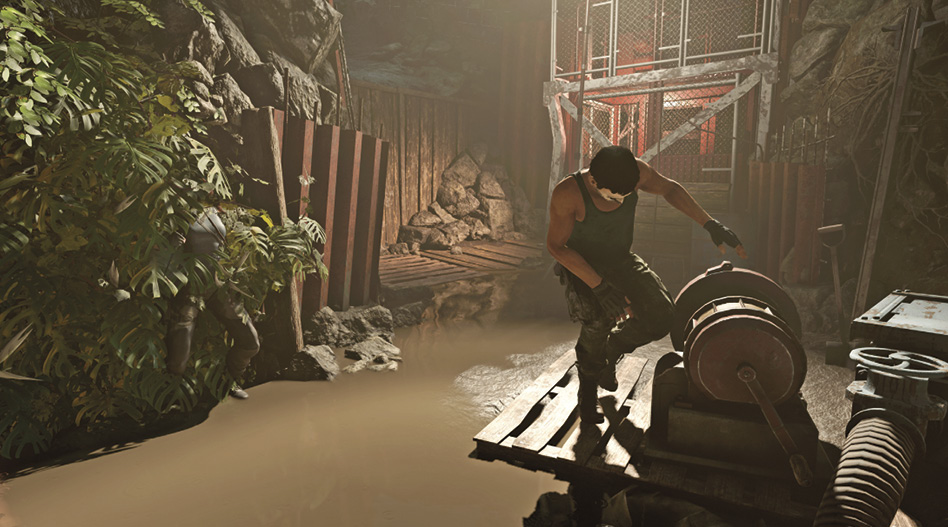
Move into the vegetation wall and then to the bush on the left to get a good view of the first three soldiers. Scramble over to the next vegetation wall and eliminate the isolated enemy. Next, scramble behind the crates and grab one of the bottles. Toss it past the bush on the right. Wait for an enemy to investigate, and kill him. Now you can quietly take down the last man before scrambling up the wall ahead.
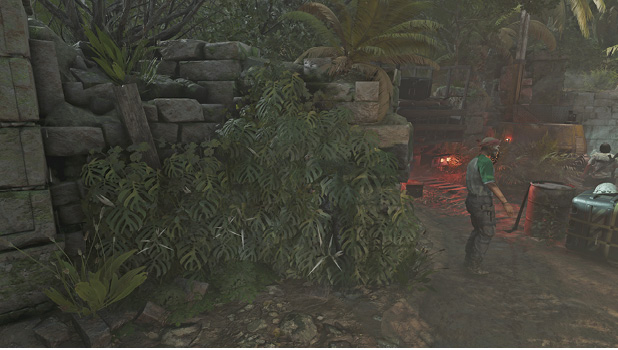
This sends Lara into a new area with four more Trinity soldiers, one of which patrols atop the far ruins. Scramble over to the vegetation wall, eliminate the isolated gunman, then put an arrow into the head of the upper foe when he stands to the right. Two remain. One patrols to the right, while the other remains next to a laptop. Use the vegetation walls to kill the roamer before quietly taking down the remaining soldier.
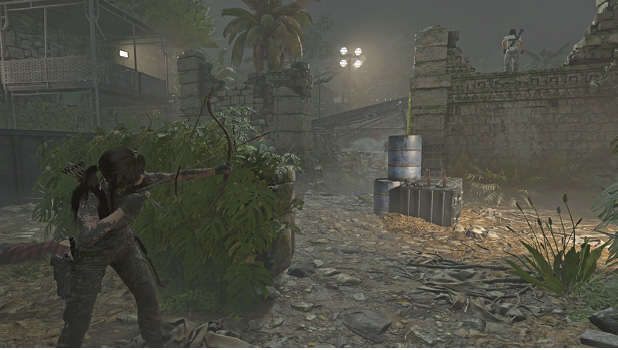
Three more soldiers man the final area ahead: one patrols near your position, and the other two stand guard farther back. Use an object to bring the first guy your way, and dispose of him with a stealth takedown. Advance into the area and use an object to pull another foe you. Quietly kill him before putting an arrow into the final guy.
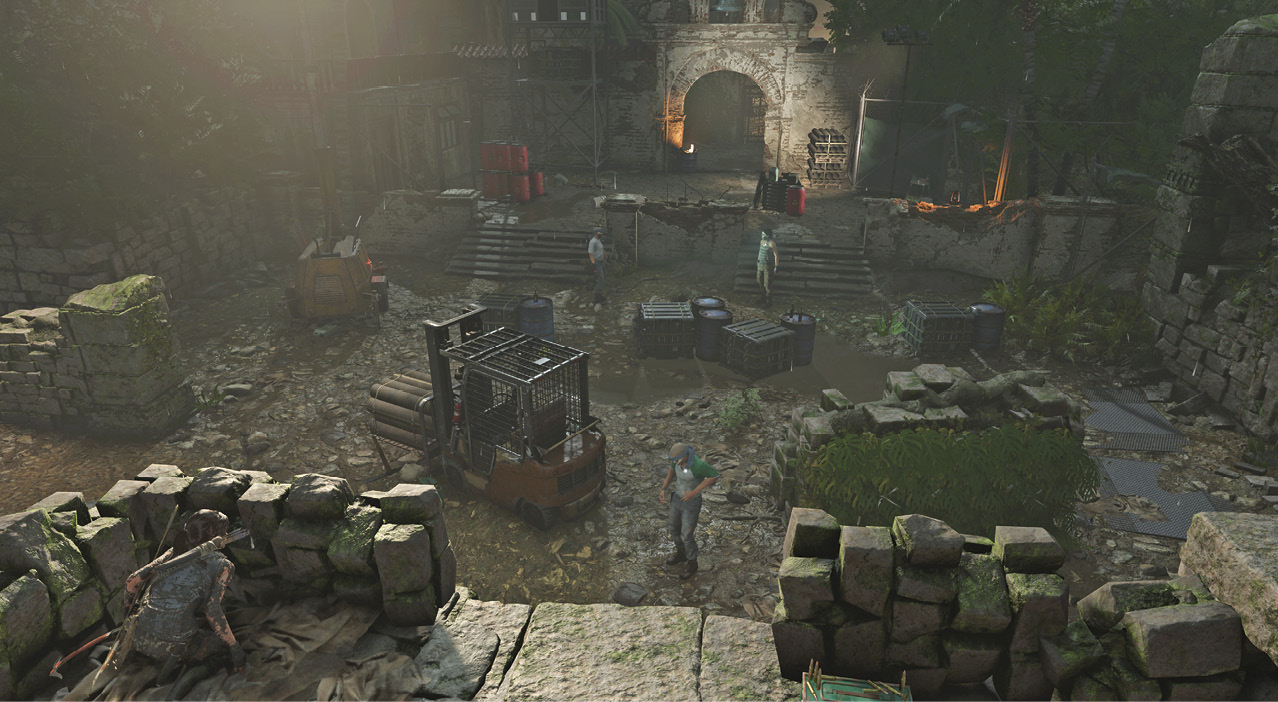
As soon as you’re detected in the area, or just after finishing off all three soldiers, reinforcements enter—including two armored guards who rappel from a helicopter. No matter what’s happened, they know you’re there, so switch to the assault rifle. Look for red barrels that detonate when hit for easy kills. It’s possible to hit the stack of explosives on the left as the armored guys move in, to eliminate at least one of them. Stay behind cover as you pick off the remaining foes. Retreat to the previous area if things get too hairy.
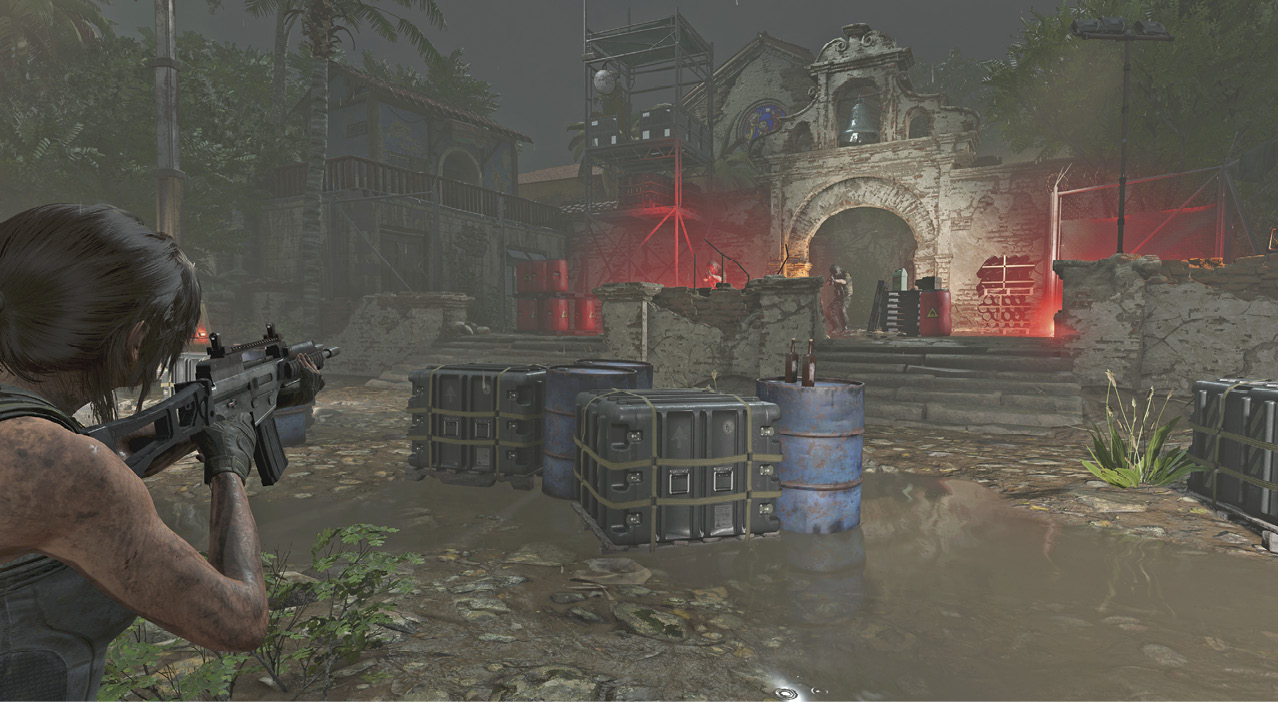
Once the last enemy is killed, run through the archway, use a climbing axe to bust through the gate, and pass through the open door on the right.
The Flood
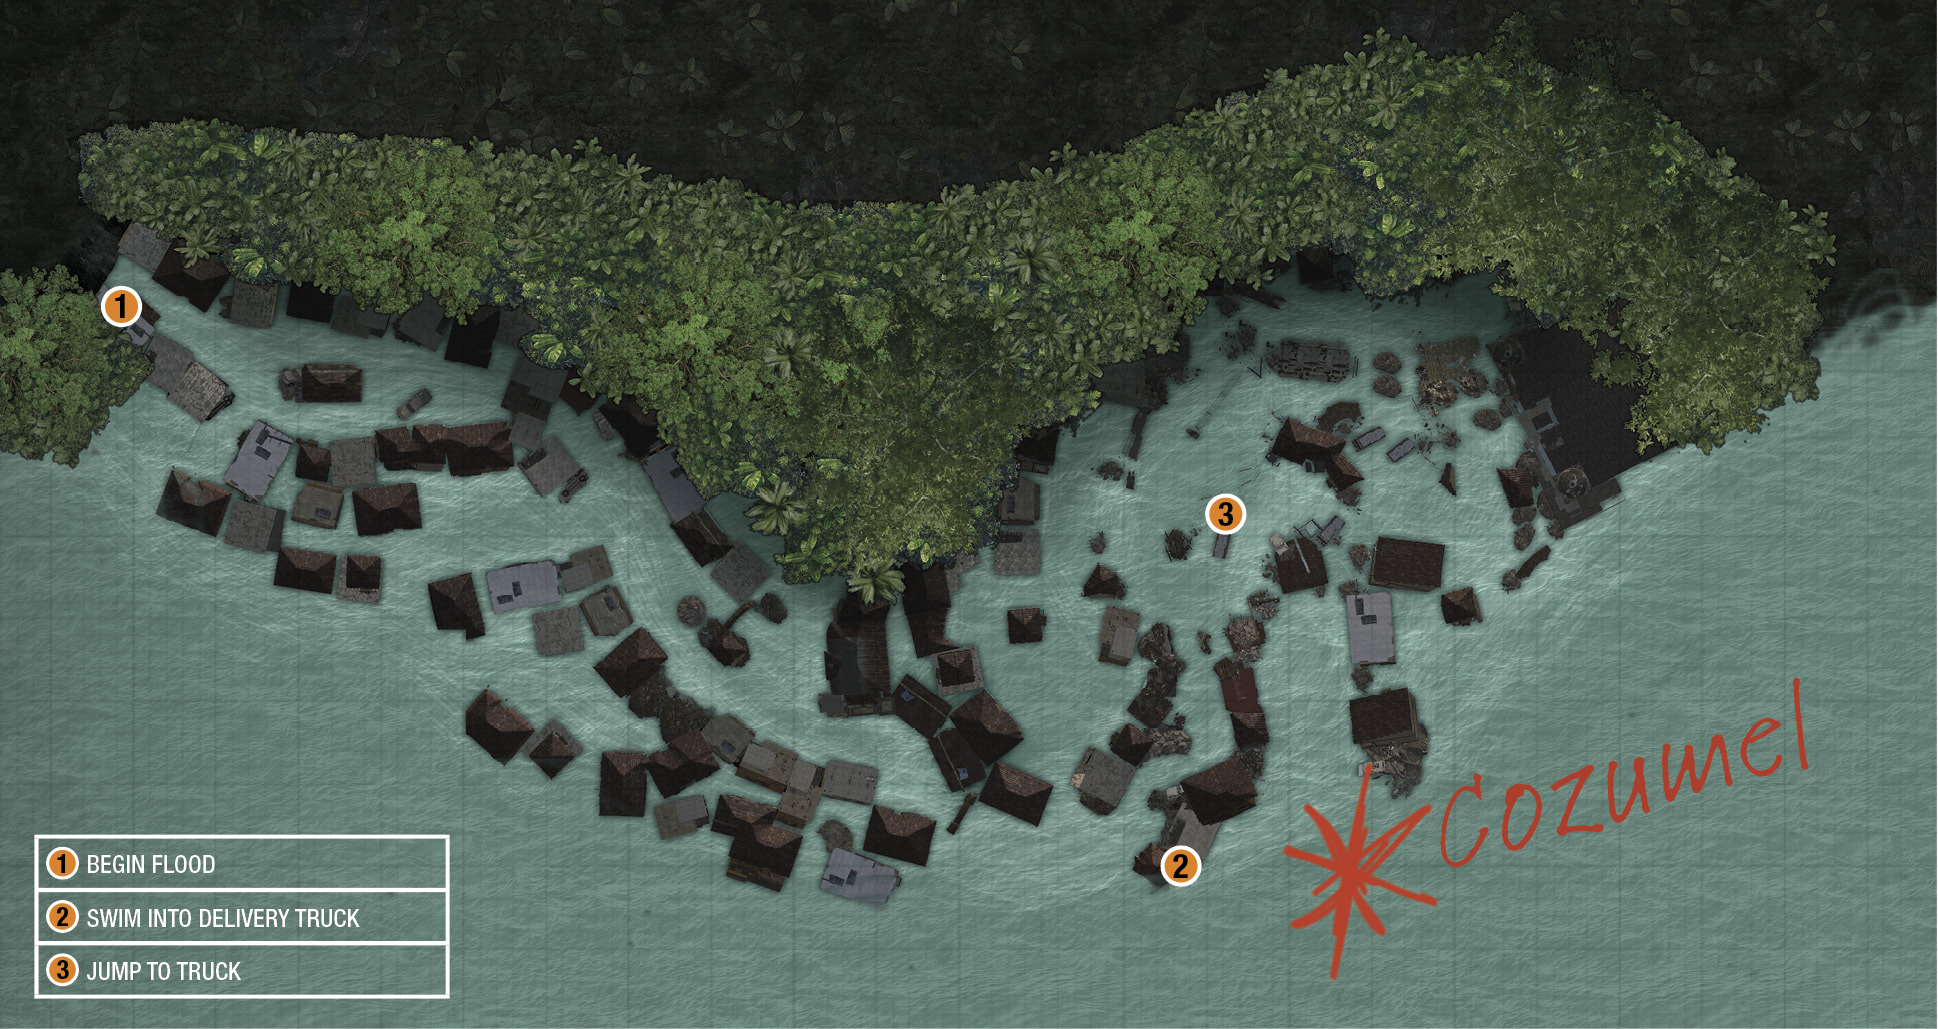
Main Story Objectives
• Survive the Flood
Head Above Water — Survive the Flood
You gain control of Lara as she clings to a pole (1), struggling to hang on against the rushing floodwaters until she loses her grip. As you’re dragged along by the water, debris on the sides and in the middle of the road forces you to move to one side or the other. Push Left or Right to adjust Lara’s position in the water. Keep as close to the middle as possible, and keep your eyes focused on the route ahead. The sooner you can make necessary adjustments, the more likely you are to survive.
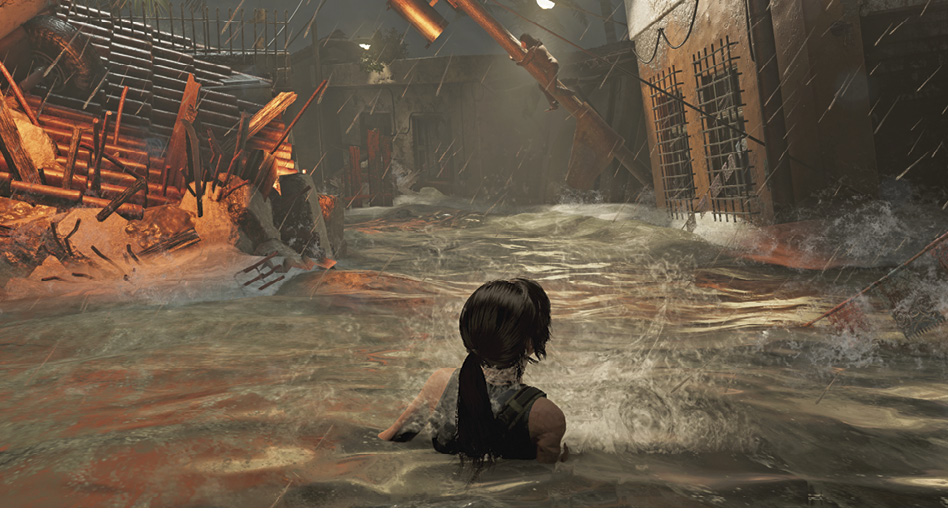
The path immediately splits, but it merges back together shortly. A toppled tree offers you a moment to catch your breath before releasing you to the side, where Lara grabs on to a door. Immediately push forward to move to the other door before a structure falls toward you. This forces you underwater.
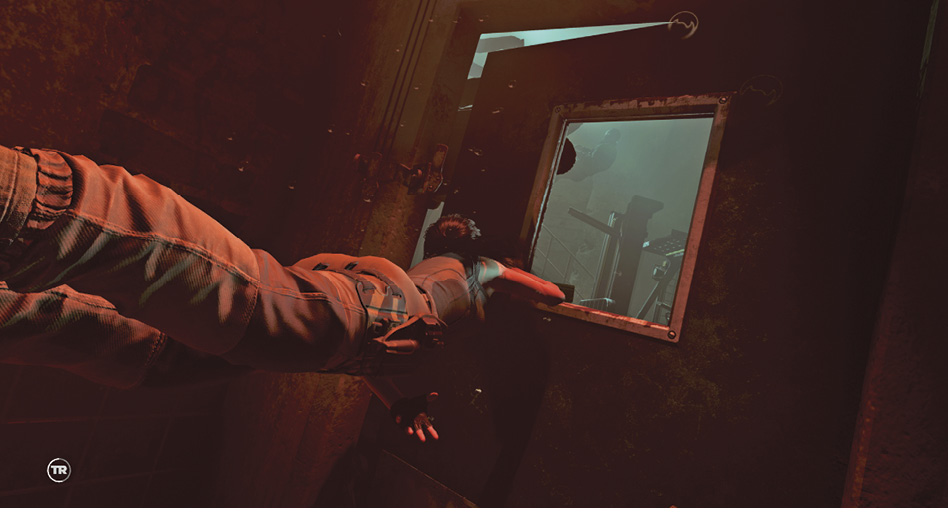
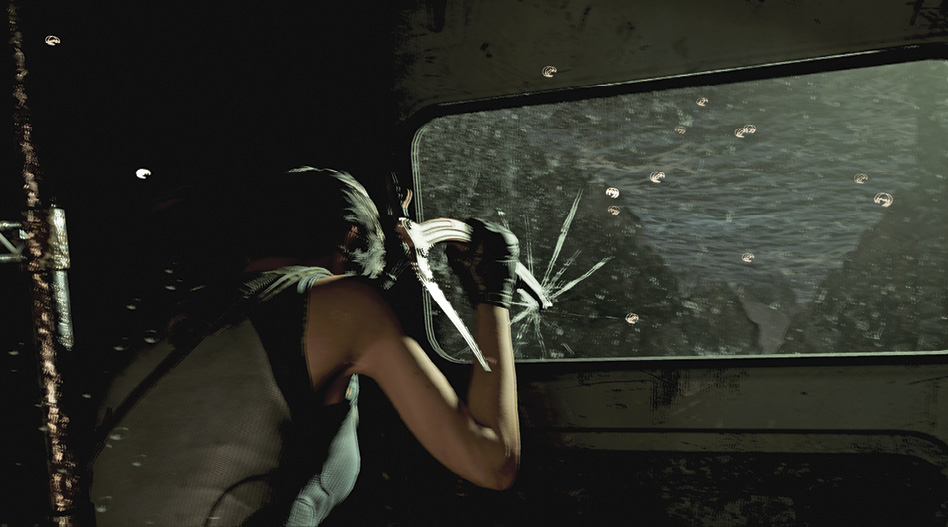
Enter the doorway and speedily swim through the store. Just before the next doorway, bubbles on the right signify a trapped air pocket. Take a breath before swimming to the exit. When Lara pulls out her climbing axe, rapidly tap the Interact button to force it open.
Swim into the delivery truck (2) ahead, and press the Melee Attack button when prompted to break the rear window. This returns you to the water surface, where you must continue to dodge debris. Eventually, Lara climbs onto a floating structure, but don’t let up, as the rushing water and flying debris leave nothing safe for long.
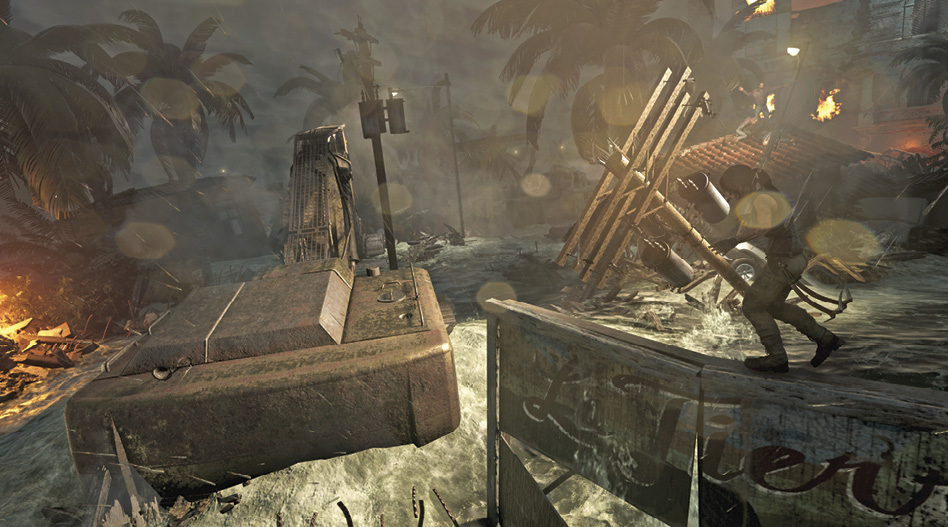
Jump to the truck (3), then to the top of the La Tierra billboard. Run left and continue to the backhoe. At the end of its arm, swing on the lamppost to reach the shelter. Swing across another lamp to reach a container as it passes by, before immediately leaping to a roof.
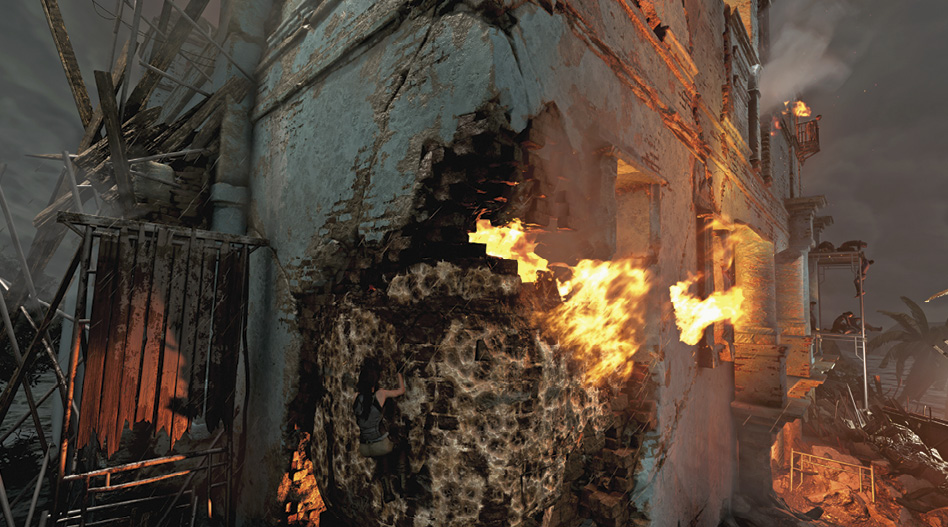
Grab on to the climbable wall ahead, and immediately move left around the corner as the structure crumbles in from the right. Leap left and scramble up the wooden planks. Scramble up the brick wall on the right and shimmy right along the ledge—mind the gaps along the way by jumping when necessary. At the window, jump up to the next ledge and continue onto the roof.