
Deus Ex: Mankind Divided Mini Strategy Guide Missions
Dubai

Jensen starts out on a dropship. He’s being briefed about the augmentation deal that’s happening below, in Dubai. This sets the stage, and you get to make a couple of important choices.
First, decide on combat or stealth weaponry. Then, ask for short-range or long-range equipment.
For long range, you get to choose between a lethal Combat Rifle and a stealth Tranq Rifle. Up close, you’ll get either a Revolver or a Stun Gun.
This should heavily be influenced by the playstyle that you intend to pursue. Stealth runs get you more experience, and they let you play a Jensen who is much more of a traditional heroic character. Playing this way influences the dialogue and story of the game, so consider this carefully.
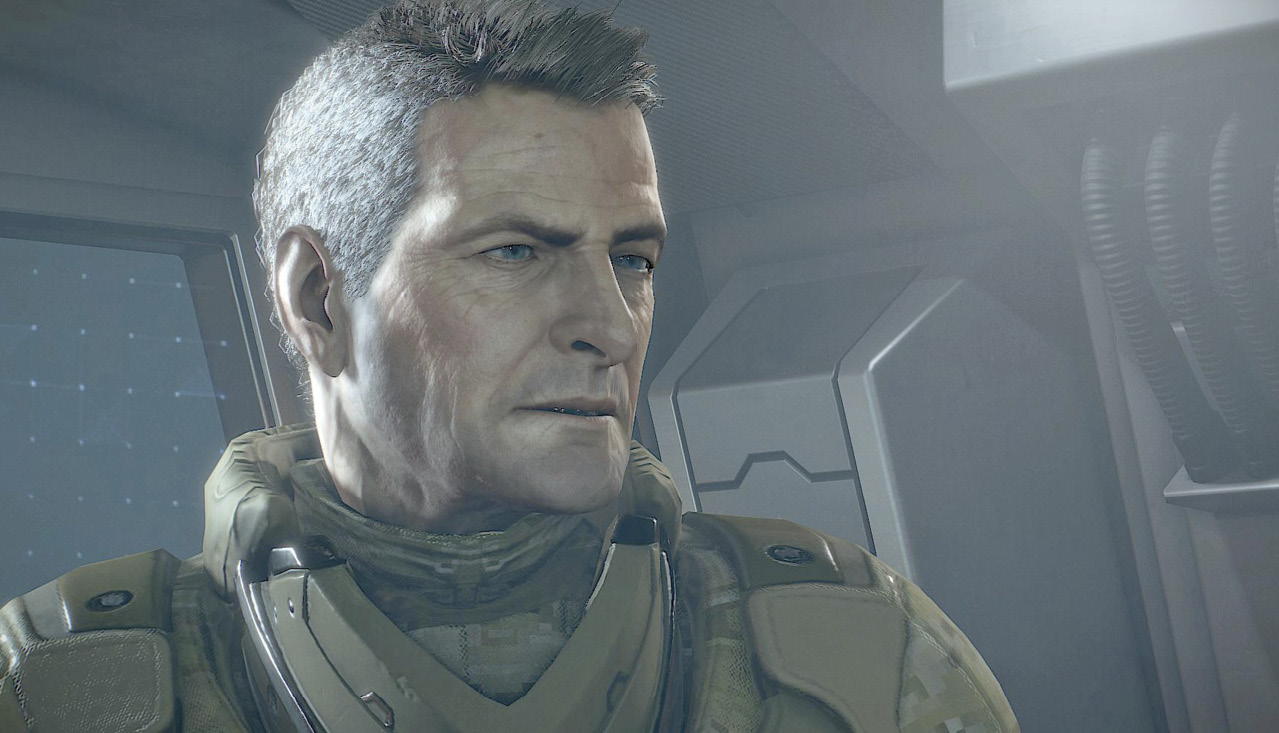
You can find multiple combat weapons on the guards, but you won’t find many stealth weapons. If you want variety and more options, take the stealth weapons at the beginning. The Tranq Rifle in particular is a godsend for anyone who wants to get experience and take out targets but leave them alive.
This guide’s discussions of each area feature suggestions for both major styles of play.
Once you’ve chosen the weapon loadout you want, the cutscene continues. Soon, you are dropped off near the mission site.
Black Market Buy
Infiltrate the Building
Objectives
|
Overview
Map Legend
|
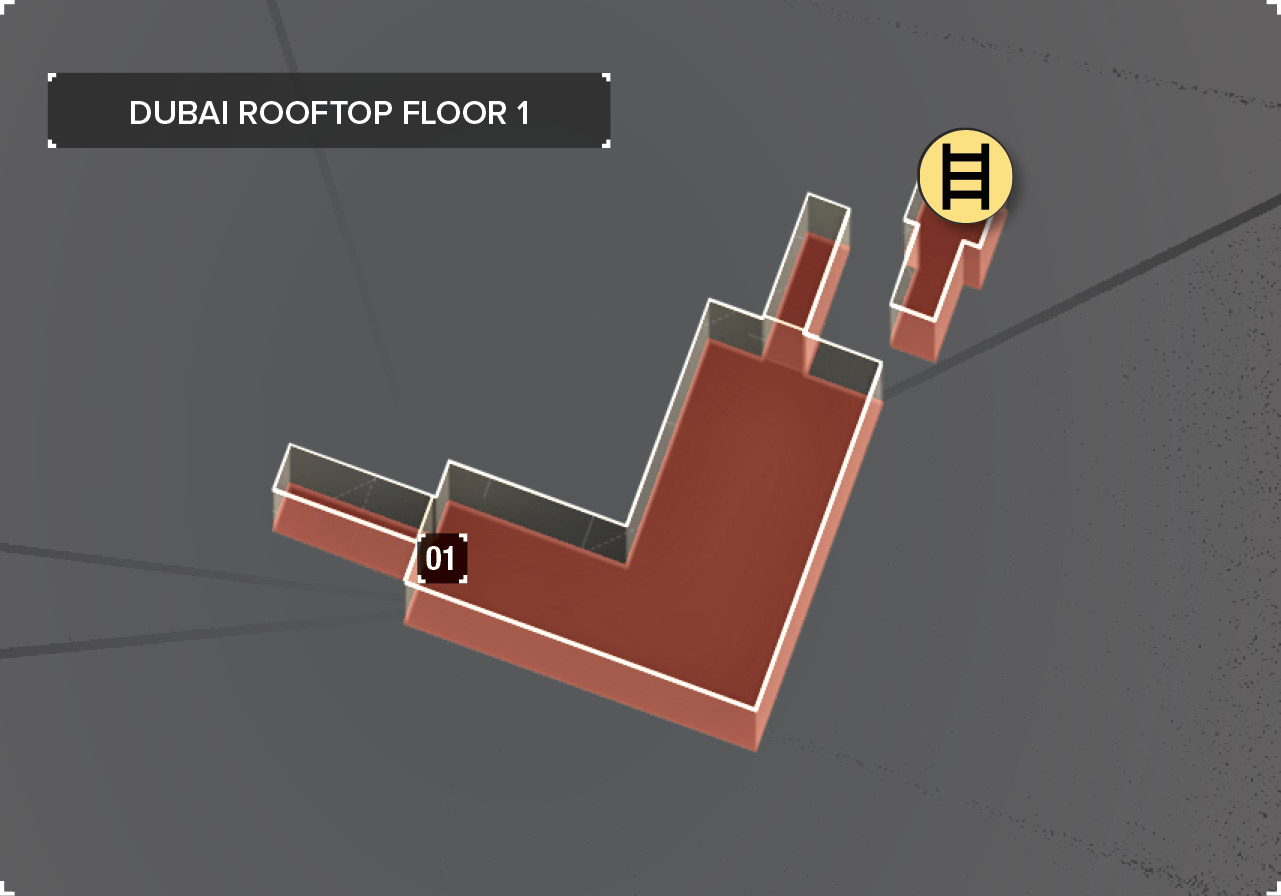
01: Grate with hidden Triangle Code |
Start off on the roof with your basic equipment. There aren’t any enemies close to your initial position, so this is a good time to get a feel for the controls. Walk around the landing and practice normal movement and running. The controls can be altered in the options menu, and you might want to try out a couple of the themes to see what suits you best.
In case you’re wondering which one we prefer, it’s Breach. Breach feels very fast and active, but all of the control systems are viable.
Once you’re comfortable proceeding, go to the end of the platform and jump down to the lower area around the corner. For now, Jensen has the ability to fall great distances without taking damage because of his augmentations. He can even make attacks while descending if there are enemies underneath him. At the moment, there aren’t!
When Jensen lands, turn around. Behind him is a metal grate that you can open. Interact with this to open the grate, and look inside. There is a construction worker’s body with some free credits, and a small symbol on the ground, as well. If you have the Deus Ex app, you can use a smart phone to scan the symbol.

Leave the small shaft and go forward through the level. There aren’t any branches yet, so it’s a direct route. You can search the other body you pass like the first one, but there isn’t anything on it. Soon, you arrive at a large pipe. Go inside, crouch down, and interact with another grate to continue.
Go through the pipes and climb up a ladder on the other end, looking to your left as you climb. A slain worker is draped over a smaller platform. Search the body to find a Pocket Secretary. These collectible objects contain information about the story and the world at large, and they sometimes have clues to help you survive or find extra equipment.
This Pocket Secretary says that there is a storage area on the roof with a door code (4801). Finish climbing the ladder to reach the upper floors.
Restore Power to the Keypad
Objectives
- Go inside and find a breaker to restore power to a locked door’s terminal
- Hack open the door and go inside the building
- Get to the penthouses
Overview
Map Legend
|
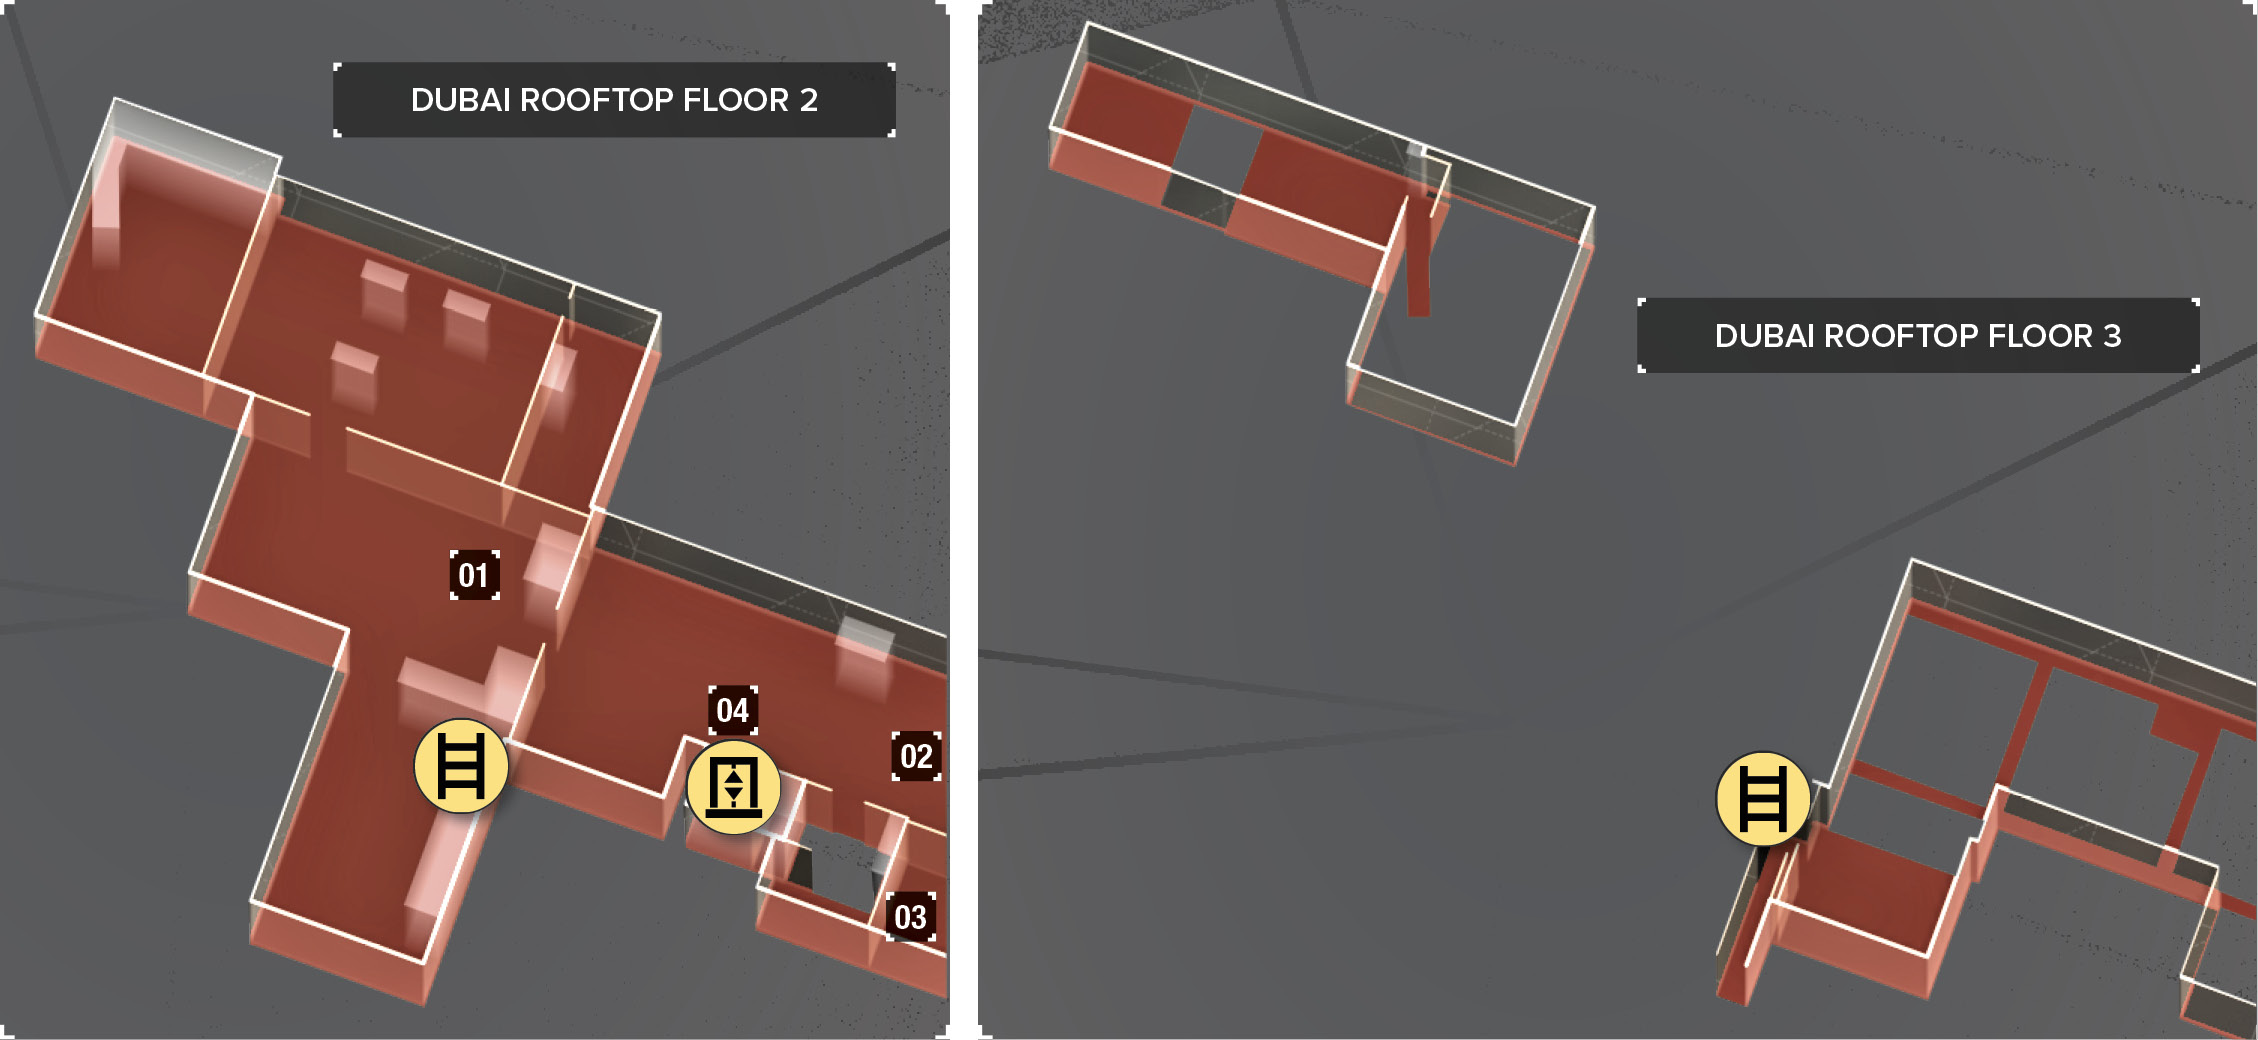
01: Pair of guards |
|
02: Lone guard |
|
03: Storage room (Code 4801) |
|
04: Elevator to penthouses |
Get to the top of the ladder, and then walk along another platform. A large obstacle blocks the way. Luckily, you have immensely augmented strength and can pick up or even throw objects like this. Try that out now to remove the blockade. Throw the heavy plastic crate over the railing for a bit of fun. If enemies were down there, they’d be in some real trouble.
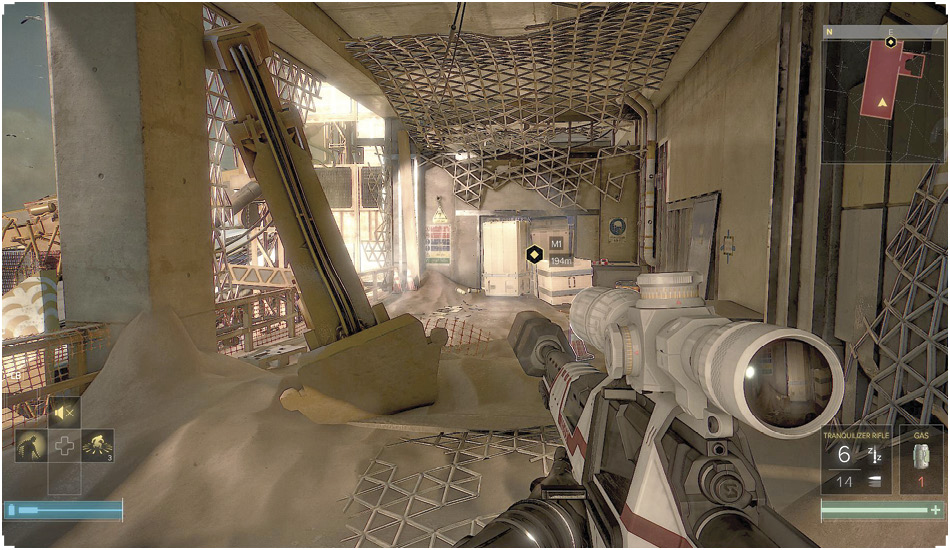
Go through the new opening and move forward while the game explains about jumping, pulling yourself up, and so forth.
You quickly reach a room with two dead bodies. Search the farther one for more credits, and then check out your Augmentation Wheel. This is where you quickly assign the augments that you have to use the most. At this point, you should try out Smart Vision.
Look around the room, and try to find a weak section of wall. Jensen can break through these to find alternate areas or ways to get around tougher parts of many levels. Smash the concrete here to open a new path. Then, jump and crawl through the gap.
Proceed through a simple room and into a back area with some machinery. Pick up a Biocell, and look for a breaker that can be toggled. Use this to turn on the equipment in the adjoining room. The keypad on the door is now functional. You can’t walk back in the room because of electrical damage along the floor. However, you can hop up to the catwalks overhead and use those to avoid the dangerous area.
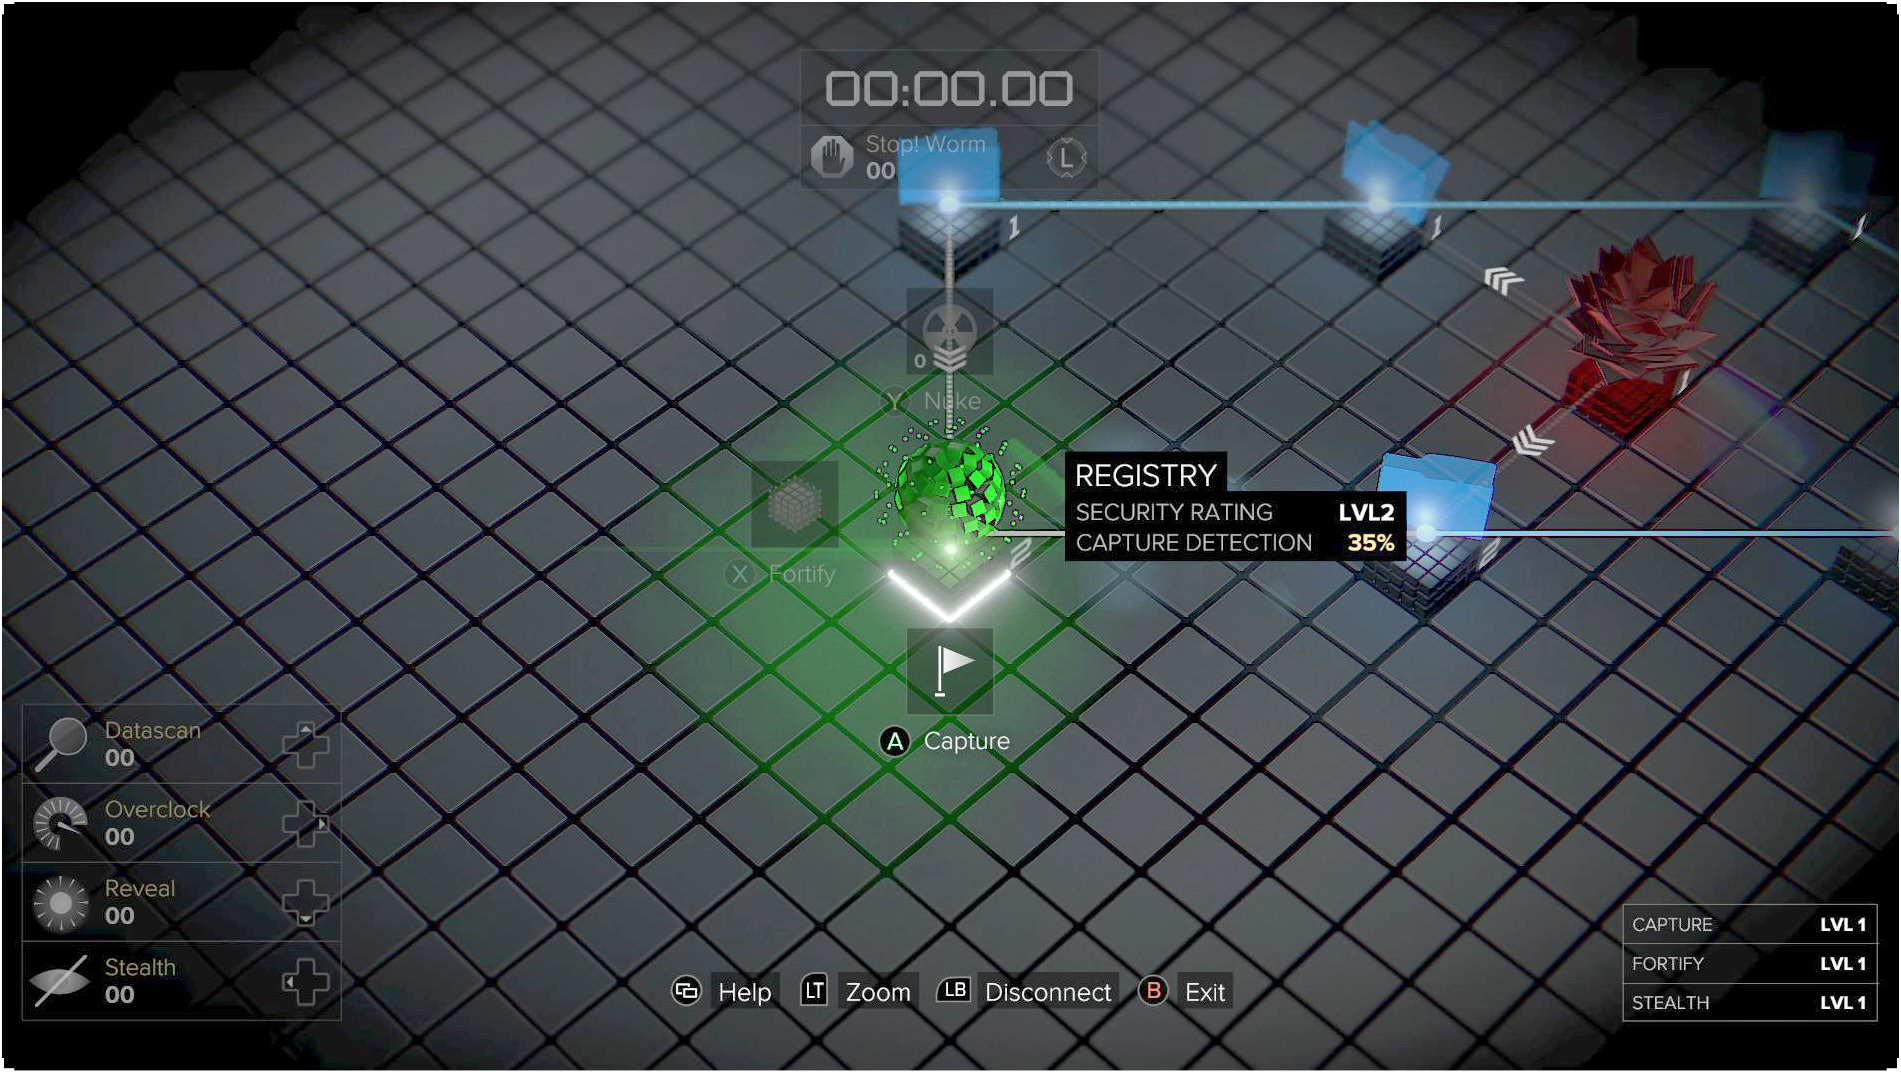
Get over to the door, and hack the keypad to make your way inside. The gameplay section of this book discusses hacking more in depth, but here is a quick reminder of the system. These computers have codes. If you find something in the level with the proper code, type it in here to get through without hacking. Failing that, break into the system with your software. This brings up a minigame.
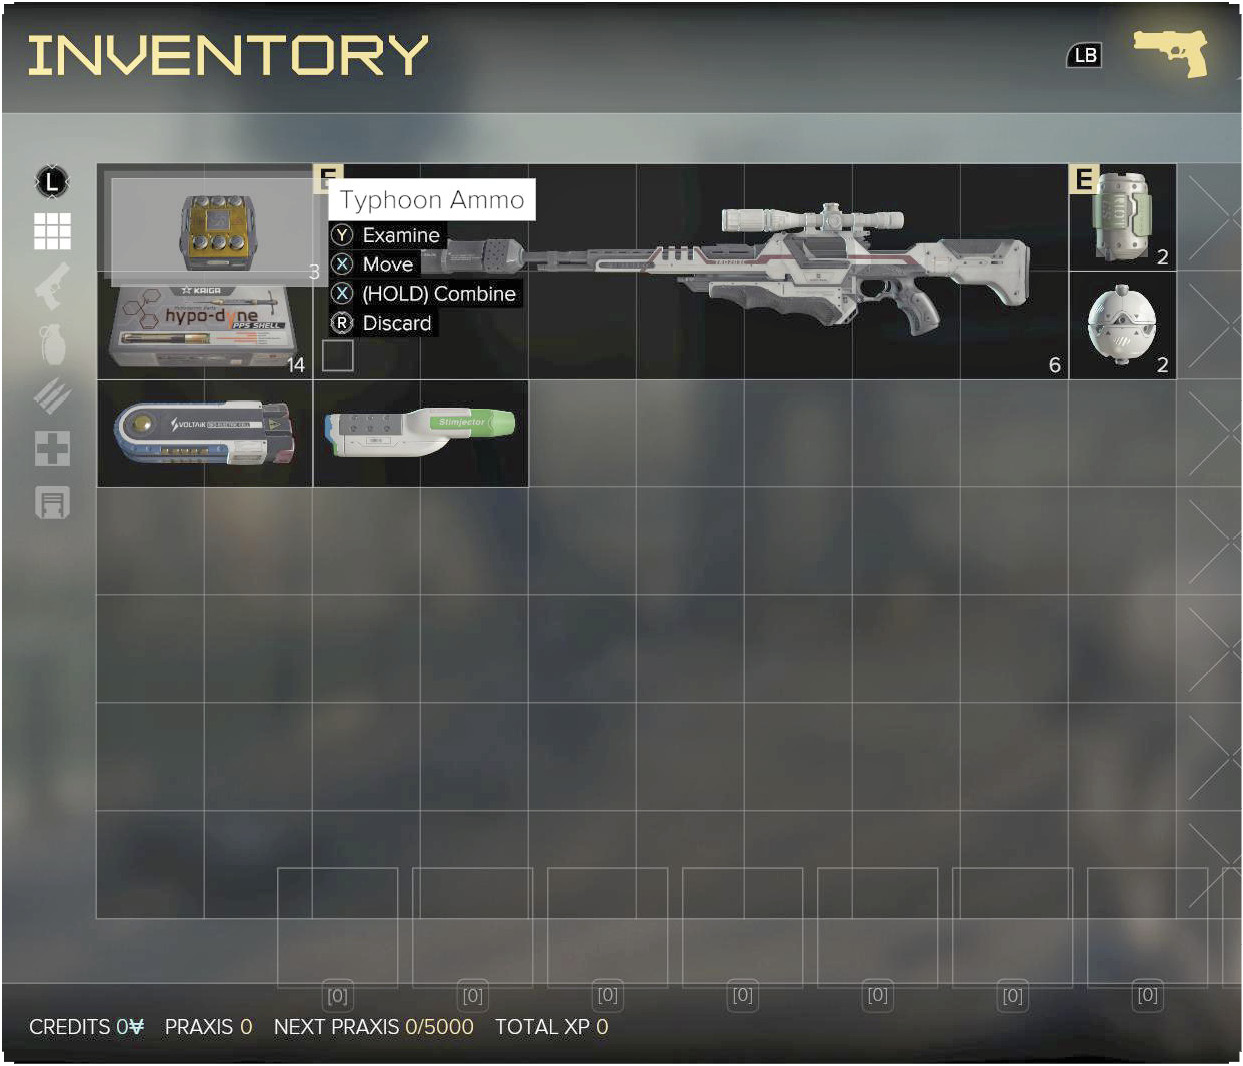
CombatGet the door open and crouch down as you enter the next chamber. There are three guards close by. Two of them are talking to each other and are located about 30 feet ahead on your left. The other is at the end of the next hallway after the first pair. Take cover before initiating combat, and use your time to aim your weapon at the first guard’s head. Splatter him instantly with a single shot, and then kill his companion before the other guard can recover. Expect another foe to hear this and be prepared for you. Switch cover to the area beside the hallway ahead. Snipe your last guard from there, and then search. 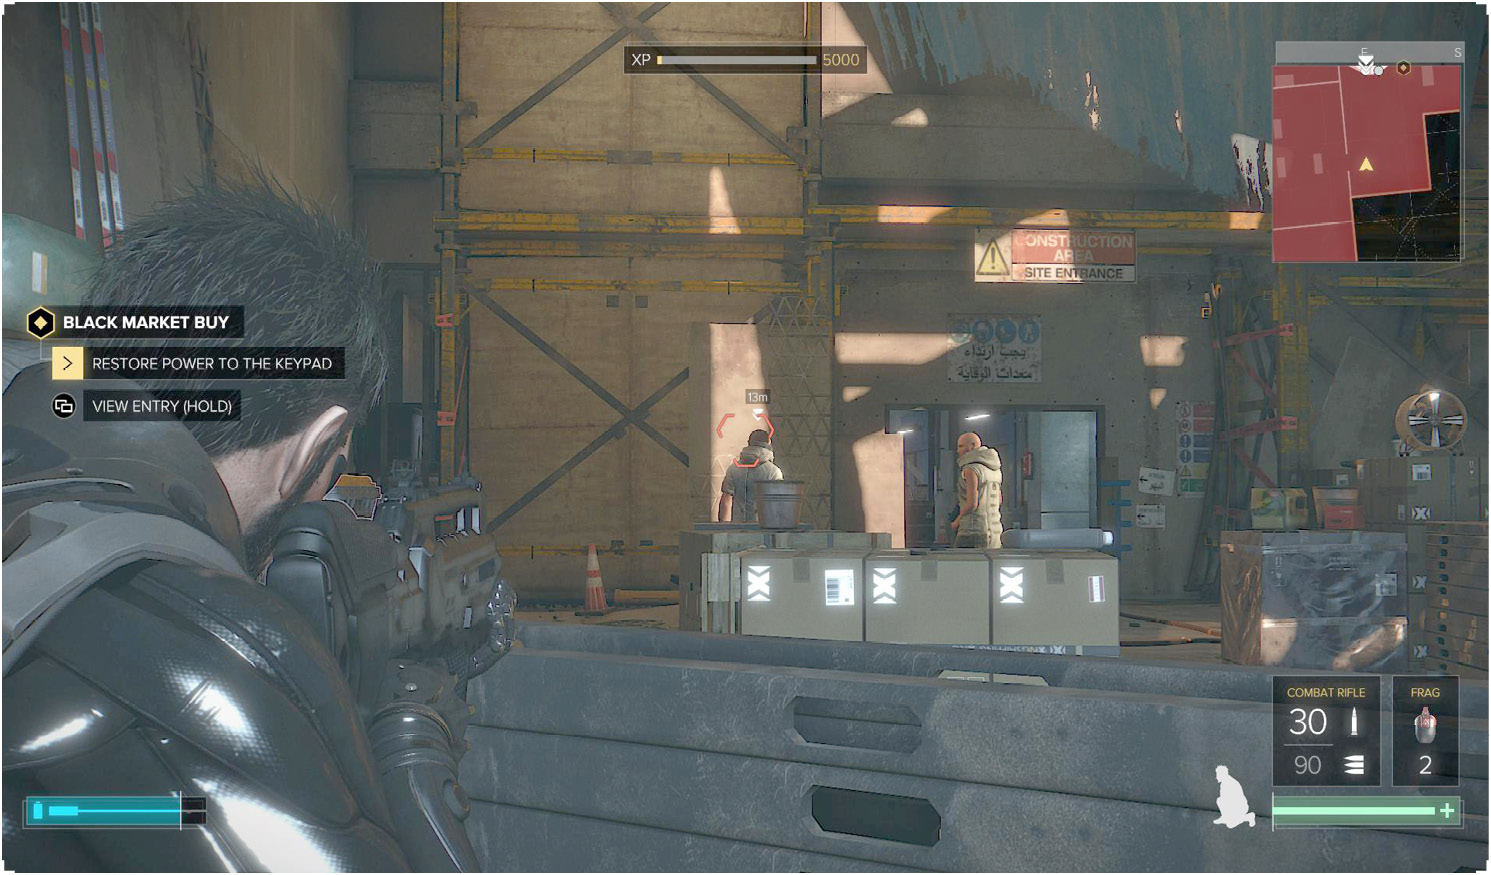 There is a locked room at the end of the far hallway. The elevator is near there, too. Make sure that you get everything out of the locked room before you take the elevator down. To access the room, use the code that you found earlier (4801) and hack the system, or jump onto the walkway above the room and simply hop over the locked fence. Search the body inside the room, and break open the lockers for even more goodies. None of this stuff is essential, but it helps you gain a better supply of ammunition and basic usable gear. When you’re done, return the elevator and descend to the penthouse apartments below. |
StealthGet the door open and crouch down as you enter the next chamber. There are three guards close by. Two of them are talking to each other and are located about 30 feet ahead on your left. The other is at the end of the next hallway after the first pair. 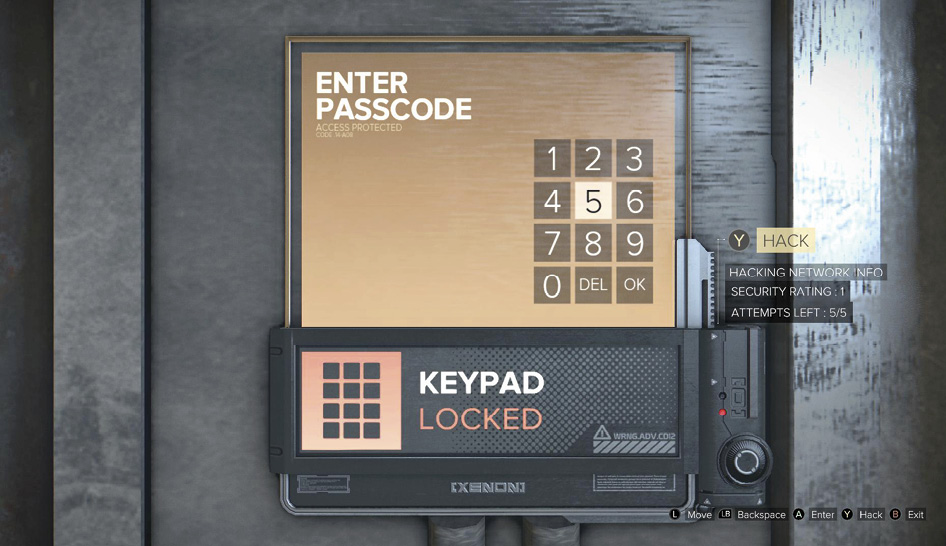 Sneak to the left and wait behind the crates as the two men finish their conversation. When the second guy walks away, use a Takedown to quietly and efficiently knock out the man nearby. Follow his friend, and repeat the process on him. The guard at the end of the hallway won’t see or hear this. You can then sneak up on the last man at your leisure. It’s possible to use the area on the left to get close to him, or to use noise to lure him away from his position so that you can take him down as he approaches your hiding spot (behind the large crate on the right, if you wish). 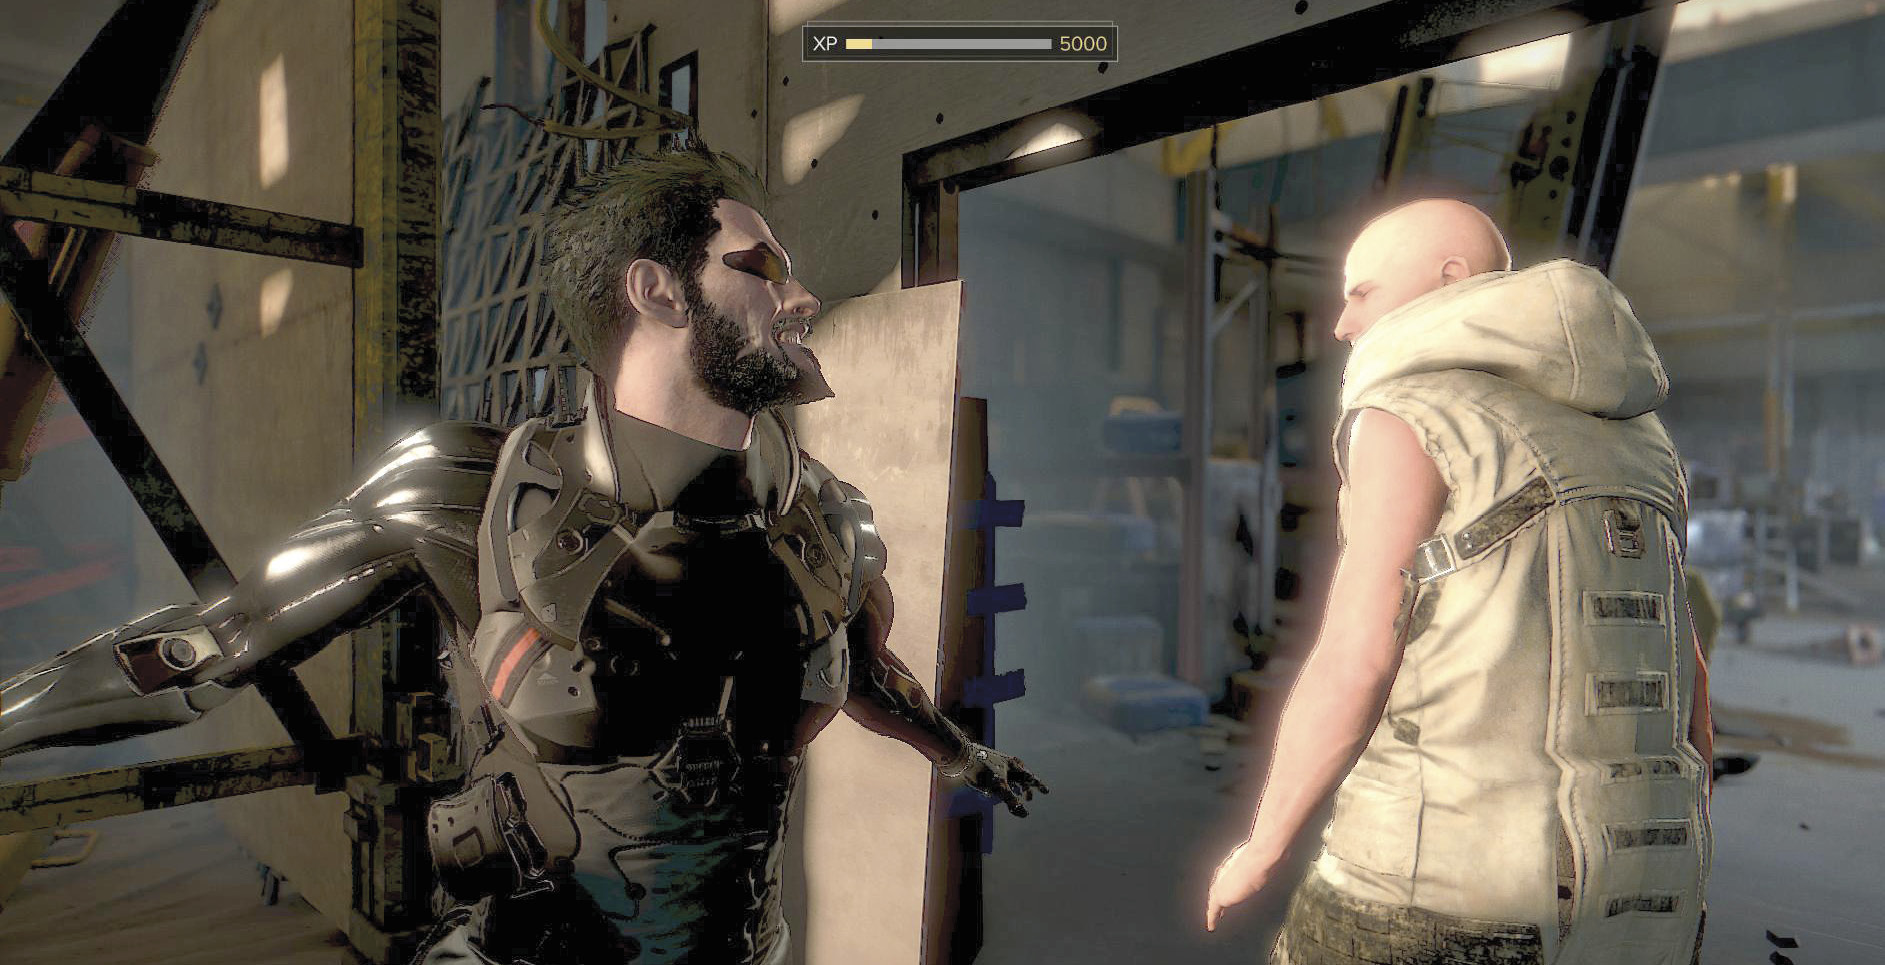 Your Tranq Rifle is a valid option if you brought that. Hit the distant guard from range, and then hide. He’ll drop soon enough, and then you’re good to go. All of these are effective choices! There is a locked room at the end of the far hallway. The elevator is near there, too. Make sure that you get everything out of the locked room before you take the elevator down. 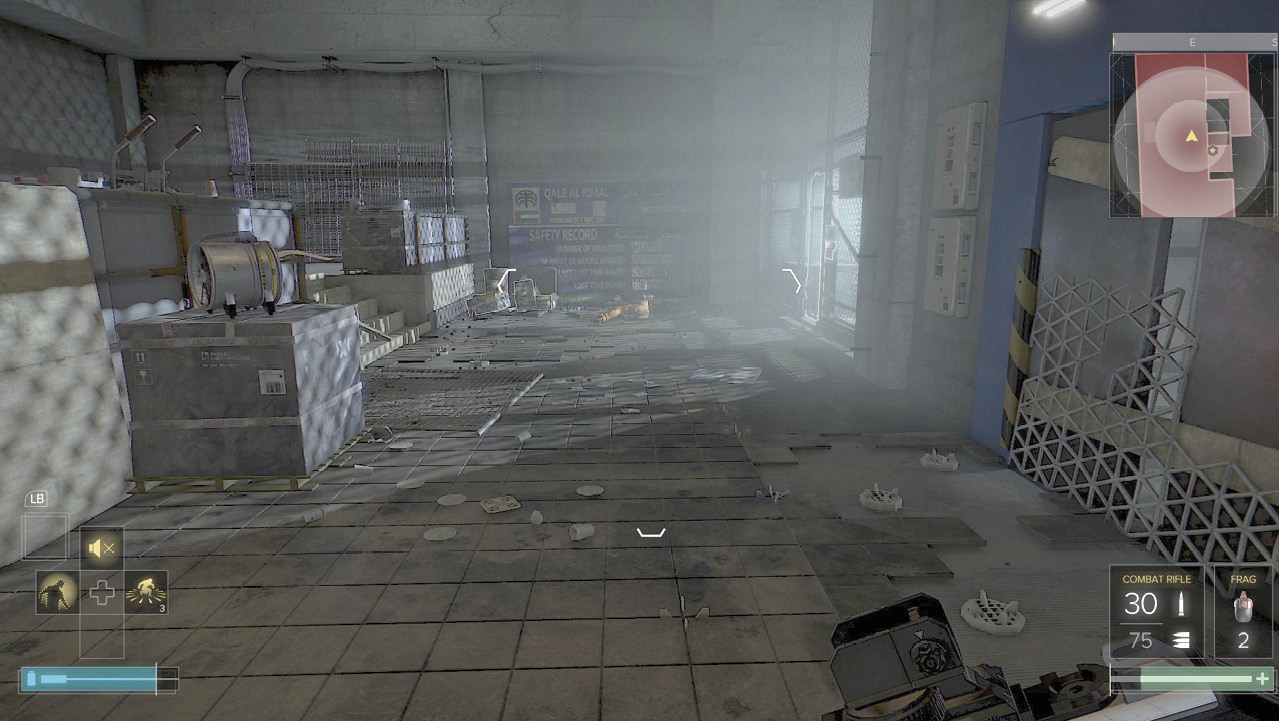 To access the room, use the code that you found earlier (4801) and hack the system, or jump onto the walkway above the room and simply hop over the locked fence. Search the body inside the room, and break open the lockers for even more goodies. None of this stuff is essential, but it helps you gain a better supply of ammunition and basic usable gear. 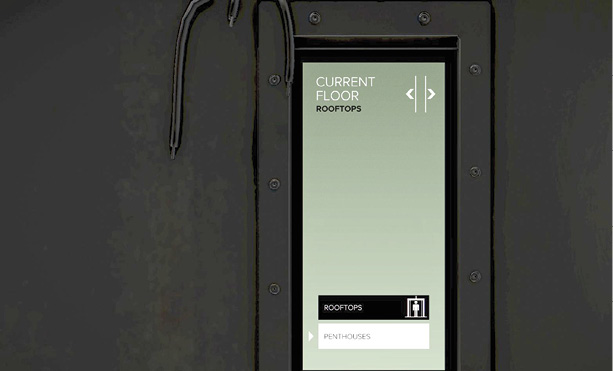 When you’re done, return the elevator and descend to the penthouse apartments below. |
Pass through the Penthouse Area
Objectives
- Jam the Signal Booster (optional)
- Get to the atrium
Overview
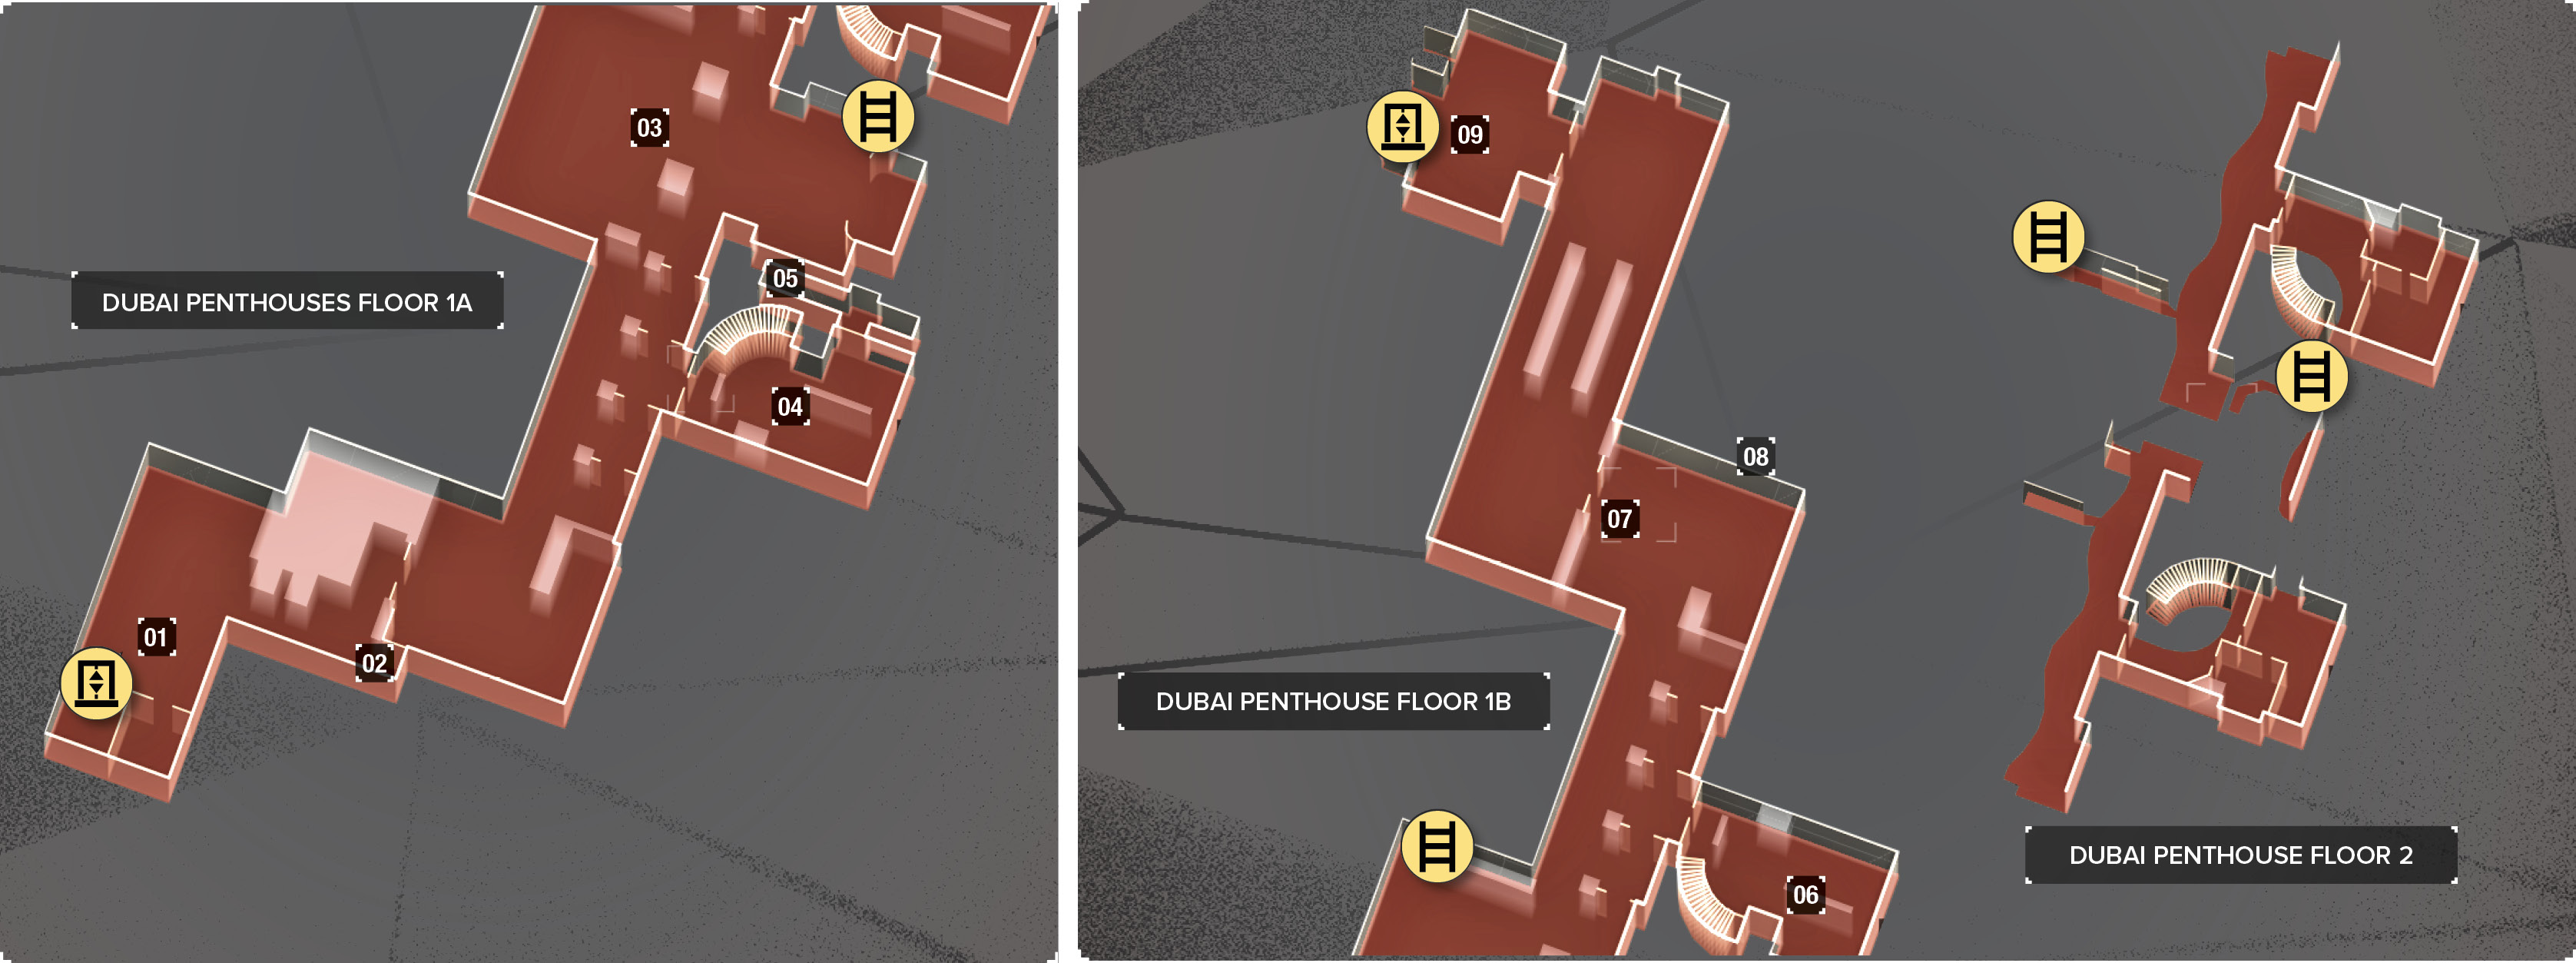
Map Legend
|
01: Two guards |
|
02: Ventilation shaft |
|
03: Large patrol area with many guards |
|
04: Two guards, usually on the lower floor |
|
05: Hidden ammo cache in gas area |
|
06: Signal Booster on upper floor |
|
07: Trio of guards |
|
08: Ventilation shaft |
|
09: Atrium entrance |
This is the most extensive and difficult part of the first mission. There are many guards in the penthouses, starting with two in front when you arrive. Small groups are inside each apartment, but a huge squad of them is outside protecting the main halls.
Stealthy players will tend to favor the ventilation shafts so that they can move through the penthouses without attracting much attention. Aggressive players usually clear the main hallway and bust into each apartment, looking for more combat, experience, and treasure.
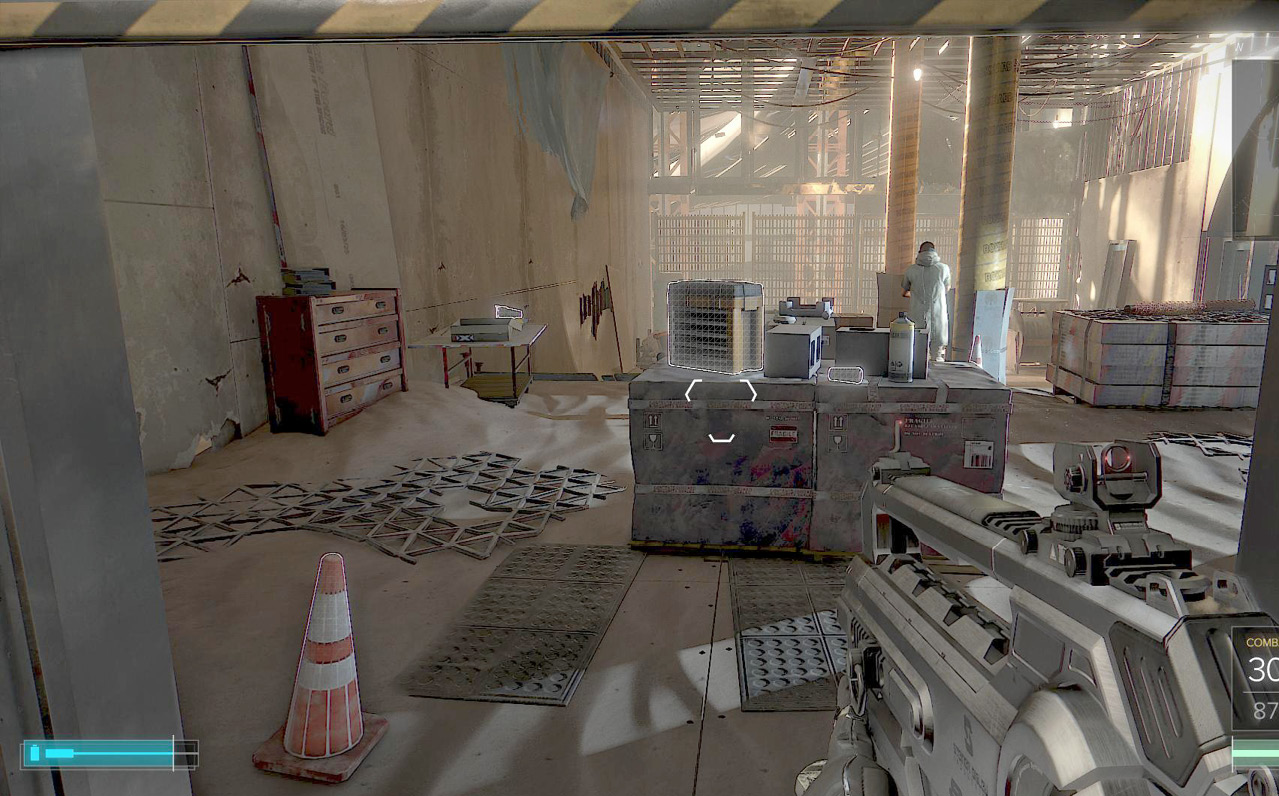
The final penthouse at the northern end of the map has an optional objective. Jam the signal by interacting with the electronic device on the upper floor of that apartment. Two people up top and two more below guard this device.
With that done, continue to the northern end of the hallway and look for the entrance to the atrium.
When you enter the atrium, a major battle triggers.
CombatThe elevator takes you to the penthouses. The first room has two guards, but neither guard is aware of you when you enter. It’s very easy to use silent Takedowns on both men, though as always, you are free to pursue any action you like. Killing them with gunfire might alert more enemies close by, but it conserves your battery power. If you’re using a Combat Rifle and kill adversaries with headshots, they won’t be able to alert their friends, so it’s worth the time to set up perfect headshots. 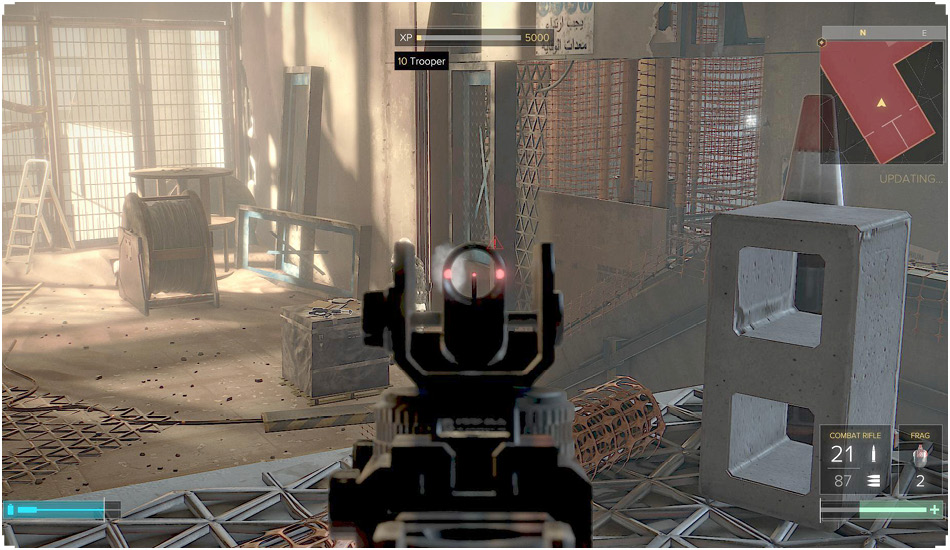 There are a few credits on another body here, but it’s even more important to search both guards; their extra ammunition will likely help in the future. Stay behind cover and move through the large hallway that dominates this floor of the building. There are many enemies as you go, but they won’t start a general alert if you keep up with those silenced headshots. Failing that, stay down and pick off incoming fighters with bursts of attacks. Don’t waste ammo with spray-and-pray tactics because you almost never have tons of ammunition to waste (especially with your favorite weapons). Kill everyone in the hall, and then search for a hidden area between the two penthouses. It’s filled with gas and has a large cache of ammo for multiple weapons! Look for a Pocket Secretary on the left side of the open hall. This has a code (0682) for the atrium doors, in case you’re not in the mood to hack your way in later on. 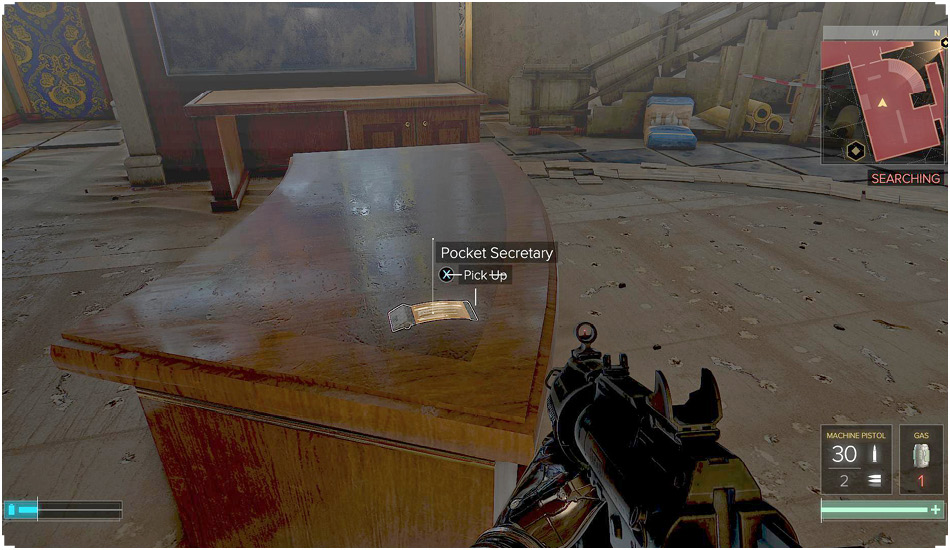 The final penthouse has the Signal Booster, which two men on the lower floor and two more on the upper floor guard. These targets are very easy to ambush. You can enter through the main doors and take them out with simple attacks. If the first group makes any noise, expect the two from the other level to come running after you. Aim for the stairs, and attack them as they arrive. Three guards are near the northern end of the level. If they haven’t heard the fighting, they’ll be standing close together. Sneak forward and use a Typhoon attack for a sweet blast against all of them. Alternately, take cover and snipe from range for easier but less exciting kills. Use the code from before (0682) to open the atrium door. When you enter the atrium, a cutscene plays. Once it concludes, you are thrown into a very large firefight. |
StealthUse stealth and enter the first room when the elevator opens. Two guards are there, facing away from you. Use a Takedown on the first, sneak behind the second, and repeat this attack. It’s very unlikely that they’ll spot you unless you do something very unusual, but crouch during your approach for extra time to pull off your maneuver before they hear you. 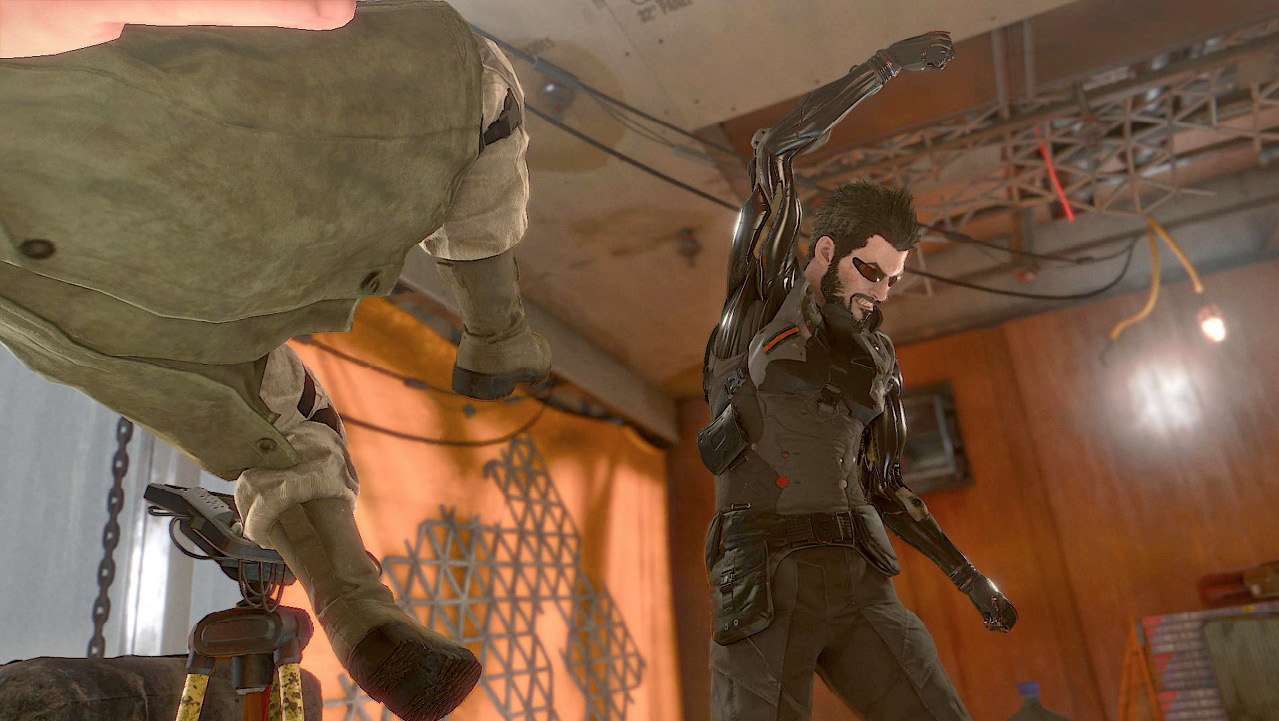 You can also throw objects to distract people. If you’re trying to slip by without any fighting, use this trick or your Invisibility aug to go through the exit on the right without being seen. Slowly walk into the next hallway. Serendipitously, a grate falls off of a ventilation shaft above you. This makes it possible to pursue a much more subtle approach to the next room, which would otherwise turn into a firefight. Jump up and climb into the vent instead of walking into the next room. Use the shaft to get around and behind the next set of enemies. You can bypass them entirely and move on, or slip through their ranks and take them out quietly for more loot and experience. There are usually two guards on the upper walkway after you get out of the vent. Neither watches each other well, so sneak up to them and use Takedowns to silence them. You don’t need to drag their bodies out of the way because no one patrols back there except for them. Go through the door on the right to get into an apartment, where there are two men on the bottom floor. One patrols, and the other stays in the back. Go upstairs to avoid them, or stalk the two for additional experience. Either way, go upstairs when you’re done. 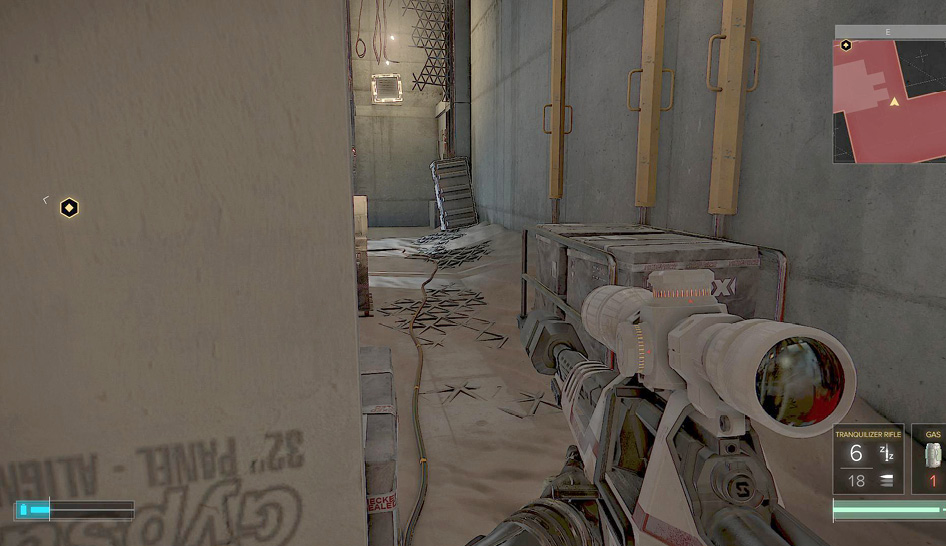 Look for a broken section of the wall up top. A damaged area that’s filled with gas connects the upper penthouses. You can sneak back there, avoiding multiple enemies. Search the ground level for a cache of ammunition, and then get out of the gas by jumping into another shaft. You’re taken toward the northern side of the level as you exit that. There are many guards close to you, but they’re unaware. Instead of using Takedowns this time, you should try out your Tranq Rifle. Headshots against these men get you full experience (along with safe and stealth eliminations) and keep you from getting spotted. If the way is totally cleared, look for a Pocket Secretary on the left side of the open hall. This has a code (0682) for the atrium doors. A ladder leads up to some scaffolding on the right side of the room. Climb up there, and get into the vents again if you want to approach the next objective without having to do any additional fighting. If you’re patient, you can even avoid all contact here and slip to the ladder when the patrollers are looking the other way. There are three guards by the northern doors. You can try to slip into ventwork in the north to skirt these enemies, using your Invisibility aug in the process. Go through the last room, and use the console by the door to lock down the atrium. Use the code (0682) if you don’t want to hack anything. When you enter the atrium itself, a cutscene plays. Once it concludes, you are thrown into a very large firefight. |
Disrupt the Meeting
Objectives
- Protect Singh (optional)
- Stop the helicopter from taking off
Overview
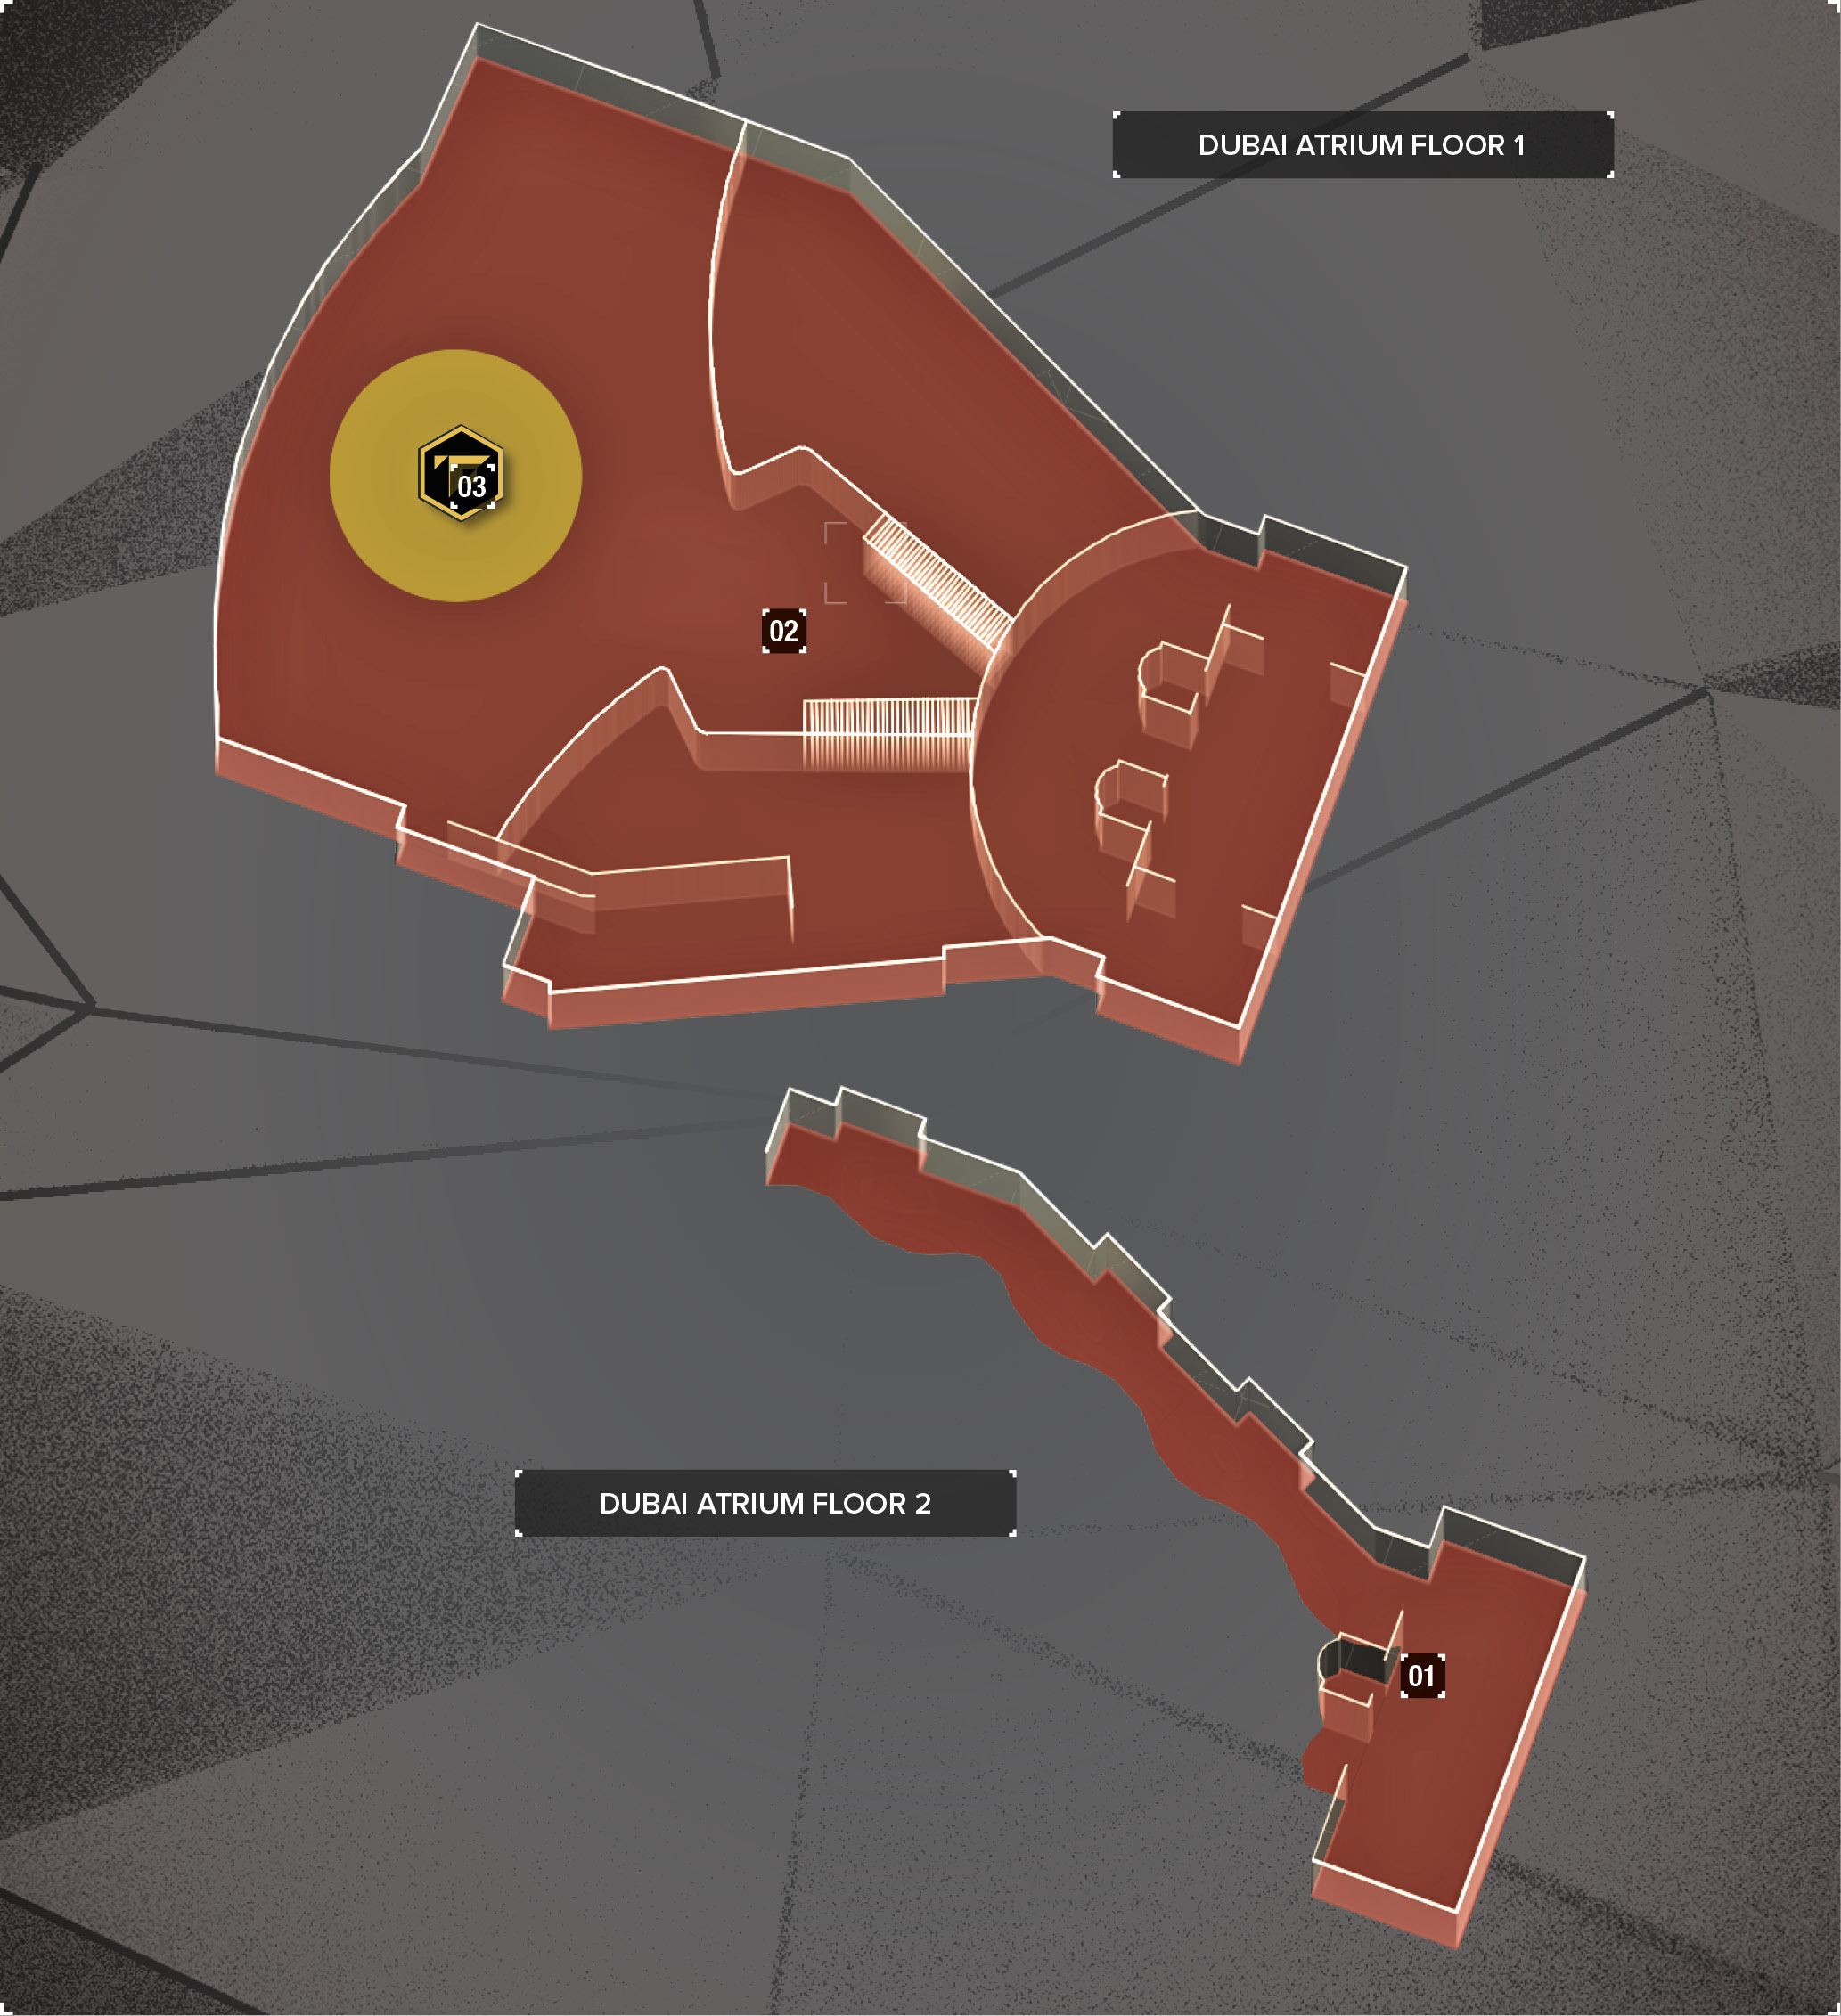
Map Legend
|
01: Good vantage point for Jensen |
|
02: Gathering point for multiple enemies |
|
03: Helicopter (a major objective) |
You must defeat the enemy combatants quickly, or else this mission will count as a failure. You still get to move forward into the game, but multiple people are affected by this failure.
To succeed, kill or disable all attackers as quickly as you can, and then either blow up the helicopter or rush up to it and grab the battery from a panel on its left side. You can see the battery easily using your Smart Vision.
If you get to the final battle within 10 minutes, there will not be a dust storm. Your vision is unimpaired, but your enemies can see clearly, too. Stay at long range while killing or disabling your targets.
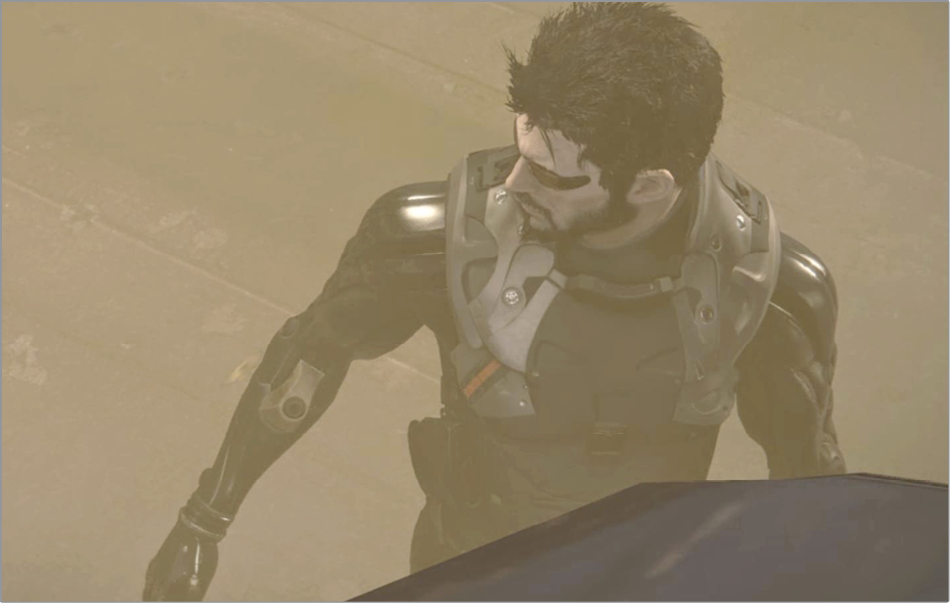
Take longer to arrive, and the dust storm will begin soon after the fight starts. Disable as many targets as you can before this happens, and then rely on Smart Vision to locate and eliminate the remaining foes just as you normally would. This may require you to use your Biocells to get extra energy, so it is sometimes a costlier battle.
As soon as you stop the helicopter from leaving, the mission ends. Watch the next few scenes, and then begin anew in Prague!
CombatBoss Fight: Stop the Attackers and Disable the Helicopter Dive into the area, and take out an attacker on the way with your Icarus augment. Aim down into the atrium and snipe your enemies, favoring those on the left so that you can make a path for yourself. 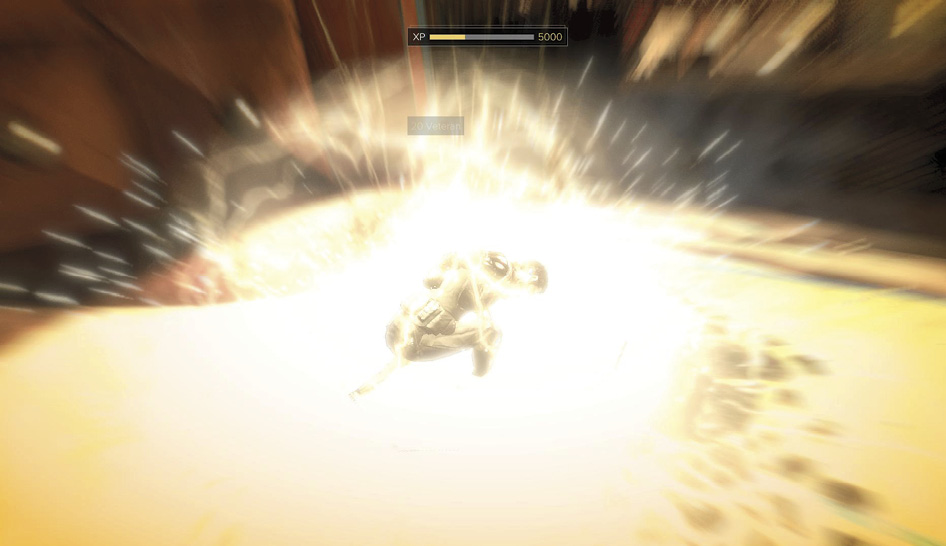 If the dust storm is blowing, use your Smart Vision and reposition frequently so that you can hit the masked enemies from above and behind them, rendering their cover useless. Avoid getting too close to them because they’ll turn and direct plenty of return fire in your direction. Use instant Takedowns to break anyone who is nearby. More distant targets have trouble hitting you, but stop and crouch if you take too much damage either way. Hide for a second, and bring up your inventory. Use a Hypostim to heal yourself and a Biocell to restore your energy if necessary. 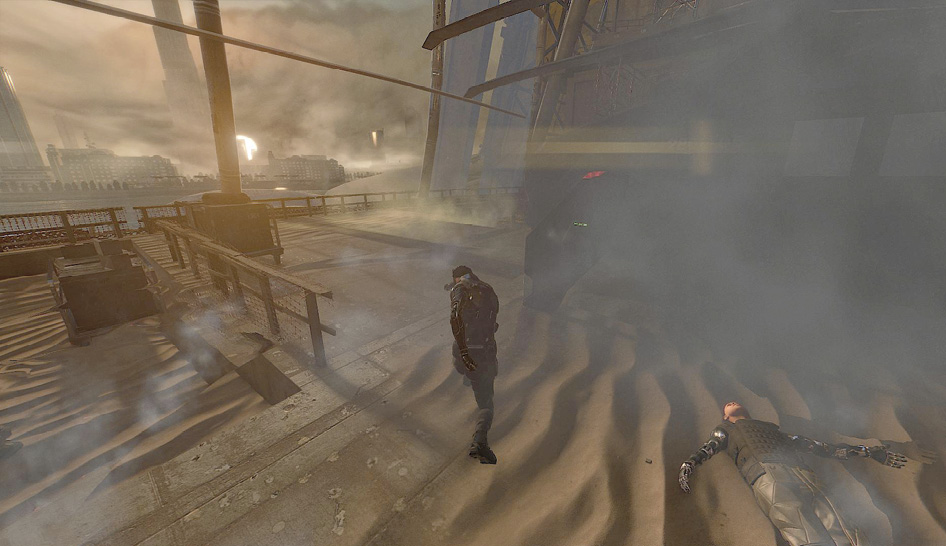 If multiple attackers are close together, remember your grenades and Typhoon system. Both can clear out groups without wasting time! Take out everyone that you can as quickly as you can. When they’re down, sprint over toward the chopper. When you reach the helicopter, open the panel on the left side of it and get the battery. Or, you can use a few of your Typhoon attacks and grenades to destroy the vehicle instead. There are different videos depending on what you do, but destroying the helicopter is certainly the more violent solution. Multiple cutscenes follow the end of the mission, and you continue on to Prague afterward. |
StealthBoss Fight: Stop the Attackers and Disable the Helicopter Jump down into the atrium, and use your Icarus attack to knock out one of the men below instantly. If the dust storm has started, use Smart Vision and your Tranq Rifle to drop several gunmen on the left side of the room. This clears a good path to the helicopter. Use a Biocell for extra energy so that you don’t have to constantly stop and let it regenerate. 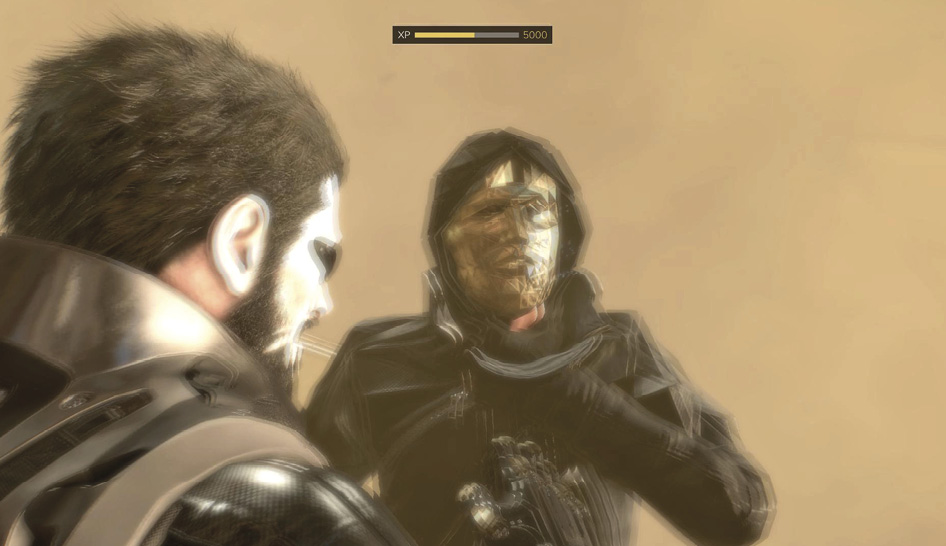 This is a timed section, and waiting too long can get your contact killed or allow the helicopter to escape. Both of those are very bad things, so move quickly but decisively. You can also use Invisibility to hide yourself. This can be quite useful if the dust storm hasn’t started and you don’t want all of the enemies to see you coming. 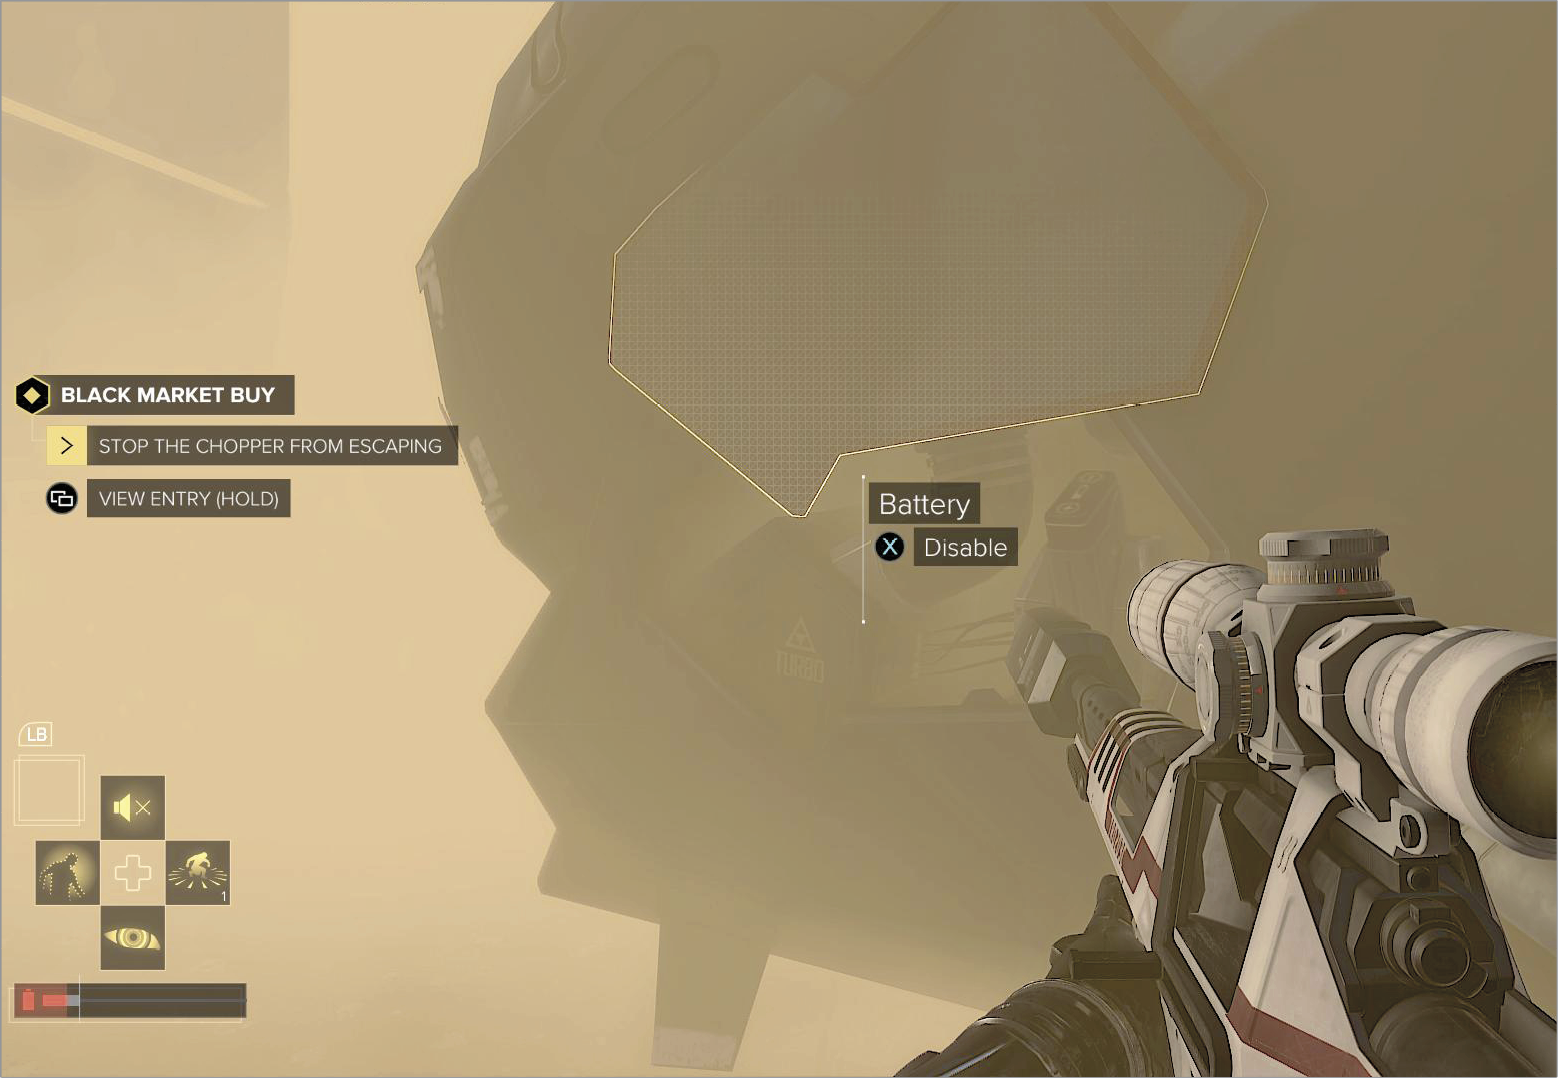 Take out the masked men with your Tranq Rifle, or sneak in for Takedowns. The best technique is to mix the two methods. Tranq people who are close together so that only one person in a group is left standing. Sneak over and use a Takedown on that individual, and repeat for the remaining clusters of golden masked enemies. Once you’ve finished, multiple cutscenes play. Jensen travels to Prague, where the story continues. |