
Battlefield 3: Armored Kill DLC Guide Walkthrough Armored Kill Battlefields
Alborz Mountain
Alborz Mountain
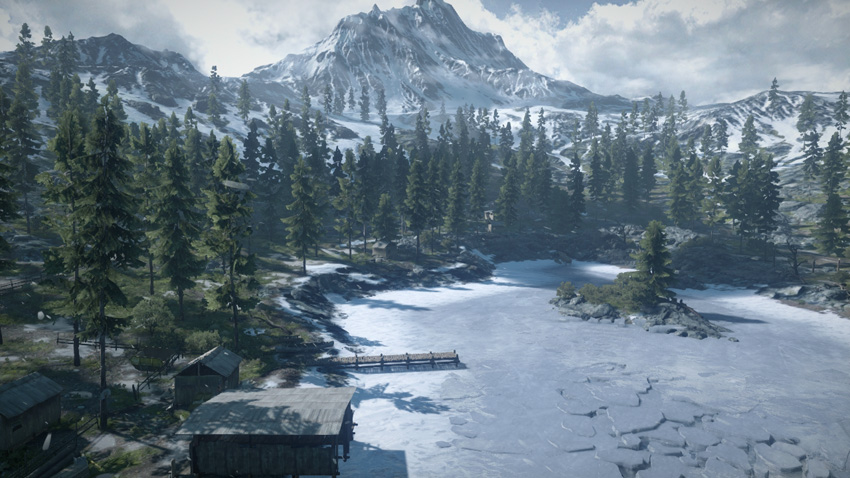
Conquest
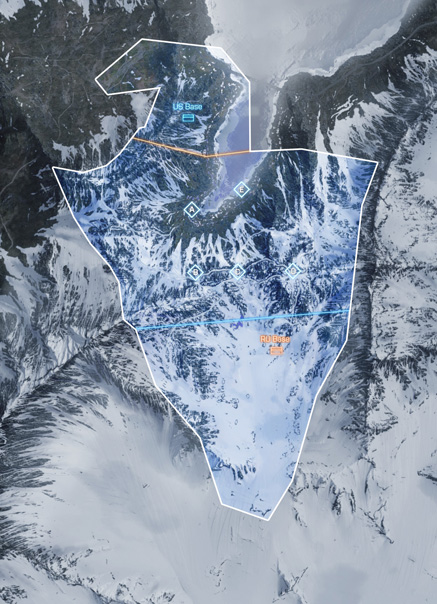
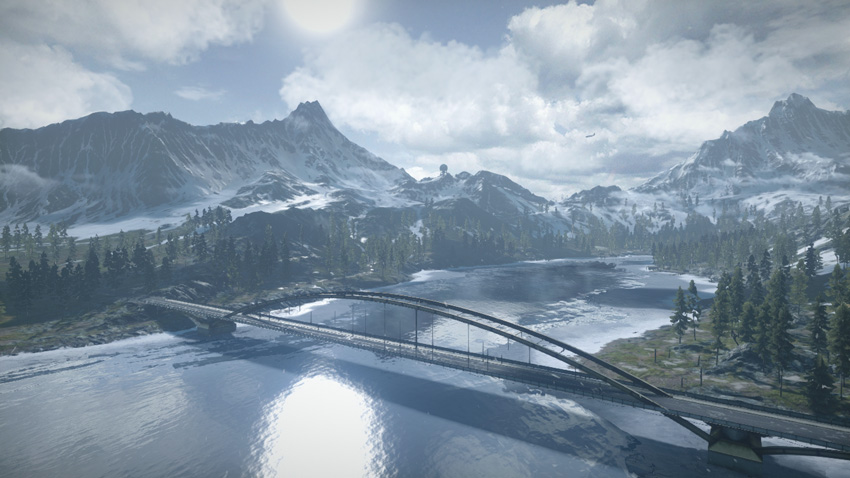
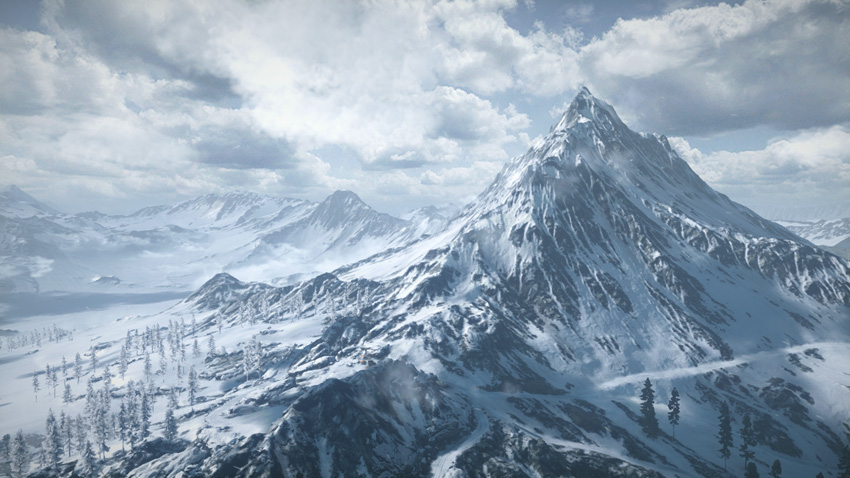
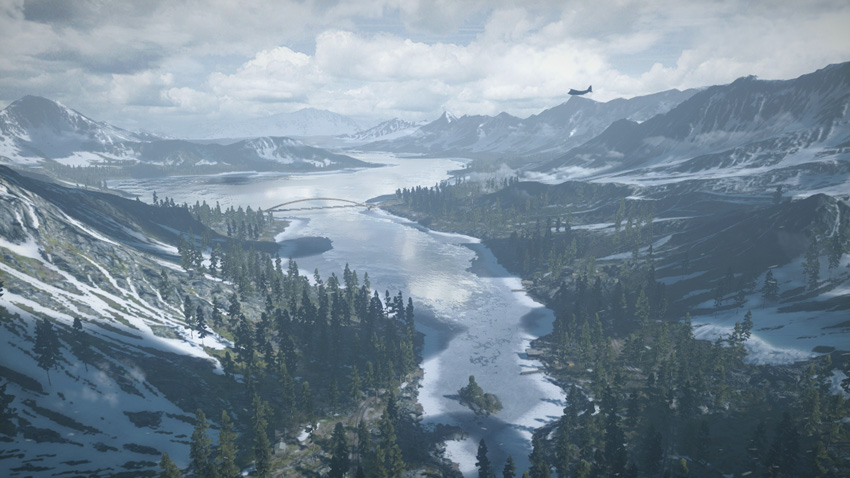
There are five flags up for grabs in this relatively large Conquest battle. As a result, your team needs to carefully plan out their movements to avoid spreading themselves too thin. As a rule, it’s best if your team consolidates their forces around the three flags closest to their base. For the US team this means capturing and holding the mountain village (A), the outskirts (E), and the radio outpost (C). Meanwhile, the RU team should focus on the base camp (B), radio outpost (C), and radar station (D). Once at least three flags are captured, the opposing team will begin losing tickets at a steady rate. If manpower allows, or when playing with more than 32 players, consider a more aggressive approach, capturing four or all five flags. Regardless of what happens during a match, both teams should always strive to hold onto the radio outpost (C) flag because it provides each team with a gunship. In a close match, the firepower afforded by the gunship can make a huge difference.
US Base
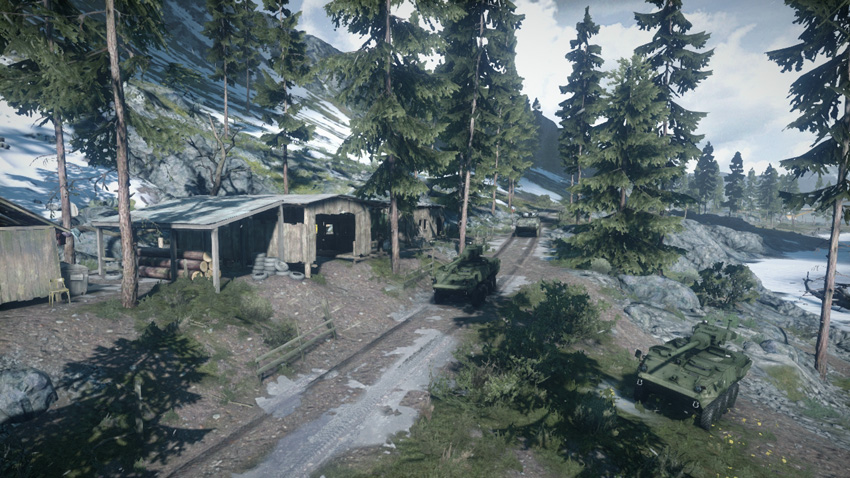
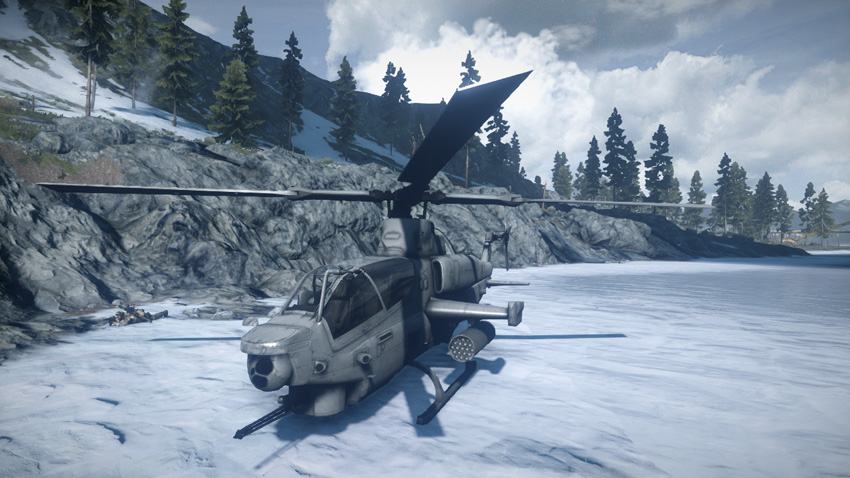
Base Assets
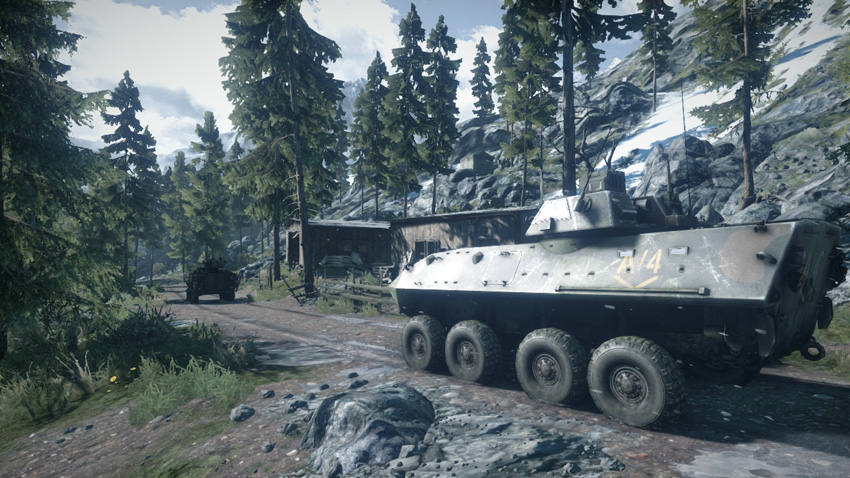
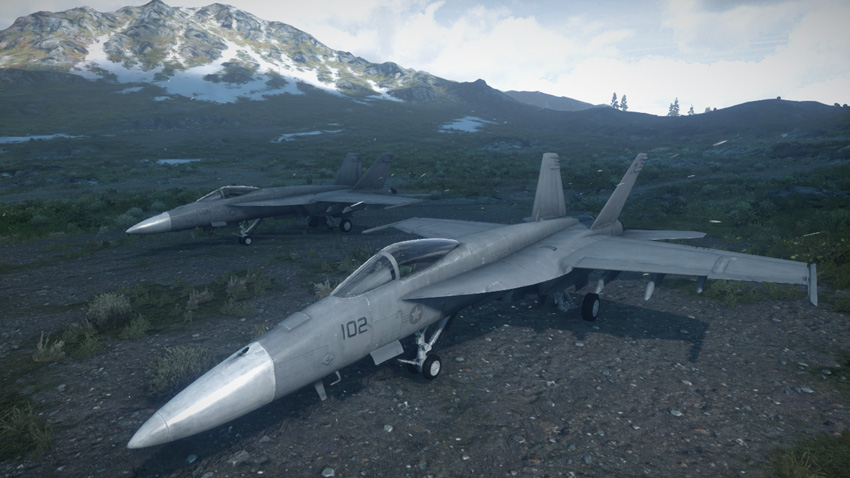
| Name | Quad Bike | LAV-AD | M1128 | AH-1Z Viper | F/A-18E Super Hornet |
|---|---|---|---|---|---|
| Quantity | 2 | 1 | 2 | 1 | 2 |
| Respawn Time | 5 sec. | 20 sec. | 20 sec. | 60 sec. | 40 sec. |
The US team deploys from the north side of the map, along the western bank of the lake. Ground units starting here have a good chance of capturing the nearby mountain village (A) to the south and outskirts (E) to the east. But it’s also important to make a move on the radio outpost (C) near the center of the map. Utilize the M1128s to secure the nearby flags while infantry on the speedy quad bikes rush toward the radio outpost (C). Securing the gunship at the radio outpost (C) early can give the US team a significant advantage. Meanwhile, utilize the AH-1Z Viper and F/A-18E Super Hornets to establish air superiority. The RU team’s Mi-28 and SU-35BMs are a constant threat, and the US team’s air assets are the best option to neutralize them. The LAV-AD spawned here can also assist in shooting down enemy aircraft. Get it to the radio outpost (C) to help defend the flag from air attacks.
RU Base
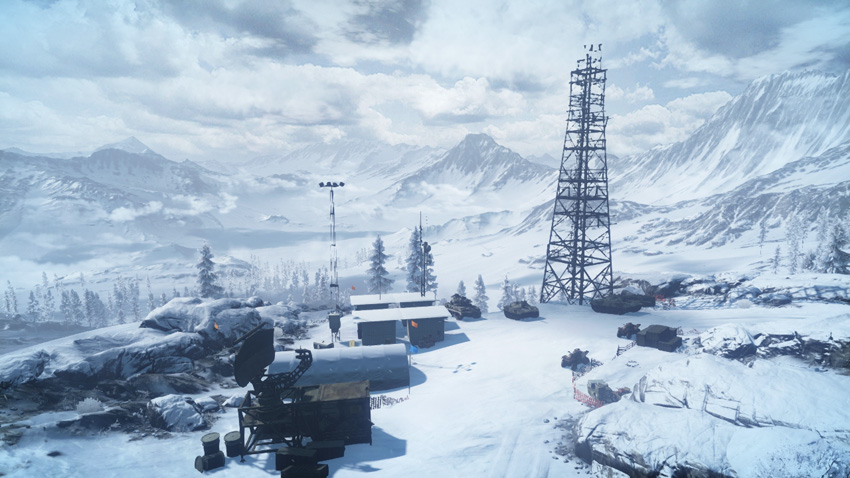
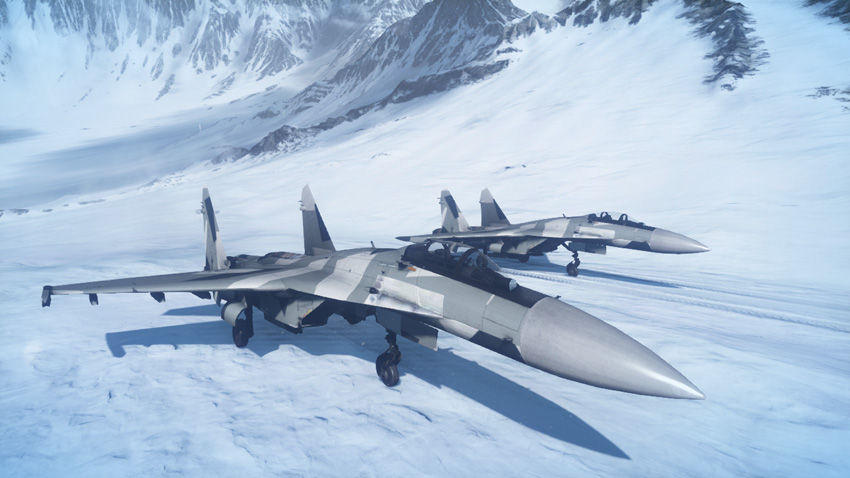
Base Assets
| Name | Quad Bike | 9K22 Tunguska-M | SPRUT-SD | Mi-28 Havoc | SU-35BM Flanker-E |
|---|---|---|---|---|---|
| Quantity | 2 | 1 | 2 | 1 | 2 |
| Respawn Time | 5 sec. | 20 sec. | 20 sec. | 60 sec. | 40 sec. |
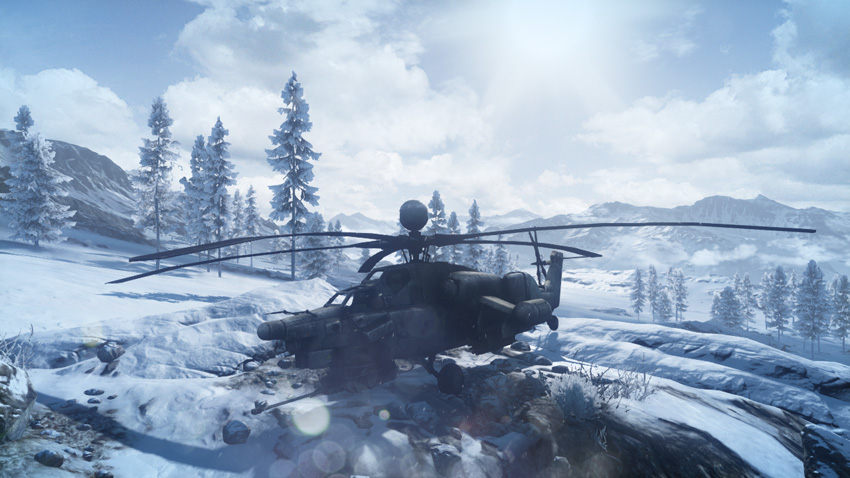
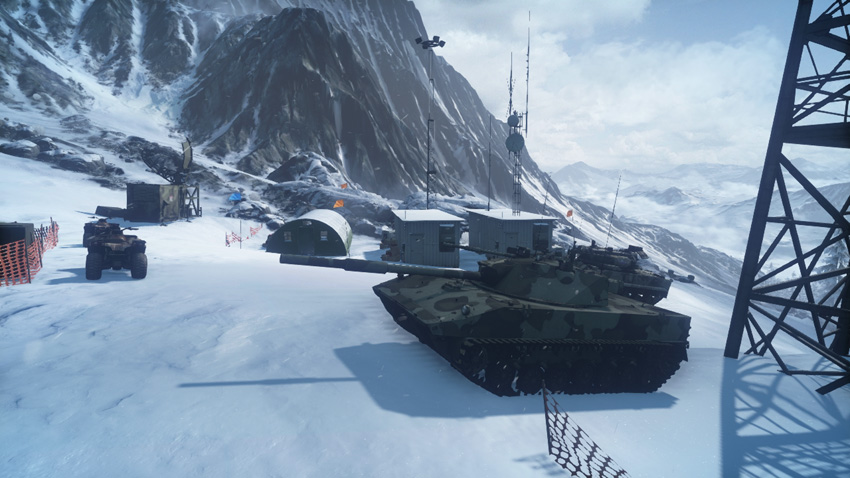
The RU team’s deployment area is on the south side of the map, amidst the rugged and snowy terrain of the mountains. Although the RU team begins relatively close to the three southern flags, the difficult terrain can make it challenging to reach them. Focus on securing the radio outpost (C) first, utilizing the quad bikes and Tunguska-M. Meanwhile, dispatch the SPRUT-SD tank destroyers toward the radar station (D) and base camp (B). When possible, always use the roads to reach these control points in an effort to avoid the steep surrounding terrain. The RU team’s air assets are necessary to suppress the US aircraft. As long as the US jets and helicopter are engaged, they won’t have time to harass the RU team’s ground units. Make an effort to capture and hold the three southern control points, then go on the defensive. There’s no need to spread your forces too thin, particularly in a close match. Concede the mountain village (A) and outskirts (E) to the US team if necessary.
A: Mountain Village
Control Point Assets
| US Control | RU Control | Respawn Time |
|---|---|---|
| Quad Bike (1) | Quad Bike (1) | 5 sec. |
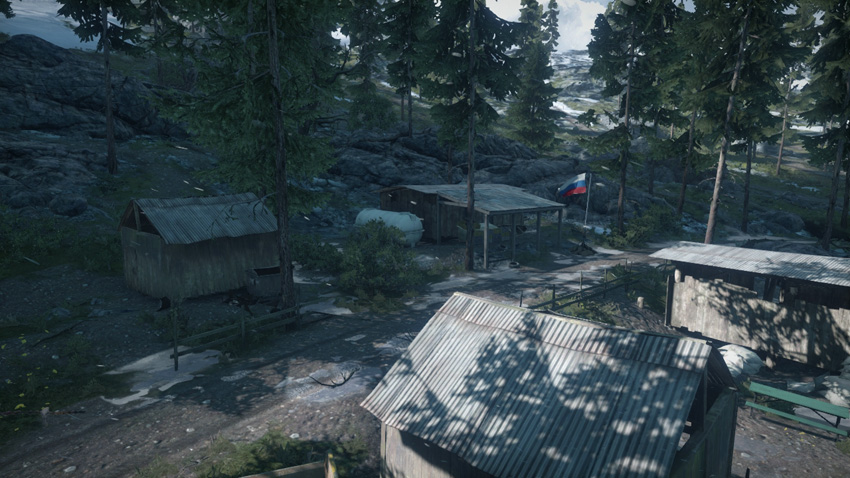
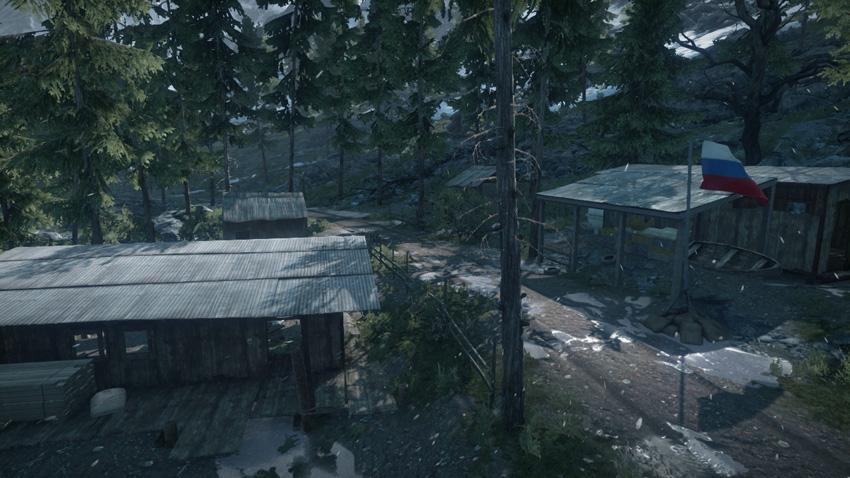
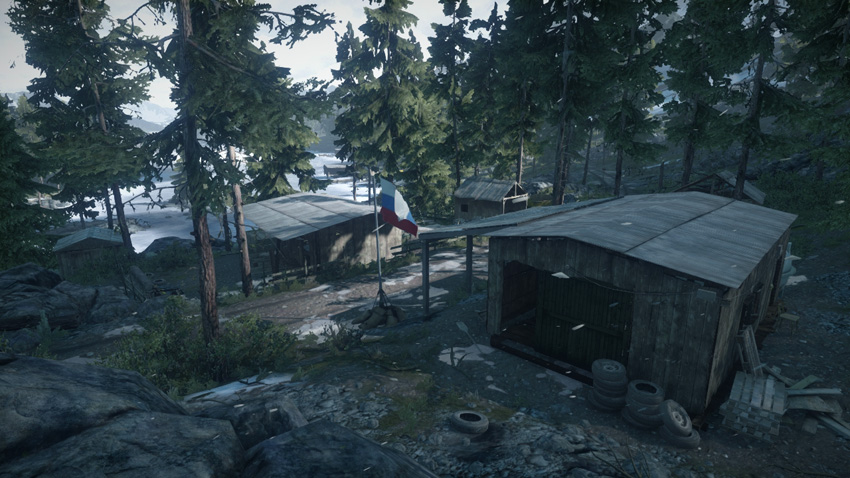
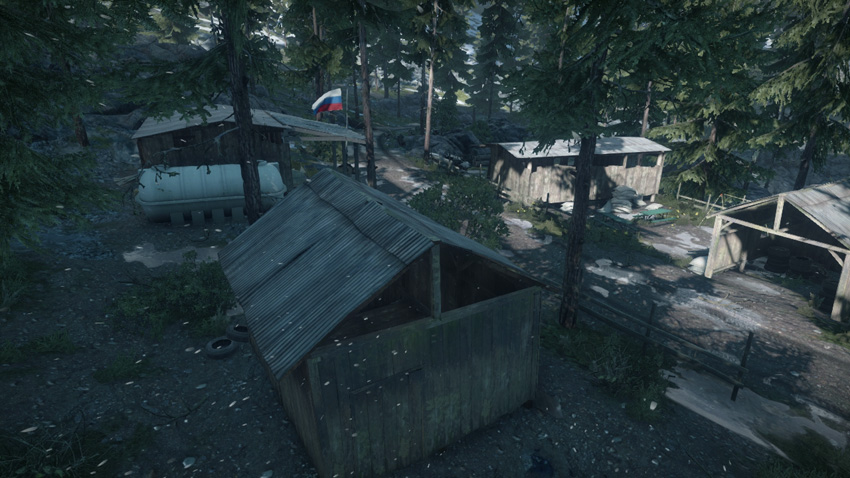
Given its close proximity to the US base, this flag is most likely to fall in the hands of the US team early on during the round. However, the RU team shouldn’t give up on this control point entirely, especially if all other flags are in friendly hands. Securing a spawn point so close to the US base allows the RU team to lay siege to their opponents. But given the lack of firepower produced by this control point, holding the flag here can be costly, as RU defenders will face an endless onslaught of US vehicles approaching from the north. For the RU team it’s often best to concede this flag to the US team rather than suffer heavy casualties trying to defend it. The wooden shacks surrounding the flag don’t offer great protection, but they still serve as good hiding spots from which to convert the flag. Using the quad bike spawned here it’s easy to reach the outskirts (E) to the northeast and the radio outpost (C) to the north.
B: Base Camp
Control Point Assets
| US Control | RU Control | Respawn Time |
|---|---|---|
| Quad Bike (1) | Quad Bike (1) | 5 sec. |
| M142 (1) | BM-23 (1) | 60 sec. |
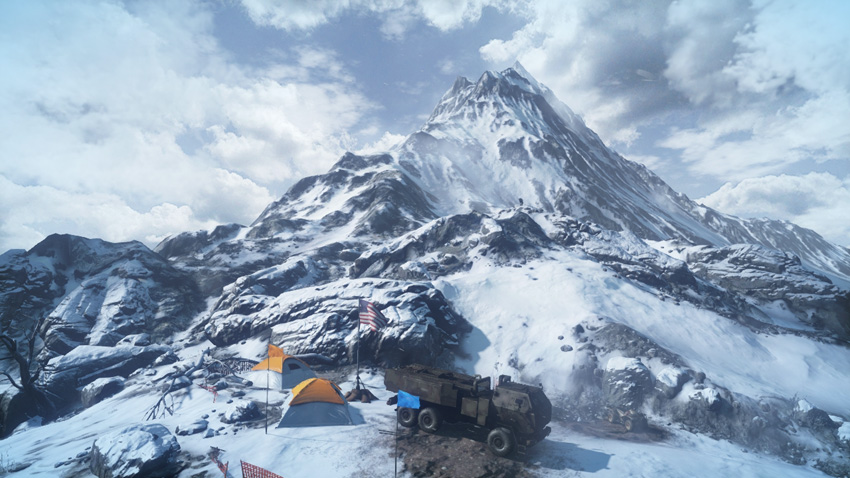
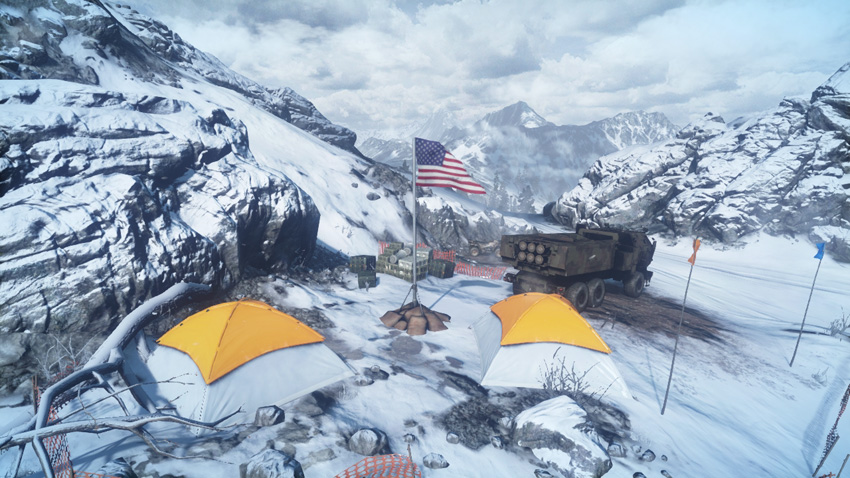
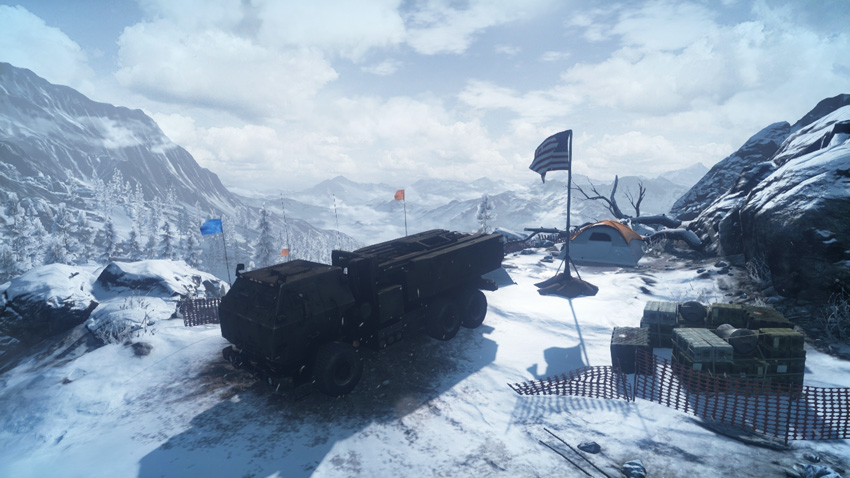
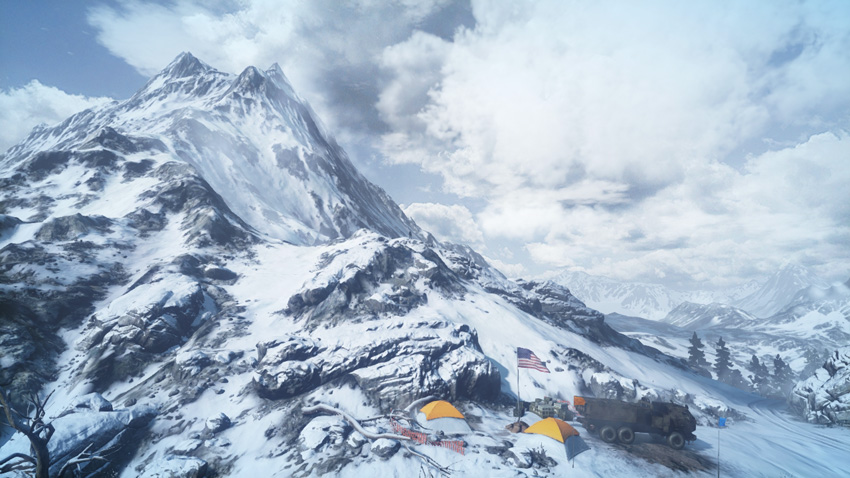
In better times, this location served as a high-altitude camp frequented by climbers seeking to scale the rocky face of the nearby mountain. But now both sides are fighting over this camp to gain a strategic foothold on the region. Since this flag spawns rocket artillery units for both teams, expect heavy fighting here. The open terrain and sparse cover make this control point relatively easy to attack but difficult to defend. There are virtually no hiding spots for defenders, making them vulnerable to bombardment by armored units and aircraft, including the gunship. As a result, a passive defense utilizing mines and C4 is preferable. Recon troops spawning here have a great line of sight on the areas to the east, including the radio outpost (C). Likewise, the M142 and BM-23 artillery units spawned here have a relatively clear view of the flags to the east, making it easy to rain down rockets on opponents from an impressive range.
C: Radio Outpost
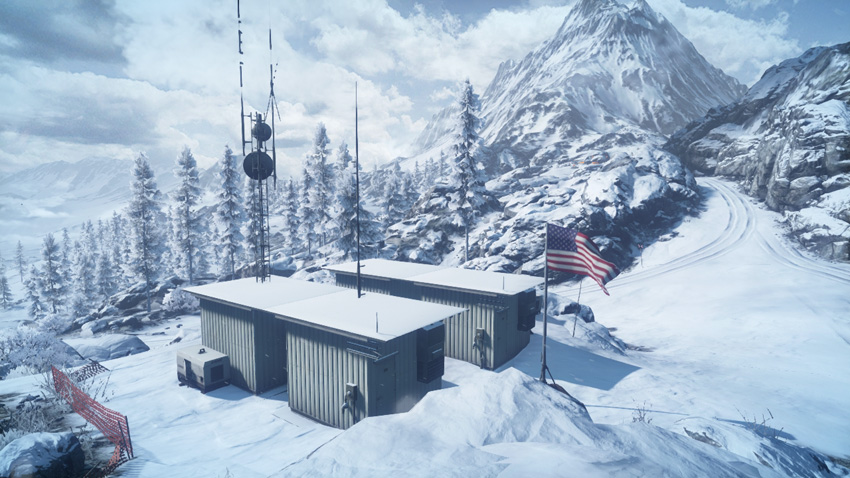
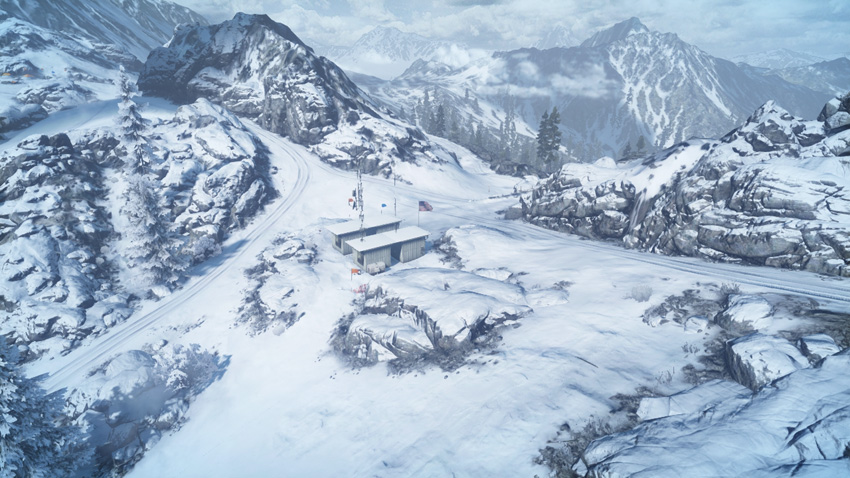
Control Point Assets
| US Control | RU Control | Respawn Time |
|---|---|---|
| Gunship (1) | Gunship (1) | 60 sec. |
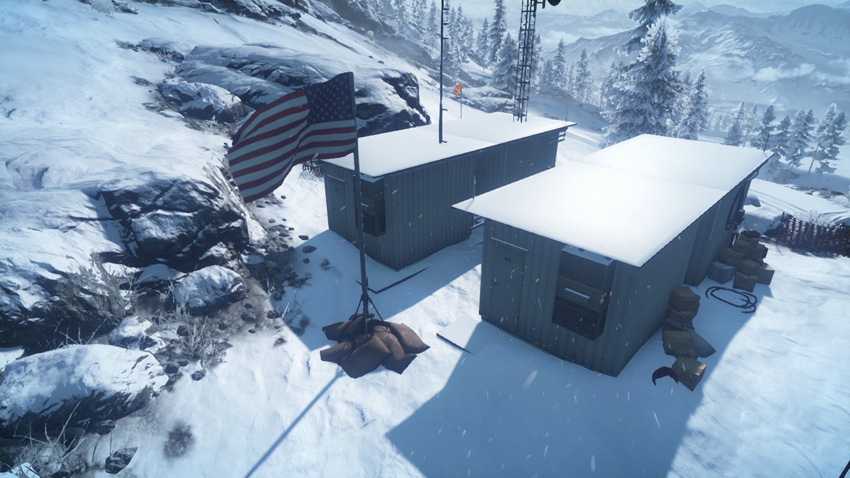
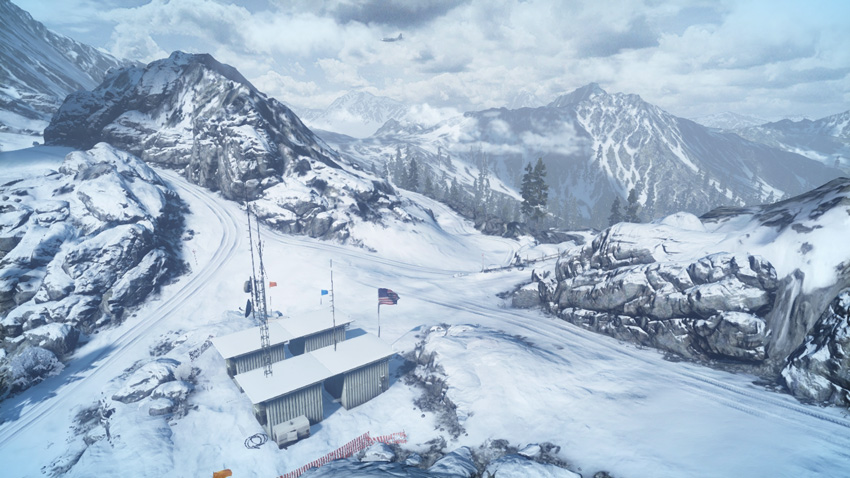
It may not look like much, but this unassuming control point in the middle of the mountain range is one of the most critical locations on the map. Whichever team controls this flag gains access to a gunship. The gunship is an extra air asset that orbits the battlefield, serving as a mobile weapons platform and infantry spawn point. Controlling the gunship can easily turn the tide of any match, so expect heavy fighting here. With the exception of two small structures near the flagpole, there isn’t much cover. Defending infantry should watch the flag from a distance, using the surrounding rocks for cover and concealment. This area is often rushed by vehicles, such as quad bikes, so don’t overlook the importance of placing mines along the connecting roads. Be ready to fend off attackers approaching from the nearby base camp (B) or radar station (D) control point.
D: Radar Station
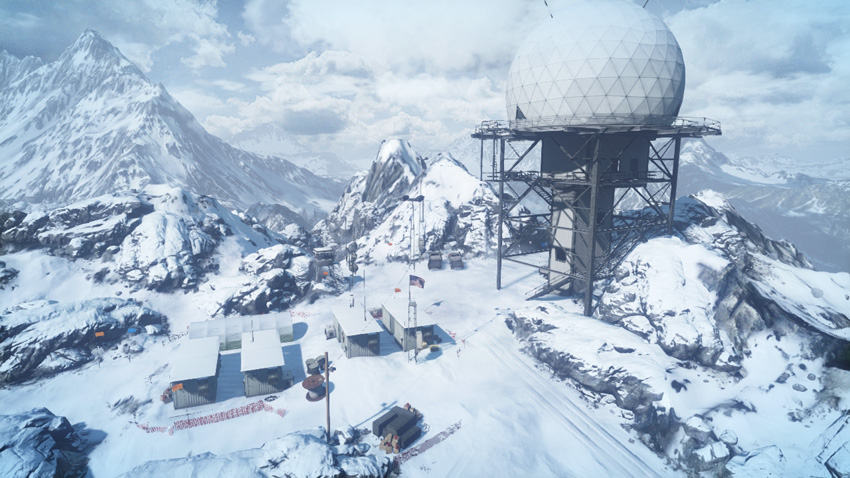
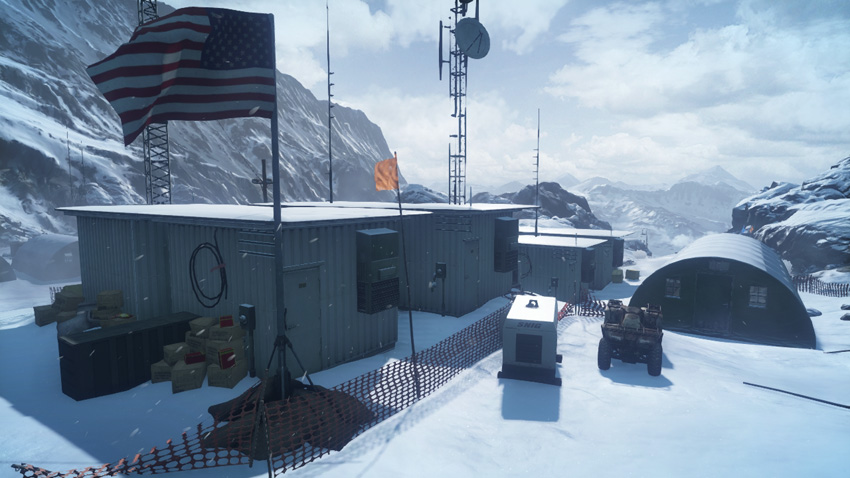
Control Point Assets
| US Control | RU Control | Respawn Time |
|---|---|---|
| Quad Bike (1) | Quad Bike (1) | 5 sec. |
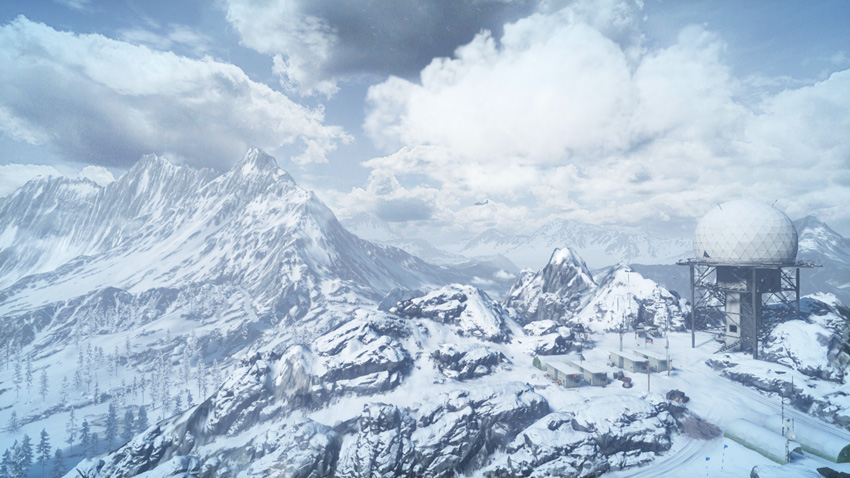
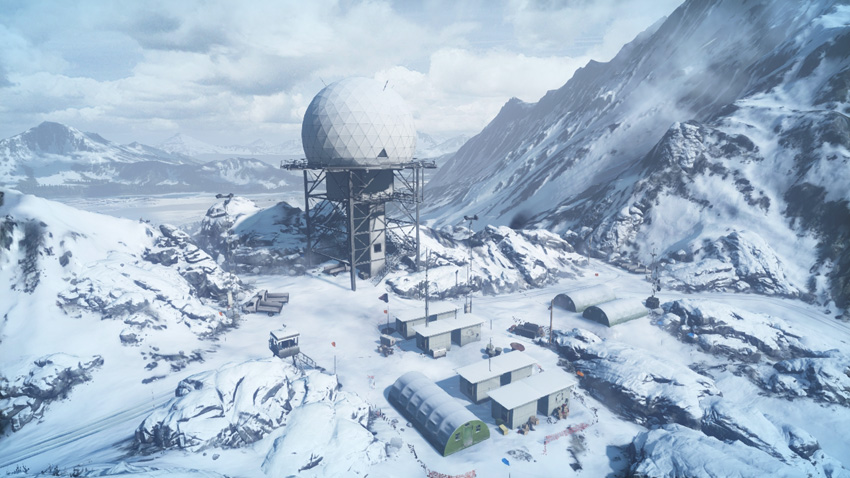
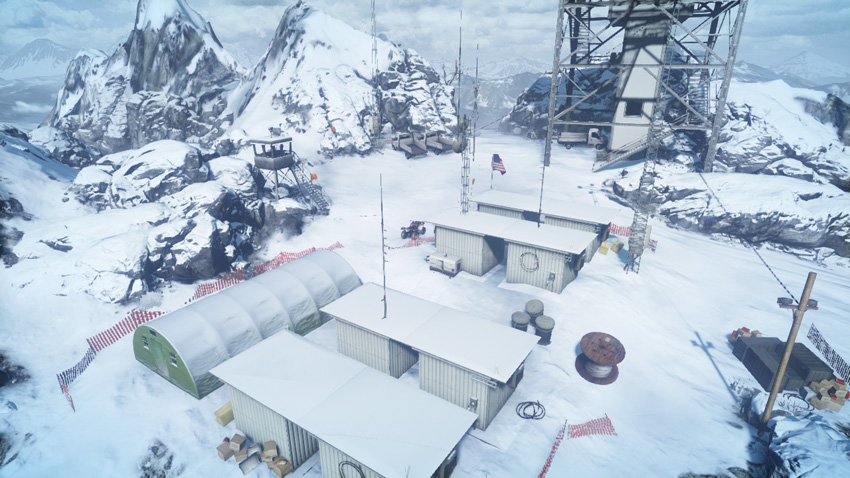
The massive, domed radar tower at this control point stands out, even amid the surrounding mountains. Sitting on the southeast side of the map, this control point is well within the RU team’s sphere of influence, situated only a few hundred meters from their base. But outside the great view offered by the radar tower, this isn’t a high-value control point, spawning only one quad bike for each team. Still, the RU team should work to maintain this control point throughout the match as it provides them with a spawn point close to the radio outpost (C) only a short distance to the west. The radar tower is a popular sniping perch for recon troops. From the tower’s upper-level catwalk it’s possible to monitor the surrounding roads as well as engage targets as far away as the base camp (B) to the west or outskirts (E) to the north. The flagpole here is surrounded by several buildings, providing plenty of hiding spots for infantry seeking to capture or contest the flag.
E: Outskirts
Control Point Assets
| US Control | RU Control | Respawn Time |
|---|---|---|
| Quad Bike (1) | Quad Bike (1) | 5 sec. |
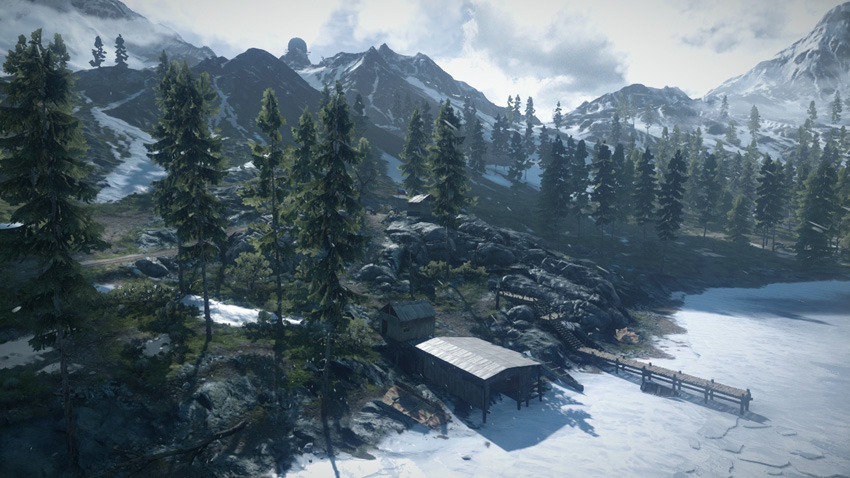
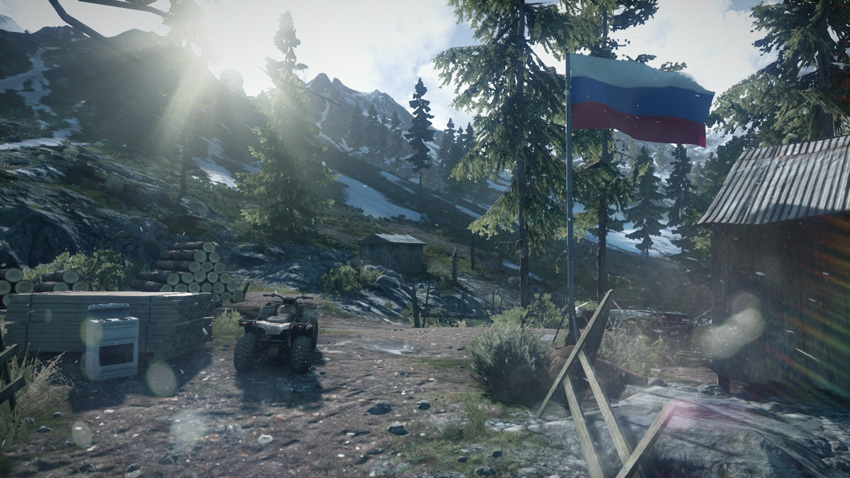
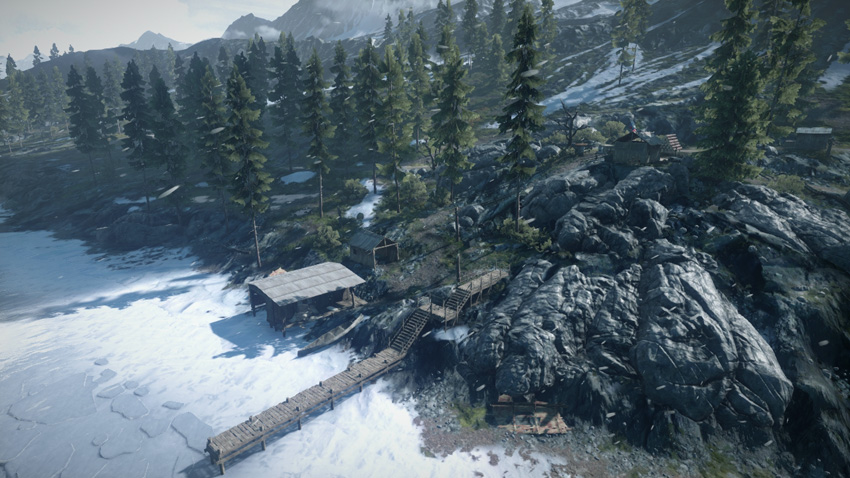
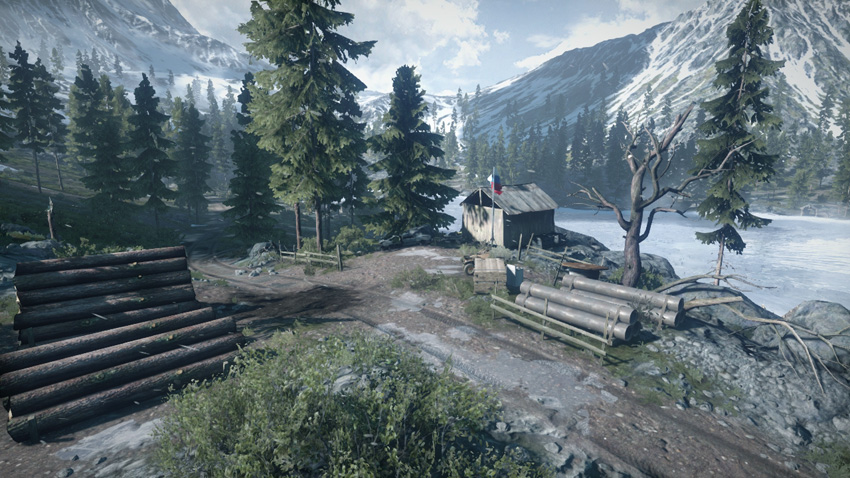
This small logging camp is directly east of the US base, on the opposite side of the frozen lake. As a result, there’s a good chance the US team will capture the outskirts (E) early during the round. But oftentimes, this control point is left undefended, making it easy for the RU team to sneak in and capture the flag. The RU team should only attempt to defend this point if they already hold the other four flags. This position makes it easy to engage US vehicles rushing across the frozen lake to the west. Given its rather isolated location, intense fighting over this flag is rare. Once it’s captured, a single squad (consisting mostly of engineers and support troops) should have no problem locking down this control point. However, watch out for enemy recon troops posted on the domed tower at the radar station (D)—utilize the nearby rocks and dense foliage to prevent getting sniped.
Conquest 64
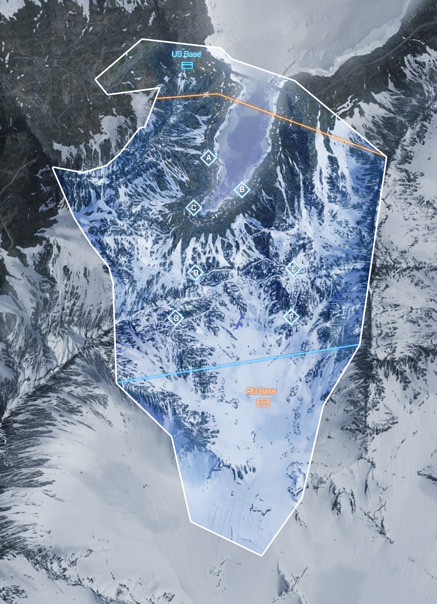
This variant of the map introduces two more control points as well as more ground and air vehicles. Even with 64 players, it’s important to manage your team to prevent spreading your units too thin across this massive alpine map. There are seven flags up for grabs in this Conquest battle, so start off conservatively by securing the four flags closest to your team’s base. This means the US team should attempt to capture the fishing huts (A), outskirts (B), mountain village (C), and radar station (E). Meanwhile, the RU team should focus on controlling the base camp (D), radar station (E), communication station (F), and cave outpost (G). Consolidating your forces around four flags initiates the drain on the opposing team’s ticket count, helping give your team the lead. If manpower allows, branch out and try to capture one or two more flags. But in the process, don’t leave any of your team’s flags undefended. If the enemy wants your control points, make them fight for them. In particular, make an effort to capture and hold the radar station (E) throughout the match so your team can control the gunship. Be ready to support attack and defensive efforts around the radar station (E), as it will most likely see the heaviest action.
US Base
Base Assets
| Name | Quad Bike | Growler ITV | LAV-AD | M1128 | M1 Abrams | UH-1Y Venom | AH-1Z Viper | F/A-18E Super Hornet |
|---|---|---|---|---|---|---|---|---|
| Quantity | 1 | 2 | 1 | 2 | 1 | 1 | 1 | 2 |
| Respawn Time | 5 sec. | 20 sec. | 40 sec. | 40 sec. | 60 sec. | 90 sec. | 60 sec. | 40 sec. |
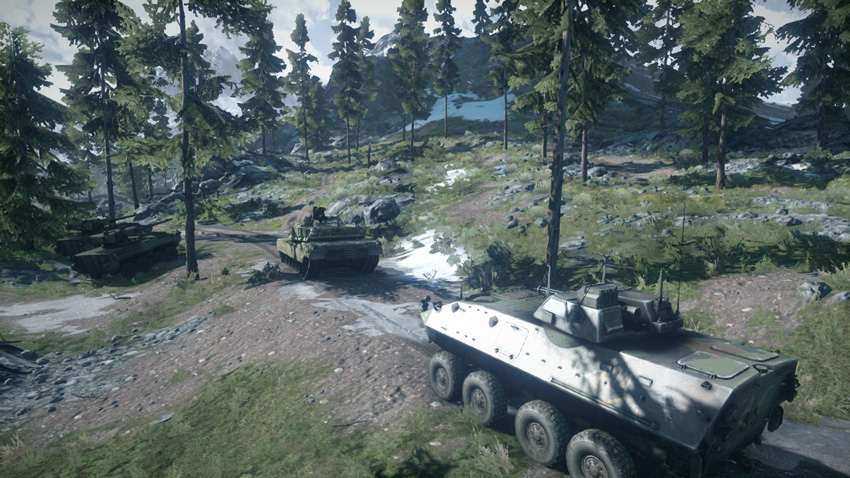
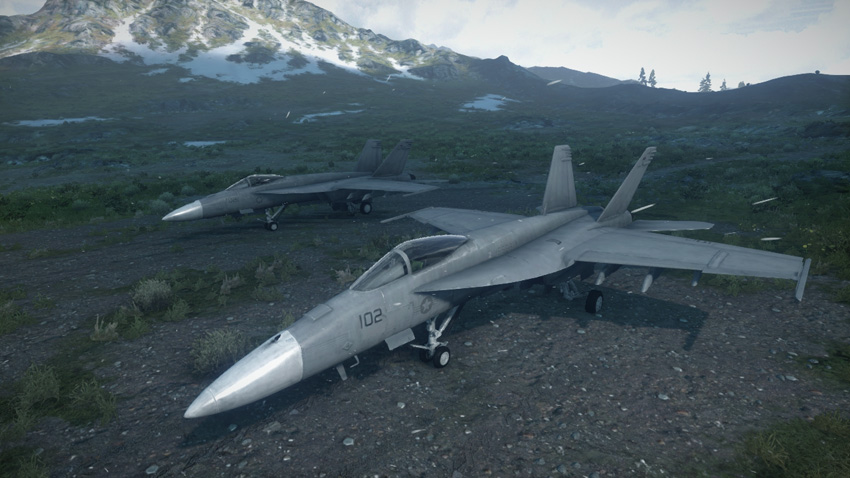
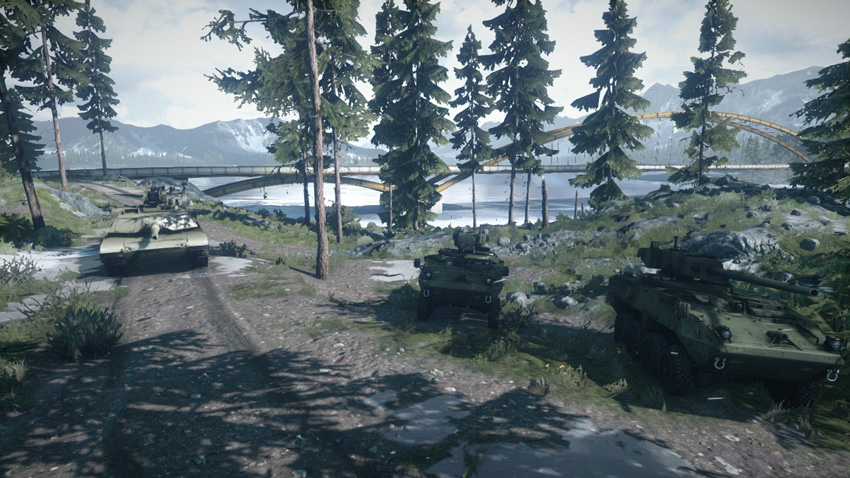
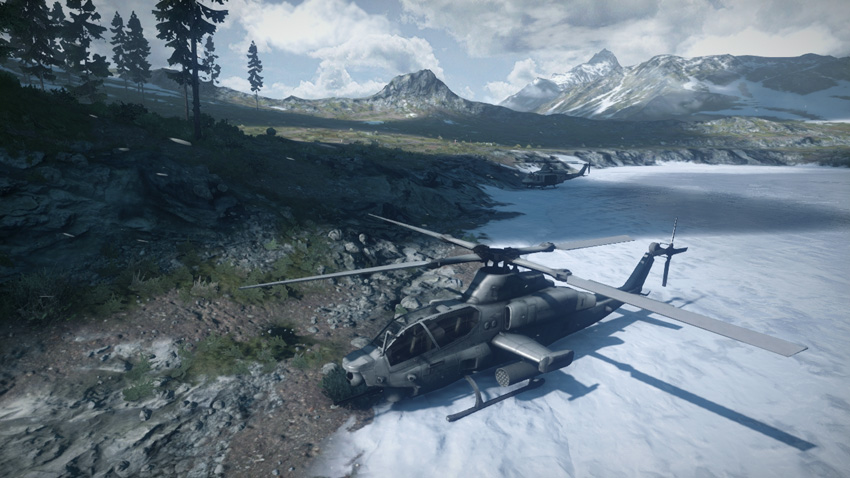
The US team begins the battle on the north side of the map, along the west bank of the frozen lake. While there are plenty of vehicles to go around, be careful not to leave any teammates stranded at the base. The M1128 tank destroyers are very efficient troop transports, ideal for moving infantry to the nearby control points. Use the fast-moving UH-1Y Venom, Growler ITV, and quad bike to rush distant control points like the base camp (D) and radar station (E) while the rest of the team focuses on the northern flags along the banks of the lake. Throughout the battle don’t forget to return to the US base to retrieve freshly spawned vehicles. Hot spots like the radar station (E) can benefit from armored reinforcements, both when attacking and defending. Always maintain a presence in the air to help counter the threat posed by the RU team’s jets and helicopters. Friendly units are particularly vulnerable to air strikes when defending the central control points along the mountain range. The primary role of the US jets is to keep friendly ground units safe, so choose your loadout accordingly.
RU Base
Base Assets
| Name | Quad Bike | VDV Buggy | 9K22 Tunguska-M | SPRUT-SD | T-90A | KA-60 Kasatka | Mi-28 Havoc | SU-35BM Flanker-E | |
|---|---|---|---|---|---|---|---|---|---|
| Quantity | 1 | 2 | 1 | 2 | 1 | 1 | 1 | 2 | |
| Respawn Time | 5 sec. | 20 sec. | 40 sec. | 40 sec. | 60 sec. | 90 sec. | 60 sec. | 40 sec. |
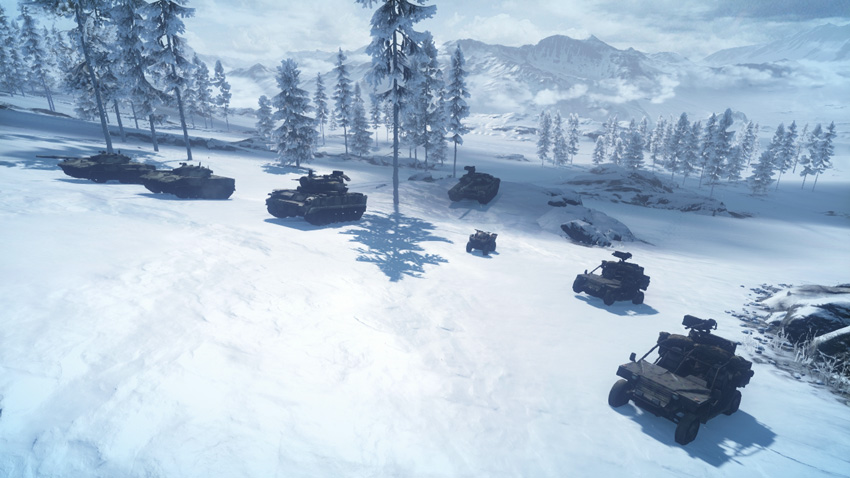
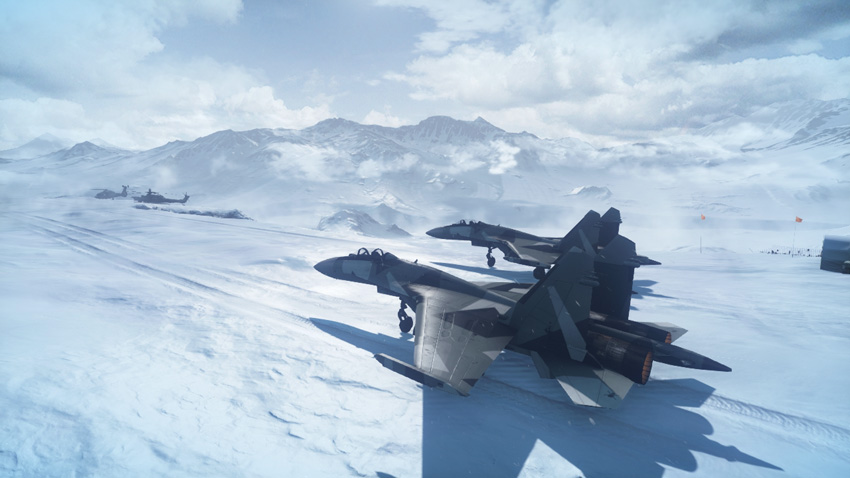
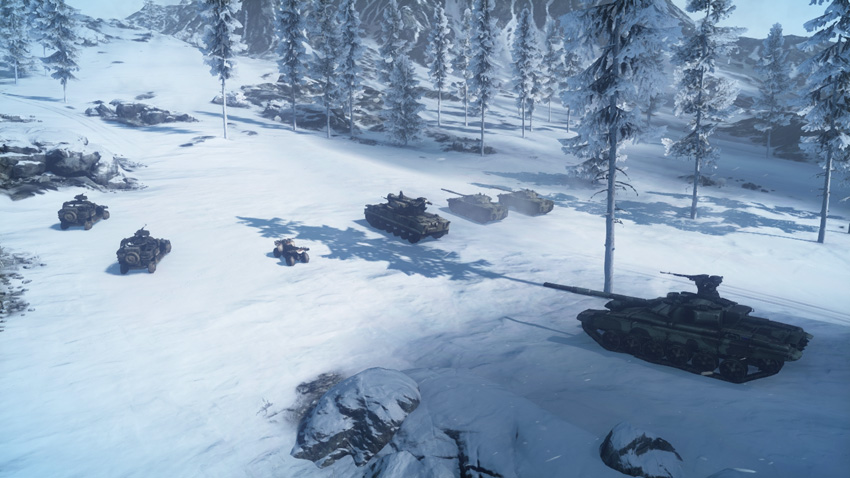
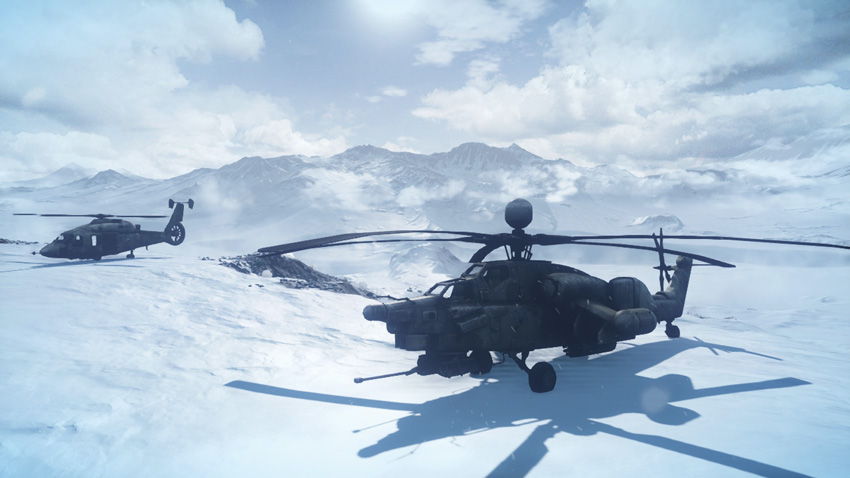
The southern slope of the mountain range serves as the deployment area for the RU team, putting them within striking distance of the highly contested radar station (E) control point. This flag should be rushed early with the KA-60 helicopter while the ground units scatter to capture the remaining control points situated along the mountain range. If the RU team acts quickly they can capture the four mountain-based flags and initiate a drain on the US team’s ticket count. The quad bike, VDV Buggy, and SPRUT-SD tank destroyers are all instrumental in capturing these flags early on. As the ground forces spread out along the mountain range, use the Mi-28 and SU-35BMs to provide cover from the air. RU vehicles traveling along the mountain roads are easy targets for enemy aircraft. So be ready to engage the US jets and helicopters in an effort to protect your teammates on the ground. Get the 9K22 Tunguska-M to the radar station (E) as fast as possible to help provide an extra layer of air defense.
A: Fishing Huts
Control Point Assets
| US Control | RU Control | Respawn Time |
|---|---|---|
| Growler ITV (1) | VDV Buggy (1) | 20 sec. |
| M142 (1) | BM-23 (1) | 50 sec. |
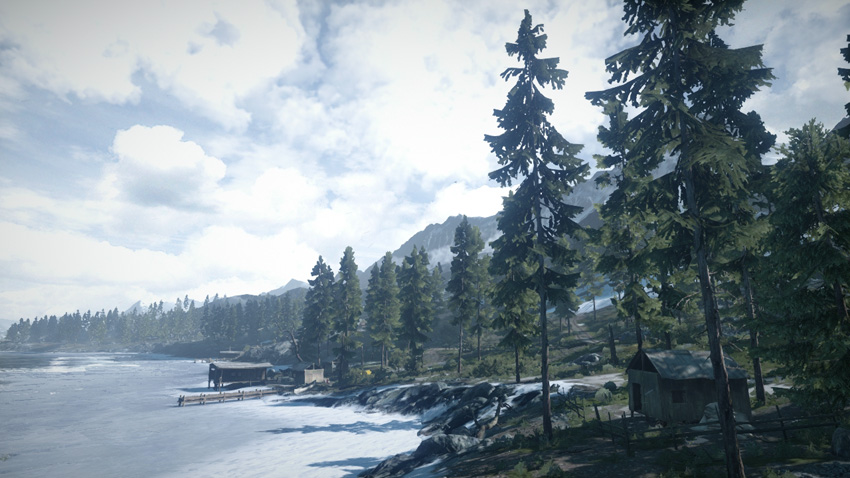
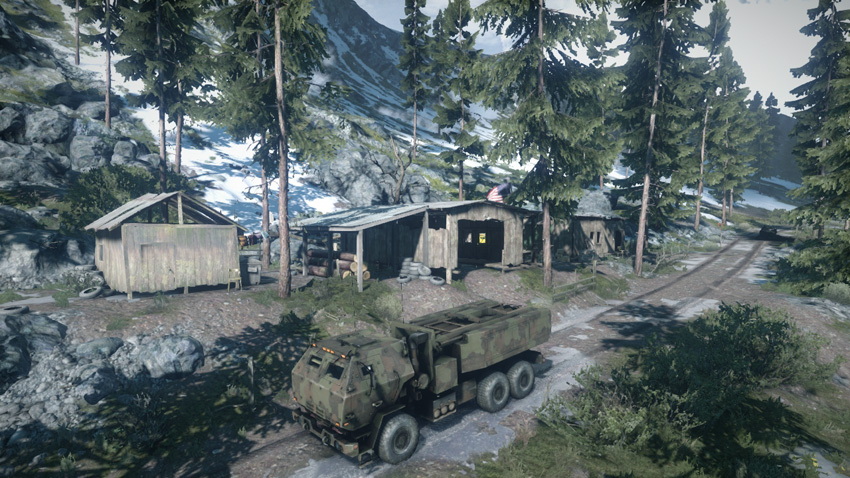
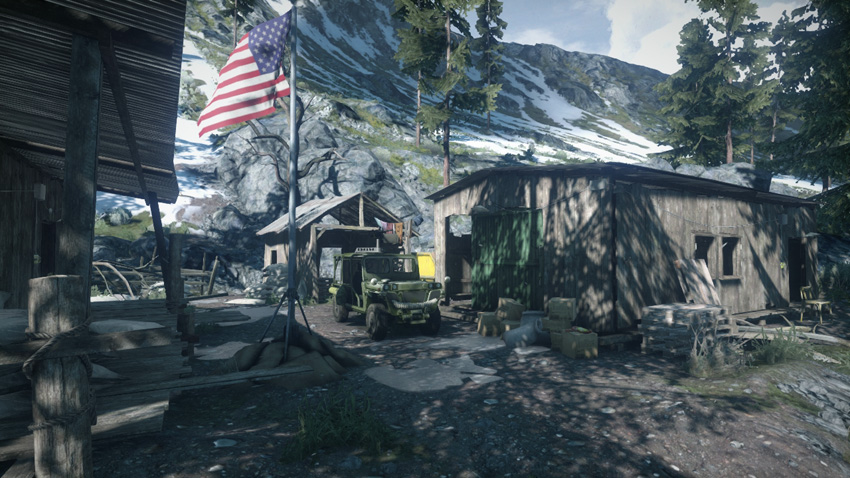
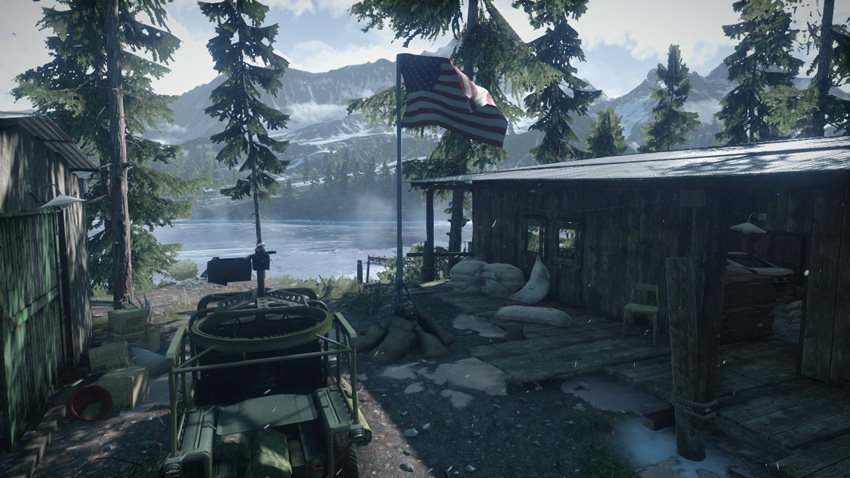
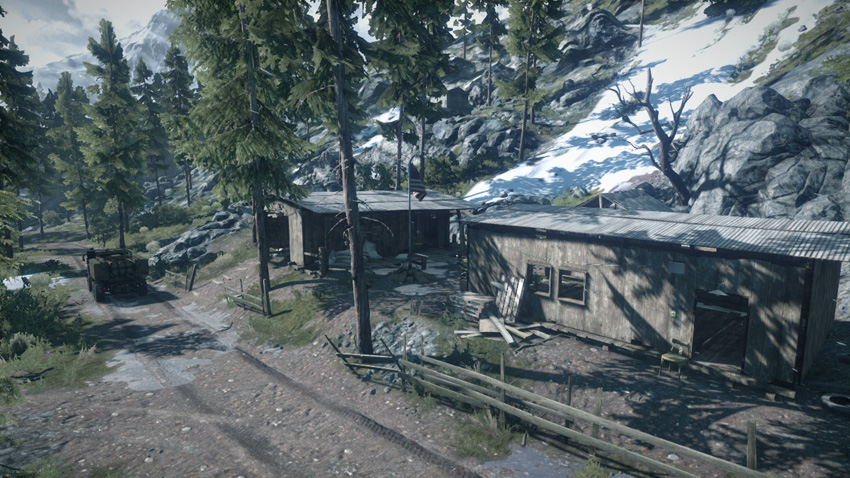
This control point is just south of the US base, making it relatively easy for the US team to capture and hold throughout the course of the battle. The flagpole is situated in a small cluster of small wooden sheds and cabins used to house fishermen and their equipment during more peaceful times. The flag (and its capture radius) can be reached via the narrow dirt road to the east, connecting the control point to the US base and mountain village (C). Both teams gain access to a mobile rocket artillery unit here. For this reason, the US team should put some extra effort into holding onto this flag. If the RU team captures this flag, they can use the BM-23 spawned here to rain down rocket artillery on the US base and its large collection of vehicles. Such siege tactics can be devastating to the US, especially if they possess no other flags or spawn points.
B: Outskirts
Control Point Assets
| US Control | RU Control | Respawn Time |
|---|---|---|
| Quad Bike (2) | Quad Bike (2) | 5 sec. |
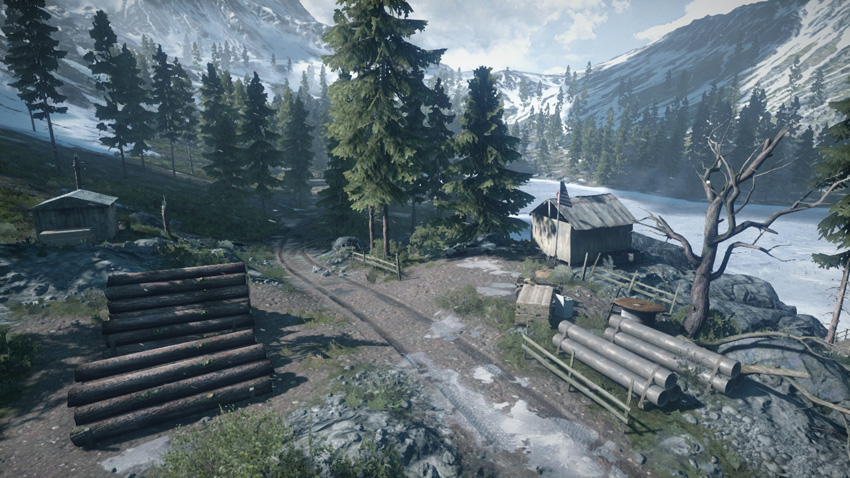
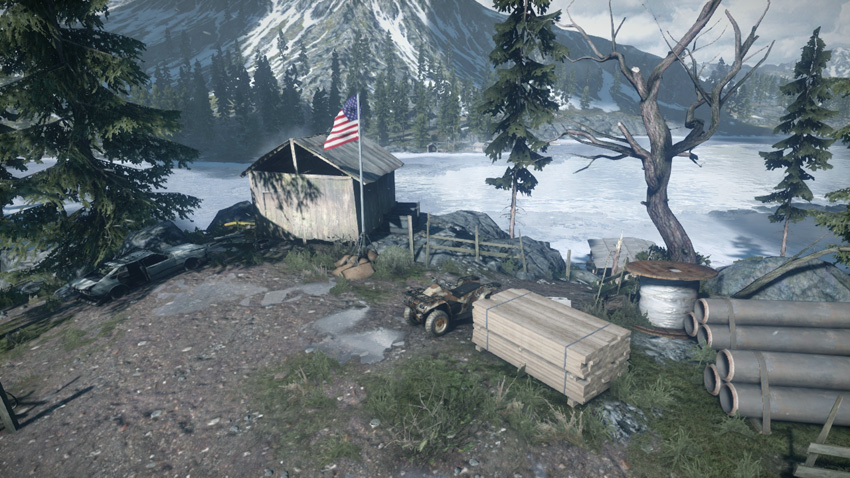
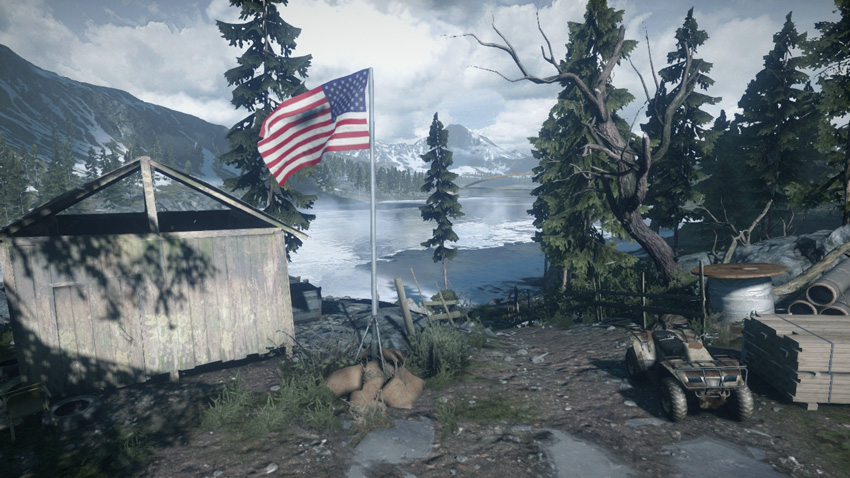
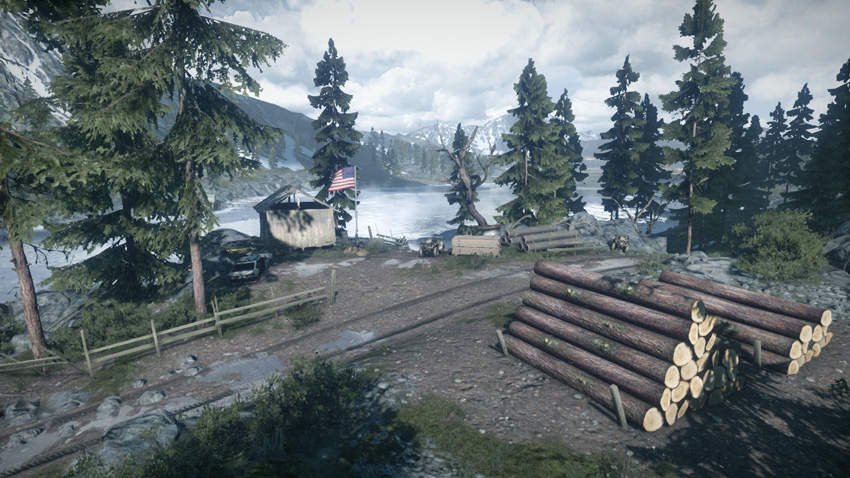
This small logging camp is directly east of the US base, on the opposite side of the frozen lake. As a result, there’s a good chance the US team will capture the outskirts (B) early during the round. But oftentimes, this control point is left undefended, making it easy for the RU team to sneak in and capture the flag. The RU team should only attempt to defend this point if they already hold the other six flags. This position makes it easy to engage US vehicles rushing across the frozen lake to the west. Given its rather isolated location, intense fights over this flag are rare. Once it’s captured, a single squad (consisting mostly of engineers and support troops) should have no problem locking down this control point. However, watch out for enemy recon troops posted on the domed tower at the radar station (E)—utilize the nearby rocks and dense foliage to prevent getting sniped.
C: Mountain Village
Control Point Assets
| US Control | RU Control | Respawn Time |
|---|---|---|
| Quad Bike (2) | Quad Bike (2) | 5 sec. |
| Growler ITV (1) | VDV Buggy (1) | 20 sec. |
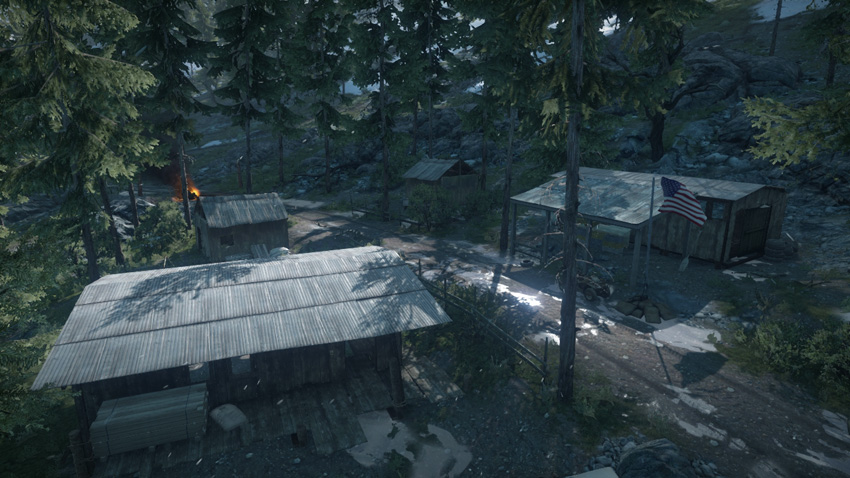
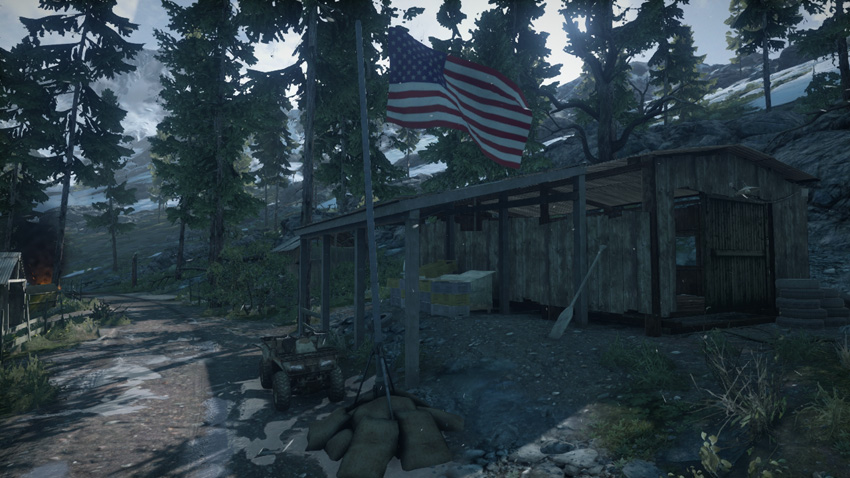
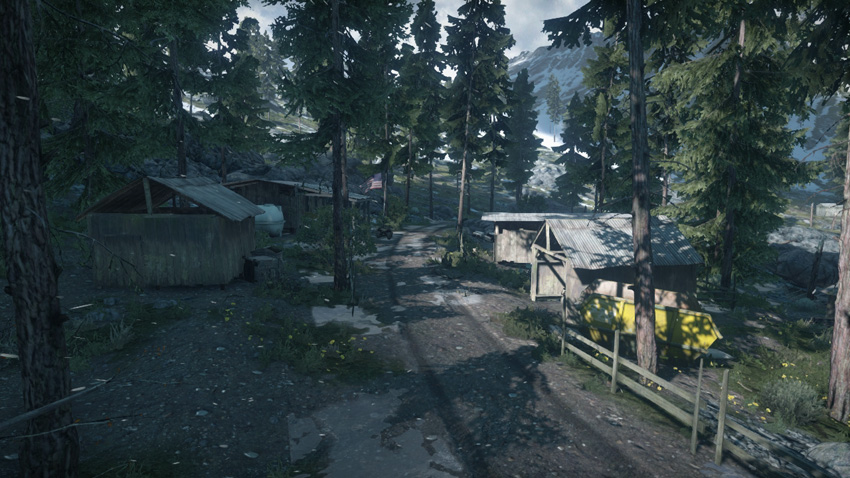
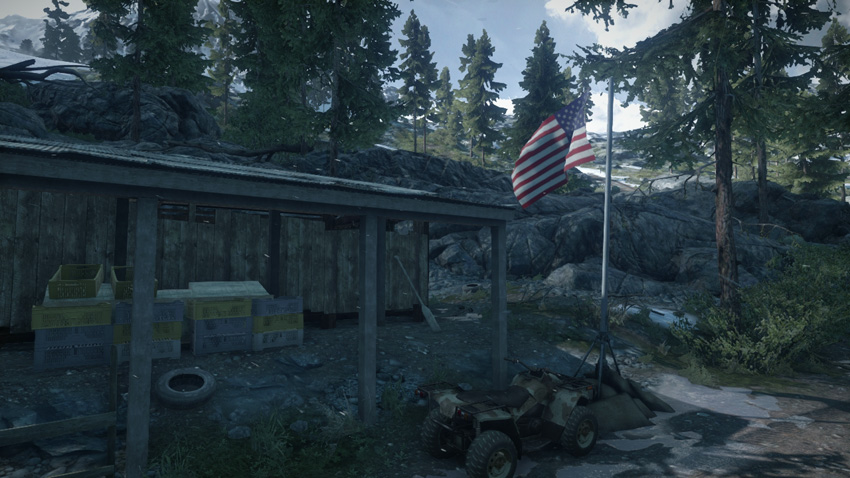
Given its proximity to the US base, this flag is most likely to fall in the hands of the US team early on during the round. However, the RU team shouldn’t give up on this control point entirely, especially if all four mountain-based flags are under their control. Securing a spawn point so close to the US base allows the RU team to branch out and hit the fishing huts (A) and outskirts (B). But given the lack of firepower produced by this control point, holding the flag here can be costly, as RU defenders will face an endless onslaught of US vehicles approaching from the north. For the RU team it’s often best to concede this flag to the US team rather than suffer heavy casualties trying to defend it. The wooden shacks surrounding the flag don’t offer great protection, but they still serve as good hiding spots from which to convert the flag. Using the quad bikes spawned here it’s easy to reach the outskirts (B) to the northeast and the radar station (E) to the north.
D: Base Camp
Control Point Assets
| US Control | RU Control | Respawn Time |
|---|---|---|
| Growler ITV (1) | VDV Buggy (1) | 20 sec. |
| M1 Abrams (1) | T-90A (1) | 60 sec. |
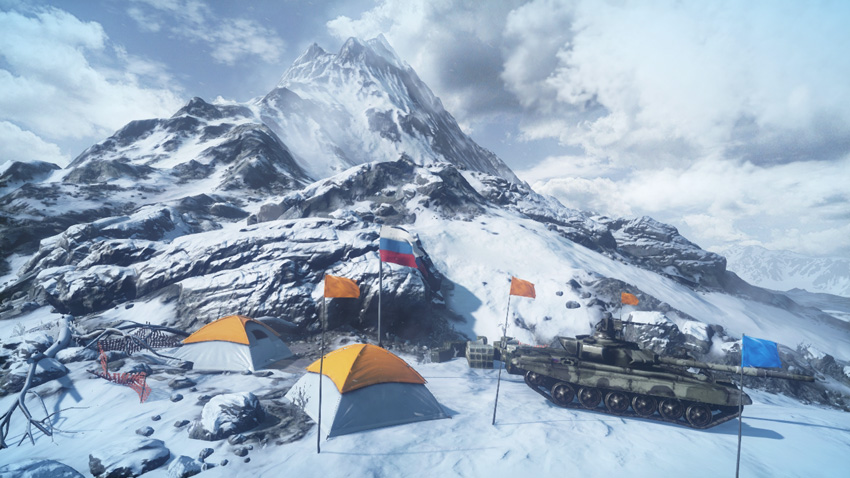
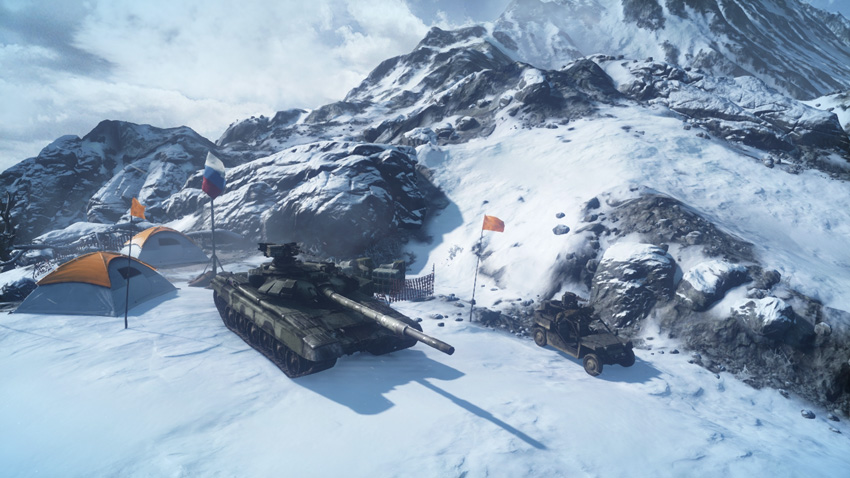
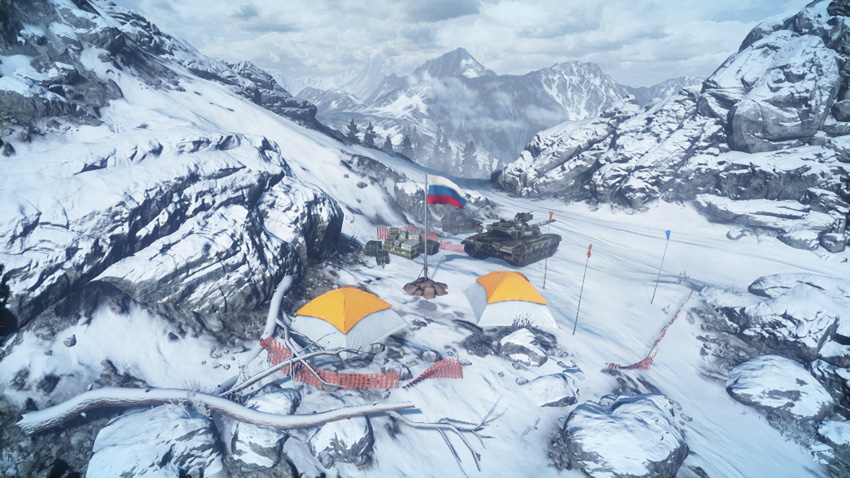
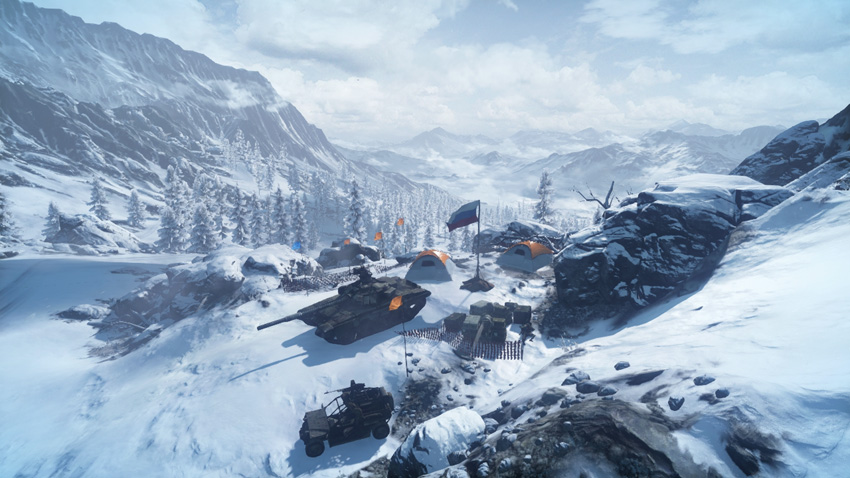
In better times, this location served as a high-altitude camp frequented by climbers seeking to scale the rocky face of the nearby mountain. But now both sides are fighting over this camp to gain a strategic foothold on the region. Since this flag spawns rocket artillery units for both teams, expect heavy fighting here. The open terrain and sparse cover make this control point relatively easy to attack but difficult to defend. There are virtually no hiding spots for defenders, making them vulnerable to bombardment by armored units and aircraft, including the gunship. As a result, a passive defense utilizing mines and C4 is preferable. Recon troops spawning here have a great line of sight on the areas to the east, including the radar station (E). The M1 Abrams and T-90A tanks spawned here provide both teams with some much-needed firepower to defend this flag and the surrounding control points. But it’s best to move these tanks out soon, as they pose a tempting target for enemy aircraft.
E: Radar Station
Control Point Assets
| US Control | RU Control | Respawn Time |
|---|---|---|
| Quad Bike (1) | Quad Bike (1) | 5 sec. |
| M1 Abrams (1) | T-90A (1) | 60 sec. |
| Gunship (1) | Gunship (1) | 60 sec. |
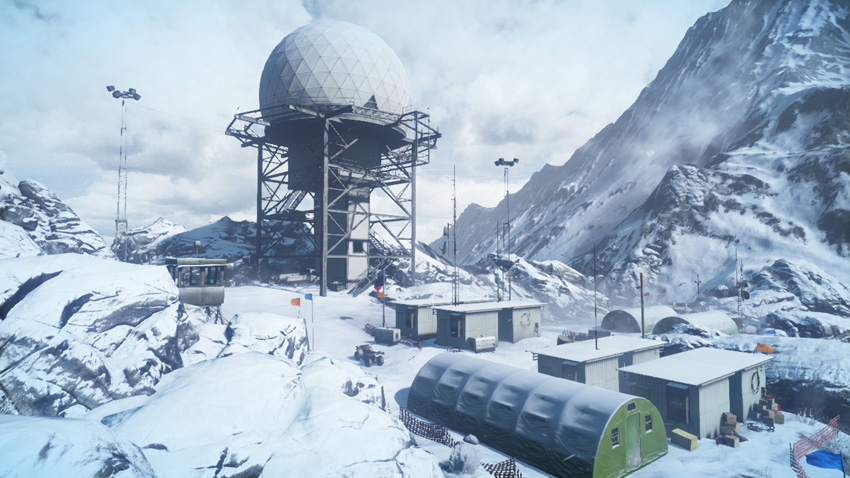
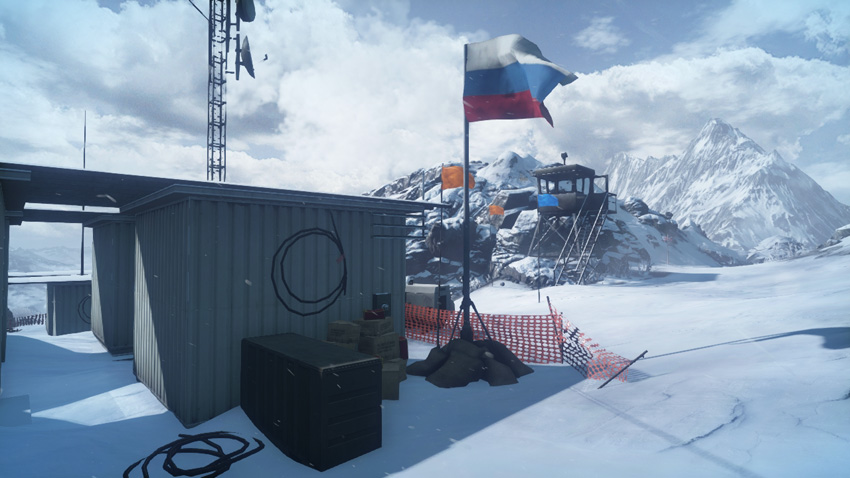
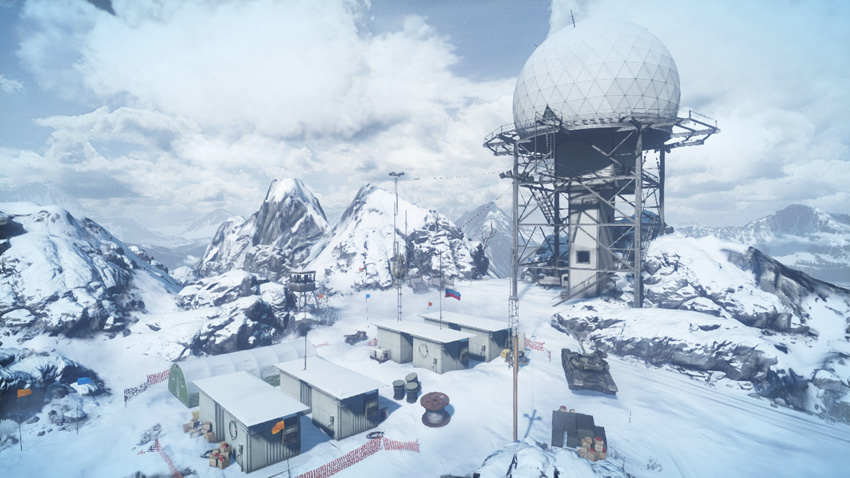
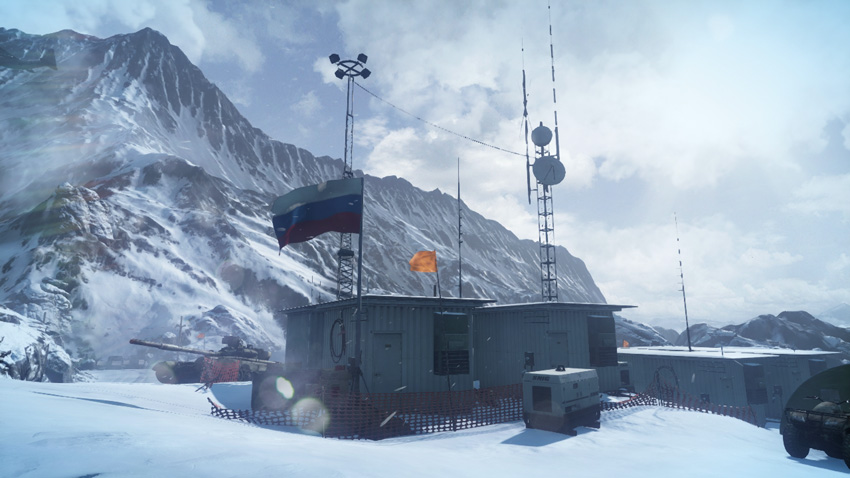
The massive, domed radar tower at this control point stands out, even among the surrounding mountains. Sitting on the southeast side of the map, this control point is well within the RU team’s sphere of influence, situated only a few hundred meters from their base. In addition to the great view offered by the radar tower, this control point grants the controlling team access to a gunship, making this one of the most fought over pieces of territory on the map. Both teams should rush to this flag early on and try to secure it before the opposing team arrives. Gaining access to the gunship’s firepower can significantly alter the course of the battle. In addition to the valuable gunship, both teams also gain a tank when holding this flag. The radar tower is a popular sniping perch for recon troops. From the tower’s upper-level catwalk it’s possible to monitor the surrounding roads and engage targets as far away as the base camp (D) to the west or outskirts (B) to the north. The flagpole here is surrounded by several buildings, providing plenty of hiding spots for infantry seeking to capture or contest the flag.
F: Communication Station
Control Point Assets
| US Control | RU Control | Respawn Time |
|---|---|---|
| Growler ITV (1) | VDV Buggy (1) | 20 sec. |
| M142 (1) | BM-23 (1) | 50 sec. |
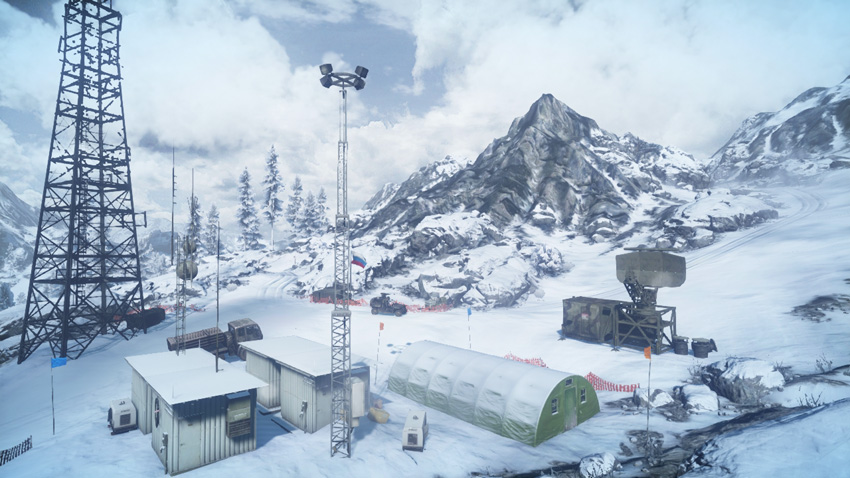
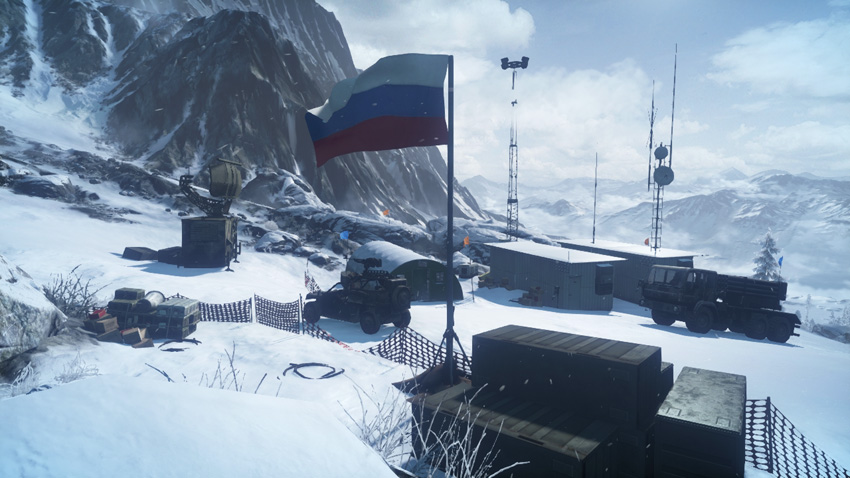
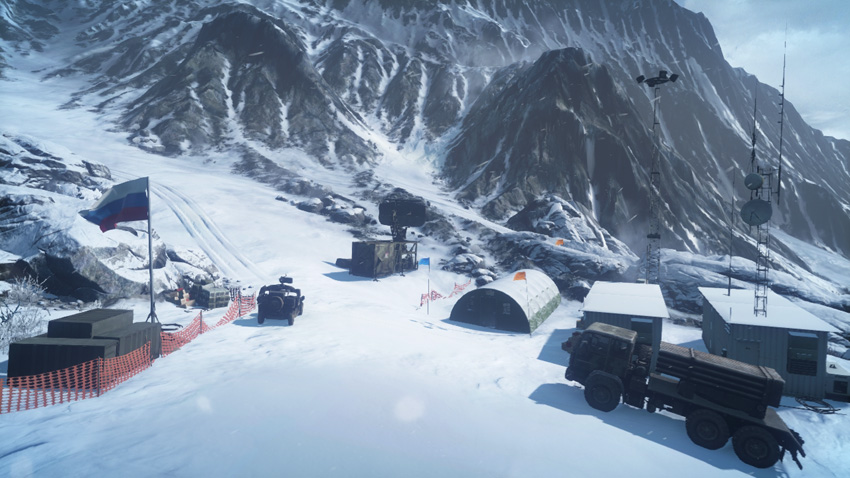
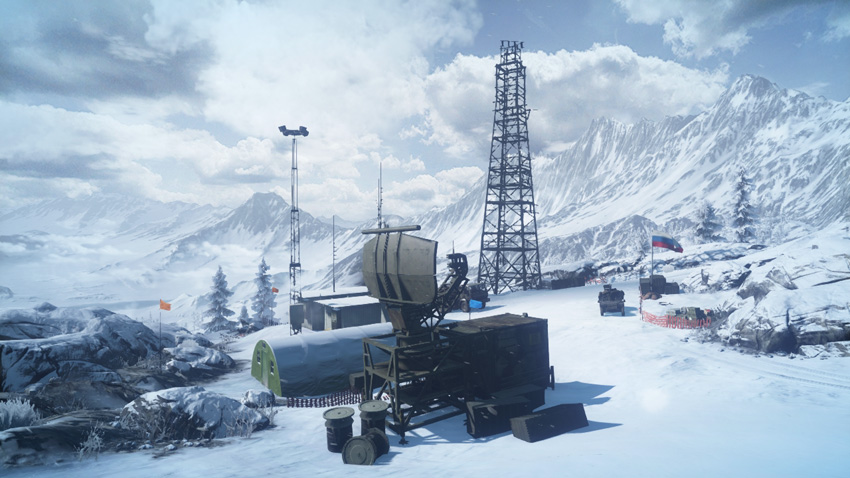
As the closest control point to the RU base, the communication station (F) is likely to be held by the RU team throughout the duration of the match. The control point is positioned on the eastern crest of the mountain range, offering little cover or concealment for infantry or vehicles. Once it’s captured, defenders should rely on mines and C4 to surprise attackers, while monitoring the flag from the surrounding rocky terrain. The snow-covered roads here offer quick access to the nearby radar station (E) and base camp (D) control points. Both teams also gain a mobile rocket artillery unit here, ideal for bombarding enemy ground units from long range. If the US team manages to capture this flag they can use the M142 to lay siege to the RU base, located directly to the south. But in a close match, the US team is better off consolidating their forces around the northern control points. Defending this location can be tough given the large number of RU vehicles streaming in from the south.
G: Cave Outpost
Control Point Assets
| US Control | RU Control | Respawn Time |
|---|---|---|
| Quad Bike (1) | Quad Bike (1) | 5 sec. |
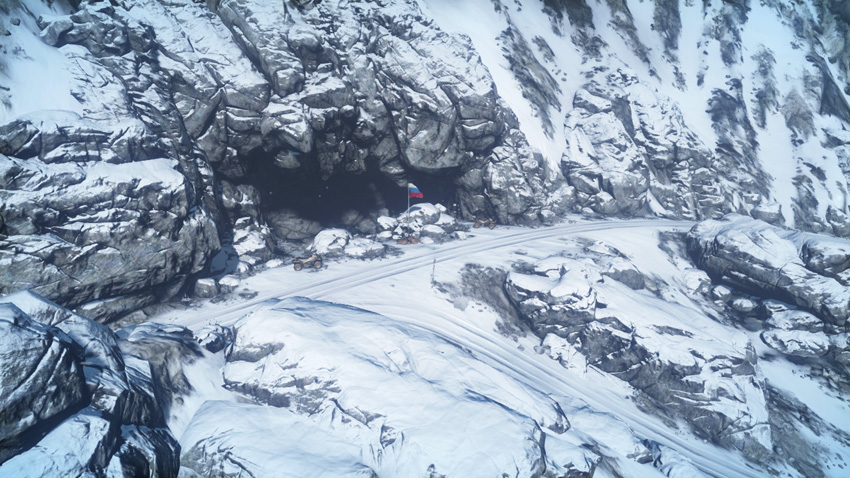
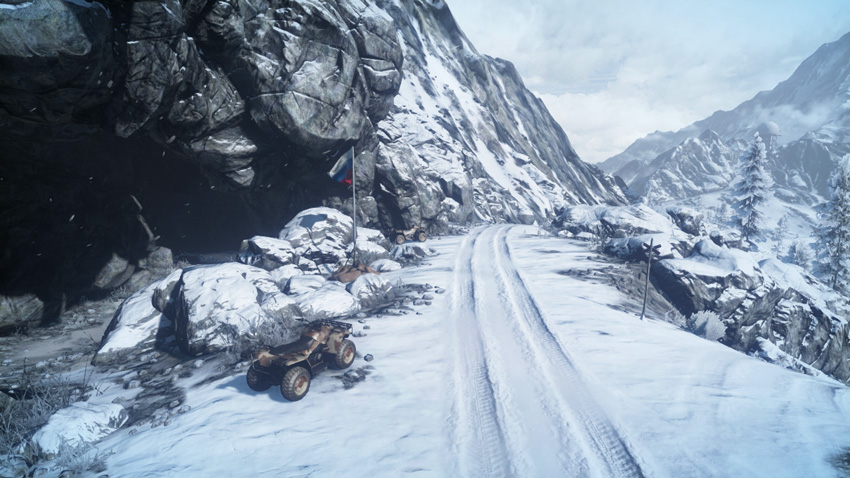
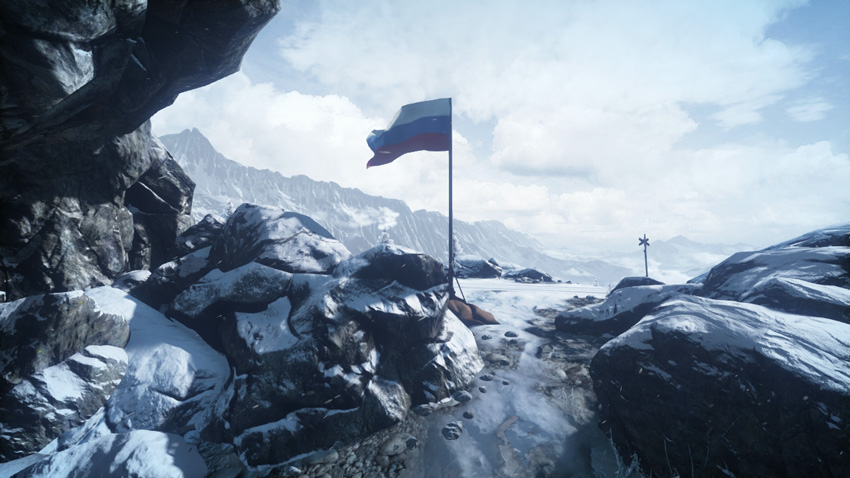
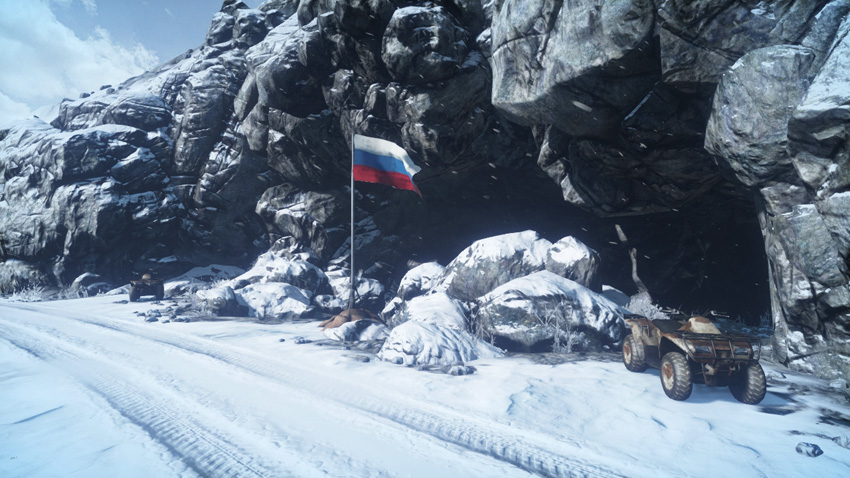
The cave outpost (G) control point is in the southwest corner of the map. Given its somewhat remote location and rocky terrain, this flag doesn’t see as much action as some of the more centrally placed control points. When possible, race to the flag on a quad bike, Growler ITV, or VDV Buggy. These fast vehicles have the easiest time negotiating the steep terrain, particularly when traveling off-road. Heavier vehicles such as tanks and tank destroyers should utilize the roads when traveling to and away from this flag. The flag can be captured or contested from within the small cave to the west, but the cave is a dead end, so think twice about hiding here. All it takes is a grenade or other explosives to flush defenders out of the shallow cave. The high elevation makes this spot great for monitoring enemy traffic to the east. Recon troops should consider posting a SOFLAM nearby to designate targets loitering around the radar station (E). When leaving the cave outpost (G), always take one of the provided quad bikes unless you prefer long scenic walks through the snow.
Rush
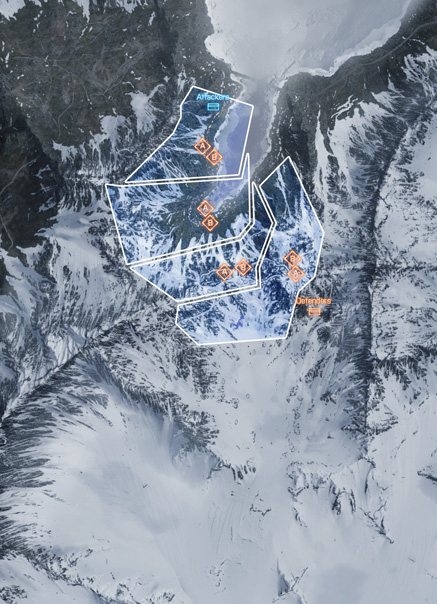
This Rush battle is spread across four zones, starting in the lower elevations near the lake before climbing into the rugged mountain range. While the US attackers maintain a significant vehicle advantage throughout the course of the battle, they’ll need to make the most of these assets to secure a victory on this challenging map. In many instances the challenging terrain forces the US attackers to perform predictable frontal assaults on each defensive position. This makes the US vehicles vulnerable to ambushes by the defenders. While the terrain is a hindrance to the US team, the narrow roads and dense forests are a key asset for the RU defenders. Throughout the battle the defenders have access to only one T-90A and a single SU-25TM Frogfoot. This means the defenders are largely an infantry force facing off against an onslaught of US vehicles. While engineers are the most effective at taking out vehicles, the defenders must also rely on recon troops to spot incoming attackers, preferably with MAVs and T-UGS motion sensors. By leveraging the natural choke points and keeping tabs on the whereabouts of the attackers, the RU team has a strong chance of holding out for a victory despite their lack of vehicles.
Zone 1: Fishing Huts
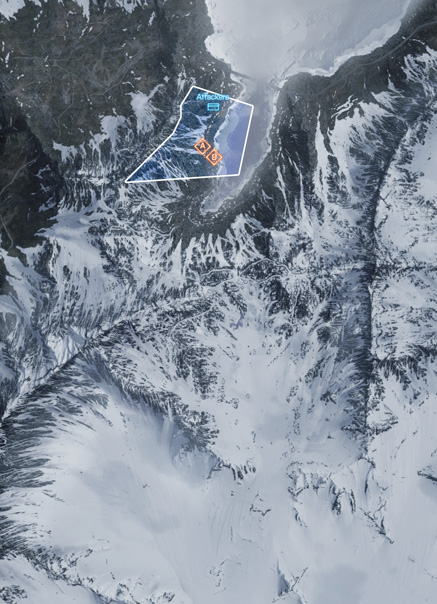
US Deployment
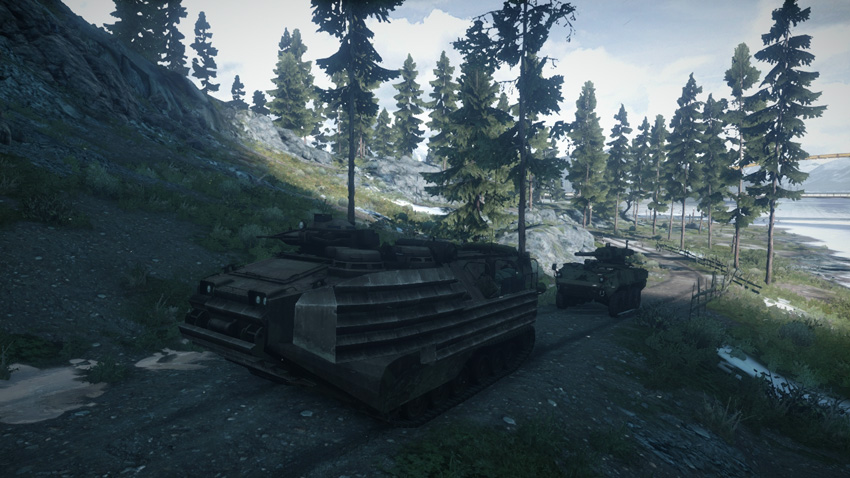
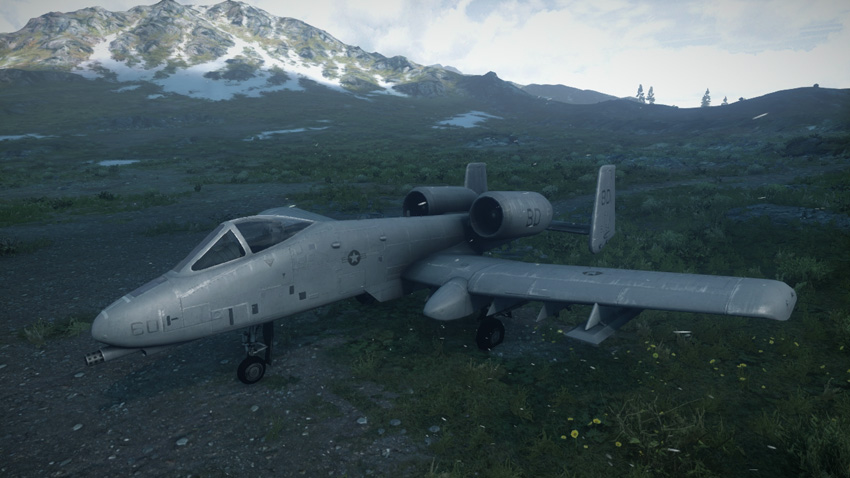
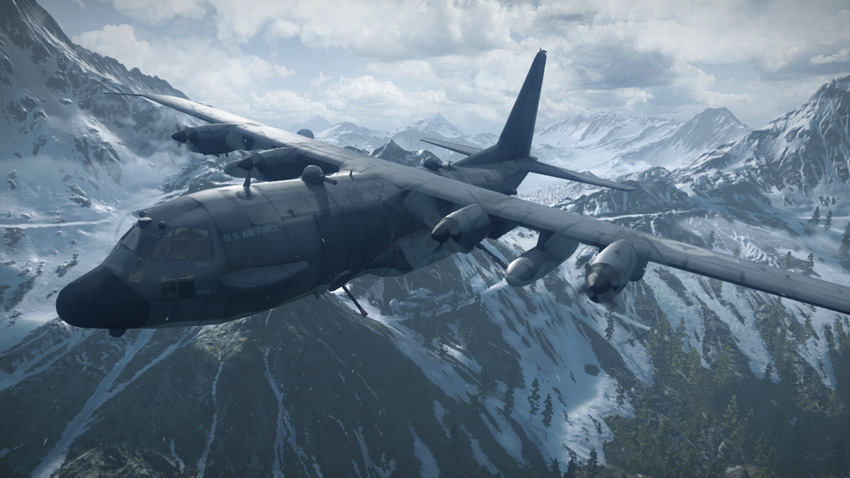
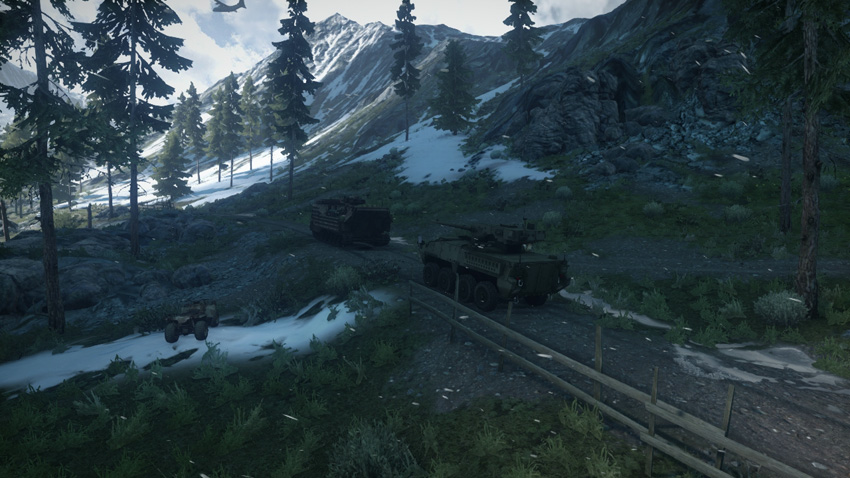
Deployment Area Assets
| Name | Quad Bike | M1128 | AAV-7A1 AMTRAC | A-10 Thunderbolt | Gunship |
|---|---|---|---|---|---|
| Quantity | 2 | 1 | 1 | 1 | 1 |
| Respawn Time | 5 sec. | 20 sec. | 60 sec. | 40 sec. | 120 sec. |
During the opening phase of the battle, the US team deploys on the western bank of the lake, just north of the fishing huts. As usual, the attackers have a significant advantage when it comes to vehicles—try rushing the objectives early with the quad bikes before the RU team can dig in. But once the defenders are situated it takes a concerted effort to push them back before the M-COM stations can be approached and destroyed. Lead the attack with the M1128 tank destroyer, and make sure at least one engineer with a repair tool rides in the back. Without the support of engineers, the M1128 won’t last long against the RU team’s T-90A. The tank destroyer can gain the upper hand if supported from the air by the A-10 and gunship. Meanwhile, rush the objectives with the AAV-7A1 AMTRAC. This vehicle can serve as a forward spawn point for the whole team, allowing the US to apply constant pressure on the fishing huts and its objectives.
RU Deployment
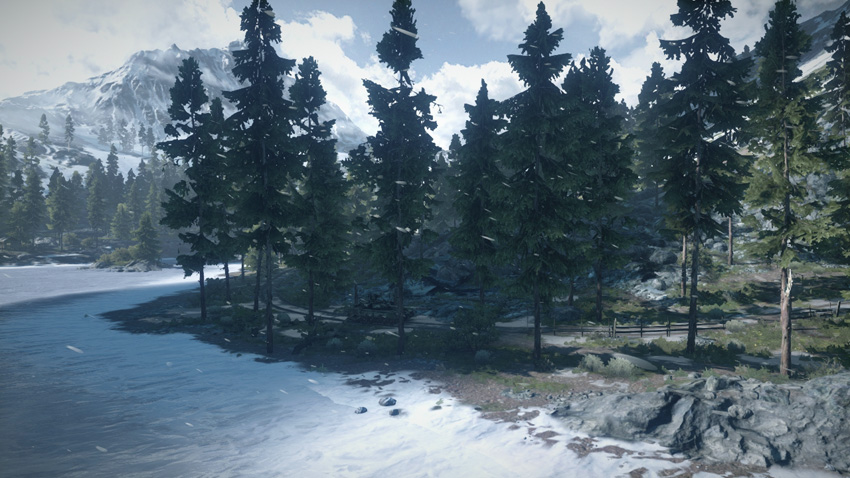
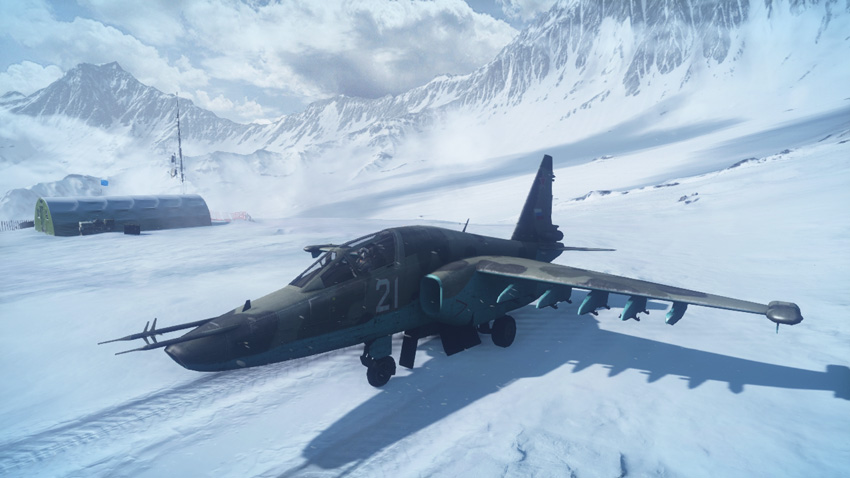
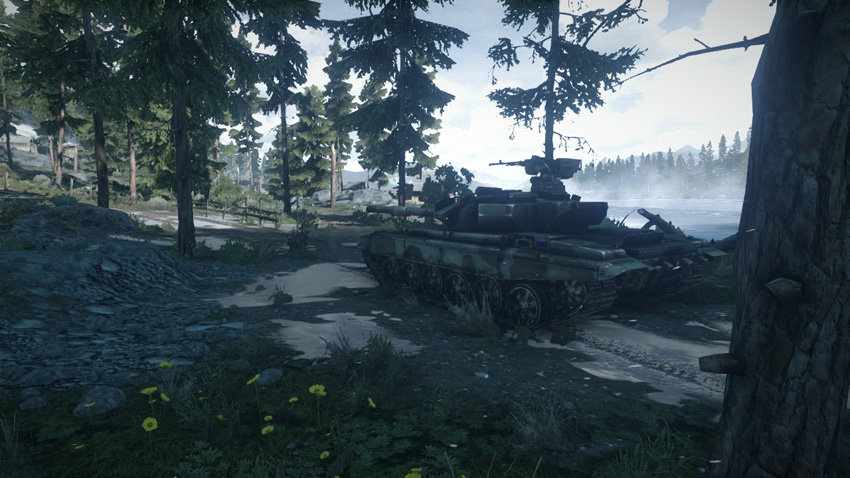
Deployment Area Assets
| Name | T-90A | SU-25TM Frogfoot |
|---|---|---|
| Quantity | 1 | 1 |
| Respawn Time | 60 sec. | 40 sec. |
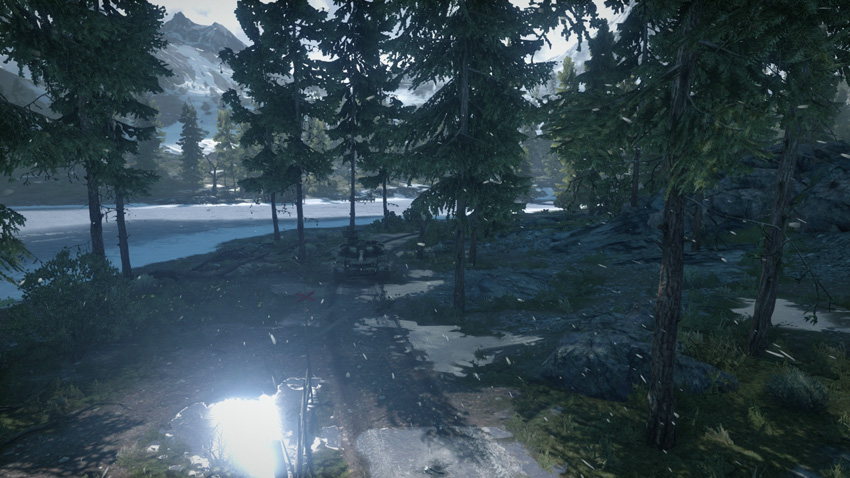
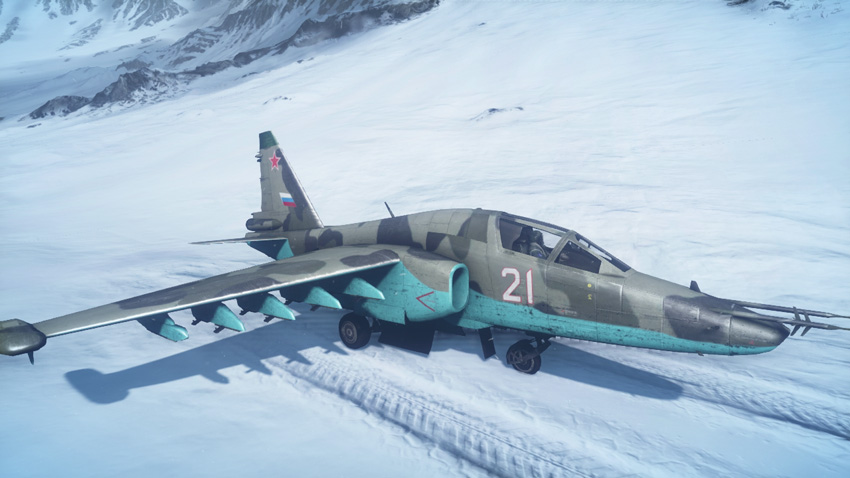
At the start of the battle, the RU team deploys on the south side of the fishing huts, leaving the objectives wide open for early-round attacks. Move the T-90A north as quickly as possible in an effort to secure the objectives. Infantry must sprint toward the objectives and assume a defensive posture. Engineers are necessary to keep the T-90A repaired at all times—their mines and rocket launchers also come in handy for countering the onslaught of US vehicles racing in from the north. While the T-90A and infantry work to secure the fishing huts, get the SU-25TM into the air so it can counter the US team’s A-10 and gunship. Although it’s a ground-attack aircraft, the SU-25TM is best suited for shooting down the US team’s air assets in this battle. Denying the US team close air support is key to weakening their offensive capabilities. When the US aircraft are destroyed, the SU-25TM can assist by strafing the US team’s ground vehicles. But the wooded terrain can make strafing runs somewhat dangerous, so watch your altitude.
M-COM Station A
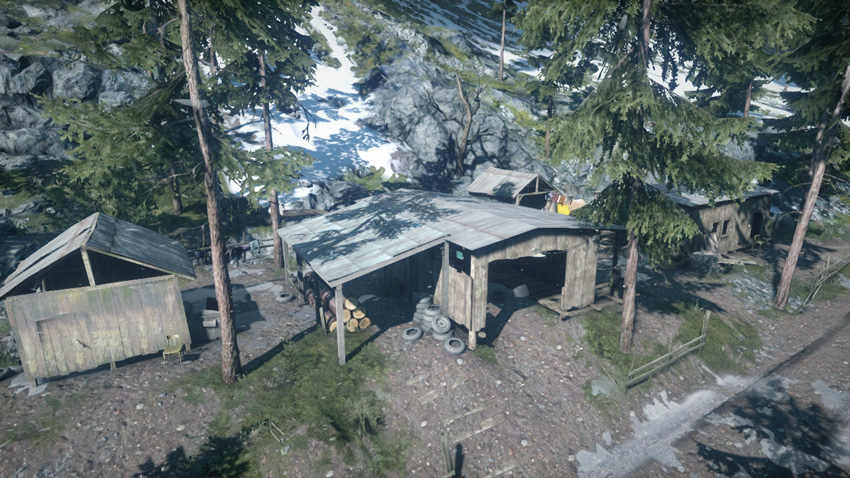
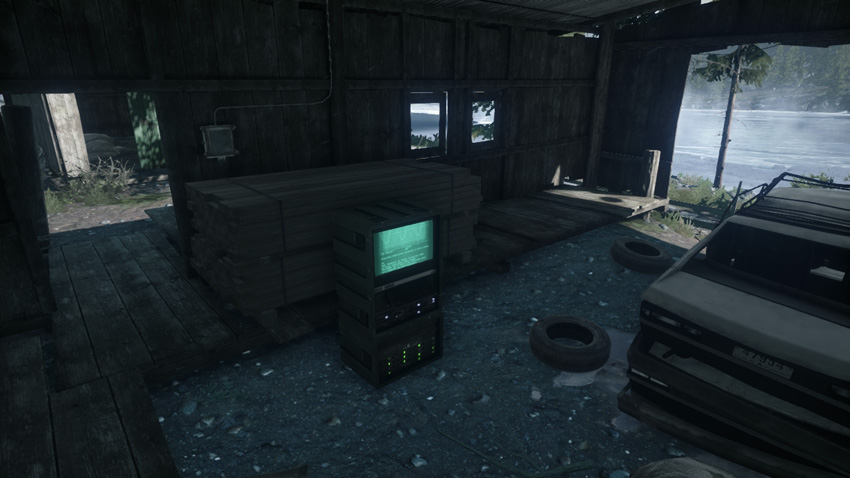
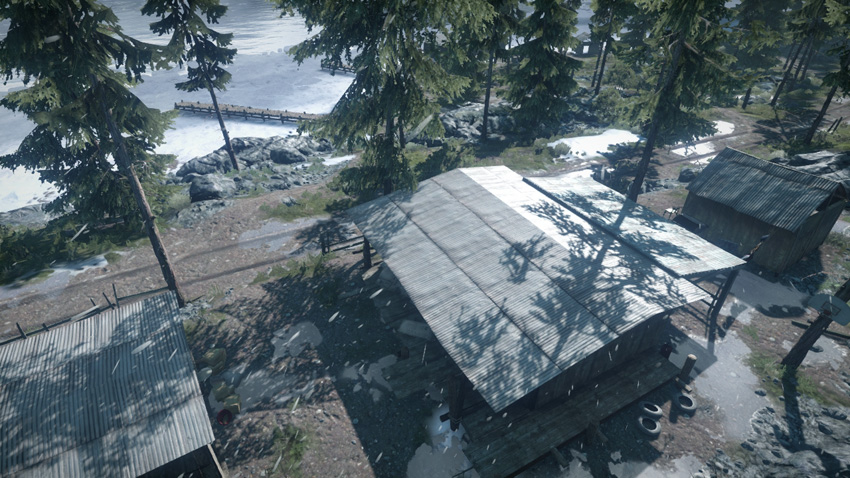
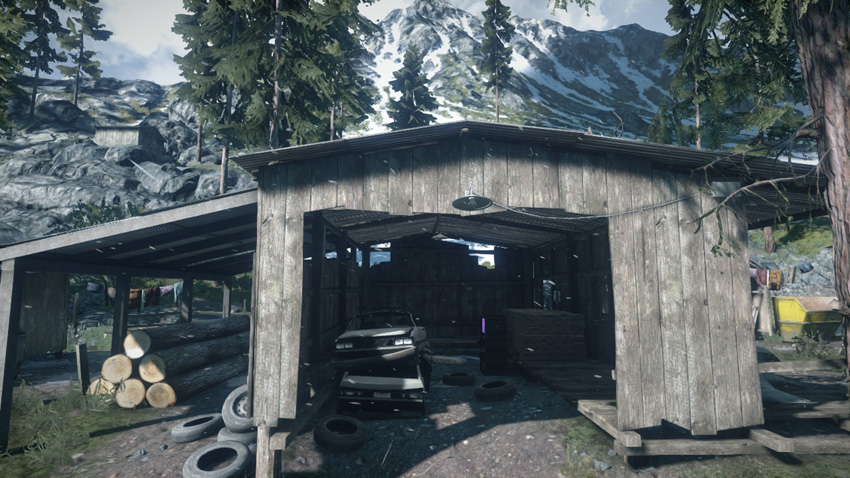
M-COM Station A is the closest objective to the US deployment area and most likely to come under attack first. The US attackers should rush this objective early during the round, preferably with quad bikes or by parachuting out of the gunship. Unless approaching in the T-90A, the RU team has a difficult time reaching this objective before the US team. Sometimes it’s better to consolidate defenses around M-COM Station B than to try to defend this distant objective. The M-COM station is housed within a rickety garage adjacent to the dirt road cutting through the fishing huts. The garage’s interior is accessible from the road as well as from a narrow doorway on its north side. The wooden walls of the garage will not stand up to heavy fire, making it a poor hiding spot. Instead, defenders should booby-trap the interior and then back off and guard the perimeter.
M-COM Station B
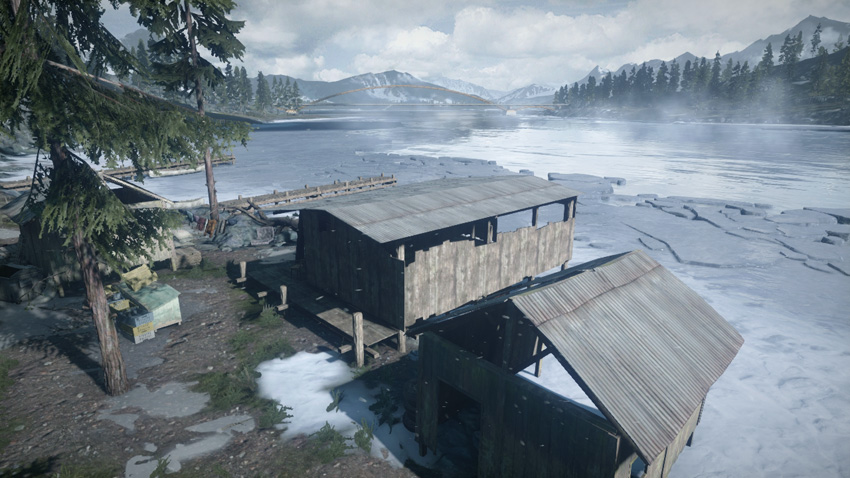
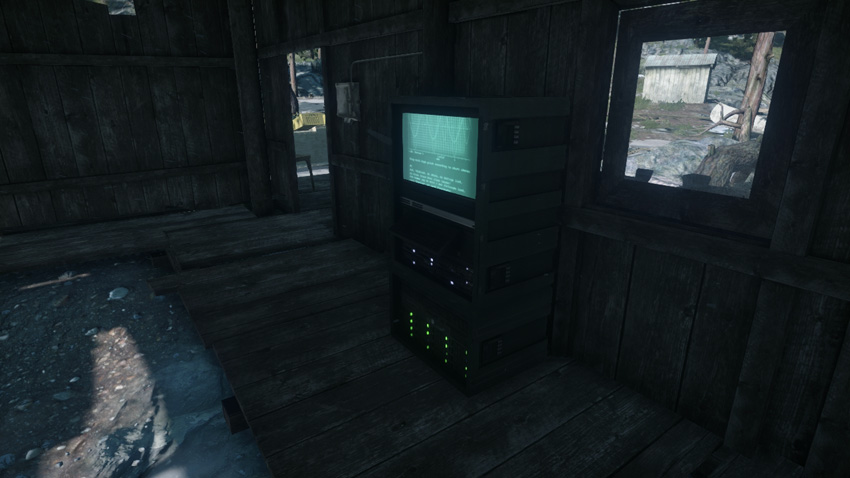
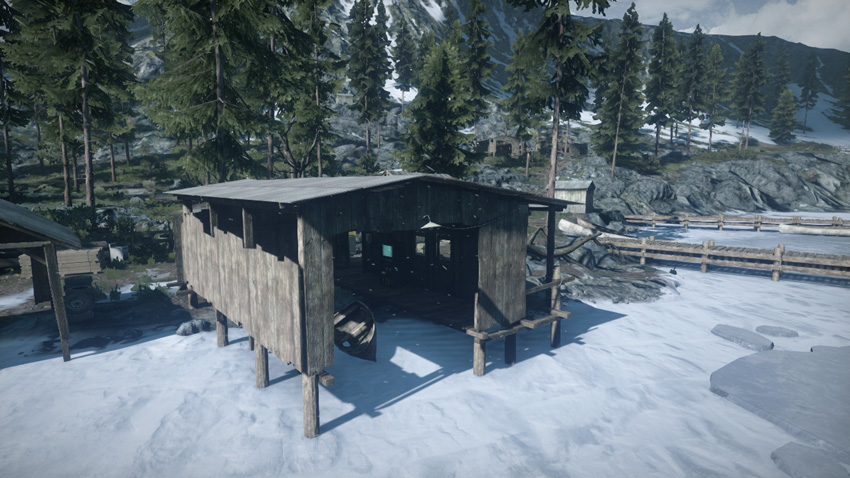
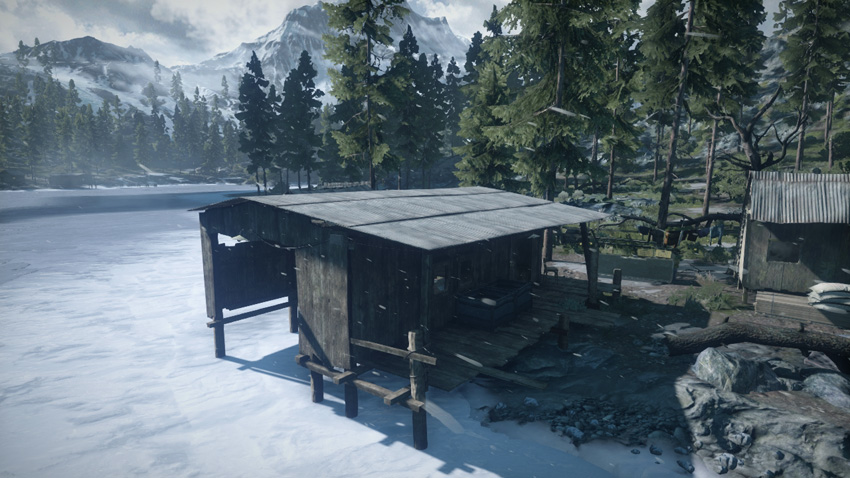
This objective is housed within a wooden boathouse on the western shore of the lake. Given its proximity to the RU deployment area, the defenders have a much easier time reaching and locking down this objective than they do M-COM Station A. For the attackers, it’s easiest to reach this boathouse by traveling along the frozen western bank of the lake. The amphibious AAV-7A1 AMTRAC can even approach from the water to the east in an effort to flank the boathouse and act as a forward spawn point. However, defenders should expect most attacks to come along the dirt road from the north. Mining the dirt road and booby-trapping the boathouse’s interior is highly advisable. But don’t rely solely on passive defenses. If you’re not constantly watching, infantry can sneak in from the north or drop in via parachute from the US team’s gunship. Consider parking the T-90A in the woods to the south or west to reinforce this position against infantry and vehicle attacks.
Zone 2: Mountain Village
US Deployment
Deployment Area Assets
| Name | Quad Bike | M1128 | AAV-7A1 AMTRAC | A-10 Thunderbolt | Gunship |
|---|---|---|---|---|---|
| Quantity | 3 | 2 | 1 | 1 | 1 |
| Respawn Time | 5 sec. | 20 sec. | 60 sec. | 40 sec. | 120 sec. |
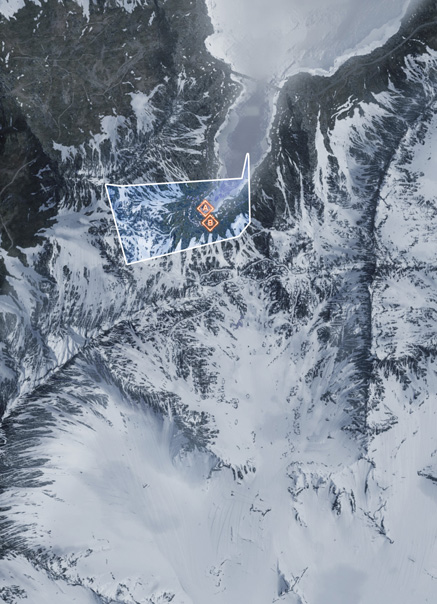
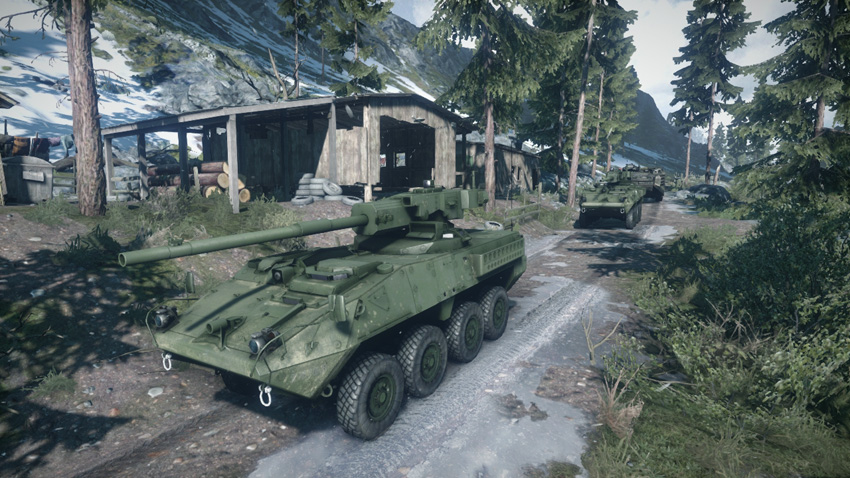
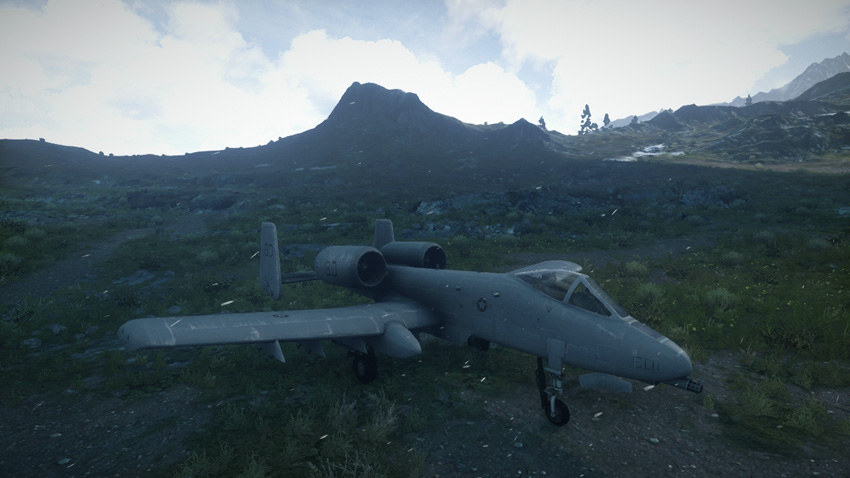
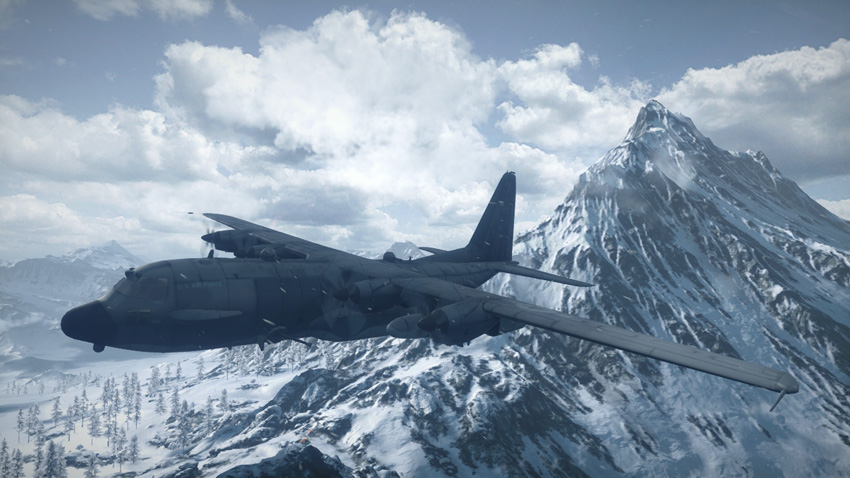
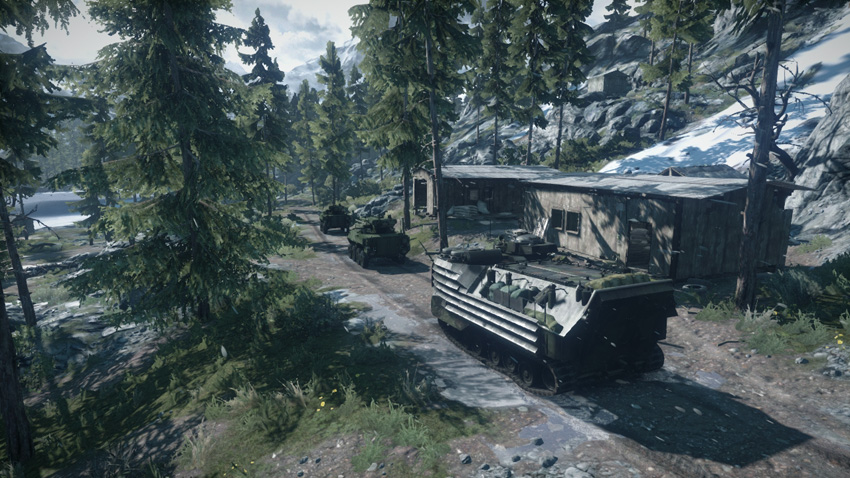
After knocking out the first pair of objectives, the US deployment area moves south to the fishing huts. Here the US gains access to an extra quad bike and M1128 tank destroyer, allowing for greater firepower and mobility as they press toward the new objectives at the mountain village. Since the RU team has a few seconds to dig in around the objectives, avoid early-round rushes in quad bikes or parachutes. Instead, lead a coordinated attack on the mountain village with both tank destroyers and the AMTRAC. The firepower of these three vehicles is enough to overwhelm the defenders. At the very least, a frontal assault can serve as a distraction, allowing infantry on quad bikes to stage flanking attacks, hitting the mountain village from the east. Both the A-10 and gunship are great for softening defensive positions, but watch out for the RU team’s SU-25TM. If left unchallenged, the SU-25TM can seriously hinder the advance by the tank destroyers and AMTRAC.
RU Deployment
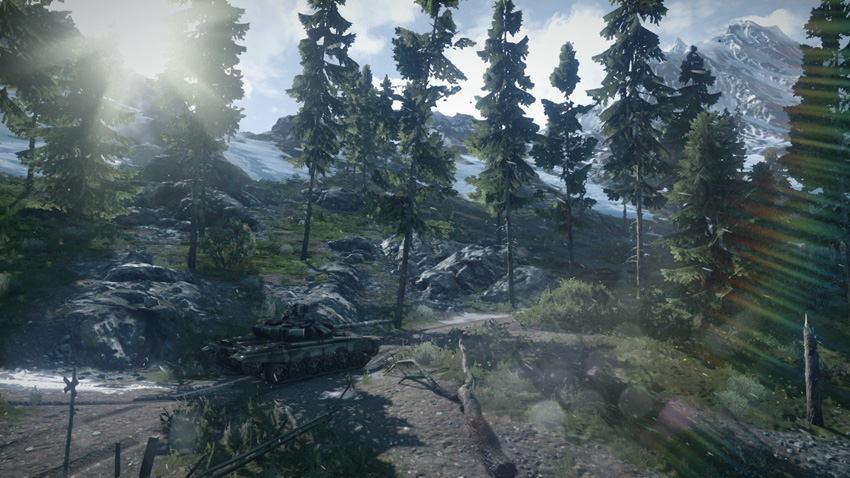
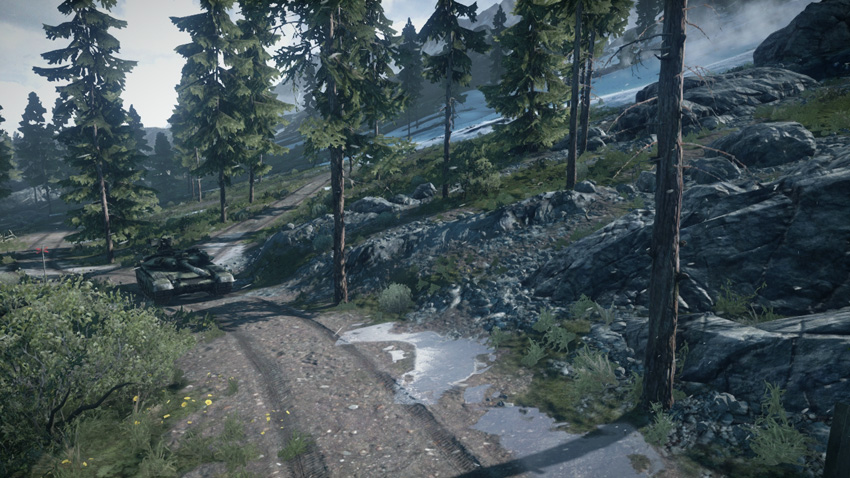
Deployment Area Assets
| Name | T-90A | SU-25TM Frogfoot |
|---|---|---|
| Quantity | 1 | 1 |
| Respawn Time | 60 sec. | 40 sec. |
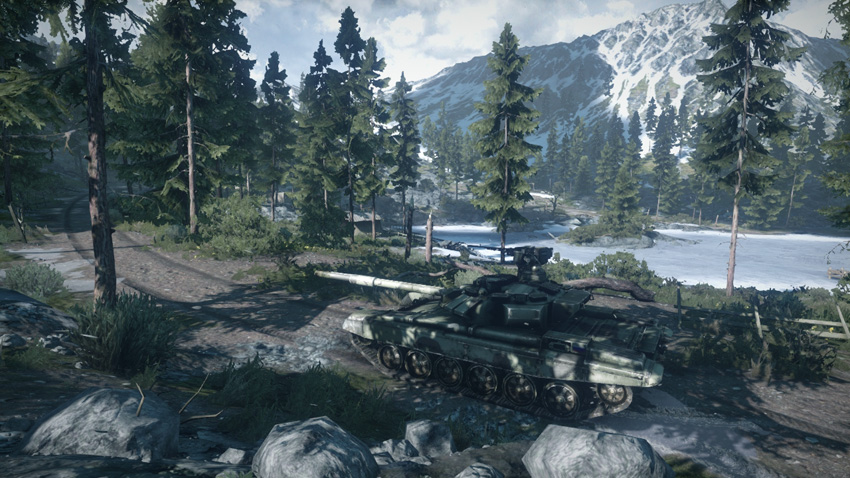
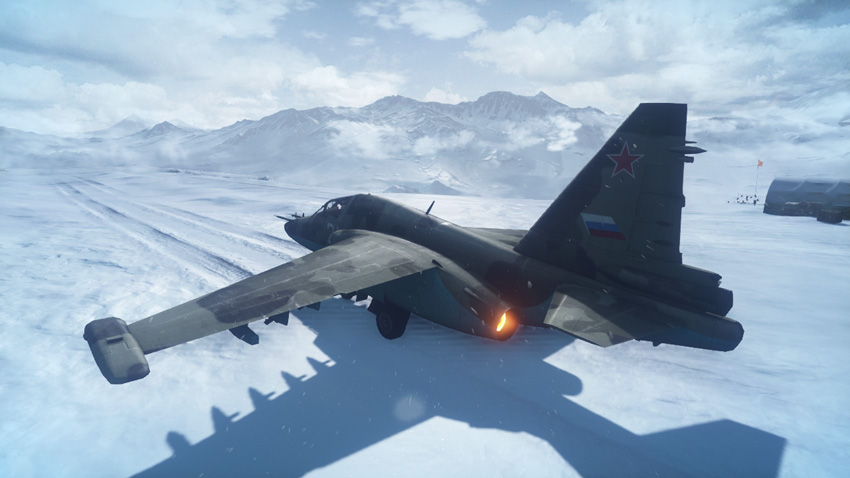
Following the destruction of the objectives at the fishing huts the RU team’s deployment area is pushed back to the east side of the mountain village. Unlike in the first phase, the RU team has a few seconds to regroup and consolidate their forces around the mountain village before the US team arrives. Use these precious seconds to move the T-90A forward, taking a position along the dirt road between the two M-COM stations. Back up the T-90A with engineers equipped with repair tools—the T-90A will need plenty of assistance if it hopes to survive the fight with the incoming US tank destroyers. Engineers can assist offensively as well by deploying mines and launching rockets at the incoming US vehicles. Keep the SU-25TM airborne to deal with the US team’s aircraft. Shooting down the US team’s A-10 and gunship can alleviate pressure on the ground, allowing defenders to focus solely on the ground assault.
M-COM Station A
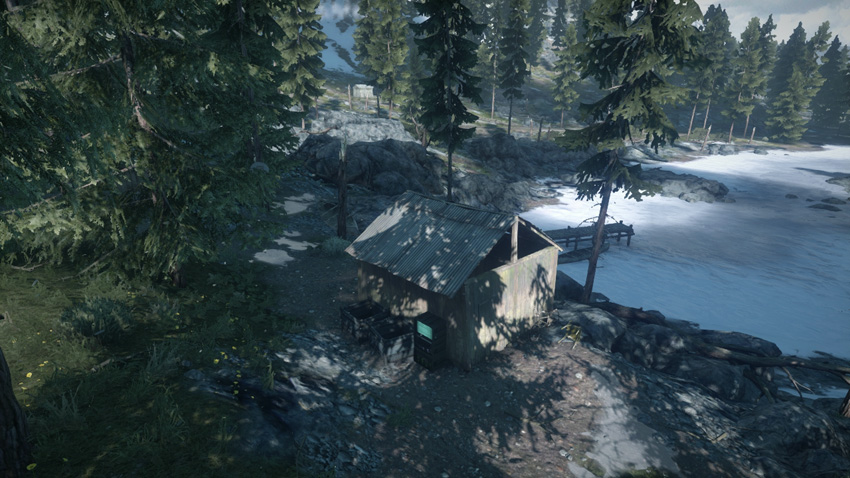
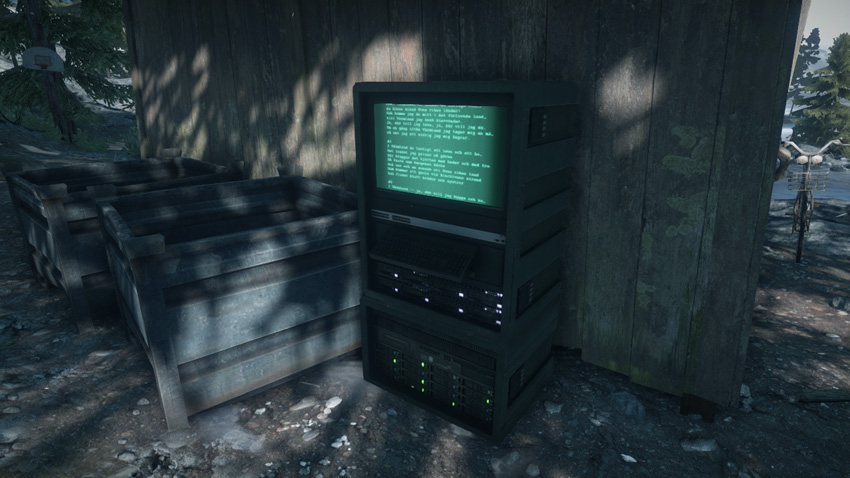
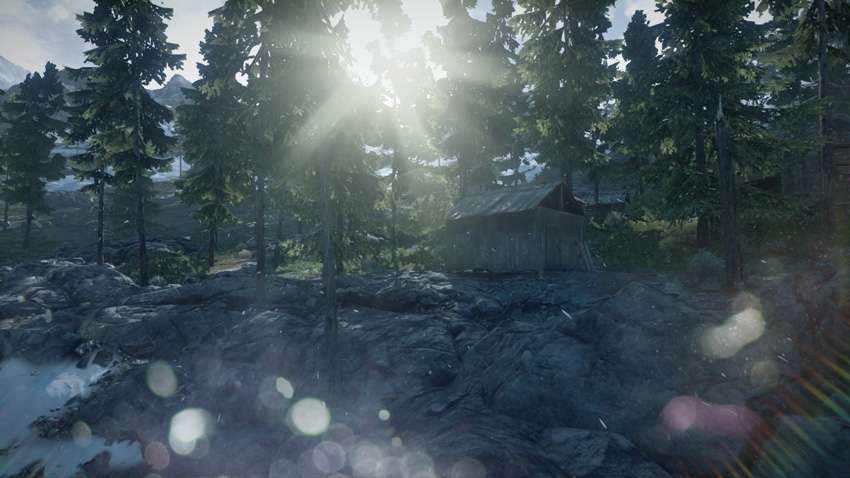
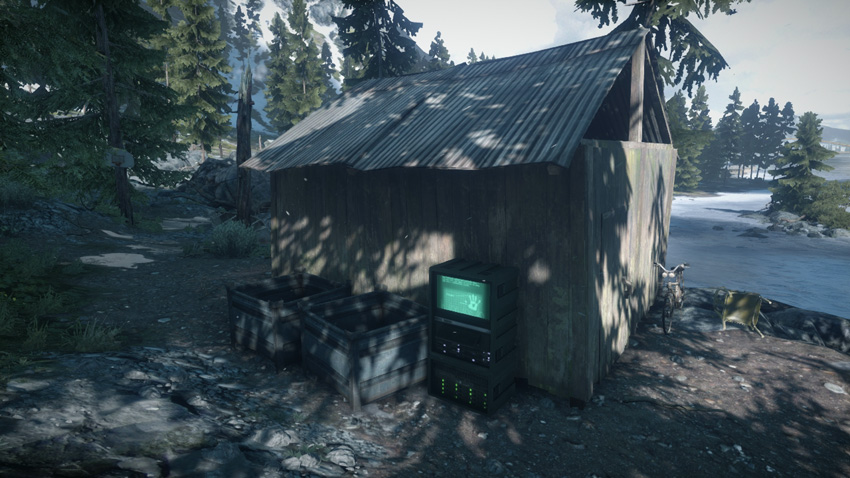
M-COM Station A is situated on the outside of a small wooden shack on the southern bank of the lake. The terrain around the shack is wooded and rocky, making vehicle access a little difficult, especially for large tracked vehicles like tanks and tank destroyers. As a result, defenders are better off guarding this area on foot, watching the objective from the surrounding structures. When a slow and steady advance on foot isn’t possible, the US attackers should rely on their quad bikes to rush toward this objective. Attempts to set a charge can be supported by the AMTRAC parked on the frozen lake to the north. Given the lack of cover around the objective, both teams should utilize smoke when attempting to arm or disarm this M-COM station.
M-COM Station B
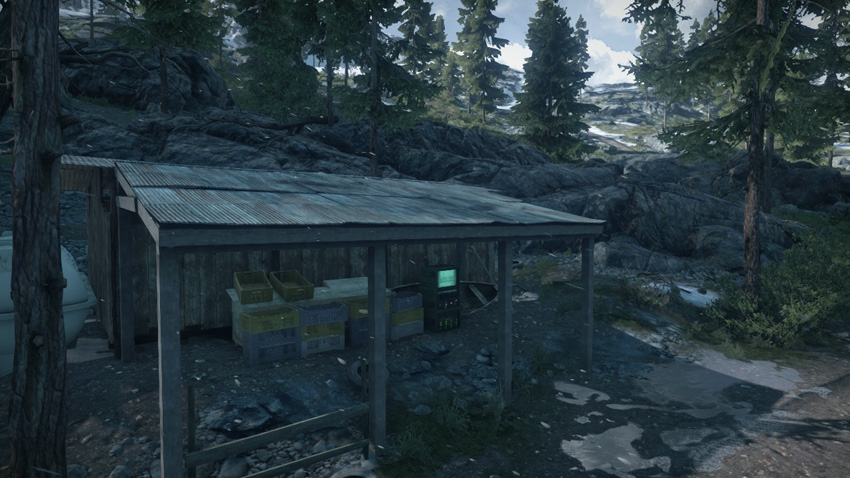
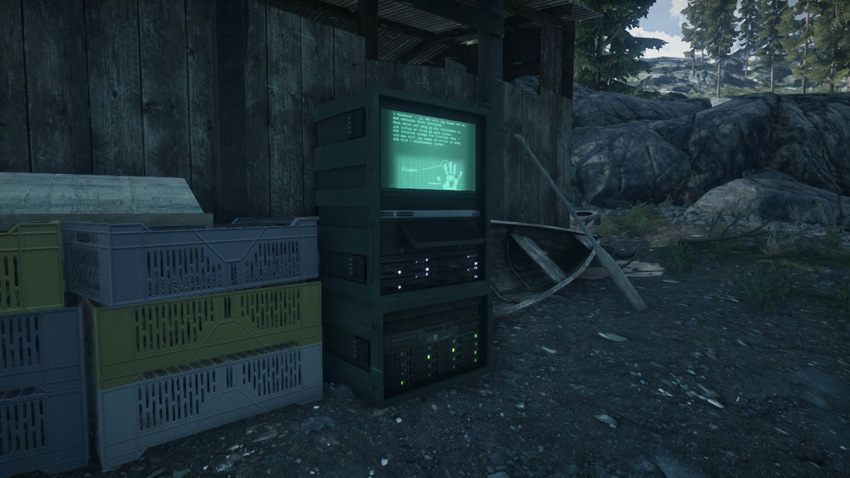
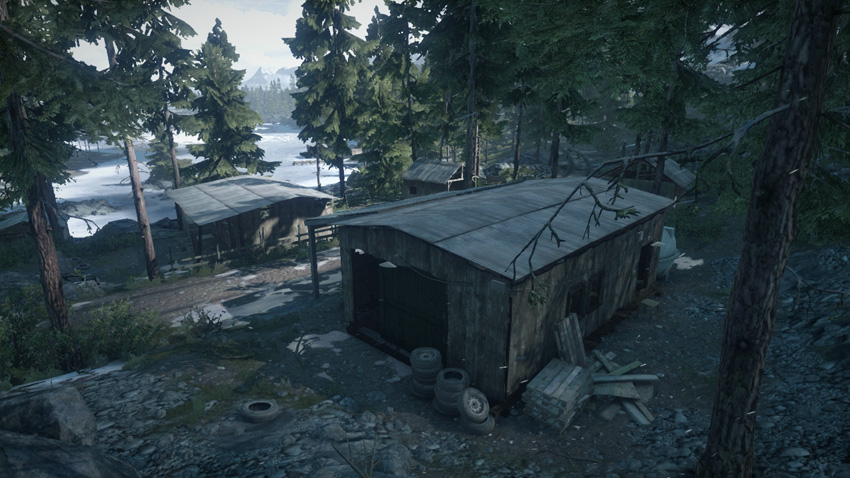
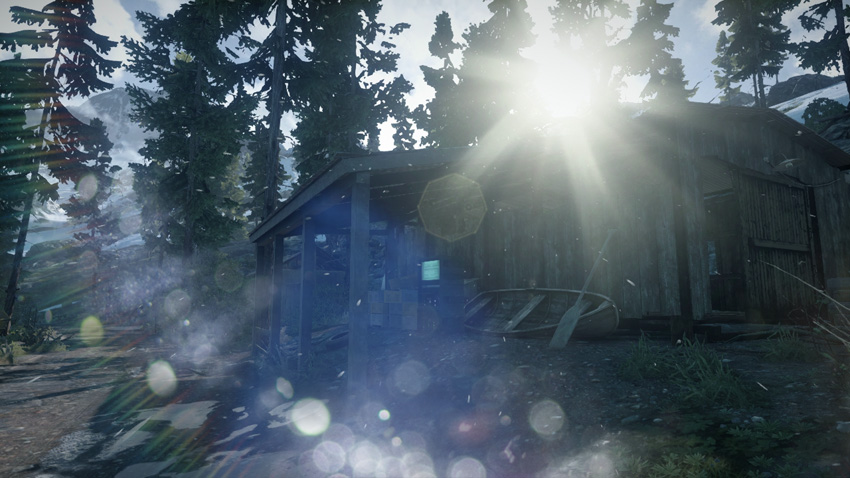
This objective is located beneath the awning of a wooden storage shed on the south side of the mountain village. Given the M-COM station’s nearness to the dirt road, this objective is often rushed by vehicles approaching from the fishing huts. Defenders can slow down the attackers by placing mines along the dirt road to the west. Parking the T-90A on the road next to the objective is also a good deterrent. When attacking this objective, the US team should park their tank destroyers to the west and provide fire support while the AMTRAC moves close to the M-COM station and serves as a forward spawn point for the team. Don’t forget to make use of the AMTRAC’s grenade launcher and machine gun turret—these weapons are ideal for providing cover fire while infantry set a charge on the objective.
Zone 3: Radio Outpost
US Deployment
Deployment Area Assets
| Name | Quad Bike | M1128 | AAV-7A1 AMTRAC | A-10 Thunderbolt | Gunship |
|---|---|---|---|---|---|
| Quantity | 3 | 2 | 1 | 1 | 1 |
| Respawn Time | 5 sec. | 20 sec. | 60 sec. | 40 sec. | 120 sec. |
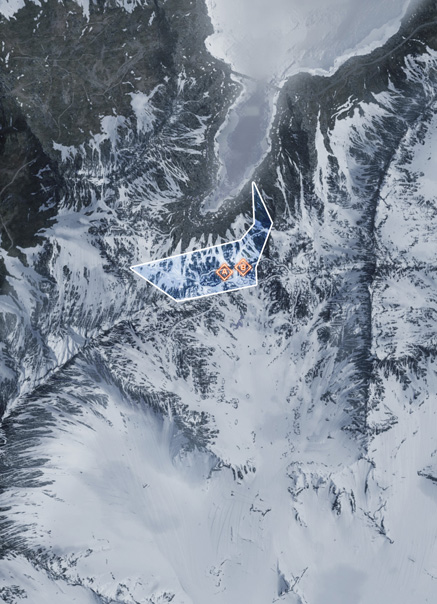
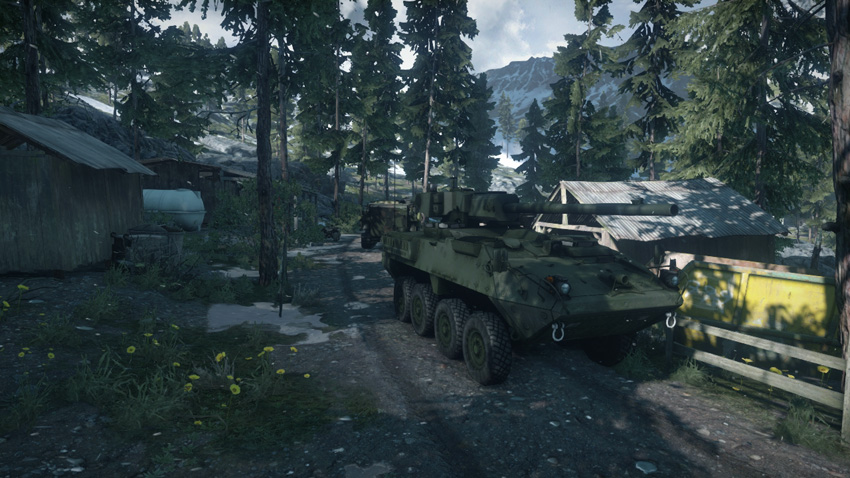
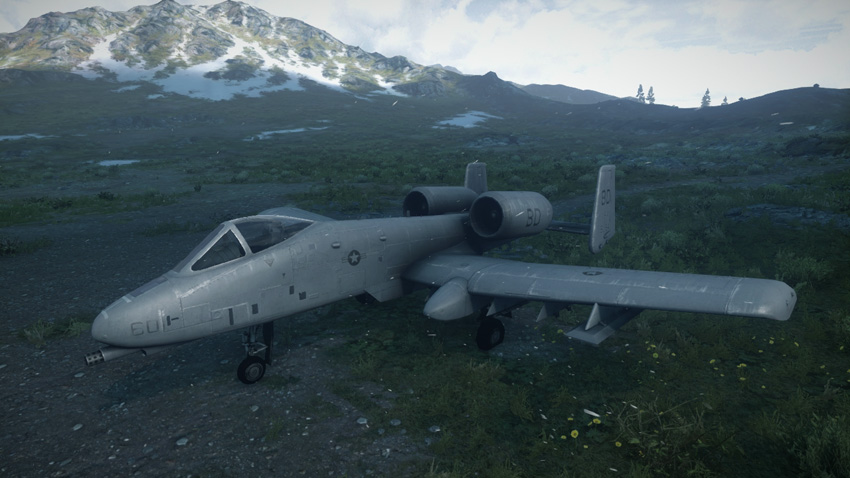
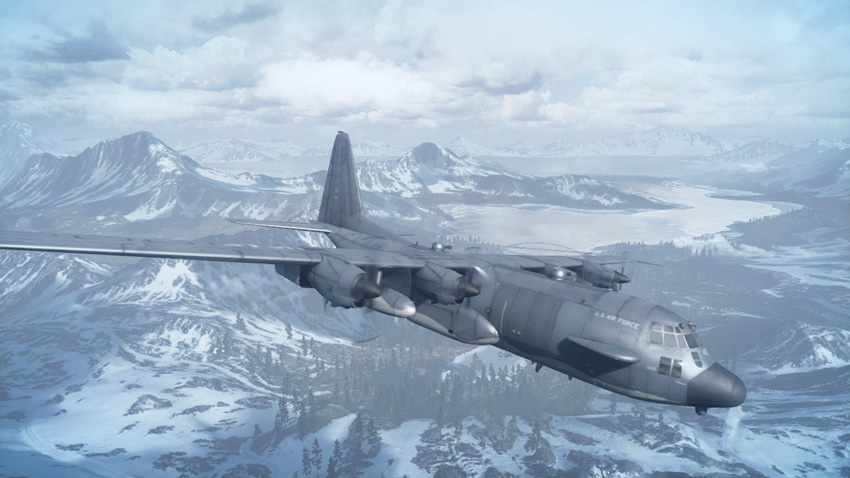
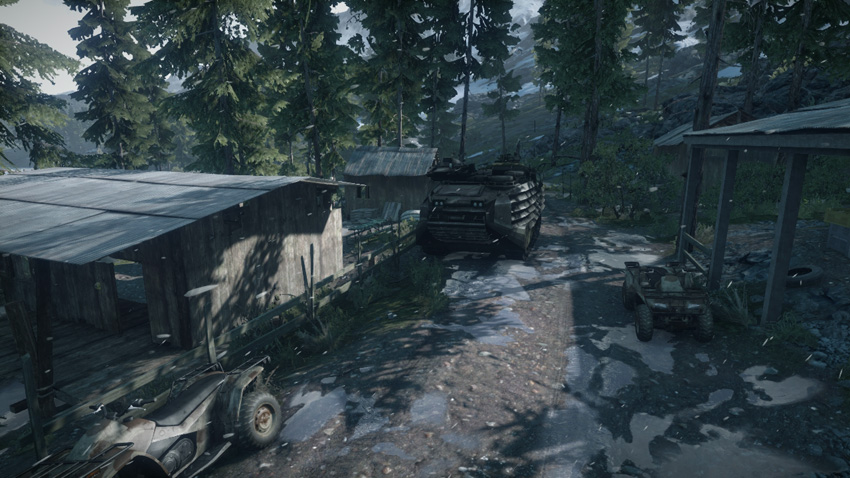
As the US team enters the third phase of the battle, they maintain the same type and number of vehicles. However, the climb to the next set of M-COM stations, at the radio outpost, is steep and treacherous, making the tank destroyers and AMTRAC less effective. As the battle transitions into the mountain, there are also far fewer trees, making these slow-moving vehicles easy targets for the RU team’s SU-25TM. The quad bikes are far more effective in handling the rough terrain leading up to the radio outpost. Unlike the tank destroyers and AMTRAC, the quad bikes can go off road and avoid ambushes staged along the narrow, snowy roads. The lack of trees in this area also makes it easier for US air assets to spot and target defenders on the ground. Use the gunship to clear a path for advancing troops and vehicles while the A-10 hunts down the RU team’s SU-25TM.
RU Deployment
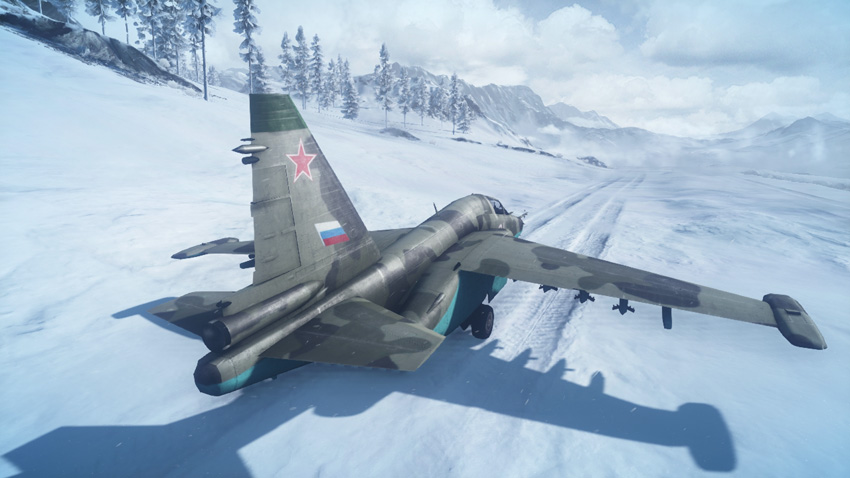
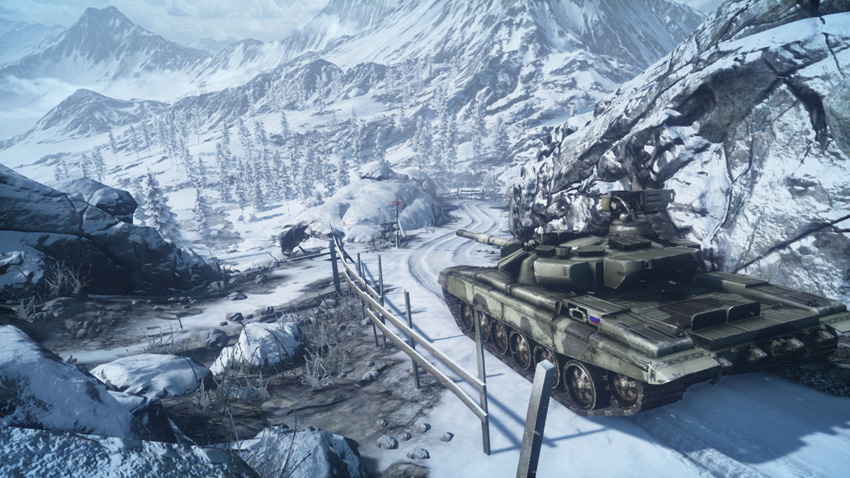
Deployment Area Assets
| Name | T-90A | SU-25TM Frogfoot |
|---|---|---|
| Quantity | 1 | 1 |
| Respawn Time | 60 sec. | 40 sec. |
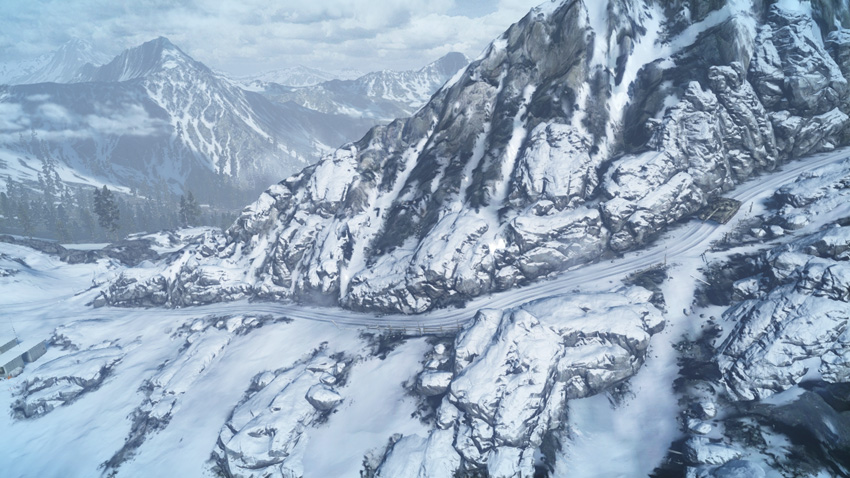
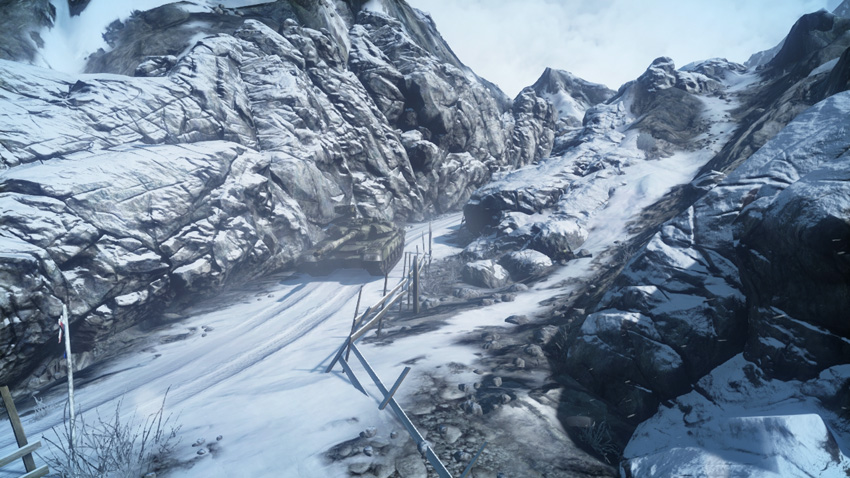
After losing the objectives at the mountain village, the RU team’s deployment area is pushed into the mountains, just east of the radio outpost. While the RU defenders gain no extra vehicles in this phase, the challenging terrain works in their favor. Most of the advancing US vehicles are limited to climbing the steep and narrow snow-covered roads. As a result, the defenders should attempt to intercept these attackers west of the radio outpost using mines and rocket launcher attacks to take advantage of these narrow choke points. However, it’s important to keep at least one squad posted near each objective to defend against US troops dropping in via parachute from the gunship. While the SU-25TM’s primary goal is to suppress the US team’s air assets, this ground attack jet can also make a serious contribution to the fight over the objectives by strafing US vehicles and infantry—the attackers are easy to spot and target due to the lack of trees in the higher elevations.
M-COM Station A
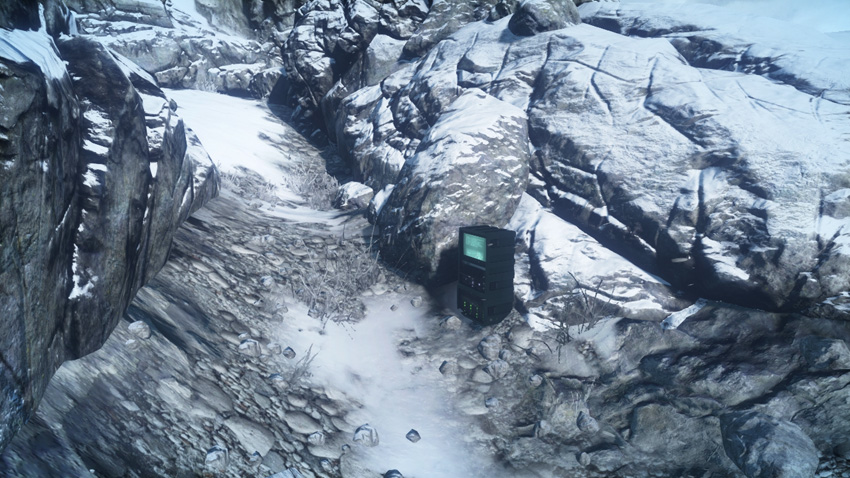
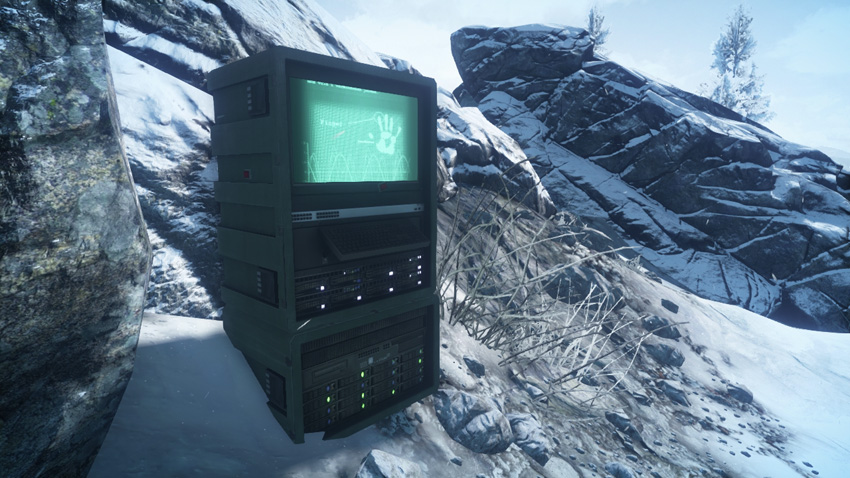
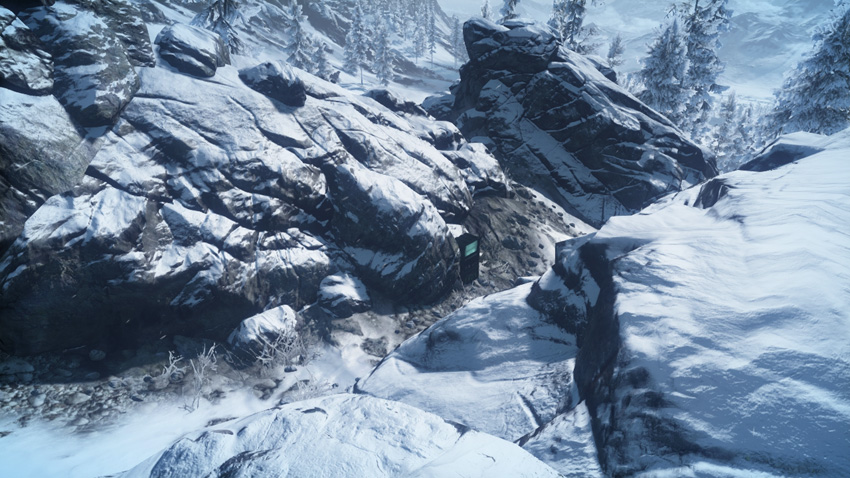
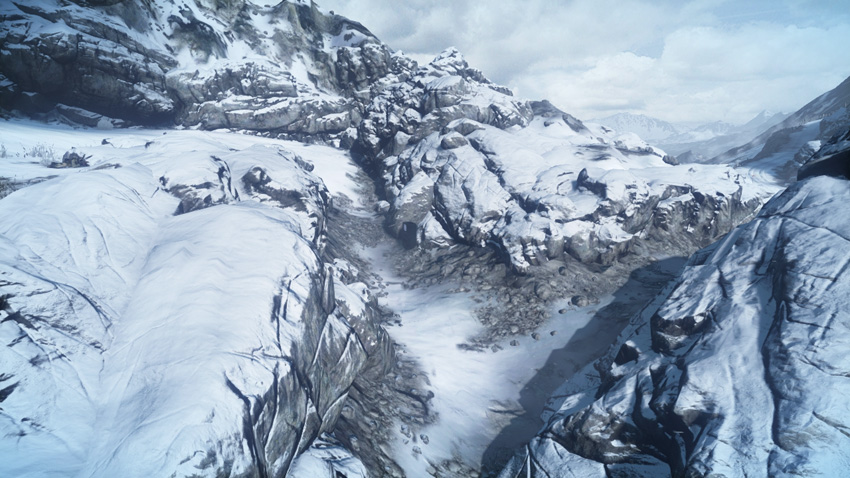
M-COM Station A is nestled within a crevice between two large rock formations directly west of the radio outpost. Whether attacking or defending, this area is easiest to negotiate on foot. Driving anything larger than a quad bike into this tight space will result in a quick death as your stalled vehicle is pummeled by rockets from the rocks above. As a result, expect close-quarters infantry combat around this objective. Weapons like shotguns and PDWs are very effective for taking down opponents at close range. Attackers should expect to encounter plenty of claymores and C4 in this narrow crevice, so be ready to toss grenades to detonate these booby traps prior to rushing the objective. If it’s heavily defended, attackers should attempt to flank from the south or east. It’s also important to control the high ground surrounding the objective. Defenders can watch the M-COM station from the rocks while the attackers can pound the surrounding area with their gunship.
M-COM Station B
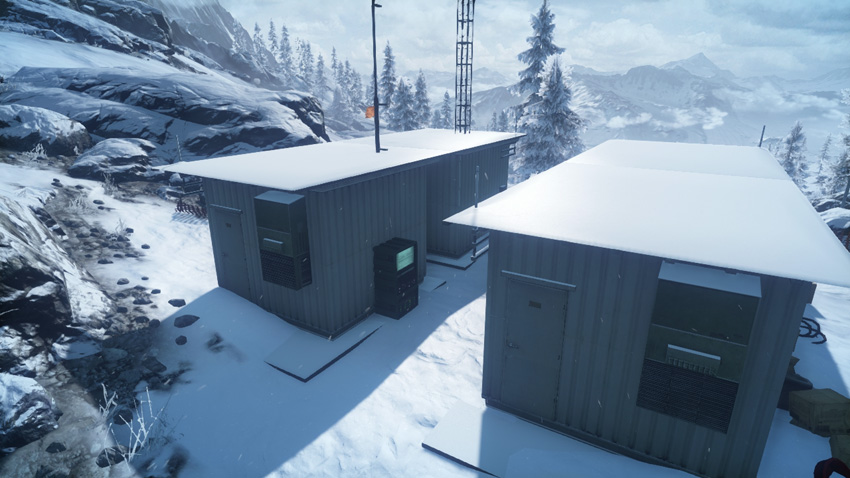
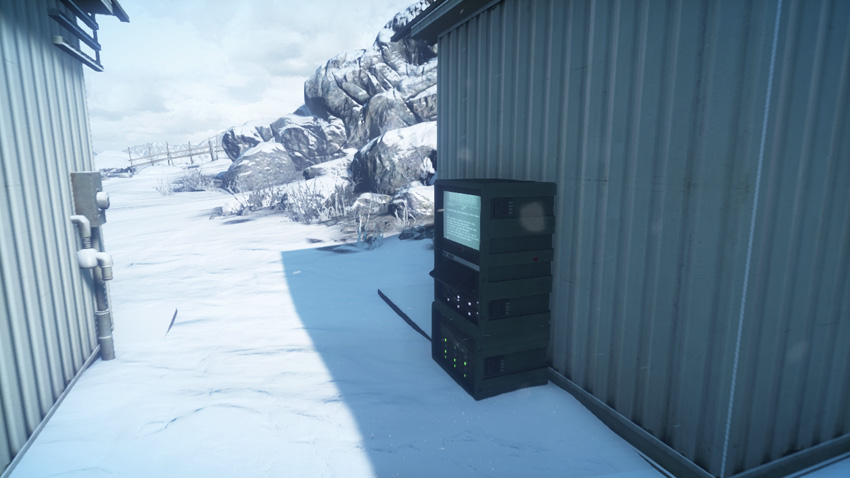
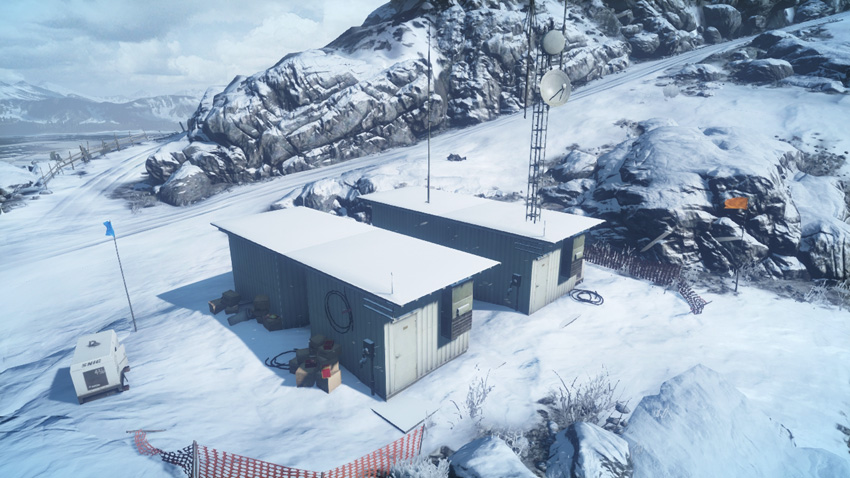
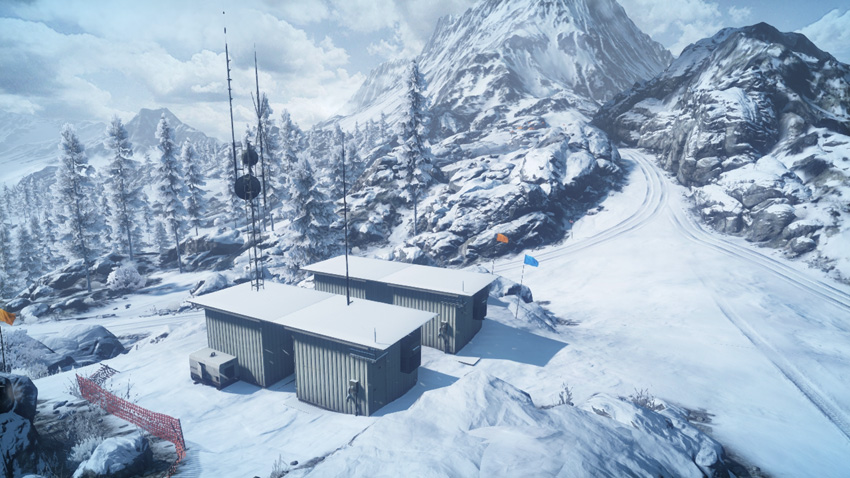
M-COM Station B sits between the two small structures at the radio outpost. The nearby roads and relatively even terrain provide easy vehicle access for both teams. The RU defenders should park their T-90A nearby to help fend off attacks by US ground vehicles approaching from the west. But in addition to watching out for attacks along the ground, the defenders should always make periodic scans of the sky to watch for US troops dropping into the area via parachute from the gunship. Given the open terrain and long sight lines, infantry operating in this area are best equipped with assault or sniper rifles. With the exception of the structures by the objective, there isn’t much cover. So stay low and utilize smoke when necessary to conceal your movements. The US attackers can benefit greatly from their AMTRAC here, parking it near the objective to establish a forward spawn point while using the vehicle’s grenade launcher and machine gun turret to suppress defenders.
Zone 4: Radar Station
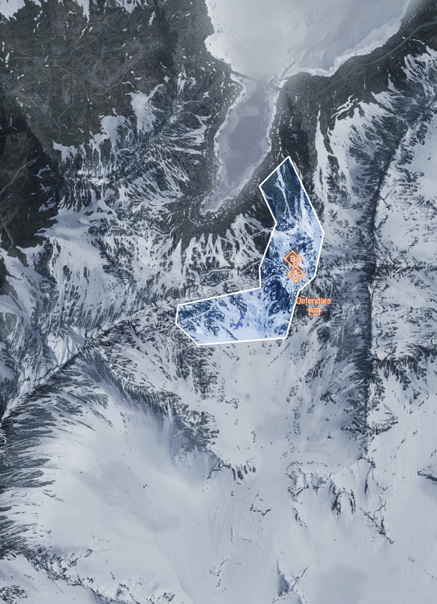
US Deployment
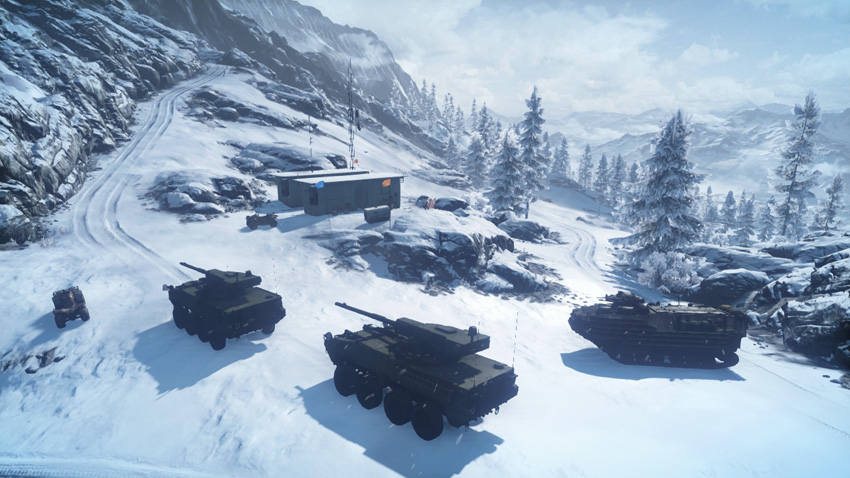
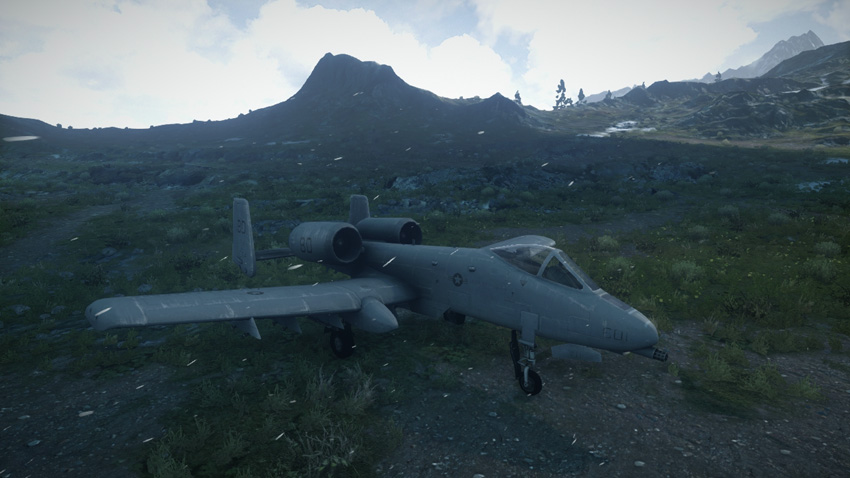
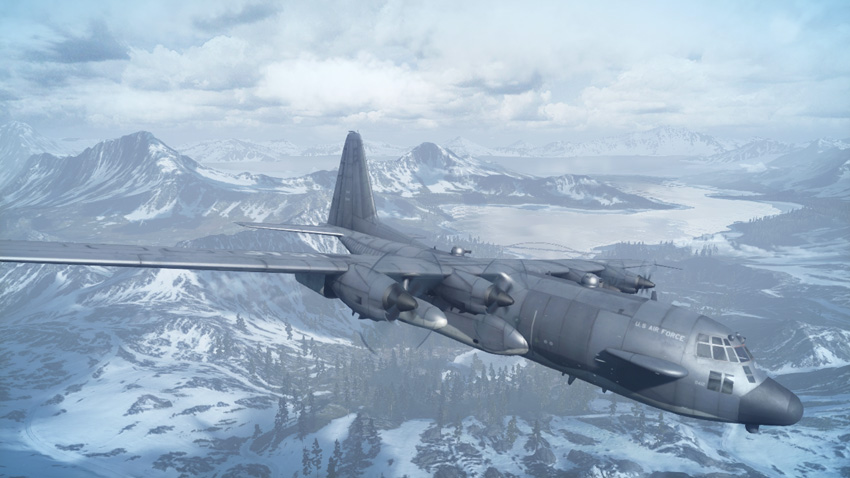
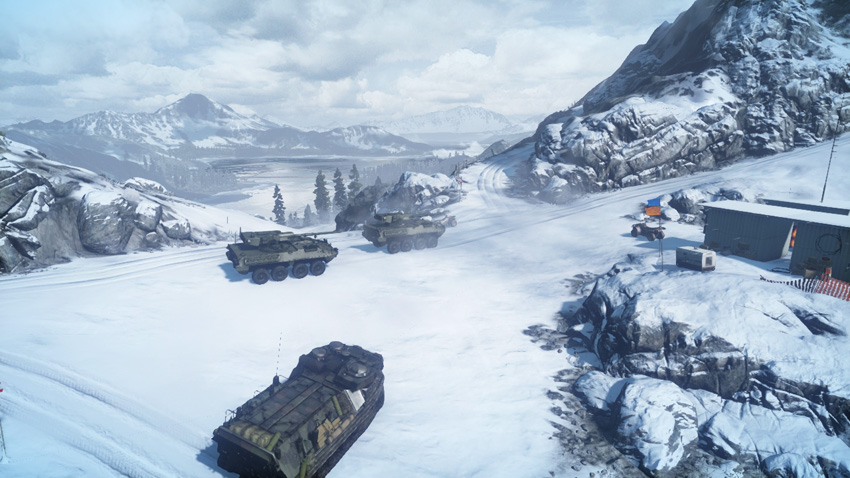
Deployment Area Assets
| Name | Quad Bike | M1128 | AAV-7A1 AMTRAC | A-10 Thunderbolt | Gunship |
|---|---|---|---|---|---|
| Quantity | 2 | 2 | 1 | 1 | 1 |
| Respawn Time | 5 sec. | 20 sec. | 60 sec. | 40 sec. | 120 sec. |
During the final phase of the battle the US team deploys from the radio outpost, having established a solid foothold in the rugged mountain range. While the battle is almost over, the final push toward the radar station can be costly. As a result, the US team must make a coordinated push to achieve victory. From the radio outpost two roads lead to the radar station. The road heading east is the most direct, but is likely to be defended and mined by enemy troops. So consider taking the long way around, utilizing the road to the north. This allows you to sneak up on the radar station from the east. However, due to the distance, it’s best traveled by the speedy quad bikes. But parking the AMTRAC somewhere on the east side of the radar station is a great way to spawn troops close to the objectives. Once again, the A-10 and gunship play a crucial role in securing the final two objectives. Use the gunship to pound defenders posted around the M-COM stations while the A-10 hunts down the RU team’s SU-25TM and T-90A. With a coordinated push from the ground and air, the US team has a good chance of wrapping up the win.
RU Deployment
Deployment Area Assets
| Name | T-90A | SU-25TM Frogfoot |
|---|---|---|
| Quantity | 1 | 1 |
| Respawn Time | 60 sec. | 40 sec. |
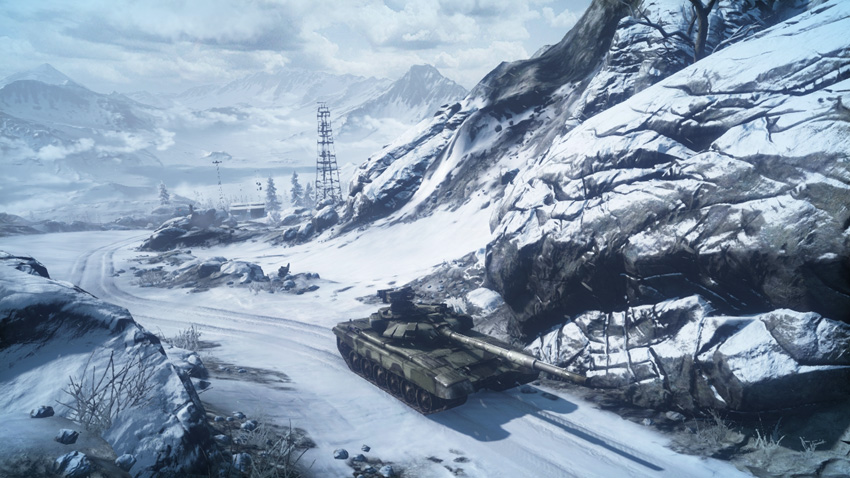
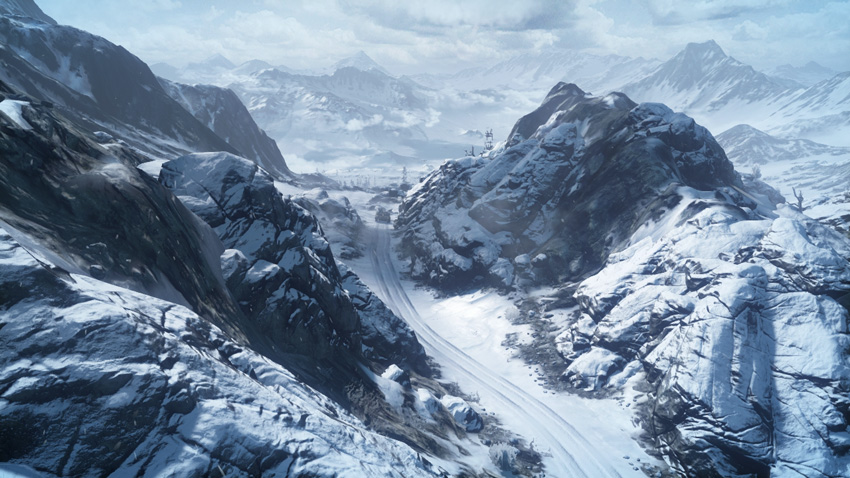
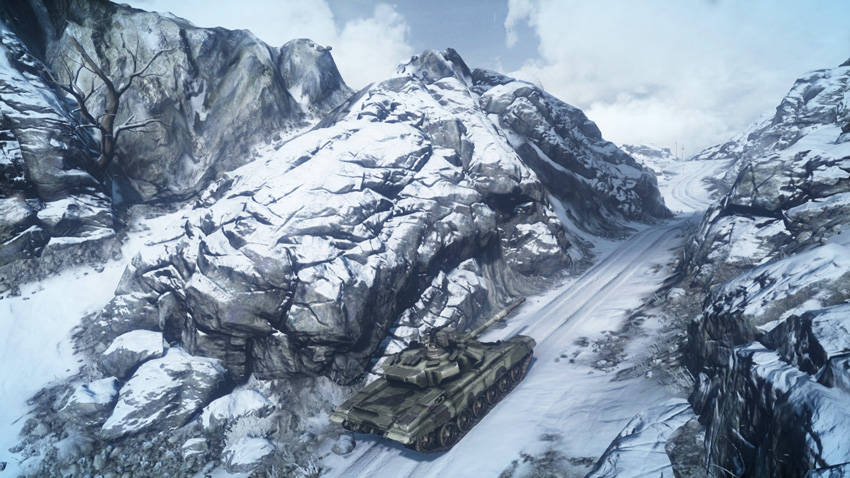
Although this is the final phase of the battle, the RU team has a very good chance of holding out for an upset here. The road to the west is steep and narrow, making it ideal for ambushing US attackers approaching from the radio outpost. Engineers armed with mines and rocket launchers and support troops equipped with C4 can delay the US advance here indefinitely. Strafing runs by the SU-25TM are also effective when focused on this narrow road. But it’s important to watch for flanking attacks from the east as well. So it’s important to post a squad (or the T-90A) on this flanking route. Since the radar station can be attacked from two different directions, recon troops should consider launching MAVs to keep an eye on US movements from the air. Defensive efforts on the ground can be completely spoiled by the pesky US gunship and A-10. So get the SU-25TM in the air and use it to shoot down these US air assets. With the A-10 and gunship out of the picture, the battle is much more even, giving the RU team a better chance of holding out for a win. The key here is protecting M-COM Station B in the radar tower, as it’s the easiest objective to defend.
M-COM Station A
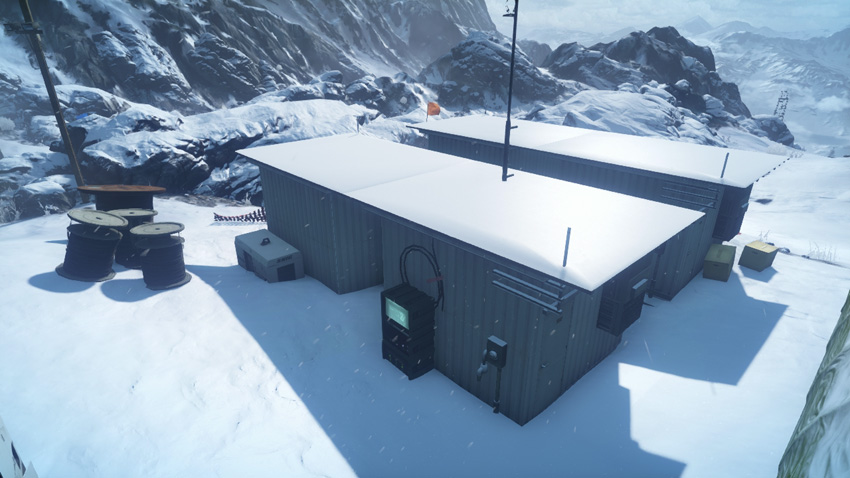
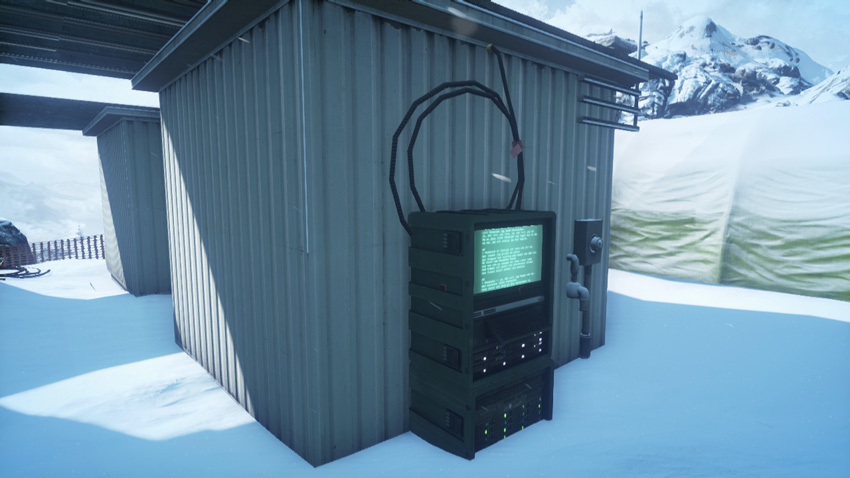
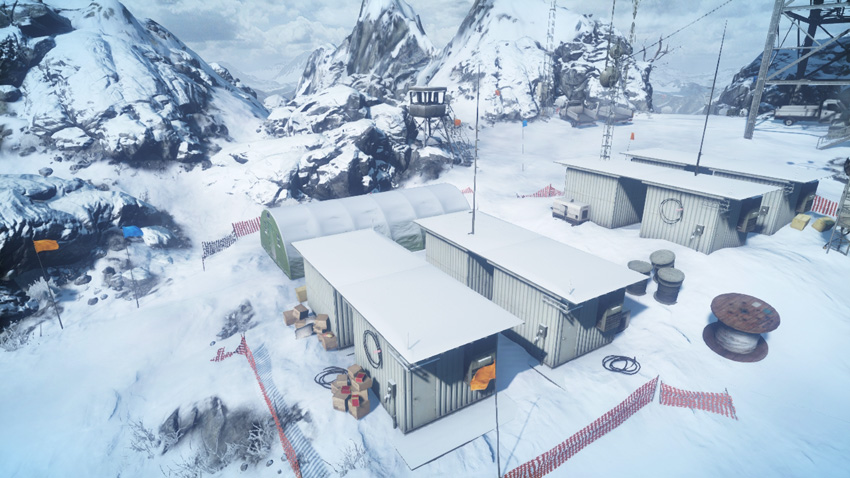
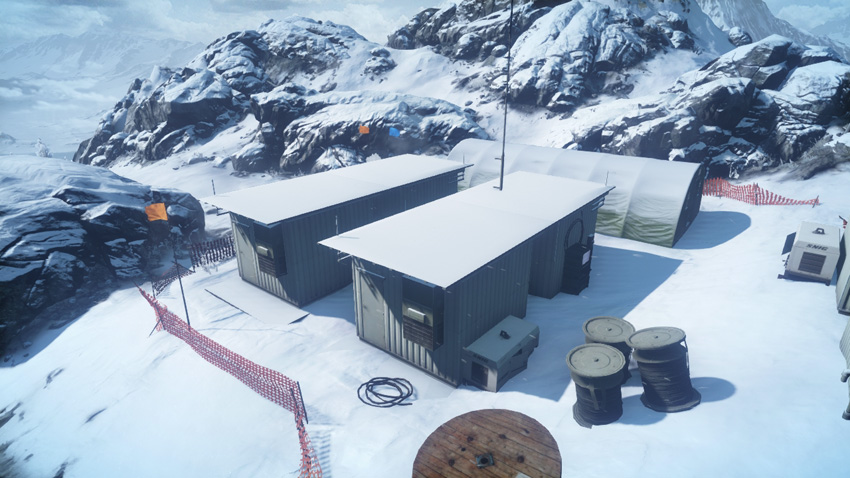
Of the two remaining objectives, M-COM Station A is the easiest to attack. The objective is tucked between a few small structures on the south edge of the radar station facility. While the alley between the structures is somewhat narrow, it’s still wide enough to accommodate vehicles. Quad bikes in particular have no problem negotiating this somewhat cramped space. The US can even get their AMTRAC close to this objective. As a result the RU team should prepare for point-blank vehicle attacks on this area. Placing mines and C4 around this area is the best way to defend against such aggressive attacks. But infantry pose a threat too. Both teams should prepare for close-quarters combat around the M-COM station. The small structures offer plenty of cover and concealment for both attackers and defenders, often leading to some intense close-quarters engagements where shotguns and PDWs are most effective.
M-COM Station B
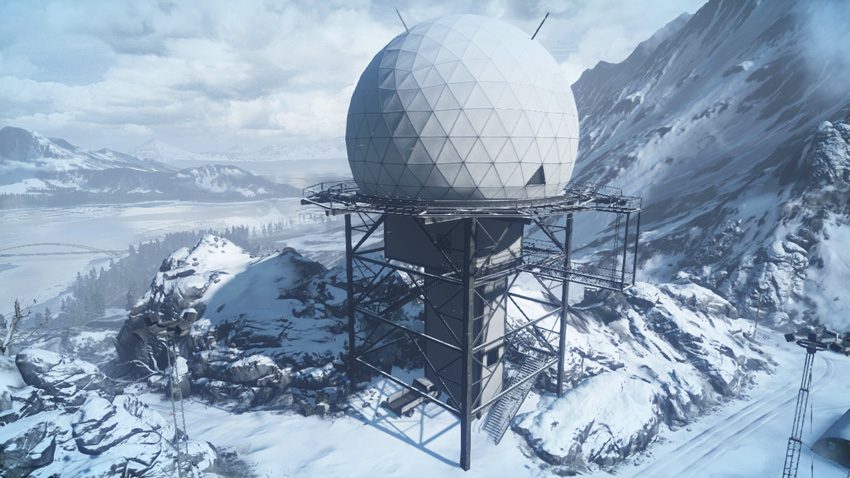
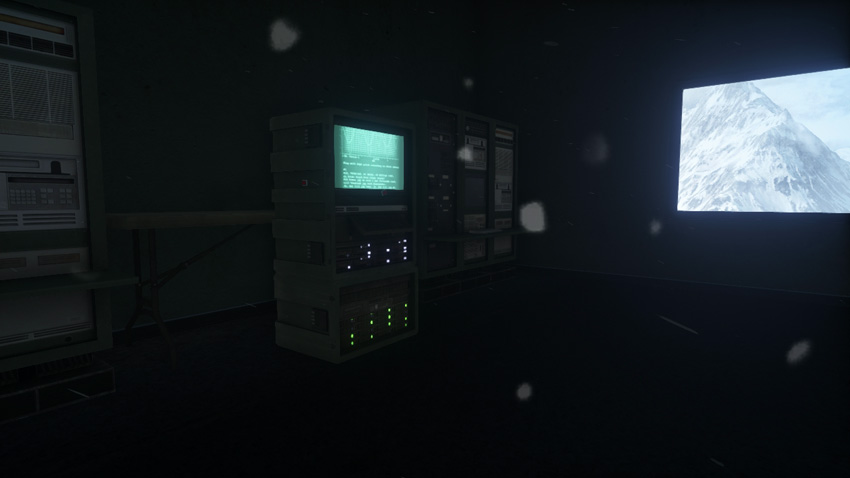
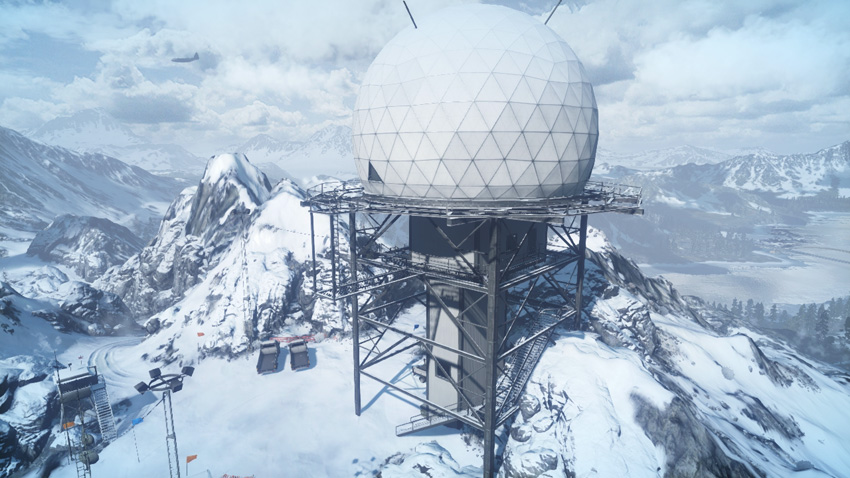
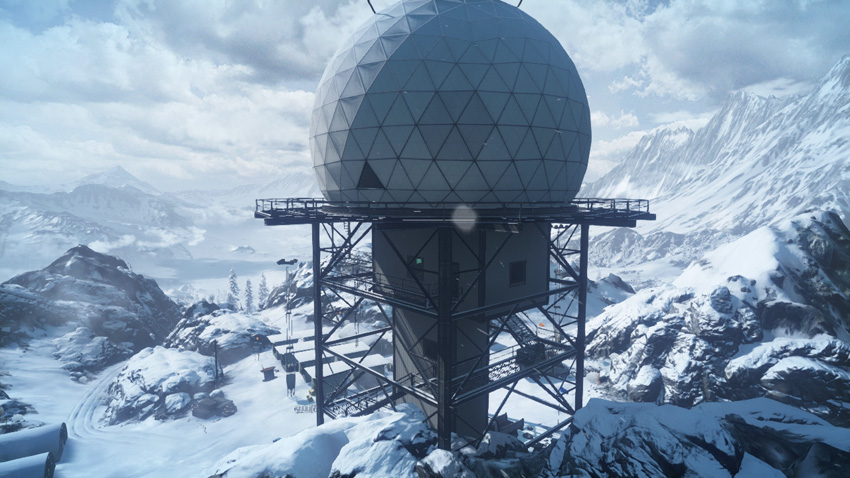
M-COM Station B is housed within the control room atop the tall radar tower. While vehicles can assist in securing the exterior, the fight for control of this tower is largely an infantry battle. The RU defenders must move quickly to secure the tower at the start of the round, preferably by placing radio beacons inside the control room. Maintaining a spawn point on the tower is crucial when defending the objective. The staircase at the base of the tower is the only way to climb to the control room. However, sneaky US paratroopers can drop onto the tower via parachute, landing on the upper-level catwalk—a popular sniper perch. From the ring-shaped catwalk a ladder leads down to the lower-level catwalk, from which the control room can be accessed. Both teams should expect fighting to occur at close range. Deploy with a shotgun or PDW, preferably equipped with a tactical light or laser sight. The control room interior is dark, making it the perfect place for ambushes and booby traps. So attackers should always lob grenades inside the control room prior to entry in an effort to detonate booby traps and kill camping defenders.
Squad Rush
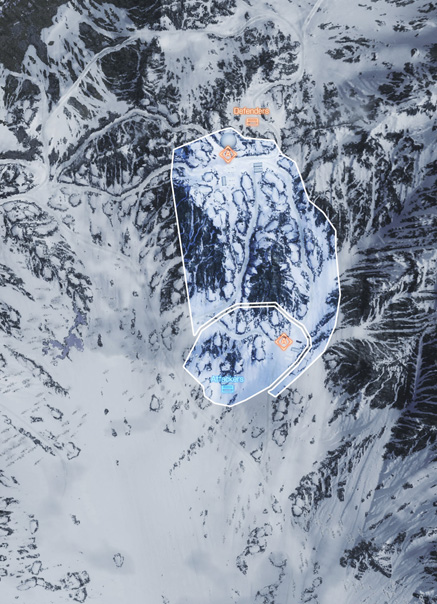
This battle takes place in the high elevation of the mountain range, with objectives located at the communication station and radar station. The terrain here is rocky, with very few trees to serve as cover or concealment. As a result, most engagements occur at intermediate to long range. Choose your equipment accordingly before spawning into the match. While sniper rifles can be effective, the bulk of your squad (whether attacking or defending) should bring along assault rifles. Reconnaissance is equally important, so make sure at least one member of your squad spawns in as a recon soldier and is equipped with a MAV. Having an eye in the sky pays off in spades, allowing your squad to hunt down the opposing team one by one. The defenders may also want to bring along a radio beacon so they can maintain a spawn point near the objective. The attackers should rely primarily on squad spawns to keep up the pressure in each zone.
Zone 1: Communication Station
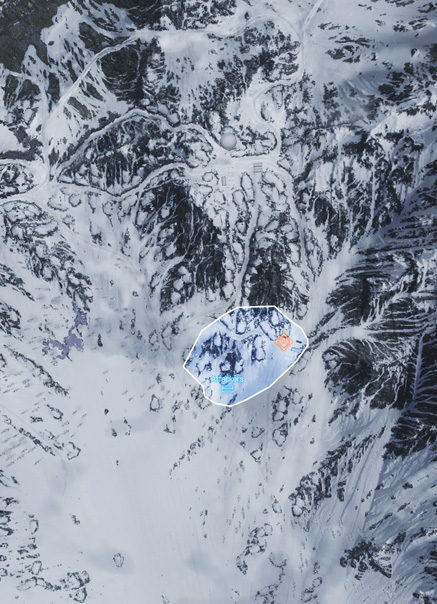
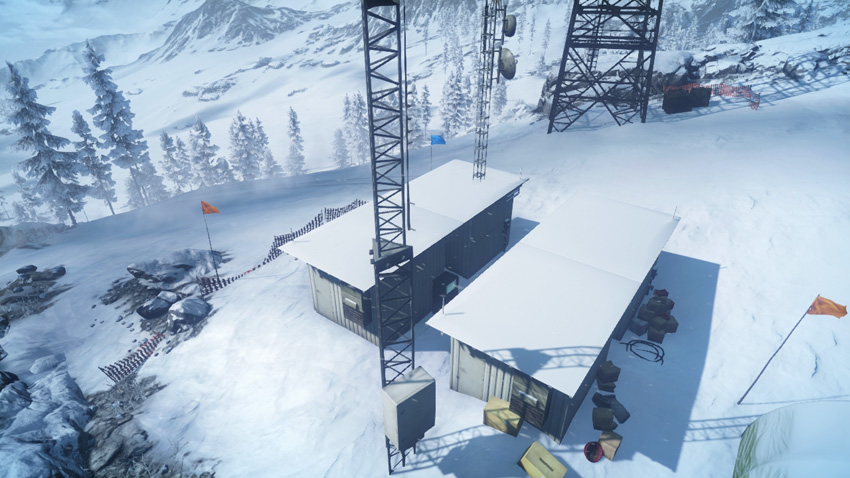
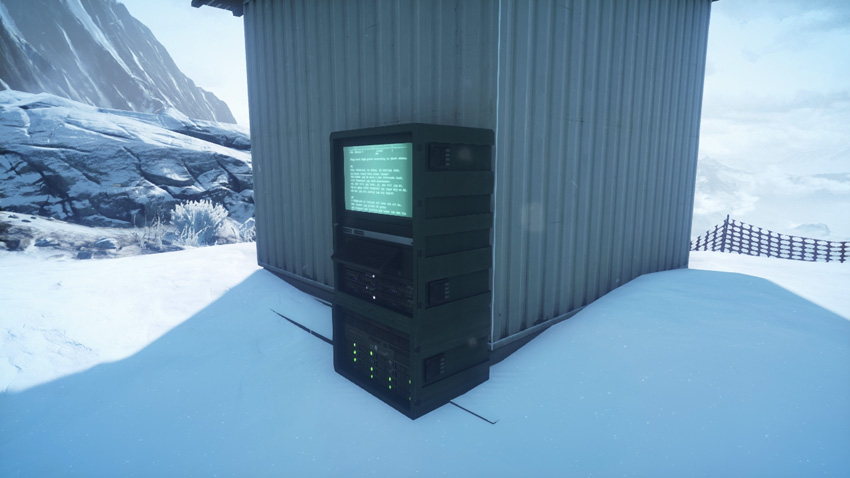
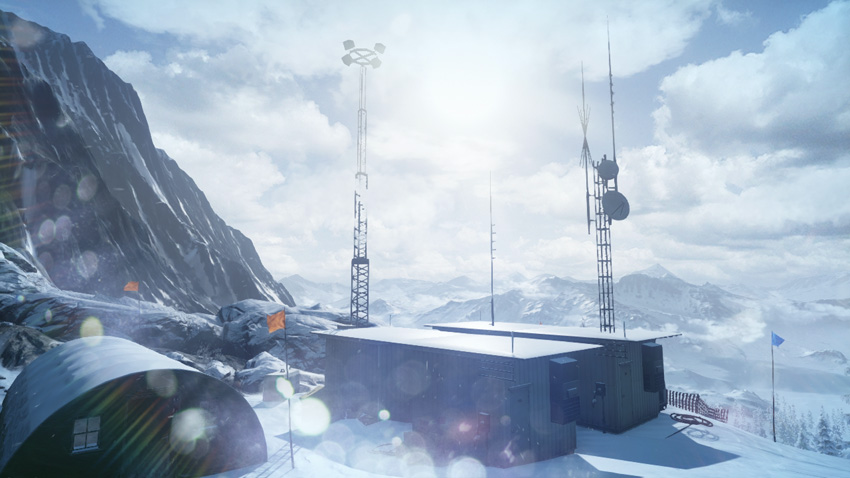
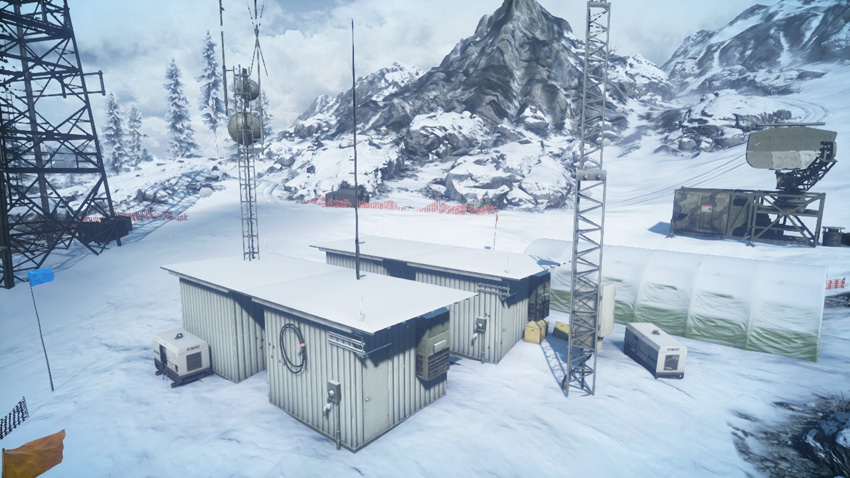
The first objective is located at the communication station, tucked between a cluster of small structures. Early in the round the defenders should deploy claymores and a T-UGS motion sensor near the objective in an effort to prevent a quick attack. Both teams can benefit from the deployment of a MAV. Given the lack of overhead cover, MAVs are very effective for identifying the locations of your opponents. Although the terrain is rather open in this area, fighting near the M-COM station takes place at close range. As a result, consider bringing along a compact assault rifle or carbine for greater versatility when engaging targets at various ranges. If carrying a larger weapon, switching to a pistol with a high-capacity magazine (like the G18 or 93R) can make close-quarters firefights around the objective much easier. Instead of rushing the objective from the south, the attacking team should take their time moving in, preferably flanking from the west where there’s more cover and concealment among the rocks.
Zone 2: Radar Station
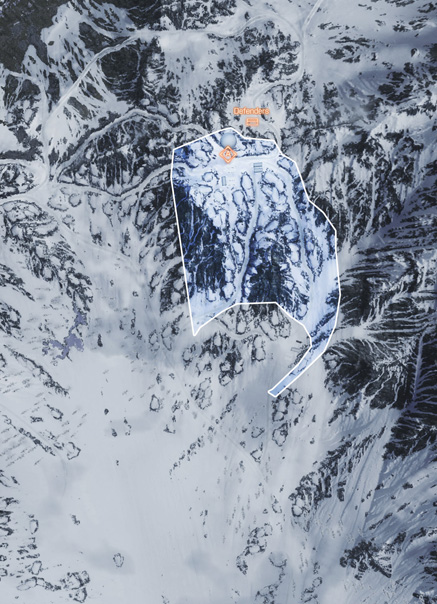
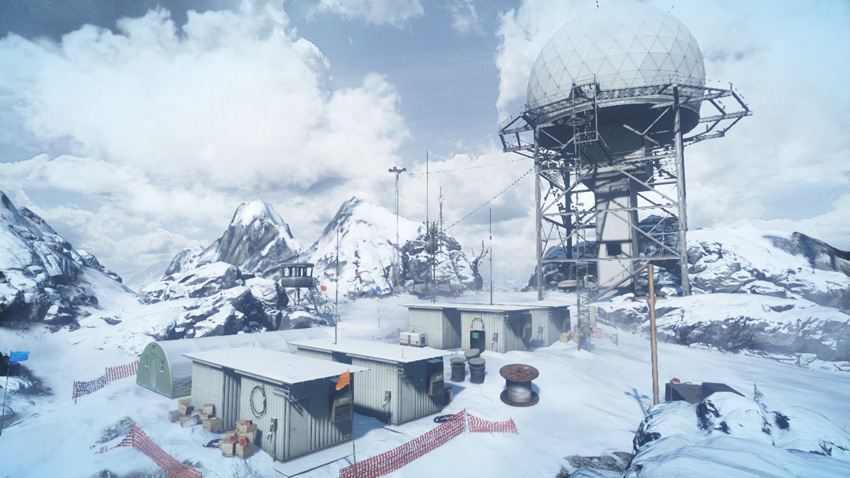
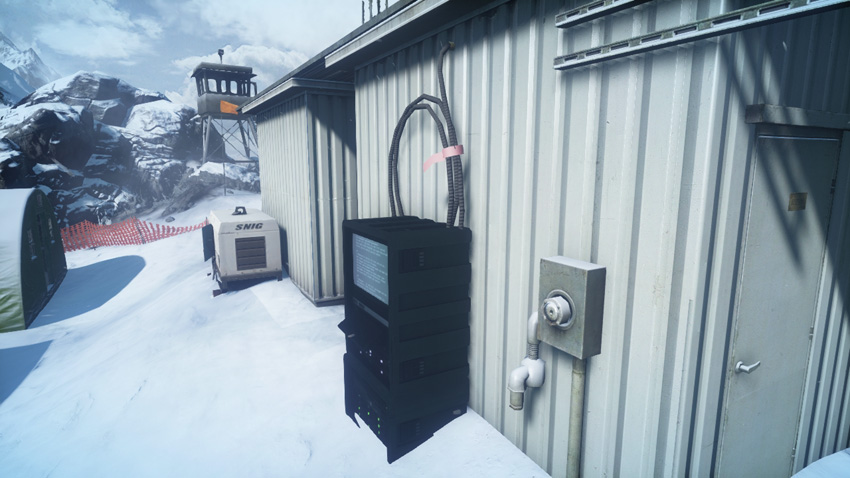
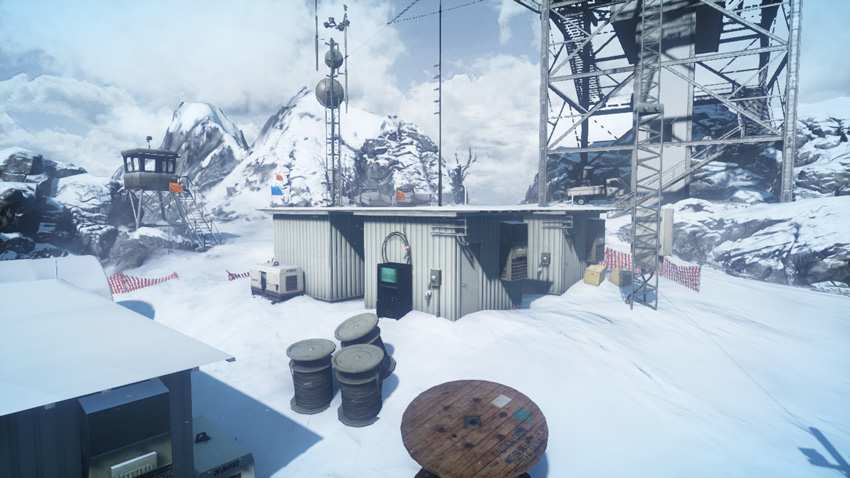
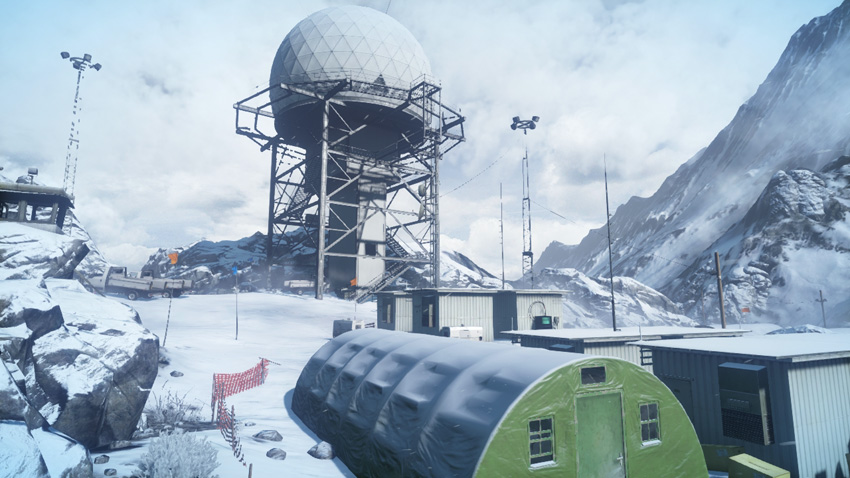
The defenders have the advantage of the high ground in this final phase of the battle. While it may seem tempting to climb to the top of the radar tower and snipe the incoming attackers, no more than one squad member should be posted on this tower—from this elevated position it’s impossible to see or hit anyone tampering with the objective. The rest of the defending squad should scatter out around the objective, and maybe even ambush the attackers as they climb the slope to the south. Once again, MAVs are very effective for both teams when it comes to gathering intel on enemy positions. The objective is pressed against the exterior of a small structure not far from the base of the radar tower. The guard tower to the west offers a good view of the M-COM station, making it an ideal overwatch position for both the attackers and defenders. For the attackers, a cautious approach is best, particularly while negotiating the rocky slope to the south. When possible, try to flank the radar station from the east or west.
Tank Superiority
Superiority Flag
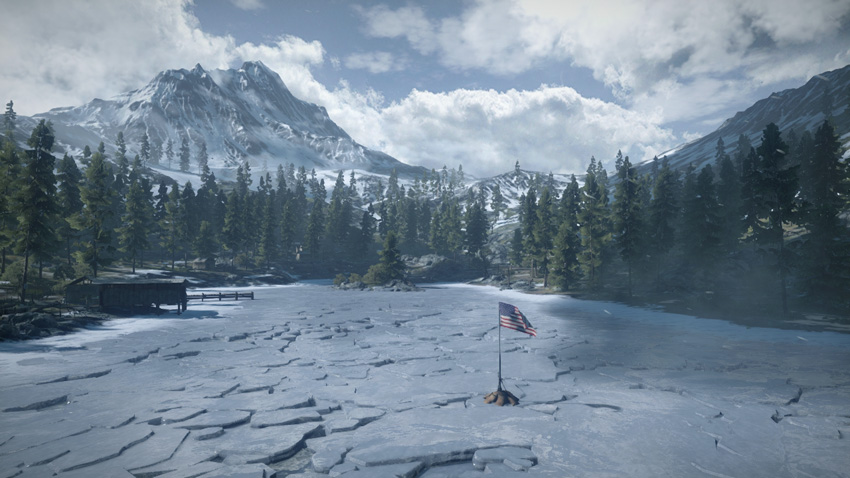
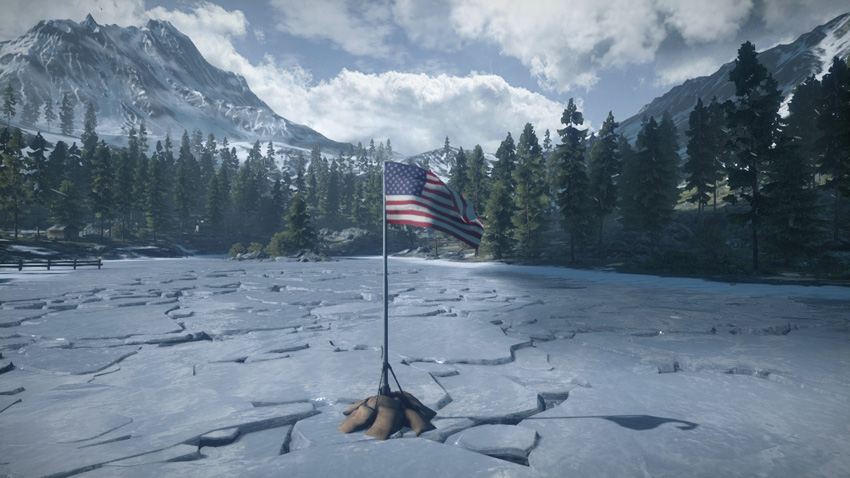
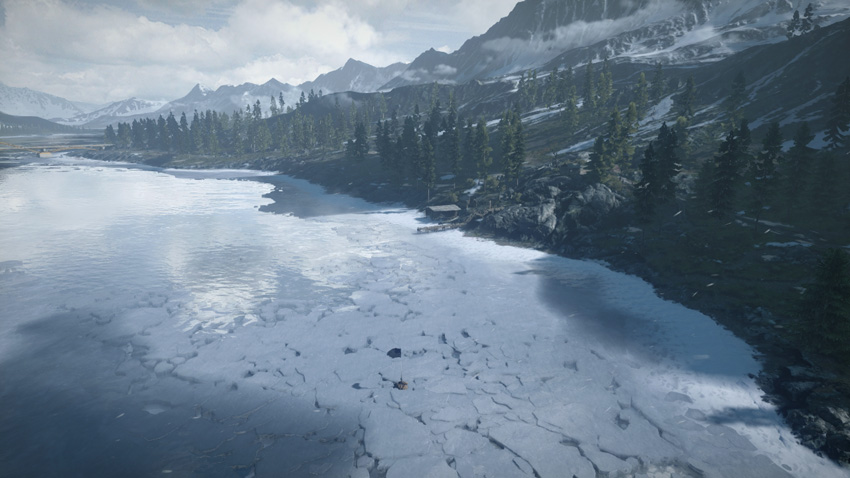
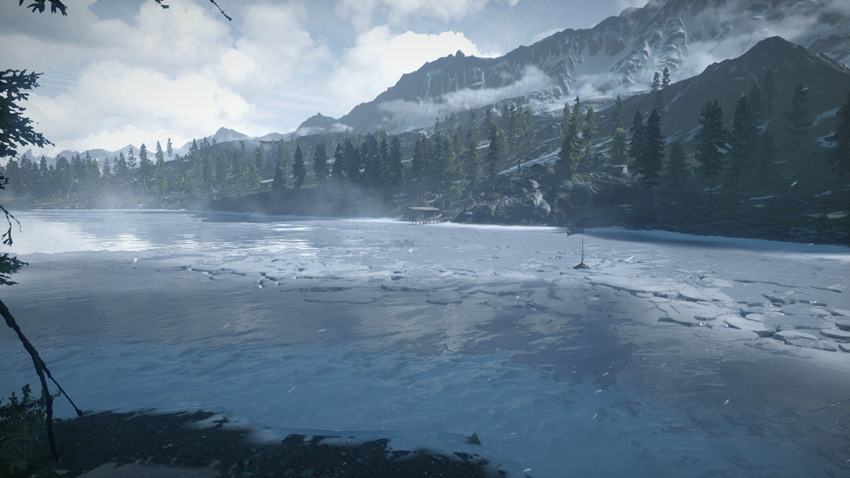
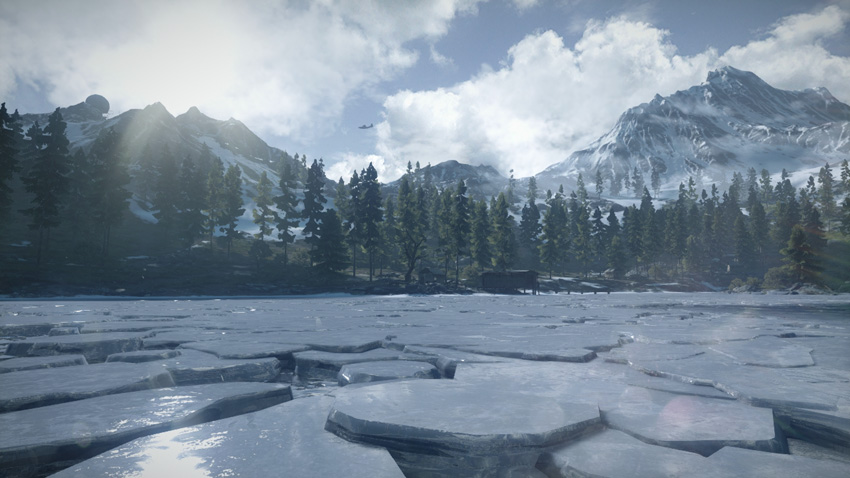
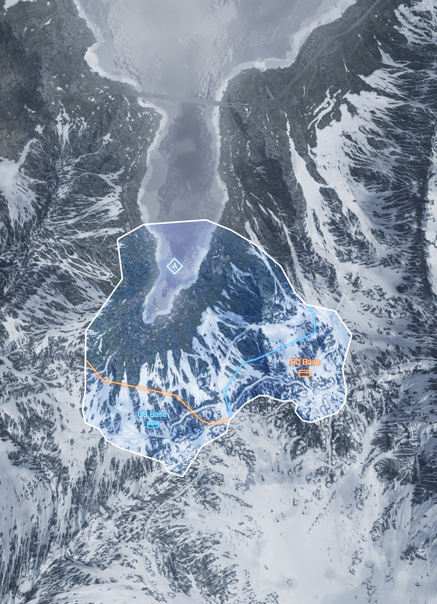
On this Tank Superiority map both teams start off in the mountains to the south. The US team deploys from the base camp to the southwest while the RU team spawns at the radar station to the southeast. With both teams racing to the flag on the frozen lake to the north, encounters en route are common, usually occurring on the lake’s south shore. So instead of just rushing the flag, look for opportunities to flank the enemy vehicles as they descend the narrow mountain roads. The flag is located on the frozen lake, offering absolutely no cover or concealment—this is no place for infantry. So when capturing the flag, drive a tank or tank destroyer onto the ice and drive within the flag’s capture radius. Movement is important to avoid being peppered by incoming rounds. However, be careful when driving on the ice, particularly when backing up. The ice extends only for a few meters north of the flag. If you’re not careful you may accidentally drive off the ice and into the lake. Once the flag is under your team’s control, assume fixed positions along the wooded banks of the lake. The RU team is better off controlling the east side of the lake while the US team holds the western bank. The woods also provide cover and concealment for infantry. Engineers armed with Javelins have an easy time targeting enemy vehicles making a move for the flag. Recon soldiers equipped with MAVs and SOFLAMs are also beneficial for spotting and laser-designating targets.
Squad Deathmatch
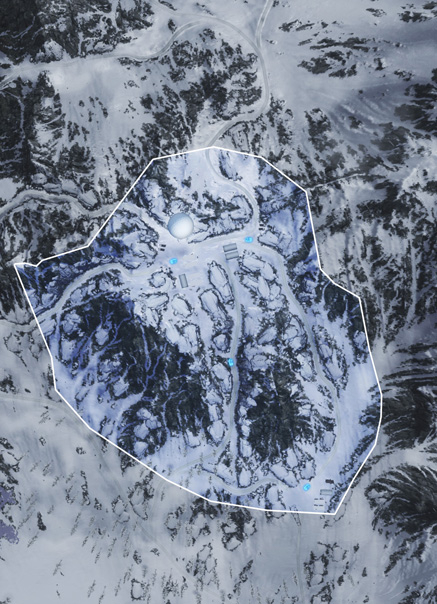
This Squad Deathmatch is mostly centered around the rocky, snow-covered terrain of the radar station. While most fighting occurs around the radar station to the north, the map extends to the communication station to the south. The rocky terrain in the center of the map is difficult to traverse on foot, but it’s preferable to moving along the steep narrow roads. With few trees available for cover and concealment, be ready to drop prone among the rocks if you come under fire. Patrolling the rocky center of the map is safer than fighting for control of the radar station. In many matches, squads often battle for control of the tall radar tower. While this predictable sniping perch is a good defensive position, your squad may incur heavy losses while trying to hold the high ground. There are four possible IFV spawn locations, and two of them are at the radar station. But the uneven terrain makes these vehicles difficult to maneuver on this map. If your squad gains an IFV, stay near the flat terrain of the radar station or communication station. These areas offer the longest sight lines, allowing you to engage opponents at long range with the vehicle’s powerful weapons. Avoid traveling the narrow roads between the two locations to avoid being ambushed by opposing squads.
Team Deathmatch
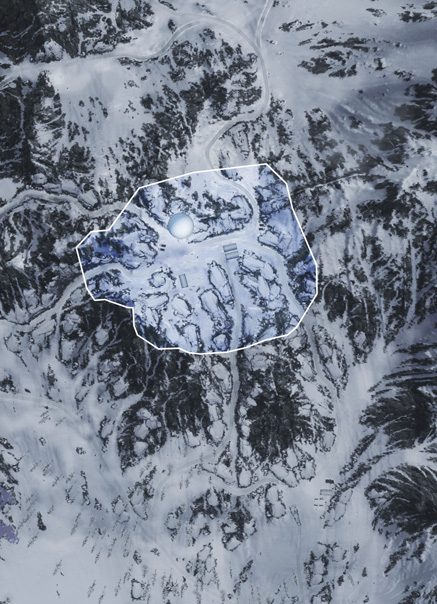
The Team Deathmatch variant of this map is restricted to the area around the radar station. At the center of the map is the tall radar tower, often making this structure the focal point of the battle. The tower’s elevated catwalks provide a sweeping view of the surrounding area, making it an ideal sniper perch. However, securing the tower from enemy infiltration is a must if your team attempts to hold out here. Place claymores along the stairways and post guards on the catwalks to defend against intruders. While the radar tower offers a clear view, the catwalks offer little cover. Instead, consider sniping through the windows of the control room. Aiming through the windows reduces the field of view, but the added cover is worth it. If the opposing team controls the tower, do your best to stay out of sight. Hide among the rocks to the south and use a sniper rifle of your own to pick off exposed opponents on the tower’s catwalks. Considering the long sight lines on this map, choose your weapons accordingly. Assault rifles and sniper rifles offer the best range and power. However, you may want to go with a shotgun or PDW if attempting to clear out the radar tower.