
Eriksholm The Stolen Dream – Martha Bridge Puzzle Solution
Why did you say that name?

During chapter three of Eriksholm: The Stolen Dream, Hanna will come across a steam-operated mechanical bridge called Martha. To operate it correctly, you need to turn four levers in the correct direction based on encrypted instructions left in the operating room.
It’s a tricky puzzle and requires a bit of deduction, but if you can’t figure out what the symbols mean, here is how you can solve the Martha bridge puzzle in Eriksholm: The Stolen Dream.
Martha Bridge Puzzle Solution in Eriksholm The Stolen Dream
To cross the Martha bridge in the third chapter of Eriksholm: The Stolen Dream, you need to turn four levers in the correct direction based on the note left by its operators. The symbols might not make sense at first, but some clear hints before this section make the solution easy. Here’s how to solve it and proceed to the next area.
- Lever 25: Inside the operating room, there are two levers with unique numbered markings. For the lever with 25 written on the floor, you need to turn it to the left.


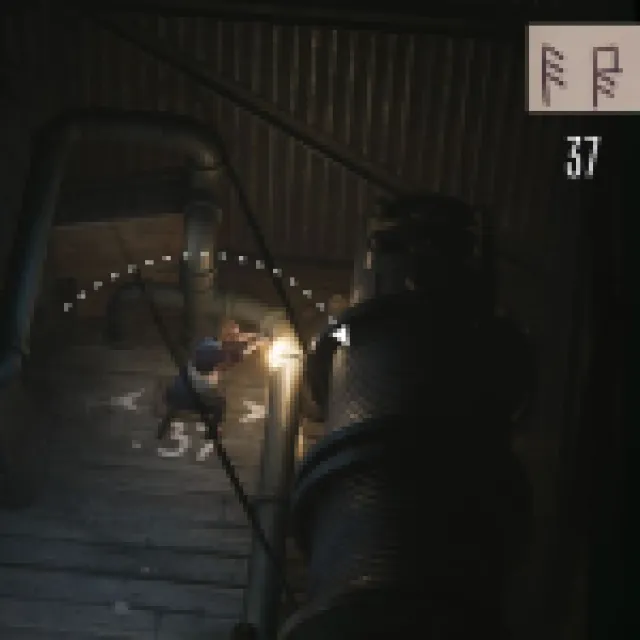
- Lever 37: In the same room, there is another lever with 37 marked on the floor right next to it. Turn this lever to the right.

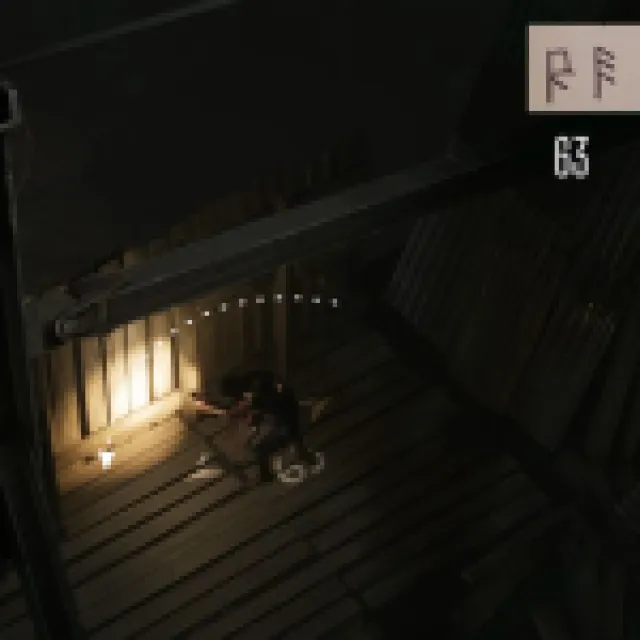
- Lever 63: On the roof of the room, right next to the switch, is another level. This one has 63 marked next to it, and you need to turn this to the left.

- Unmarked Lever: Finally, right behind the bridge room is the last lever. It isn’t marked with any number, but if you look closely at the sign above it, you’ll see a faded “CROWN” lettering.


After all four levers are set correctly, climb back to the top and flip the switch to activate the bridge. If nothing happens, double-check each lever. Here’s a table with a reference to each lever and its required direction, just in case:
| Lever | Direction |
|---|---|
| 25 | Left |
| 37 | Right |
| 63 | Left |
| Unmarked (Crown) | Right |
Once you hear a satisfying whir and thud, the Martha bridge in Eriksholm: The Stolen Dream will descend, letting you move forward.