Bioshock: Infinite – Collectibles Guide – Part 3
We won't stop until we help you find every last voxophone and kinetoscope . . .
Back to Columbia we go and by now you may have noticed that what seemed to be a beautiful sky-bound utopia is now much further from heaven than it originally seemed. However, keep up your resolve and fight on so that you can retrieve the rest of these collectibles and uncover more of Columbia’s history and secrets! Also, don’t forget to pick up any lockpicks you find. You sometimes even find a few vending machines that sell them so keep an eye open when buying ammo, health and salts.
Voxophone 41/80
While exploring the facility beneath the Good Time club you’ll find a room with a projector showing a film of men interrogating Chen Lin and in this room is a code book, you must pick it up in order to acquire another voxophone a little later. Open the doors to the next room to find the next voxophone just to the right on a stool.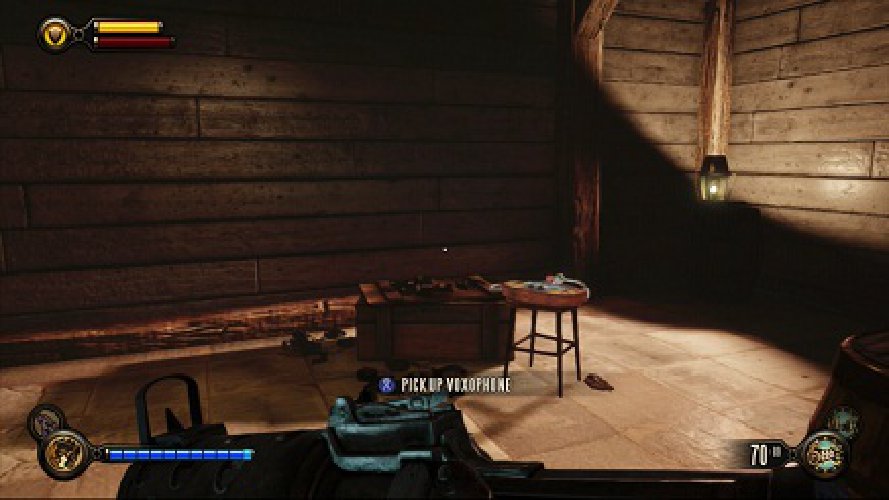
Sightseer 26/37
As you backtrack through the club to head out to the gun shop you’ll find the vending machine in the entrance of the club. Before there was a kinetoscope on the left of the vending machine, but since you have now walked through a tear and into an alternate reality, there is a new kinetoscope to the right of the vending machine. This is an easy one to get tricked by so be vigilant!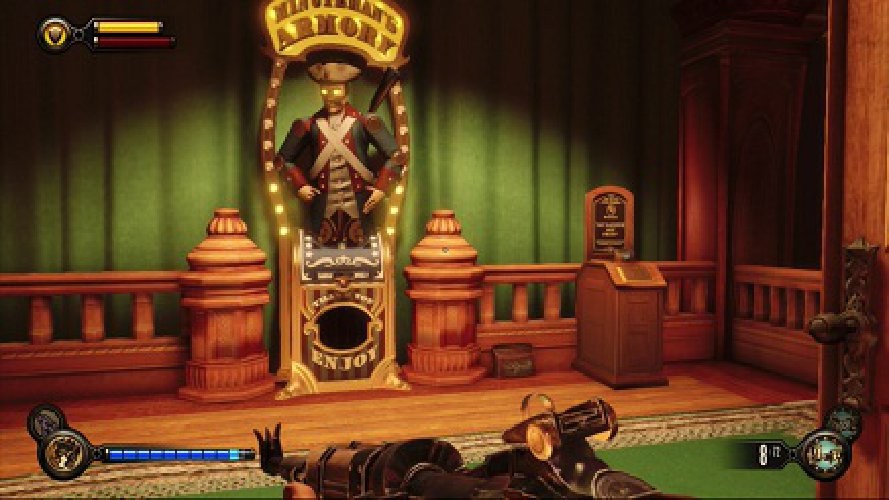
Voxophone 42/80
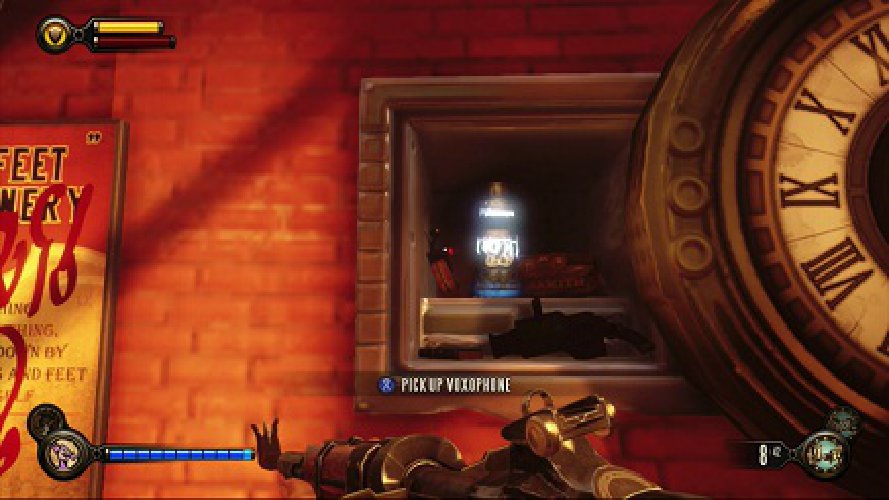
Head back to where you came down the elevator and first saw the auction-esque gathering outside. Facing away from the elevator you rode down on earlier in the level, turn right ninety degrees and turn the corner of the building. You’ll find a door with a lock that can be picked and in there is a vox code. Use the code book to decipher the code, turn the clock to midnight and you’ll find an infusion as well as a voxophone.
Voxophone 43/80
When down in Shanty Town, look around and you’ll come across some large doors leading into a bar called the Graveyard Shift. Head inside and in the back area, down the stairs you’ll find a voxophone on a table.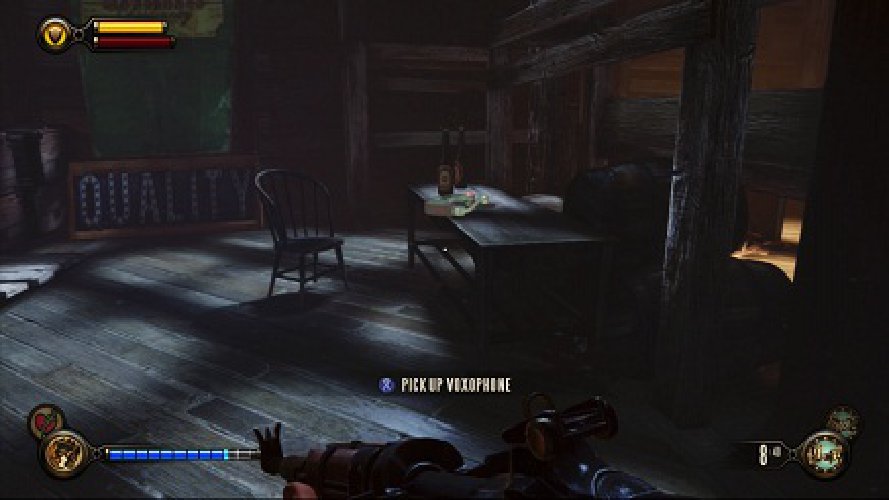
Sightseer 27/37
Moving onward through Shanty Town you’ll soon hear Elizabeth point out the compound and Booker states they’ll have to fight through an army to get Chen Lin’s tools. Upon hearing this you should be on (or have just gone down) a small set of stairs. Look above you and you’ll see some freight hooks. If you’re unsure of this area, it is the area where you are attacked by large explosive barrage guns attached to the compound itself. Jump up to the balcony beneath the freight hooks and you’ll see a telescope.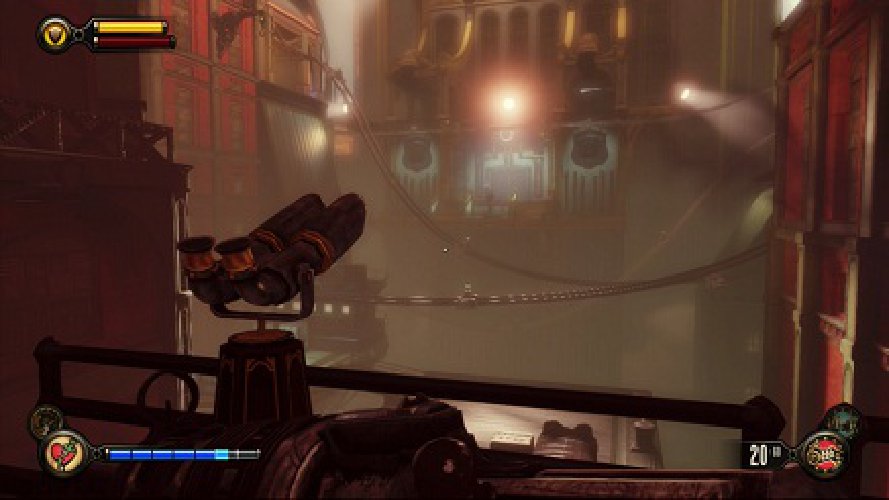
Voxophone 44/80
After dispatching the large explosive wall-mounted guns, hop onto the farther of the two skylines in front of you and head right. The first area you may dismount has a voxophone on the floor to the right.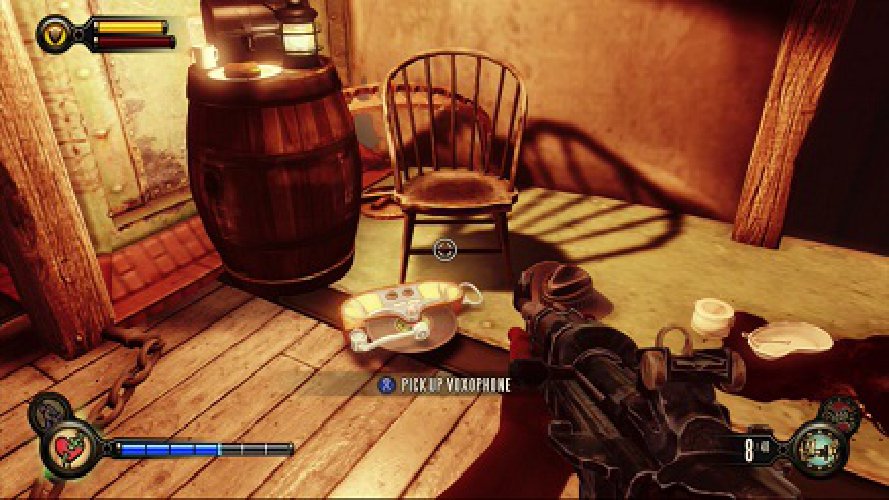
Sightseer 28/37
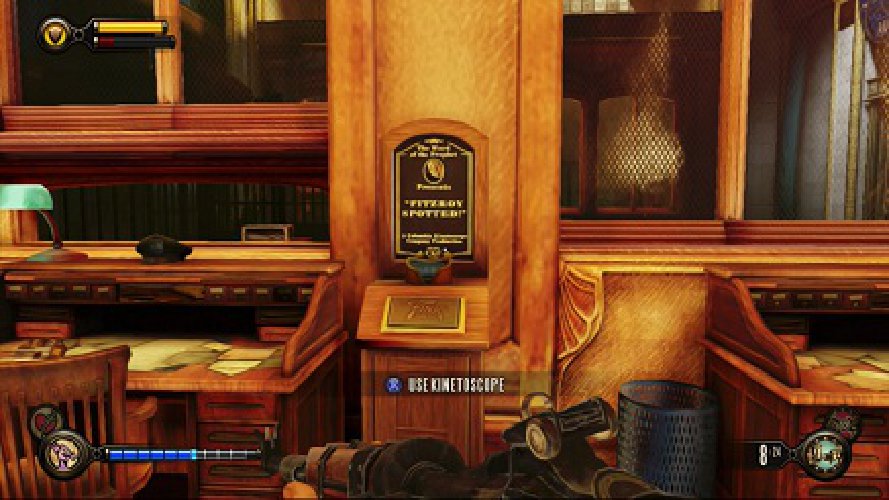
Upon entering the compound, head through the large metal fencing/gate in front of you and turn right. In the small side room you’ll find a kinetoscope.
Voxophone 45/80
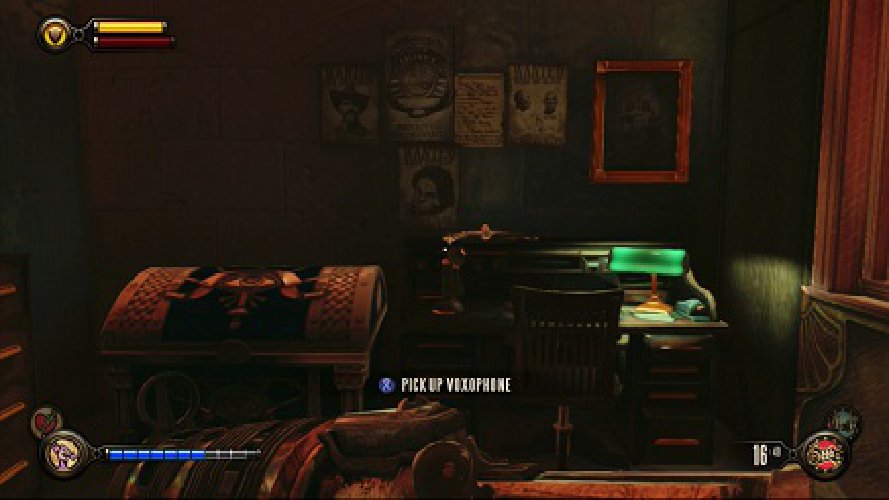
In the next room there should be a tear in front of you that grants you cover. Once you enter this room, turn left and head upstairs. Make your way to the back of the room (the opposite side from which you entered) and you’ll find a room with a large chalkboard on the right wall. Opposite this wall are some small offices, one of which has a voxophone.
Voxophone 46/80
Head back to the door where you entered the room and saw the tear with the cover. Face into the room as if you just walked in and head forward then turn left at the reception desk. Take another left and at the end of the small corridor you’ll see a voxophone on the under shelf of a table.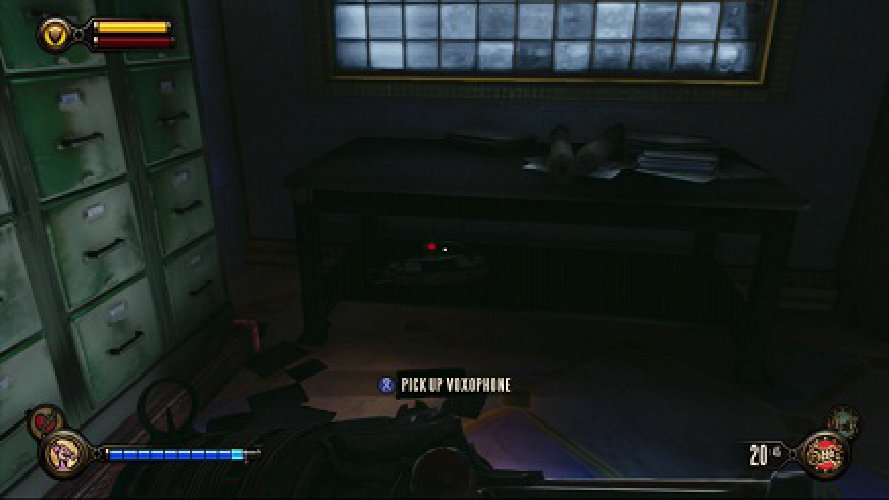
Voxophone 47/80
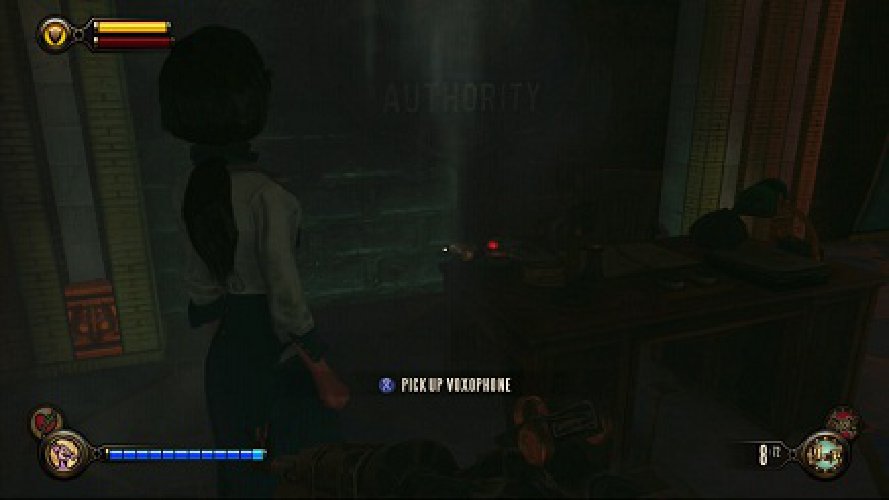
Once you open the tear that sends you to another alternate reality within the compound, make your way back through the compound as you are supposed to. But upon leaving the room with the guns, the first desk you see should have stairs leading up on either side. On this desk is a voxophone.
Voxophone 48/80
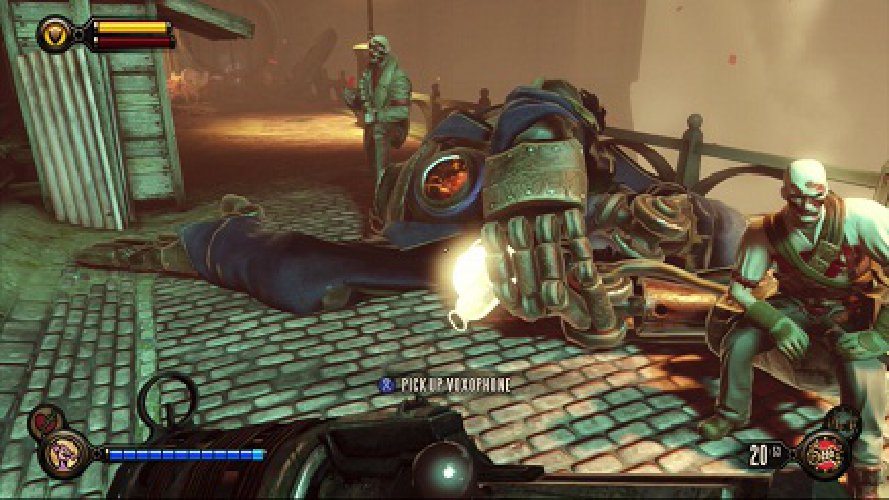
Once you’re back outside in Shanty Town backtrack through the streets and head back to the Graveyard Shift bar. Outside of it you’ll find photographs being taken of a defeated Handyman. A voxophone can be found in front of him.
Voxophone 49/80
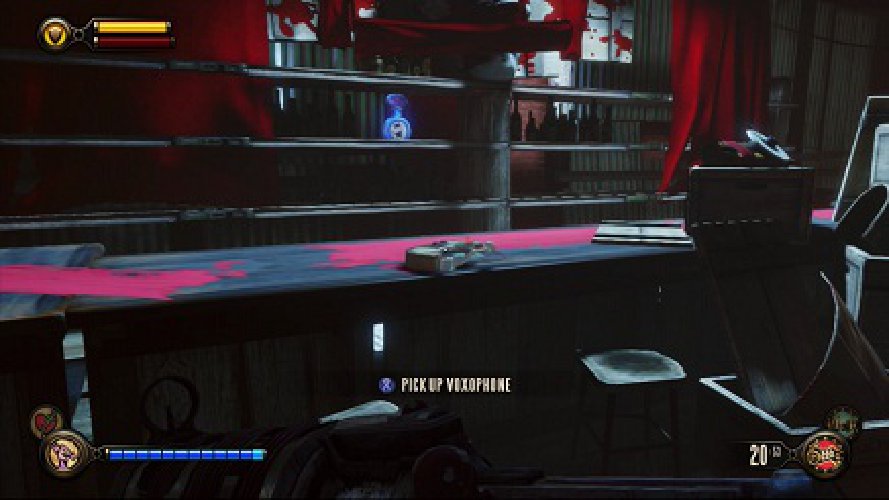
Head into the Graveyard Shift bar to find a voxophone on the bar.
Voxophone 50/80
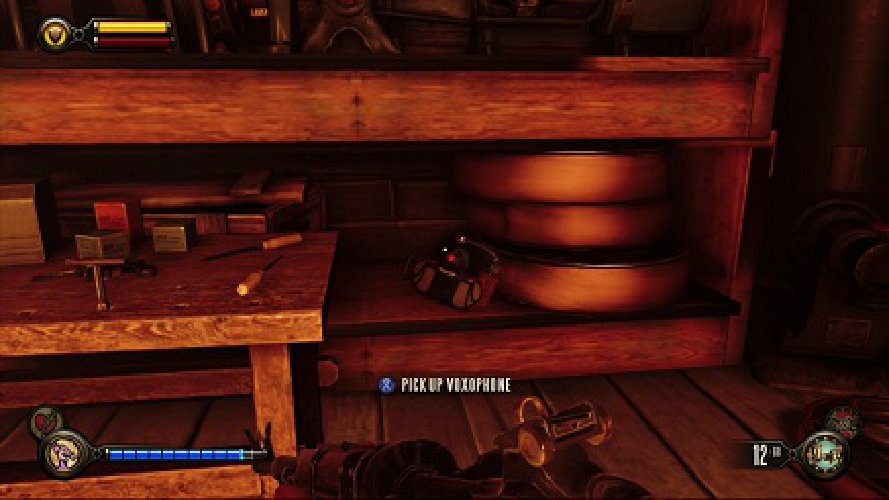
Once you find yourself back in the outdoor area outside the Good Time club, head into Chen Lin’s shop. On some shelving to the left inside the entrance to his store you’ll find a voxophone.
Sightseer 29/37
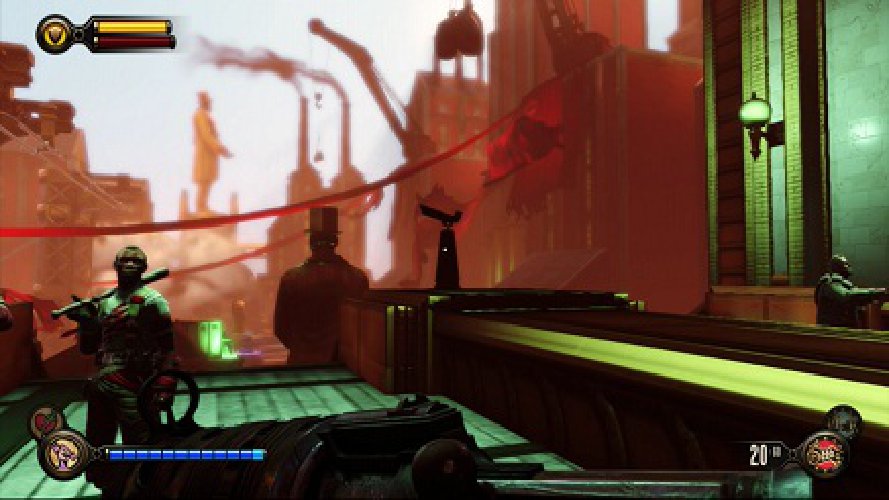
Right after sabotaging and destroying the airship over the large bridge to the factory, head over to the doors that lead to Finkston Proper. Before you go through them turn right around to see a telescope.
Voxophone 51/80
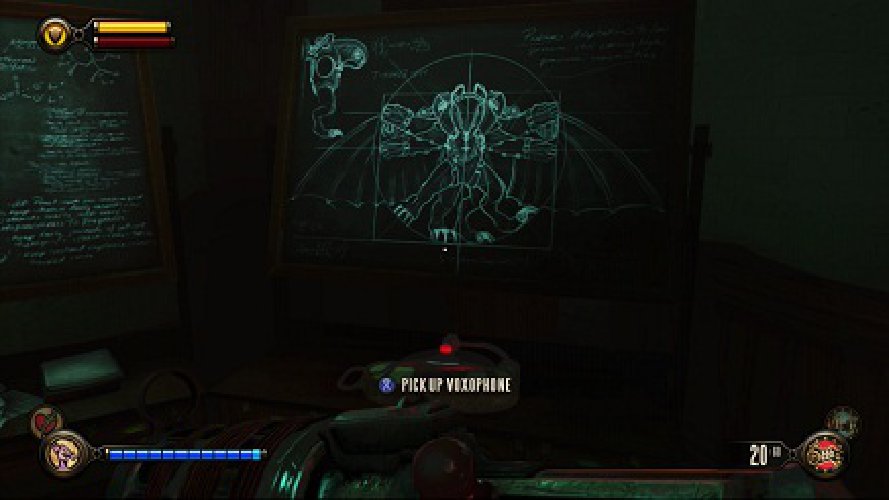
You’ll soon find yourself riding an elevator that passes many production lines and within the elevator you’ll speak with Fitzroy on the phone. Once the elevator stops, take care of any enemies you find and head to the far side of the room. There will be chalkboards including one detailing designs of Songbird. Underneath this is a voxophone.
Sightseer 30/37
Opening the next doors you’ll find yourself on some elevated platforms with a large clock piece in the center. Make your way around to the other side of the clock tower and on the far side you’ll find a telescope.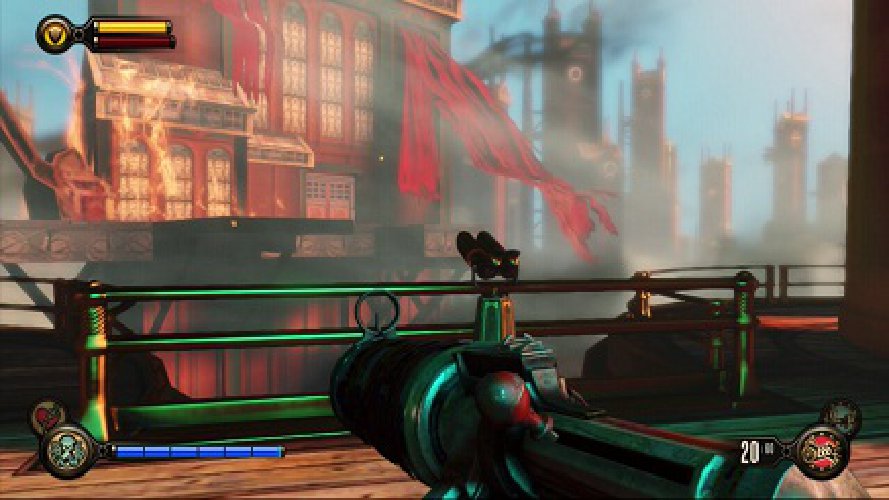
Voxophone 52/80
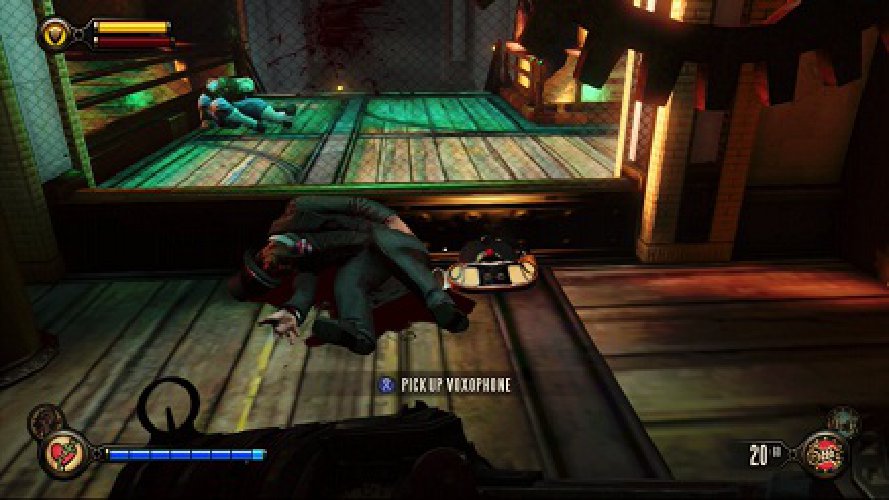
After the hastily escalated business with Fitzroy comes to an end and you comfort Elizabeth, turn right on the spot to find a door. Through the door you’ll find a voxophone by Fink’s body.
Sightseer 31/37
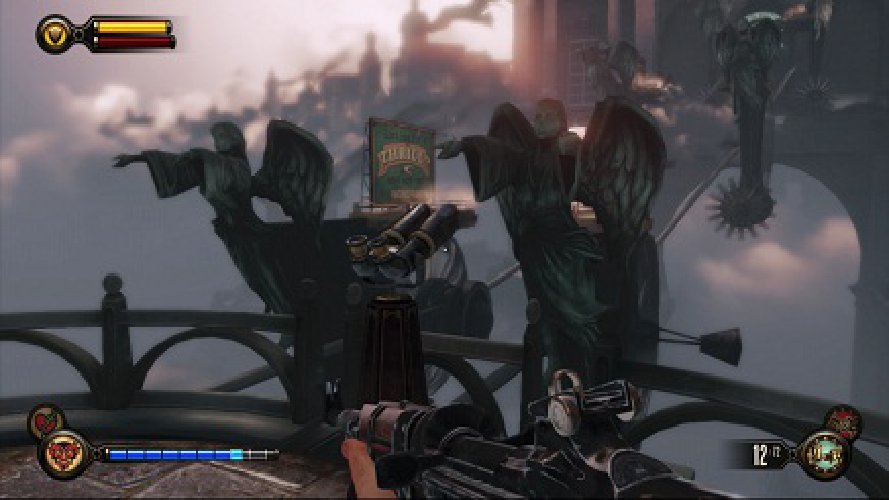
After a little while and a lot of Vox Populi goons, you’ll head past Port Prosperity Station and soon you’ll come to a point where there is a gondola in front of you that you need to start up. Before you get on the gondola to the right of it at the end of the platform is a telescope.
Voxophone 53/80
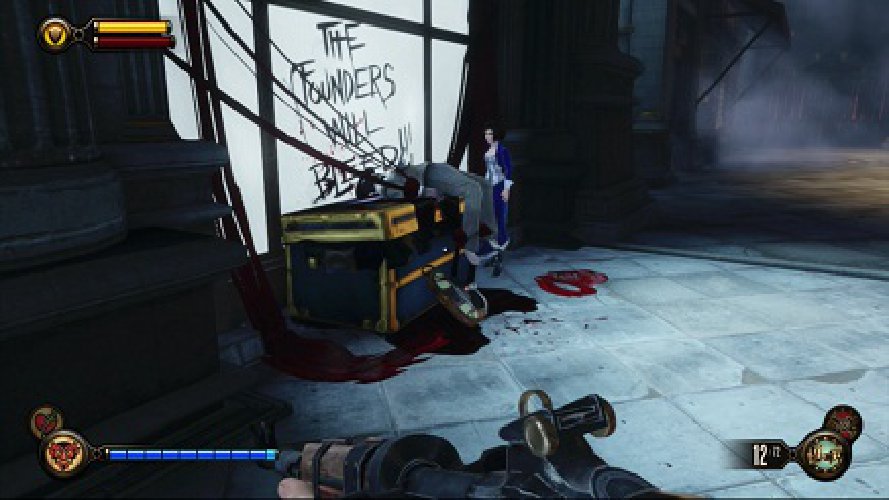
After riding the gondola, make your way into the building ahead. Continue onward following your object marker past the ticketing office. Keep an eye on your left and you’ll soon find a voxophone among some luggage as well as their now deceased owners.
Sightseer 32/37
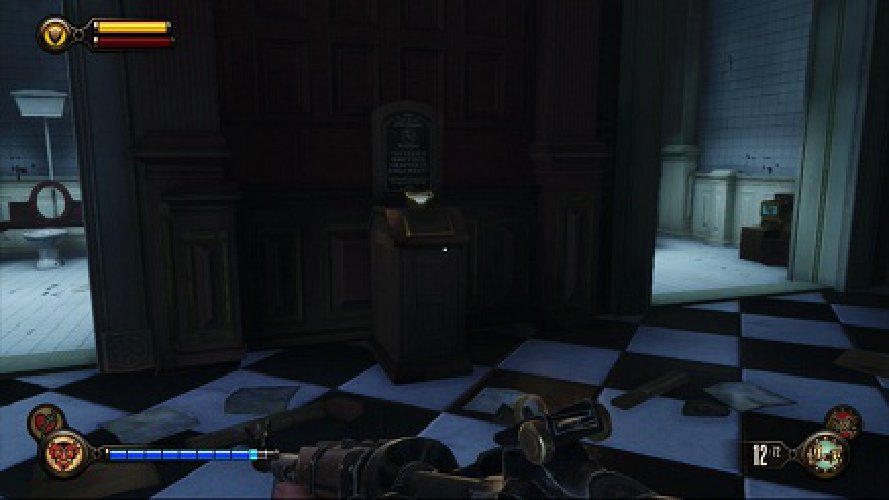
Around the corner from the last voxophone is the Salty Oyster. Head inside and at the back you’ll find two restrooms with a kinetoscope between them.
Voxophone 54/80
Very soon you’ll walk up to Grand Central Depot, noticeable by the large lit-up sign and big vandalised state of Comstock at the far end of the hall. Once you ascend the stairs to this area, take a sharp left and head through some doors here into the small ticket office/reception area. Once inside you’ll find another set of doors that within contain a voxophone. It might be a good idea to first take out all the Vox Populi militia, the patriot, and couple of Firemen that will be greatly displeased by your presence.
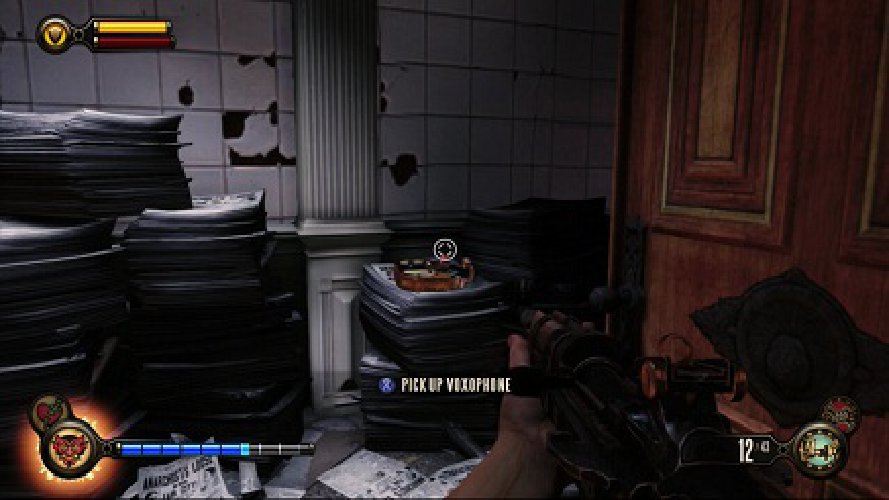
Voxophone 55/80
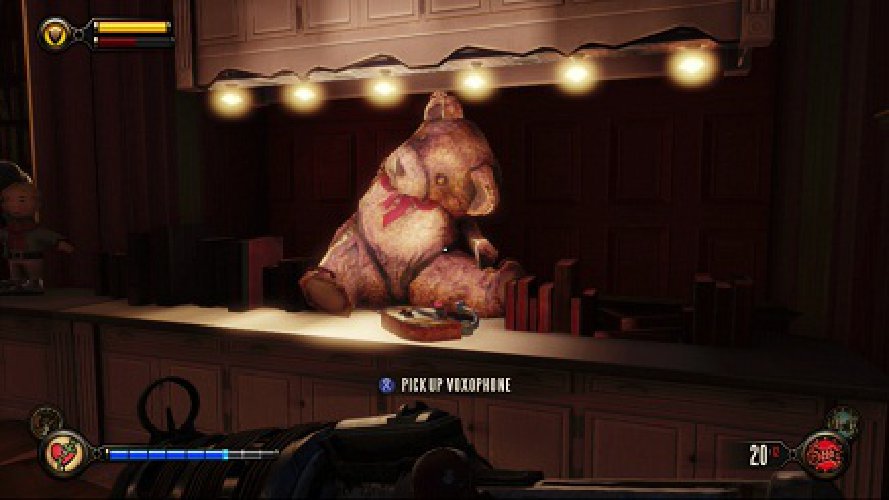
In the next area you’ll see a walkway crossing the hallway above with a sniper situated on it. Kill him and any of his comrades and once it is clear, before heading onward, take a left and go within the Founder’s Book shop. Once inside turn right to find a voxophone in front of a large stuffed bear.
Voxophone 56/80
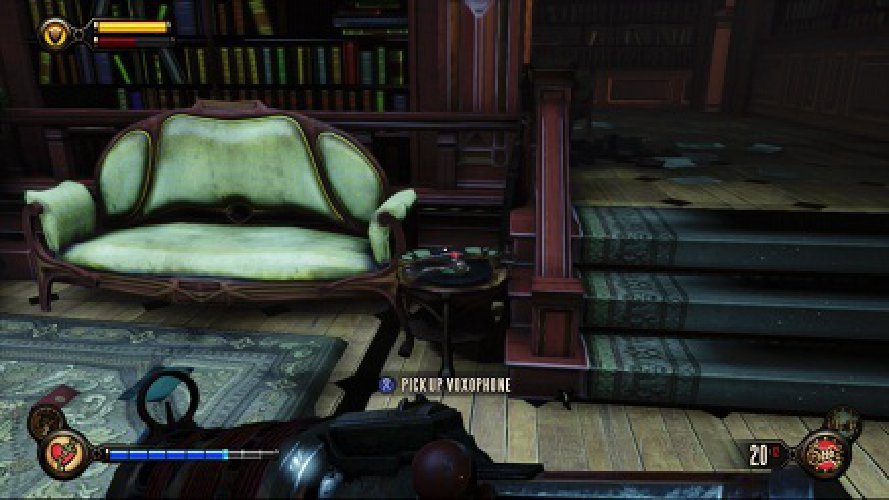
Still within the book store, head downstairs to find another voxophone beside a sofa.
Voxophone 57/80
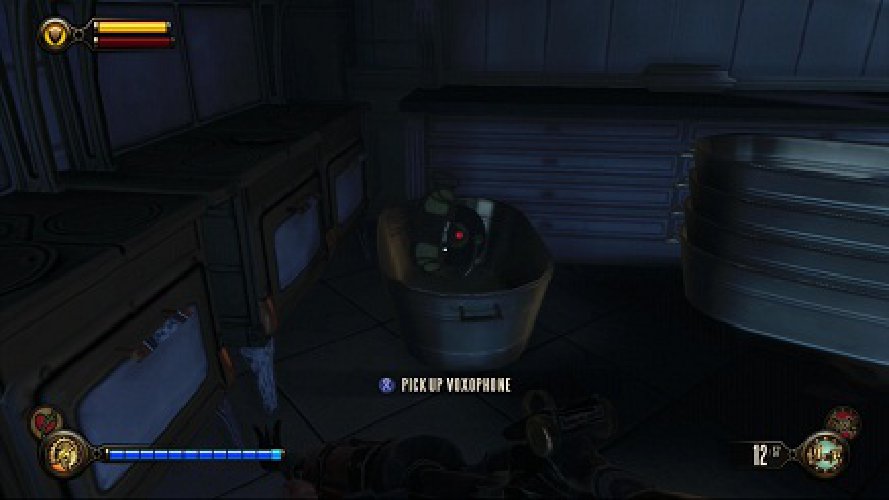
Be sure to have picked up and listened to the last voxophone! It reveals that back at the Salty Oyster there’s a switch under the register that opens a secret compartment. Head back to the Salty Oyster and hit the switch beneath the bar. Inside the room that it reveals you’ll find a voxophone among other goodies.
Voxophone 58/80
You leave the previous area via an elevator after quite the scare from Songbird. In the area you now find yourself you’ll be confronted with quite the number of enemies to defeat. Once you’ve defeated them, from the point of the elevator you came in on, ride the skyline up to the opposite end of your immediate position. Reach the higher walkway of that side of the courtyard, there should be a tear that brings in a volley gun. Behind that is a door that, once unlocked, will grant you a voxophone just on the other side.
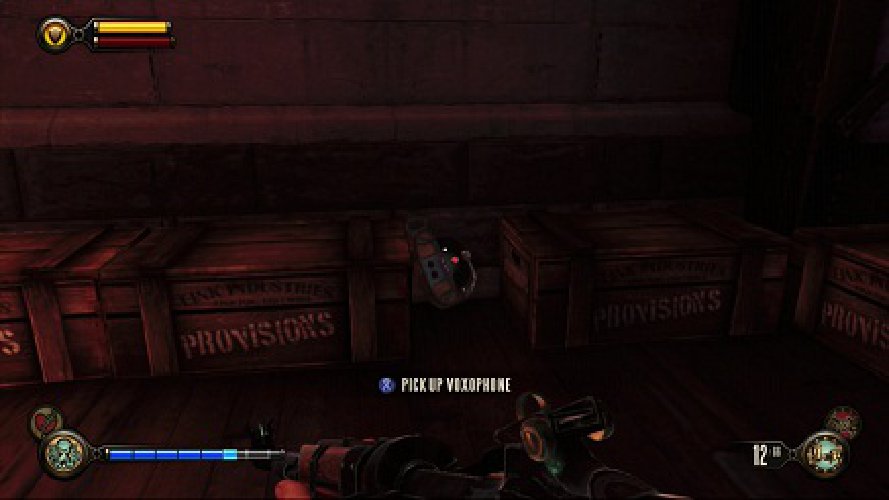
Voxophone 59/80
Make your way to Harmony Lane. You can consult the maps around the area that show you where you are and how to get there. When you get there from the courtyard there’s an abandoned store to the right where you can get in through a door. Above the door is a tear through which you can call cover through. When you get into the shop to right are some stairs downward and in the room by some table and chairs within a crate is a sneakily hidden voxophone.
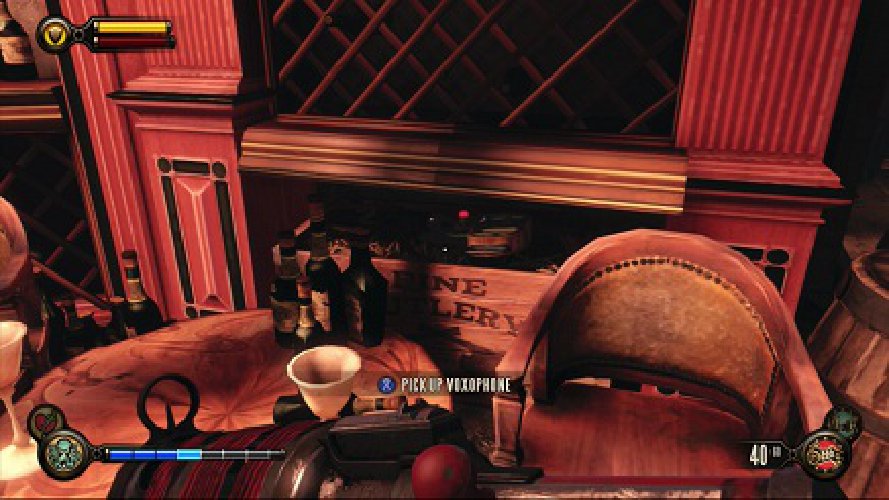
Voxophone 60/80
When you reach Downtown Emporia by just following the streets from Harmony Lane, you’ll find the place swarming with foes. But from the start of Harmony Lane look left to notice the large New Eden Cafe sign. Head there and unlock the door, providing you are no longer in combat, just inside to the right is a voxophone.
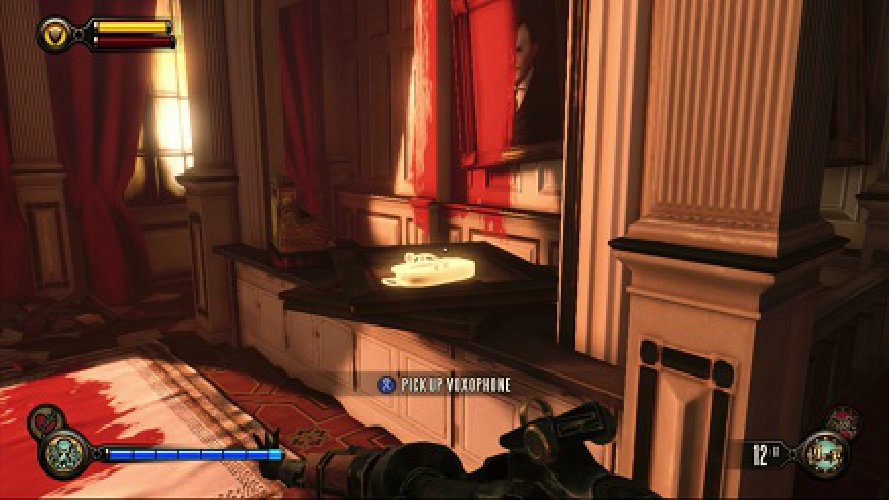
That ought to do it for just now. Not many more to go now until you will have unearthed all secrets of Comstock and his flock. Have you found voxophones 1 – 39 and sightseers 1 – 11 and voxophones 17 – 40 and sightseers 12 – 25? If not, we’ve got you covered.
Be sure as ever to follow Prima on Twitter and Facebook so you don’t miss the final part of this guide coming very soon.
