Luigi’s Mansion: Dark Moon – Gloomy Manor Walkthrough – A-2 Gear Up
Includes the locations of both the Football Amethyst and the Baguette Amethyst
Making your way through the scary depths of Luigi’s Mansion is made so much easier using our expertly written eGuide.
Once again, we’re giving you a free sneak preview of the Dark Moon Walkthrough section so get your vacuum ready and prepare to find some treasure and investigate the foyer!
GET ACCESS TO THE FULL GUIDE NOW
Search for Treasure
 The mission begins in the Entrance, and you have a clear path to your first objective. Before you head to the Foyer, however, consider searching the surrounding area for treasure. Use the door on the east wall to enter the Mudroom.
 Trigger the switch under the rug to reveal a small amount of treasure, and search the various drawers and containers. Vacuum the ceiling fan until four gold spiders lower into
view. Use the Strobulb on the spiders before they vanish.
Each spider you flash will transform into a gold bar. When you’re ready, return to the Entrance and move down to the Front Yard.
If you’ve already collected the Round Amethyst, there’s no reason to visit the Mudroom Exterior during this mission.
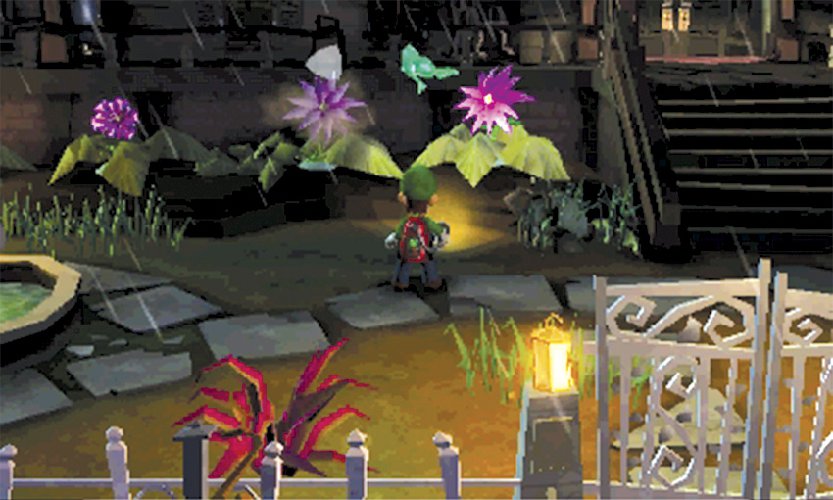
 The Front Yard doesn’t contain anywhere near as much treasure as it did during A-1 Poltergust 5000, but it’s still worth visiting. Check the vases, use the Strobulb to flash the purple flowers, and vacuum the weeds scattered around the area. When you’re ready, head back inside.
 During this mission, the Garage doesn’t contain much of value. However, you can earn a few coins if you make the effort. Use the Strobulb to flash the mice scurrying along the floor, then check the various drawers and containers placed throughout the room. When you’re ready, leave the Garage and head for your first objective.
Investigate the Foyer
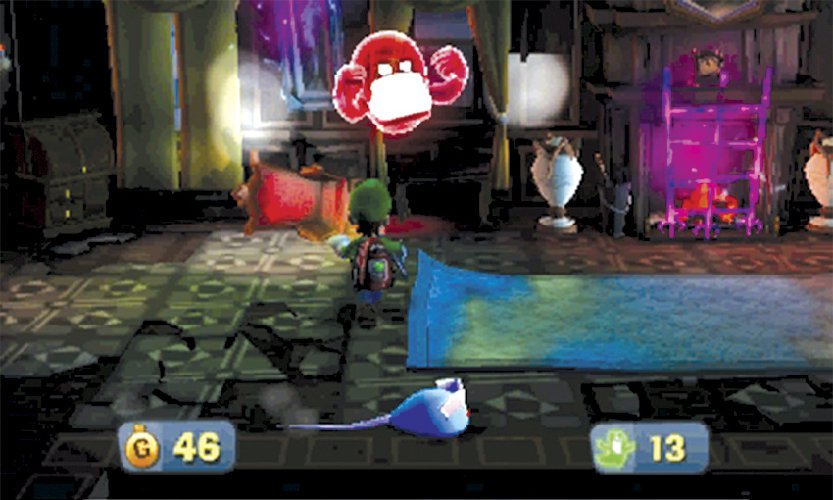
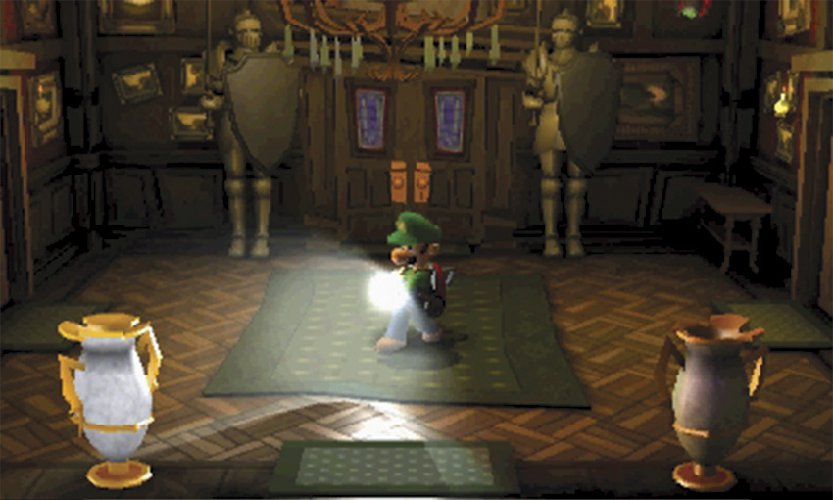
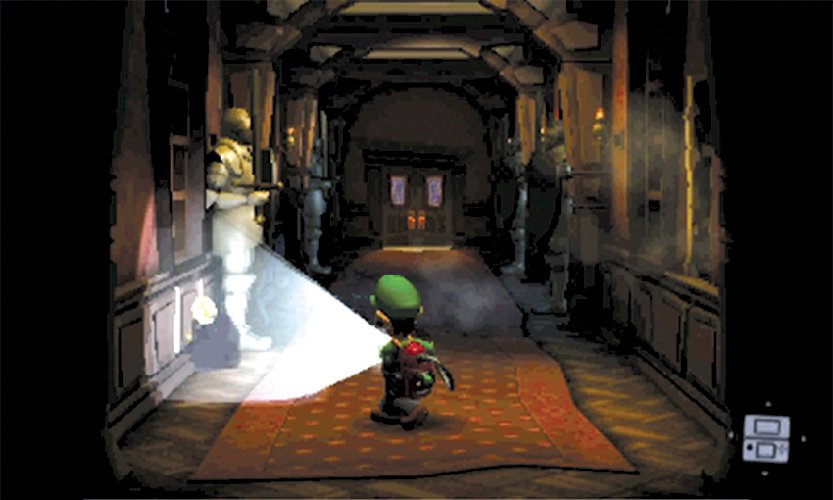
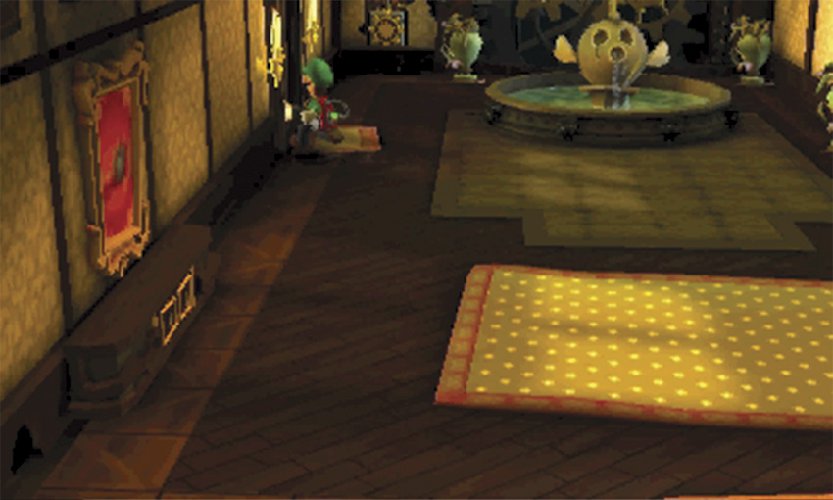
 Professor E. Gadd wants you to activate a mechanism in the Foyer. As you move through the Guard Hall, use the Strobulb to flash the mice scurrying along the baseboards.
Caution
Every bit of treasure helps, but don’t let it distract you from nearby dangers. Be mindful of the suits of armor, and don’t let the fast-moving mice touch you.
 You reach the Foyer just in time to see a group of Slammers swipe the mechanism’s gears. When they spot you, the brutes split up and flee the area. Answer the call on your Duel Scream to receive your next objective. Professor E. Gadd wants you to track down the Slammers and recover all four stolen gears. Before you begin your hunt, use the door on the east wall to enter the Coatroom.
 A-Pull the coats and the loose wallpaper, then inspect the toilet to activate the secret passage. A-Pull the rug on the floor to reveal a Gold Greenie. Gold Greenies are very elusive, so flash this enemy as soon as it appears! Latch on with the Poltergust, then perform an A-Pull to capture the Gold Greenie before it escapes the area. Collect the resulting treasure, then cross back through the Coatroom and return to the Foyer.
When you’re ready, approach the door in the northwest corner. The door slams shut and a Key-carrying Greenie flees to the south.
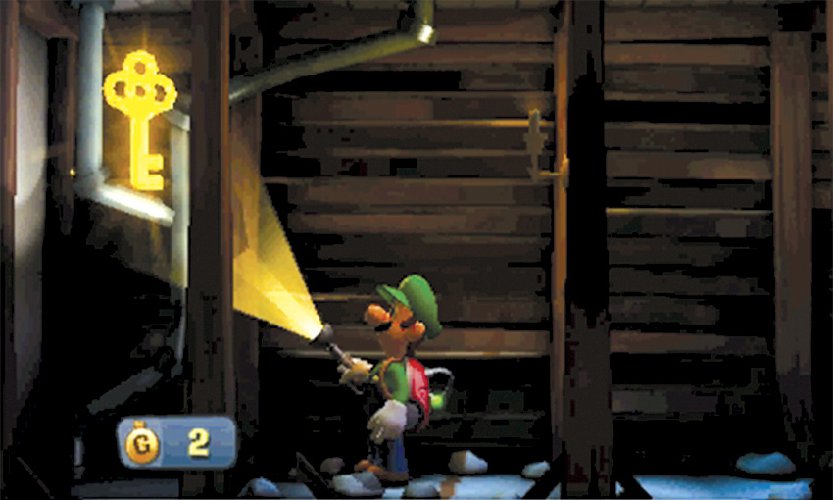
 Follow the Greenie down through the Guard Hall and into the Entrance. Wait for the Greenie to spring its trap, then capture this lone ghost and collect the Key it leaves behind.
Recover the Gear from the Lab
 After you recover the Greenie’s Key, return to the Foyer. Search the drawers and vases around the room, then move to the west wall and unlock the door to the Common Hall.
During this mission, the safe on the Foyer’s upper level contains several Hearts. You can open the safe at any time, but it’s best to wait until you’ve suffered heavy damage.
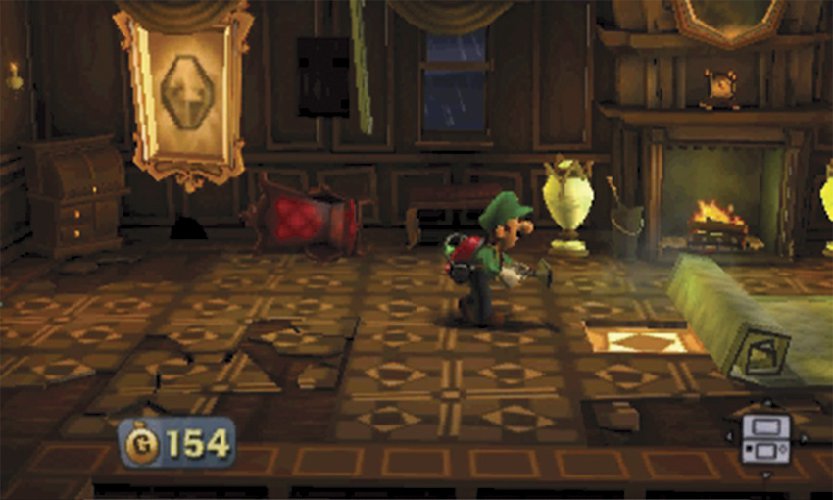
 During this mission, the Common Hall contains a bit of treasure. Before you enter the Lab, consider having a look around the area. Use the Poltergust to roll the rug toward the background, then collect the exposed coins.
Locate the loose patch of wallpaper on the west wall. A-Pull the wallpaper to open the path to the Secret Pocket between the Lab and the Studio. Follow the path north to explore the rest of the Common Hall.
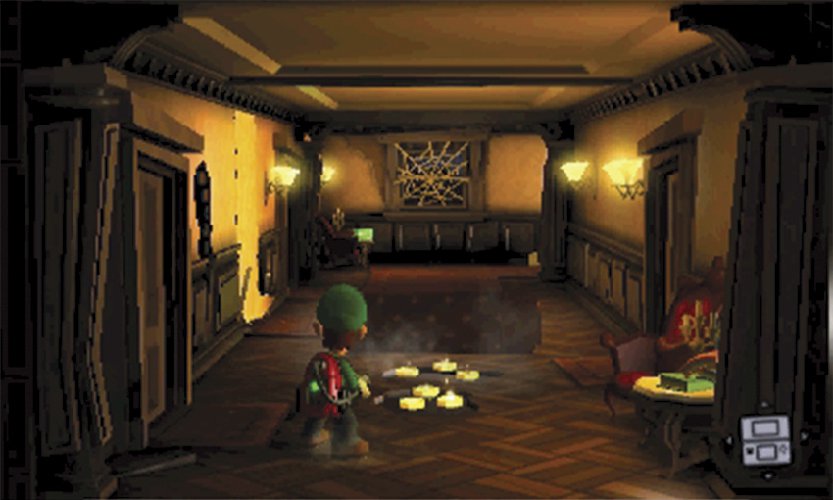
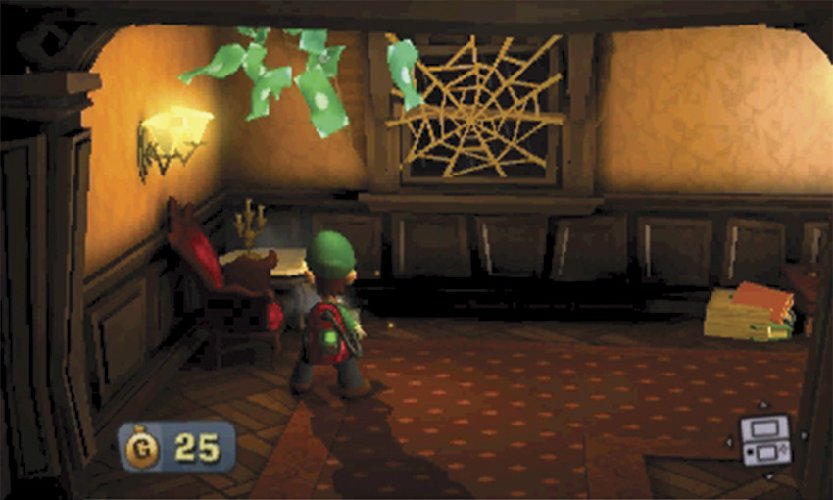
When you reach the bend in the Common Hall, use the Poltergust to collect the bills on the table. Vacuum the web covering the window, then dash away to avoid the bats that fly in through the opening. Flash these flying pests with the Strobulb, then explore the rest of the Common Hall.
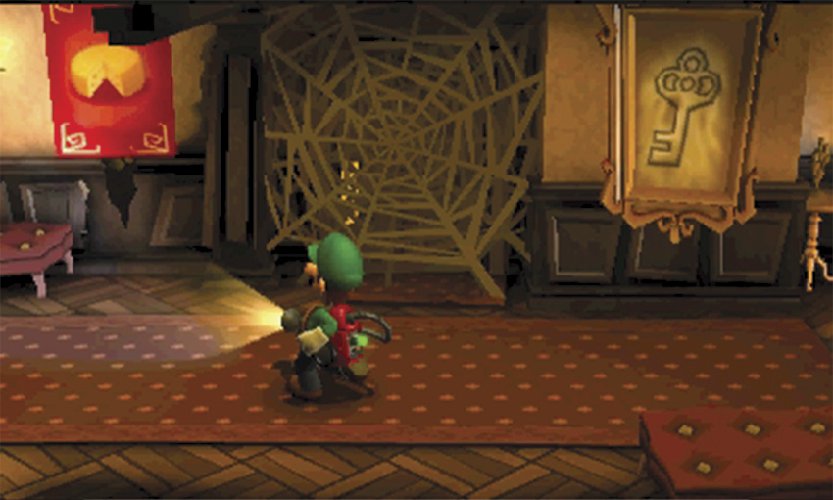
The Library door is blocked during this mission, but you can vacuum the nearby posters and peek through the exposed crack. After you gain the Dark-Light Device, you can retrieve the Key from the framed sketch and reveal the path to the Patio. For now, however, return to the Lab door on south end of the Common Hall.
Before you enter the Lab, peek through the crack in the wall to get a preview of the area.
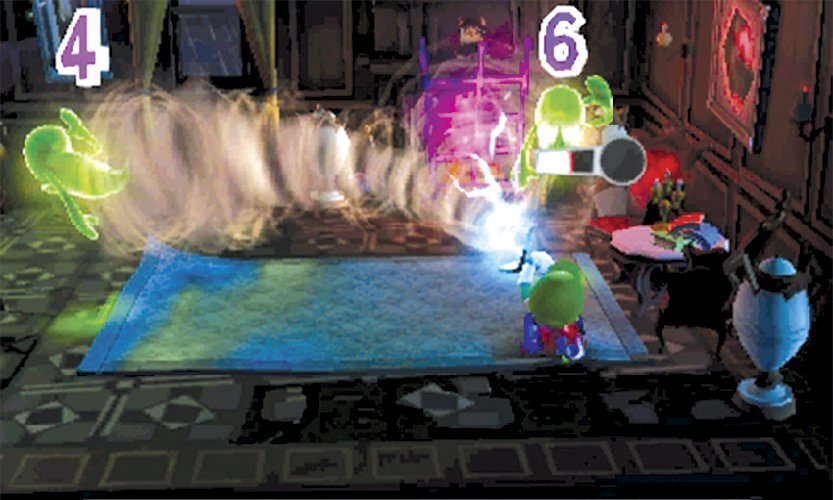
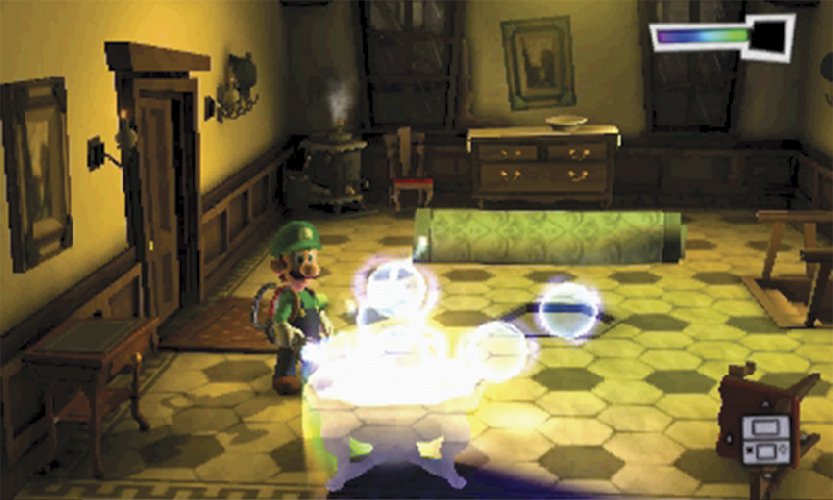
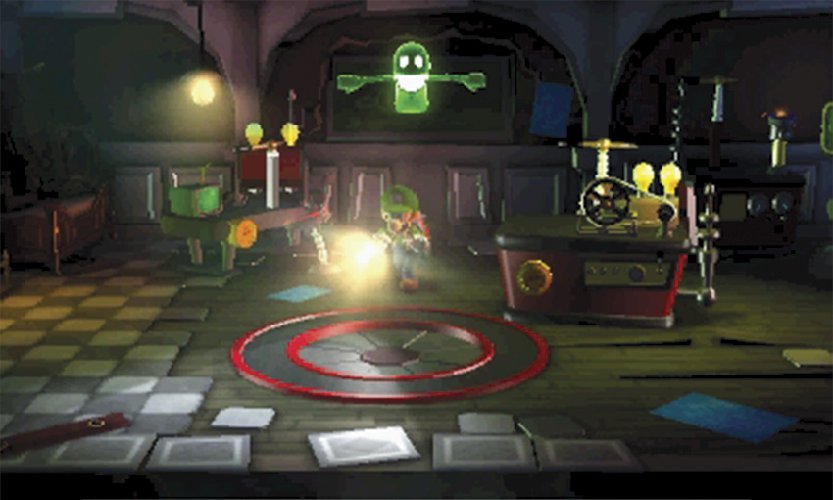
 Enter the Lab and approach the chalkboard on the back wall to reveal a hiding Greenie. Once the first enemy is exposed, a second Greenie appears in the area. Capture both of the weaker enemies to coax the first Slammer out of hiding.
Flash the Slammer with the Strobulb, then latch on with the Poltergust and wear the brute down. Until you upgrade the Poltergust, a single A-Pull isn’t enough to capture a Slammer. Hang on tight, and try to execute a second A-Pull. When you capture the Slammer, it drops the first gear on the workspace. Vacuum the gear, and search the objects in the room. When you’re ready, return to the Common Hall and enter the Secret Pocket.
Before you leave, vacuum the web near the Lab door. Flash the gold mice as they appear to earn a nice pile of treasure!
The Lab contains a hidden safe and a hidden toolbox. After you gain the Dark-Light Device, remember to check these objects whenever you search the Lab.
 Vacuum the trash pile in the middle of the Secret Pocket, then use the peephole to peer into the Studio. Continue to the left, and use the Poltergust to collect the Key in the corner. The Studio is blocked from the inside, so you’ll have to find another way into the room. For now, turn your attention to the two gears upstairs. Leave the Secret Pocket, then return to the Foyer and climb the stairs.
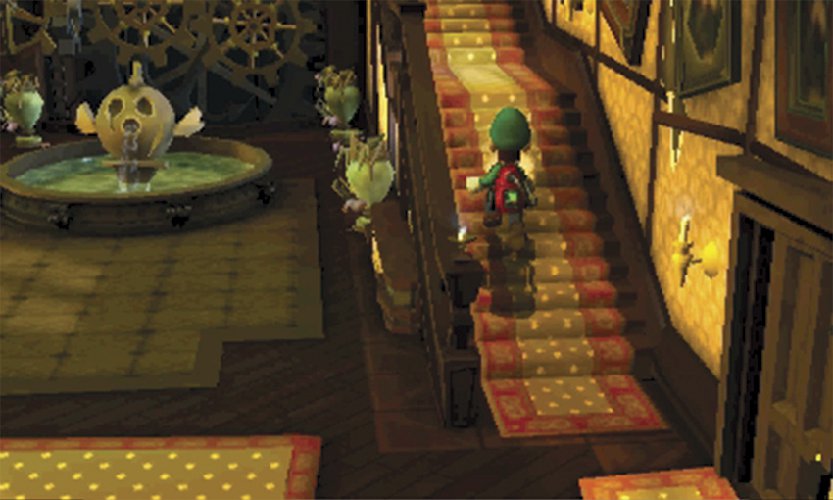
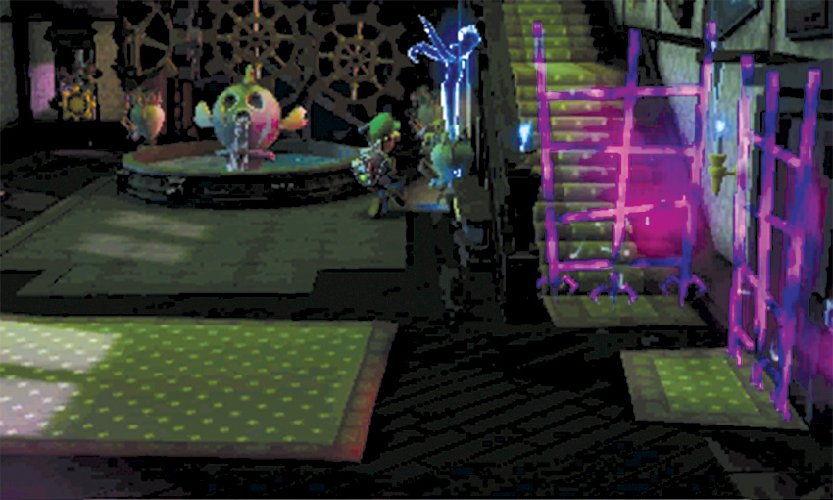
As you make your way up to level F2, note the blue candle flames along the stairs. This is another sign of a nearby ghost. As you approach the landing, the stairs give way, dropping you back down to level F1. When you land, a Hider taunts you and disappears into a nearby container.
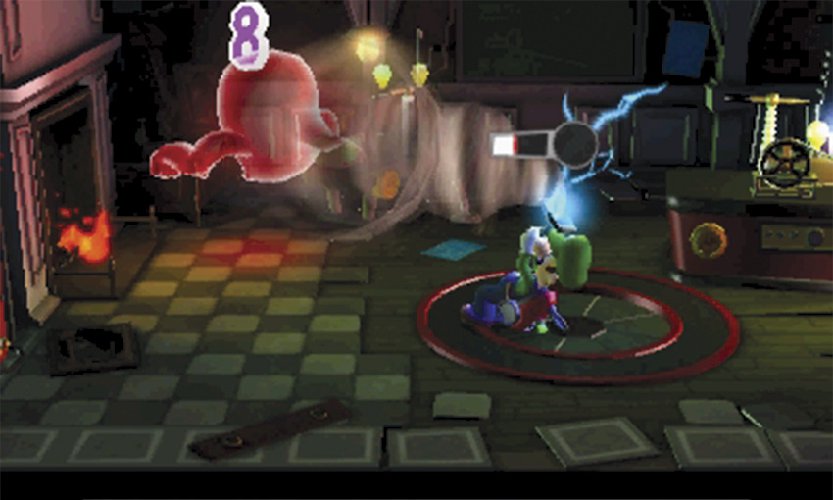
As you approach the ghost, watch out for any objects it might throw at you. Investigate the vase or drawer that contains the Hider, then flash the Strobulb when the ghost shows itself. If you stun the Hider, latch on with the Poltergust and charge an A-Pull. If you miss the ghost, it flees to another object. Repeat the process until you capture the Hider, then climb the stairs up to level F2.
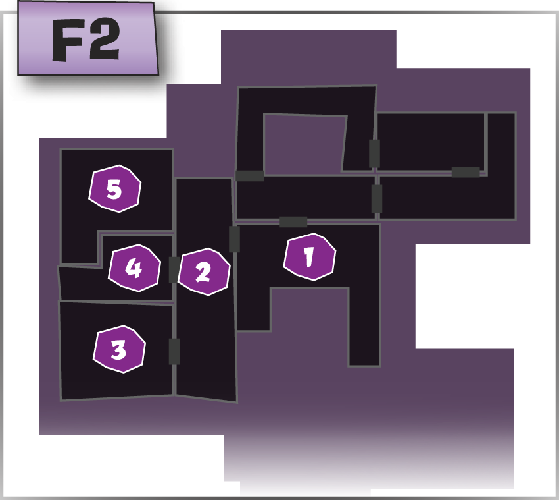
Find the Gears on F2
 If you’ve lost any health, use the Strobulb to open safe at
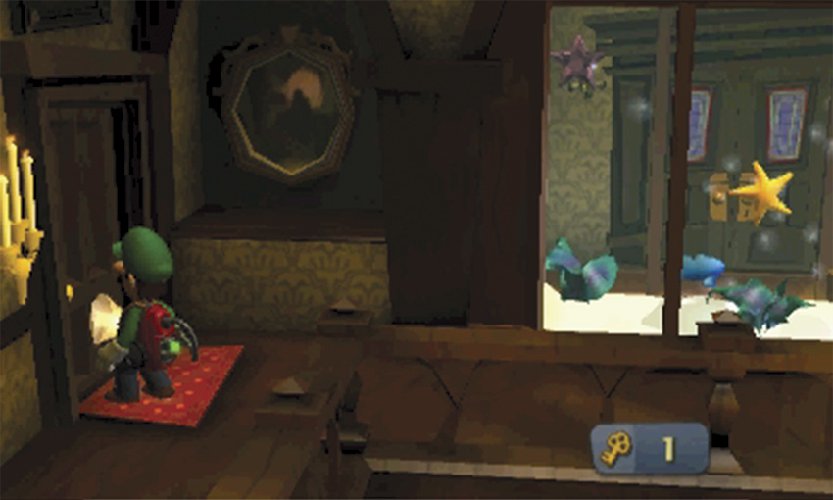
the top of the stairs. Follow the walkway to the left, then use the Key from the Secret Pocket to unlock the door to the Master Hall.
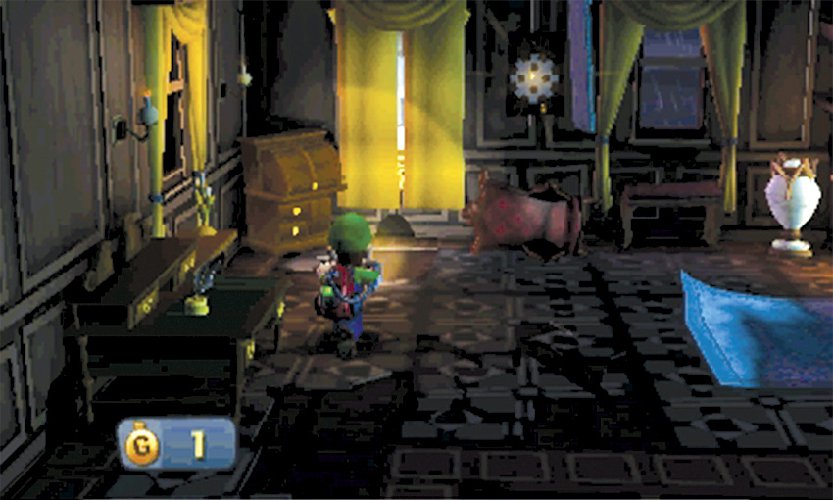
 Move to the south end of the Master Hall, then use the Poltergust to roll up the edge of the rug. Three gold spiders spring out from a hole in the floor. Flash them with the Strobulb, then flash the red spiders that drop down with the ceiling. Collect the resulting treasure, search the rest of the area, then enter the Parlor through the door in the Master Hall’s southwest corner.
For the first several missions, the Master Hall’s north half is blocked by a large web. For now, vacuum the coins high on the west wall, clear out the smaller webs, and check the vases on either side of the area.
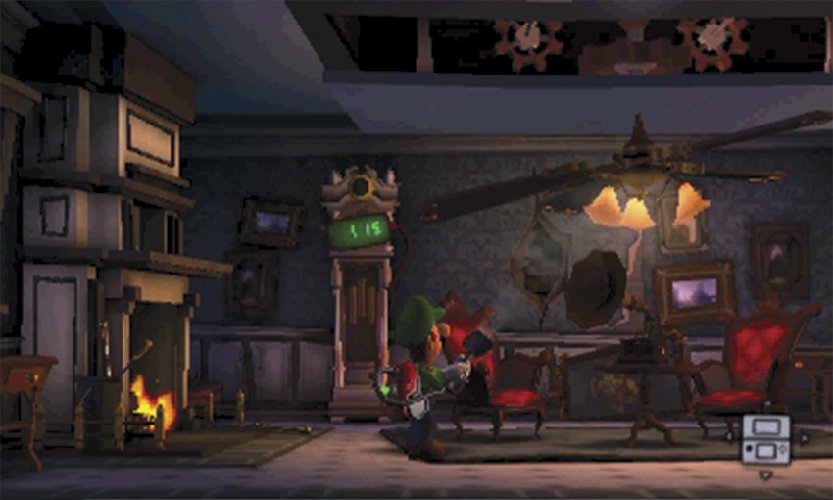
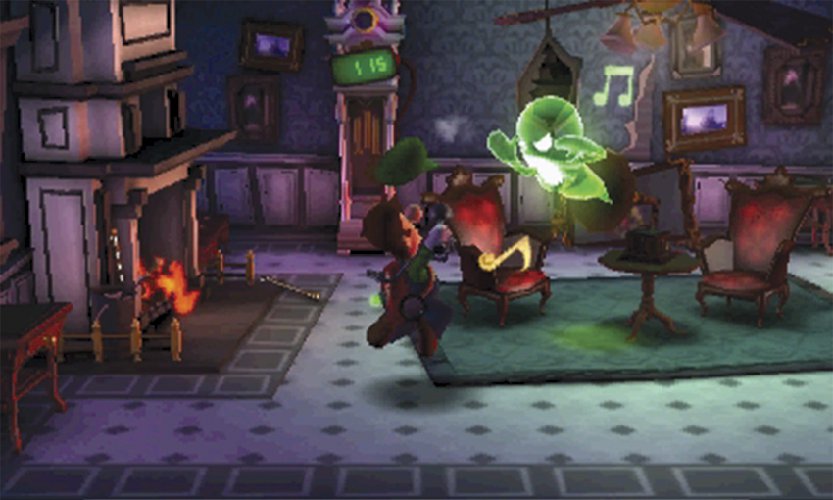
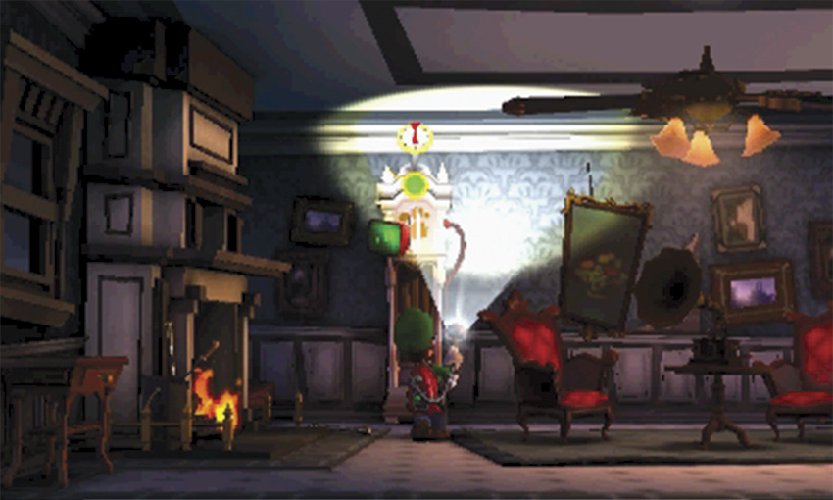
 During this mission, the Parlor not only contains some ghosts, it’s full of stashed treasure. The ghosts are hiding in the gramophone at the center of the room. Before you chase them from their hiding spot, search the objects in the area. Use the Strobulb to flash the clock along the back wall, then collect the Baguette Amethyst that drops to the ground.
Inspect the painting just east of the clock, then collect the treasure that spills out from the wall. Use the Poltergust to vacuum the ceiling fan. As the blades pick up speed, a large panel opens to drop even more treasure to the floor.
When you’re ready, vacuum the gramophone to play a short tune. After a moment two Greenies emerge from the device. Capture both enemies to coax the Slammer out of hiding, then capture the Slammer and collect the second gear. Search any remaining objects, then exit the Parlor and return to the Master Hall.
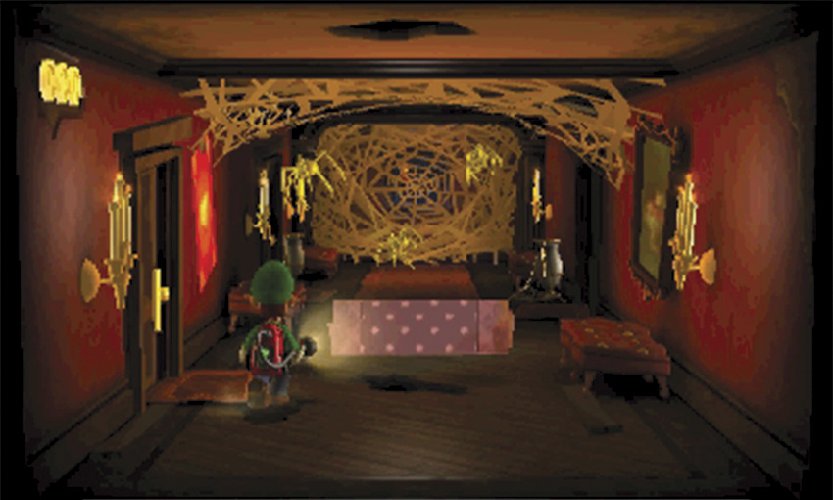
 Follow the Master Hall north and head through the Bedroom door. As you search the area for treasure, stay clear of the north wall. A-Pull the loose wallpaper in the southeast corner, then A-Pull the hanging coats to the left. Peek through the exposed opening for a view of the Study.
Caution
The north wall contains a false door. If you interact with it, the door slams you into the wall, causing a bit of damage. Use caution around any door that doesn’t appear on the Touch Screen map.
The Mushroom Amethyst is located behind the dressing screen. You can’t collect this Gem until A-5 Sticky Situation, but you can sneak a peek through the gap between the screen’s panels.
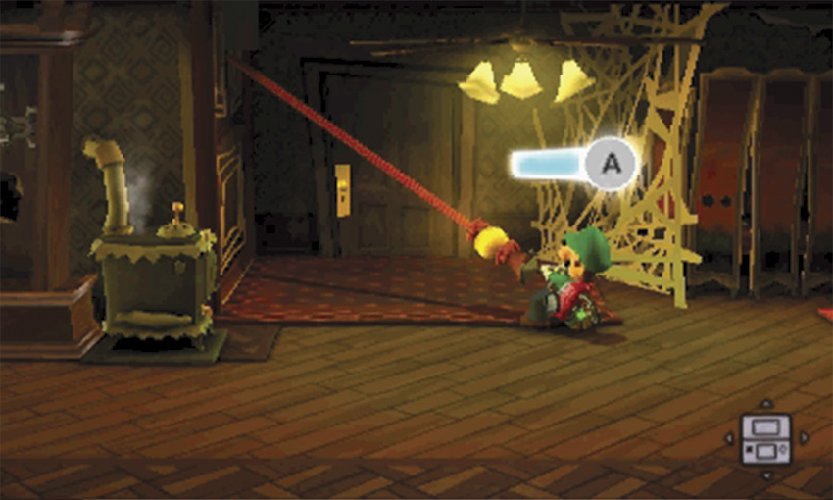
Check the remaining objects and pick up any loose treasure. When you’re ready to move on, latch onto the pull cord hanging near the stove. Perform an A-Pull, then hop onto the revealed bed to use the secret passage to the Study.
 When you reach the Study, approach the gear on the rear wall. The first of four Greenies locks the gear behind a hinged painting. Back away from the visible enemy, and charge a Strobulb flash to stun any nearby ghosts.
As you deal with the Greenies, watch out for the mice scurrying around the Study. If you find yourself being pulled toward one of the critters (or an untethered Greenie), press  to hop up and avoid a collision.
Capture all four Greenies, then capture the Slammer to reveal the gear. The mice are still a concern, but Slammers are much too dangerous to leave unattended. Take care of the enraged ghost before you deal with the skittering pests.
Vacuum the gear down from the wall, then search all the vases and drawers in the area. A-Pull all six of the Study’s curtains to reveal a nice stash of treasure, then use Poltergust to roll the rug toward the east wall. When you’re ready, step on the revealed switch, then investigate the fireplace to drop down to the Studio.
When you A-Pull the central set of curtains, it reveals a framed sketch of a Spinel Amethyst. After you gain the Dark-Light Device in A-4 Visual Tricks, return to this area to collect the Gem.
Caution
When you pull either of the curtains hanging in front of the framed sketch, some bats fly down from the ceiling. Be ready to deal with these aggressive pests.
Collect the Last Gear
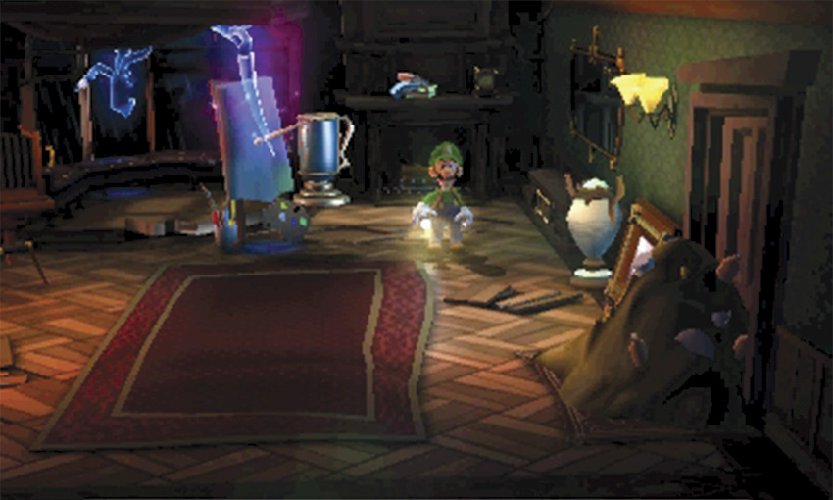
 When you tumble into the Studio, two Hiders dart out of sight. Search the surrounding objects until you discover one of the ghosts. As you capture the first Hider, watch out for incoming attacks from its partner. The tight space doesn’t offer much room to dodge thrown objects.
Capture both Hiders to reveal the Studio’s Slammer. After you capture the bully, collect the gear it leaves behind. Answer the call on the Duel Scream, then search the Studio’s various objects.
Look through the camera to locate the Football Amethyst, then move to the bay window. Aim the Poltergust at the ceiling, just behind the left curtain. Vacuum the web holding the Gem in place—the suction should draw the Football Amethyst right into your arms.
During this mission, the canvas in the Studio’s southwest corner is hiding a fair amount of treasure. A-Pull the canvas to reveal some gold bars, then vacuum the trash pile blocking the door on the east wall. A-Pull the cloth from the easel, then search any remaining vases and drawers. When you’re ready, leave the Studio and head back to the Foyer.
 When you reach the Foyer, move to the room’s northwest corner. Investigate the disabled mechanism, then answer the Duel Scream to complete the mission and return to the Bunker.

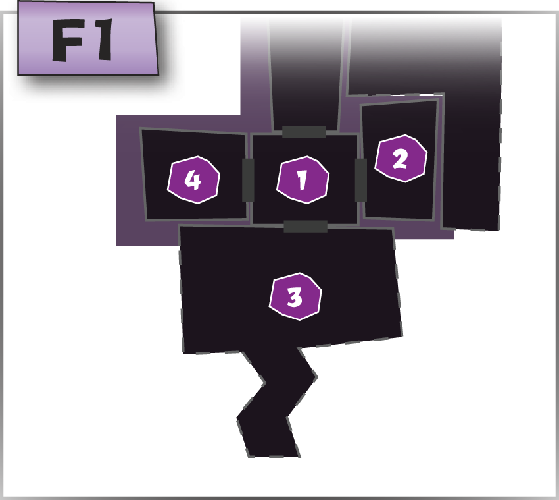

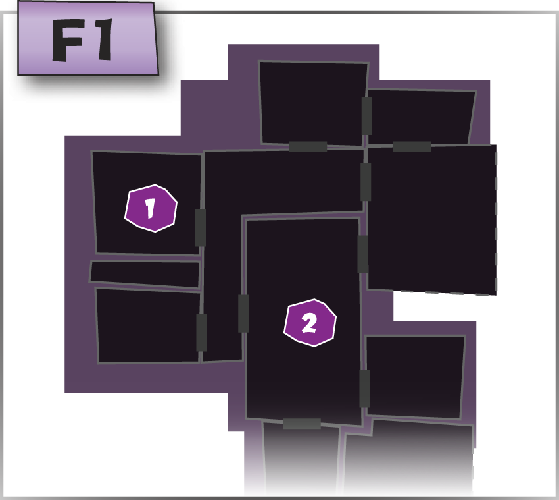
 Boo Location

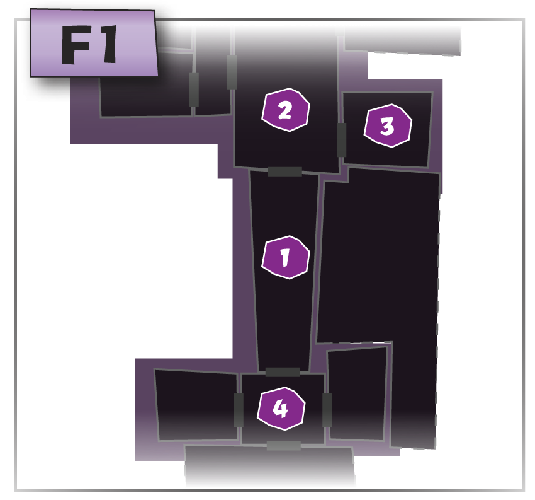

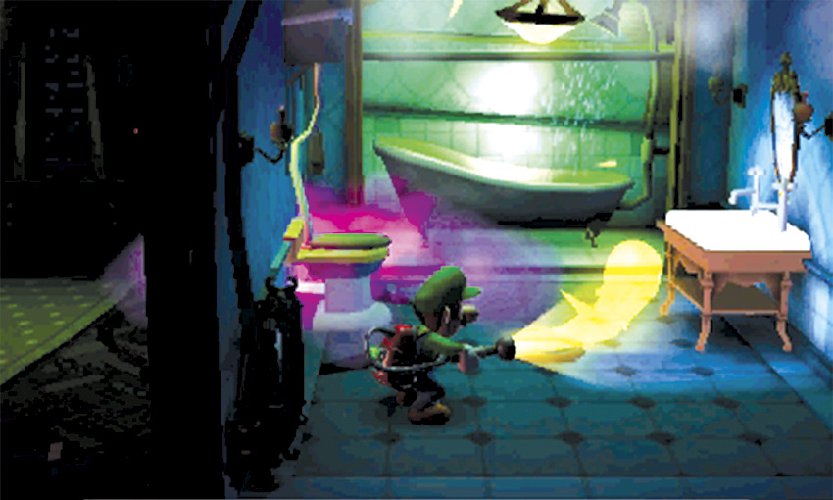
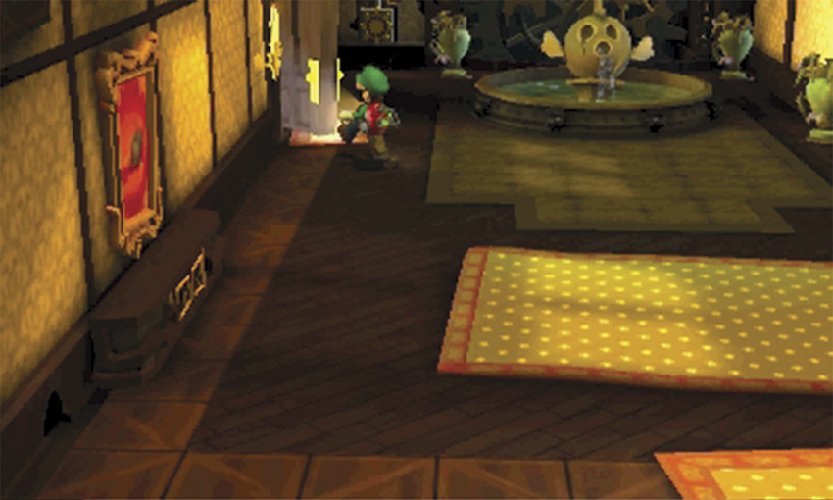
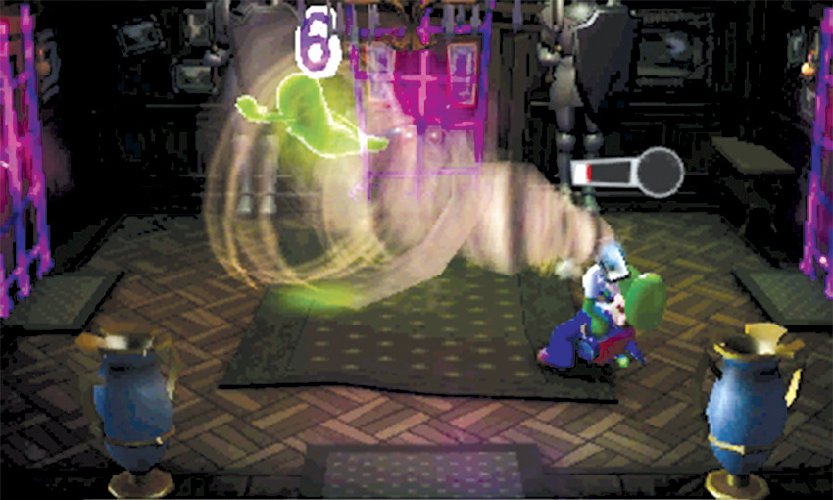
 Key Location
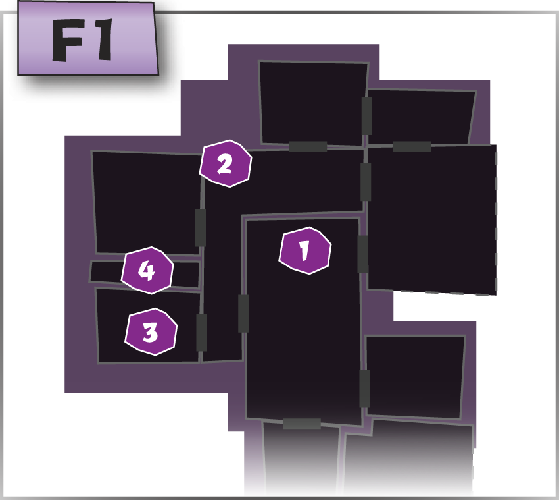

 Gem Location