Wind Temple Walkthrough and Puzzle Solutions in Tears of the Kingdom (TotK)
How to activate all five gears in the Wind Temple.
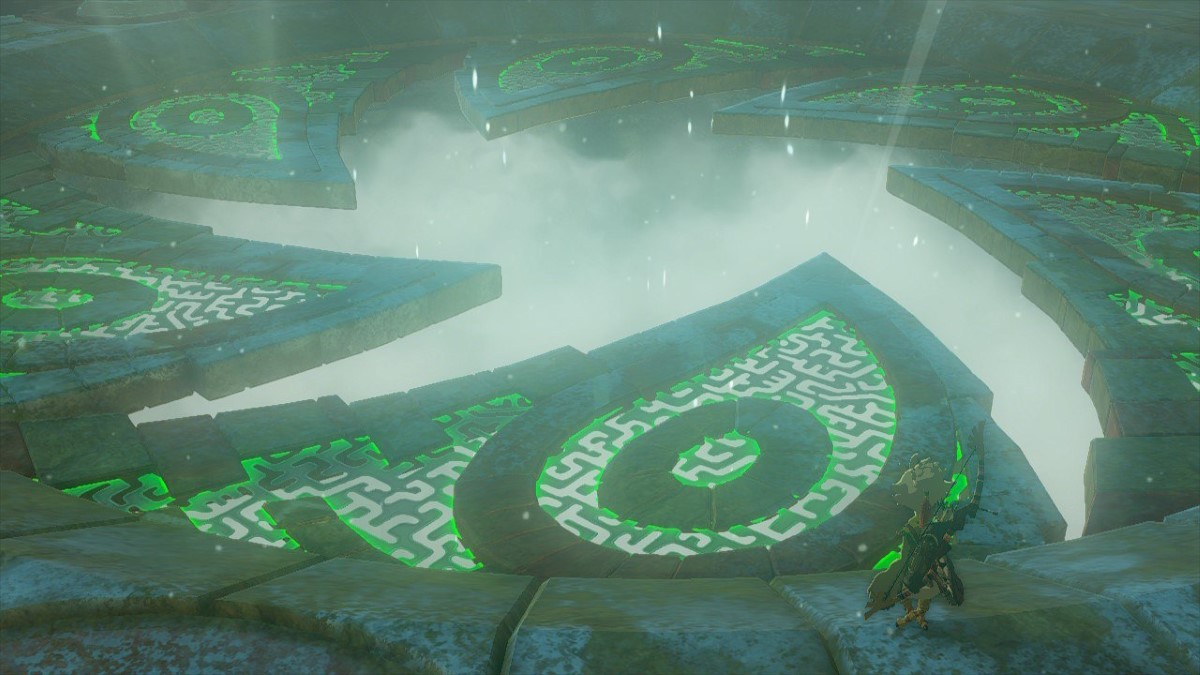
If you’ve reached Rito Village in the northwestern Hebra region of The Legend of Zelda: Tears of the Kingdom, you’re probably aware of the legendary Stormwind Ark that looms high in the sky, causing violent winds and an eternal blizzard that blankets the region. Ascending through the skies and jumping into the eye of the great storm reveals that it’s none other than the Wind Temple, and you’ll need to guide Link and Tulin through it to open the giant hatch on the floating ship. In this guide, we’ll explain how to turn on all five gears throughout the temple to unlock the circular hatch. Here’s our Wind Temple walkthrough with all puzzle solutions for Tears of the Kingdom (TotK).
How to Unlock the 5 Gears in the Wind Temple in Tears of the Kingdom
The giant hatch on the deck of the Wind Temple is operated by six gears, and Tulin will help activate the first one upon landing on the floating ship. It’s up to you to turn on the five remaining gears, and we’ll show you exactly how to do that below:
1. Activate the Deck Lock
On the main deck of the Wind Temple, head north of the great vent in the middle. You’ll see two large entrances facing each other, both locked behind metal gates. Near each gate is a lever, but the one on the right-hand side is broken. Behind that gate is our first lock.
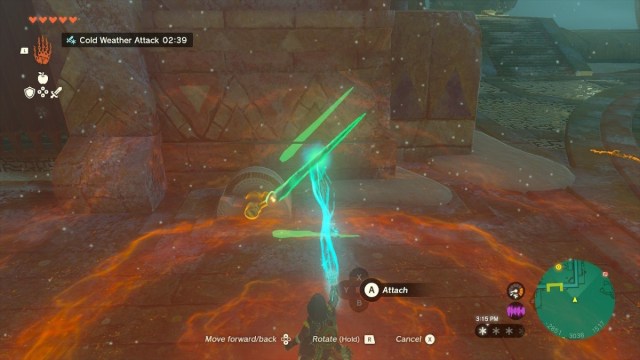
Find a broken icicle nearby and use Ultrahand to attach it to the broken lever. Then, use Ultrahand again to pull the lever to the left to open the gate. You’ll notice a large machine with fans and gears attached. Use Tulin’s Gust ability to turn the fan on, activating the first lock.
2. Activate the Upper Deck Lock
While still on the main deck, use Link’s paraglider above the giant vent to lift high up in the skies. On the north side of the ship near the very top, you’ll notice a hatch with two very large doors. Land next to them and use Ultrahand to open them up.
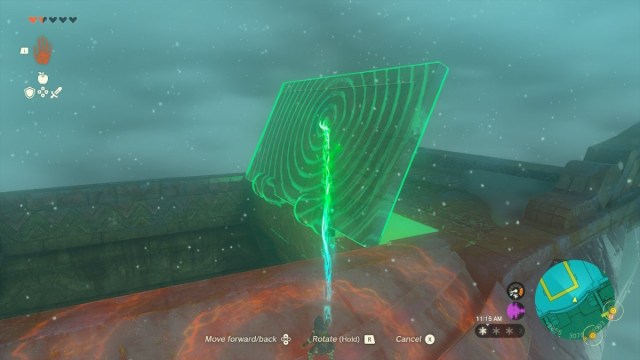
Dive into the hatch and maneuver through the lasers while you descend. Skydiving will allow you to slowly descend, and taking out your paraglider will cause you to quickly ascend. You’ll notice a large opening as you fall downwards, which contains the second lock to activate. Same as before, use Tulin’s Gust ability to turn it on.
3. Activate the Underside Lock
The next lock is on the underbelly of the ship. There are a few ways to reach it, but I found it easiest to jump off the western side of the Wind Temple and glide towards the large open window on the side of the ship. Entering through the window will lead you to floor B1. Turn left and walk towards the hallway with the red lasers, then turn right before reaching them. You’ll notice a small doorway to your right, which leads to a ladder and a stairway.
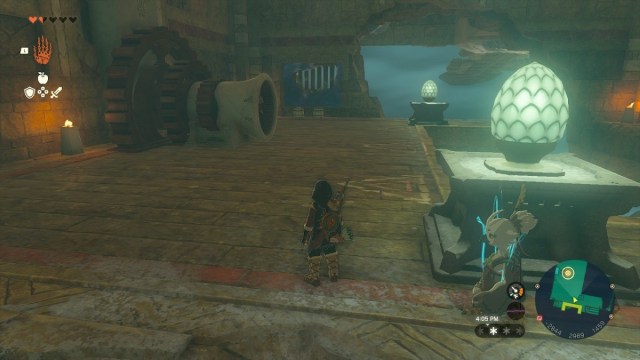
Walk down the stairs to reach the underside of the ship, which has the third lock to activate.
4. Activate the Western B1 Lock
While still on the underside of the ship, head back into floor B1 near the hallway with the red lasers. Across from the red lasers will be a large gap surrounded by ice on the walls. You’ll need to get by with a little help from your friends for this one.
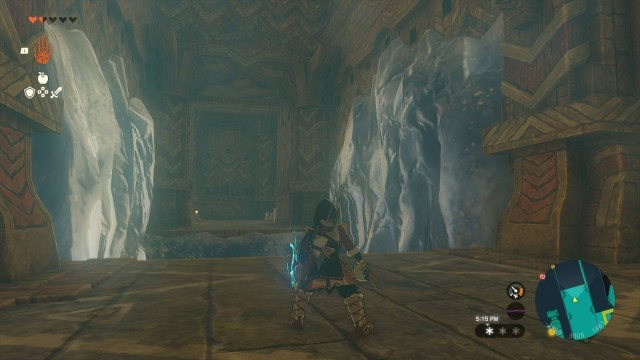
Approach the edge and use Tulin’s Gust ability to provide some gliding support for crossing the gap. You’ll reach a room with a large hole in the ceiling. Use your Ascend ability to reach the room above and progress through the hallways. Eventually, you’ll come upon a room with large gear on the ceiling.
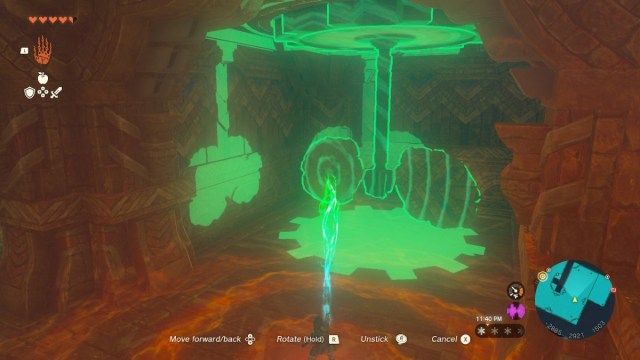
Find a couple broken stone tablets lying around and use Ultrahand to attach them to the gear. Then, you can use Ultrahand to spin the gears, but you’ll notice that they’ll spin back in place as soon as you let go. Use your Recall ability to wind them up again, allowing you enough time to climb up the newly-opened gate.
I forgot I had the Recall ability, and instead used Tulin’s Gust ability to blow the gears in place. Hey, whatever works, right?
Climb the ladders to reach and unlock the fourth gear.
5. Activate the Eastern B1 Lock
The final lock is located on the other side of the basement floor. You’ll need to return to the main deck of the Wind Temple and jump off the eastern side this time. Glide towards one of the floating ships to bounce around while you search for the frozen window. Just look for the icicles – you can’t miss them.
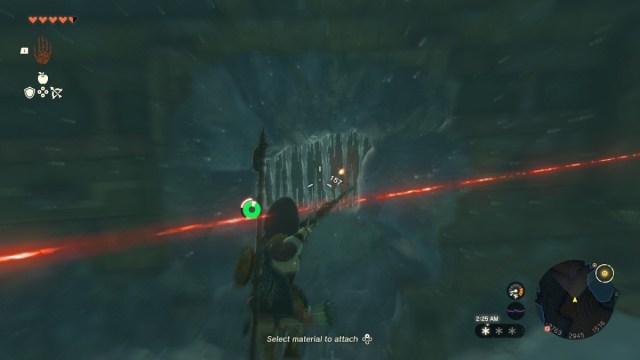
Shoot some arrows at the icicles, or just glide to them and bash them with a melee weapon, to enter the eastern B1 area. To your right, you’ll notice a rotating wheel. Use Recall on the wheel and ride it to the other side. Progress through the hallways until you find a set of incomplete gears on the wall. You’ll need to use something to connect the gears together.
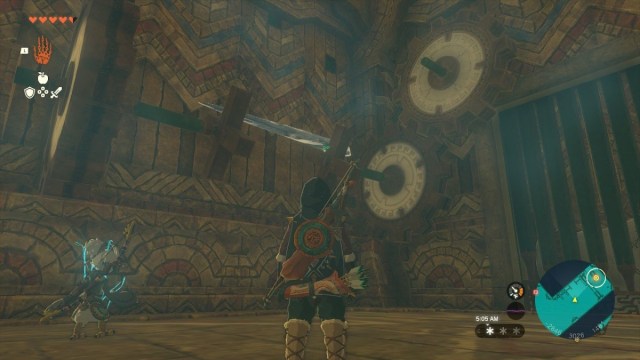
Look above you to spot some long icicles and shoot an arrow at one to break it off. Then, use Ultrahand to connect the icicle to the gears, which opens the door ahead of you. The final lock is in the next room.
Related: Where to Find Warm Clothes in Tears of The Kingdom
That’s it! You’ve unlocked all five gears in the Wind Temple, and are ready to face the final challenge. Return to the main deck of the ship and prepare to face the Scourge of the Wind Temple. Need some tips? Check out our guide on how to beat Colgera in Tears of the Kingdom.
