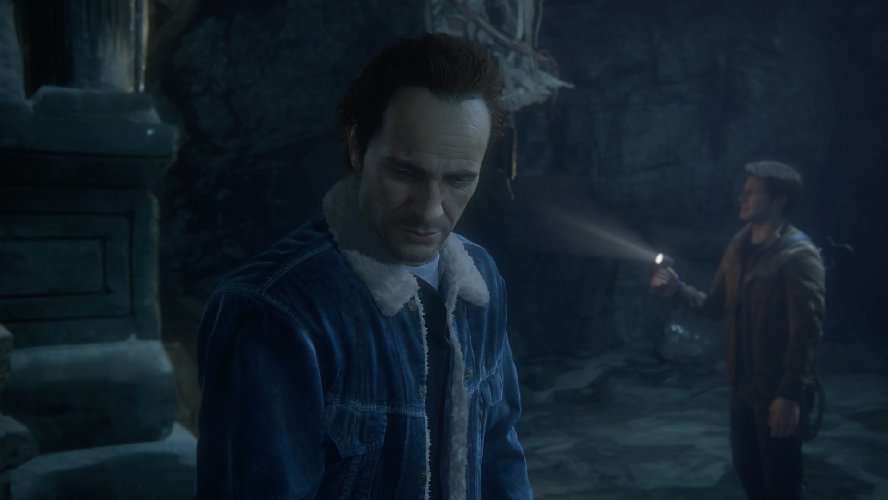
In this article we cover Chapter 8: The Grave of Henry Avery in Uncharted 4: A Thief’s End. This portion of the game includes the light puzzle in the crypt, which we’ll also cover in detail to ensure you don’t get stuck trying to solve it. Shortly after the chapter gets underway, kill the three hostiles that attack and continue moving along with Sam. When you reach the ruins where Shoreline equipment can be seen all around, look in the crate near the door to find dynamite that you can use to open the door.
Move into the ruins and begin your search to the yellow wheeled cart. Don’t worry if you have trouble locating the cart, as Sam will point it out to you after a short time. Shoreline arrives once you move the cart closer to the objective. Use the stealth tactics you learned in the previous chapter so you don’t get into an all out fire fight, then continue pushing the cart into the building.
Use the grappling hook to make your way up the cliff, then slide down and jump over to the next cliff. Wait for the hostile to walk directly below, then drop down to take him out. When the next two hostiles approach, use a stealth kill to finish off the one on the right, while Sam deals with the hostile to the left. Head into the tall grass and mark as many enemies as you can before you engage them. You don’t have to take them all out, especially if you perform stealth kills so you don’t garner much attention.
When you reach the small opening in the cliff (to the left of where you entered), take down a few more hostiles as you venture toward the graveyard. You can find Henry Avery’s grave on the far side of the cliff. Once you’ve found it you will eventually end up in the crypt. When you get inside make your way to the right and pick up the note in the corner before you head downstairs and into the fog.

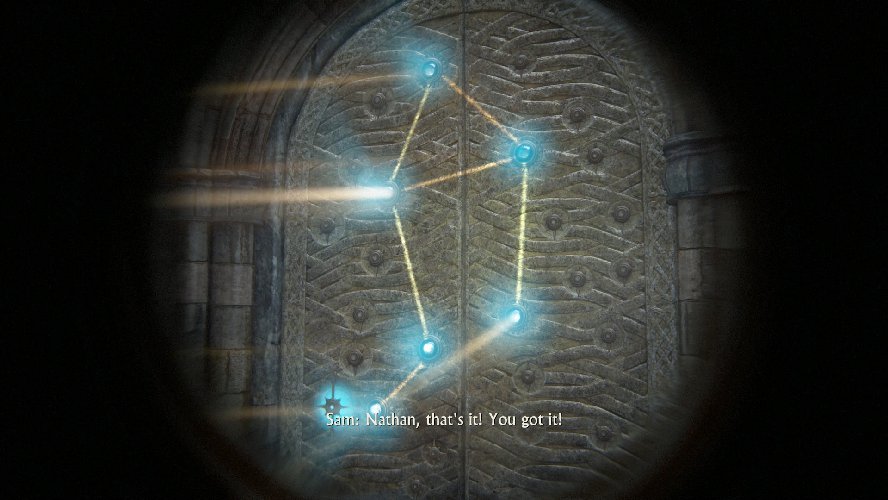
Head left and pick up the treasure in the adjacent room, before you go back to the main room again. There’s a puzzle here using several statues. After a short conversation with Sam it’s time to begin the puzzle. Go back to the front so you can look through each statue and line the beams of light with the stars on the door.
When the puzzle is complete, head to the door for another optional conversation with Sam where you make reference to the Libra Constellation being the solution to the puzzle. Leave the crypt with your back to the water and look up and to the right to see a large door and your next destination. Take down the various hostile forces as you make your way to the door, then converse as you climb around the area and take out a few more enemies. Once you enter the cave the chapter is complete.
At this point you can move on to Those Who Prove Worthy or head back to our Uncharted 4 walkthrough and guide!


