The bridge ahead is a dangerous place. In the background there’s a blast that goes off every few seconds that causes a shockwave to slam into the bridge. This shockwave is lethal if you take it head on. Luckily, there are a few metal plates lining certain parts of the bridge that will keep you safe from the shockwave.
As you approach the bridge there’s a large wooden box in your way. If you move it onto the bridge the shockwave will destroy it so it no longer slows you down. With the box out of the way, wait for the next shockwave (you’ll see the air blasted away and you’ll hear the noise of the explosion), then run for the first metal plate.
Wait at the far right edge of the first plate until the next shockwave. Immediately after run to the lever ahead and pull it to raise the next plate. Keep a firm grip on the lever as it also controls the next plate to the right. Wait once again for the shockwave, then push the lever back to the original position to drop the plate you’re currently hiding behind and raise the next one. Quickly move to the newly raised plate and wait there for another shockwave before moving onward.
In the next area there’s another lever, but this one controls the metal barrier to the right that moves in a circular pattern. Your first instinct might be to stop the plate to cover the ladder ahead so you can move up without getting hit by the shockwave, however that isn’t the case. The shockwaves come at regular intervals like clockwork. You need to stop the moving plate when it moves about halfway up the ladder, then start it again as soon as a shockwave comes to sync it up properly.
At the top of the ladder is a small platform and you must drop down to a second platform to the right of it. With proper timing the shockwaves should now come when the plate is covering the middle of the ladder and then again when the plate is covering the left side of the second platform you drop down to. If you don’t have this timing, stop the plate and try to sync it up again.
Once you reach the far side, stopping at the plate to avoid the shockwave, you come across another yellow switch box. Timing is once again key here as you need to wait for a shockwave, jump onto the yellow box, pull the switch on the top, then move left back to safety. After the next shockwave, quickly jump onto the switch box before it launches into the air so you can jump over to the right and move into the next room.
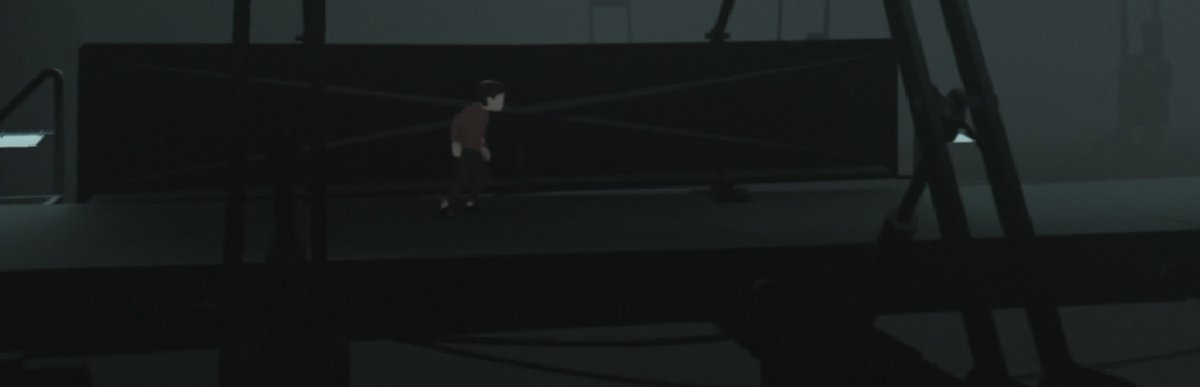
There’s another lever in the middle of the next room. When you pull it the blast shades in the background move up, allowing the shockwave to reach you. You need to use the red blast door to the right of the switch and drag it along with you as you continue to the right. When you move beyond the dummies and cross the first bridge-like platform, stop just before you reach the narrow bridge.
If a shockwave hits while you’re crossing this area with no floor beneath you, the shockwave will still connect and you’ll die. Wait at the very edge, then move as soon as a shockwave hits in order to make it across before the next shockwave.
When you reach the end and can push the blast door no further, you’re in a similar situation. There’s moving arm that circles around, stopping near the ground in the area ahead. It happens to make contact with the ground right when a shockwave hits. Wait for the arm to move high into the air and out of sight before you make your move. This is the position it’s in before it moves to the ground level. After the shockwave while the arm is in the air, quickly move down to the ground and use the arm as cover for the next shockwave.
Now you need to keep moving to the right, but stop before you slide down the inclined path to the right. There’s a small area of safety at the beginning of the incline, but no safety toward the latter half of the incline. Time your descent so that you start down the incline just as the next shockwave hits so you’re protected. With proper timing you will make it down the incline and into the next area before another shockwave comes.
After the incline you move into an area safe from the shockwave. Drop down from the top of the lift and raise the gate on the right side. Move into the lift and hit the button but don’t relax just yet. The shockwave hits the lift and causes it to plummet into the waters below. You have a very limited amount of time to open the right side gate to the lift, which means you need to swim the short distance down to the floor of the lift and grab the gate to force it open again. All of this has to be done before you drown.
Once you have the lift gate open, quickly swim to the right to find an opening in the ceiling that leads into the Flooded Base area.
Continue on to the Flooded Base area or head back to our Inside walkthrough and guide!


