After controlling Spartan Locke in Mission 1: Osiris, the second mission puts you in control of Master Chief, who leads the Blue Team through a separate operation. You’ll switch back and forth often between these characters with each mission, but it all ties together eventually.
Upon your arrival at the ONI Station, go into the nearby corridor, hang a right and then a left through a door. Keep going along the walkway and you’ll reach another door to the left at the very end. If you get lost, press down on the D-pad and you’ll find it with no problem.
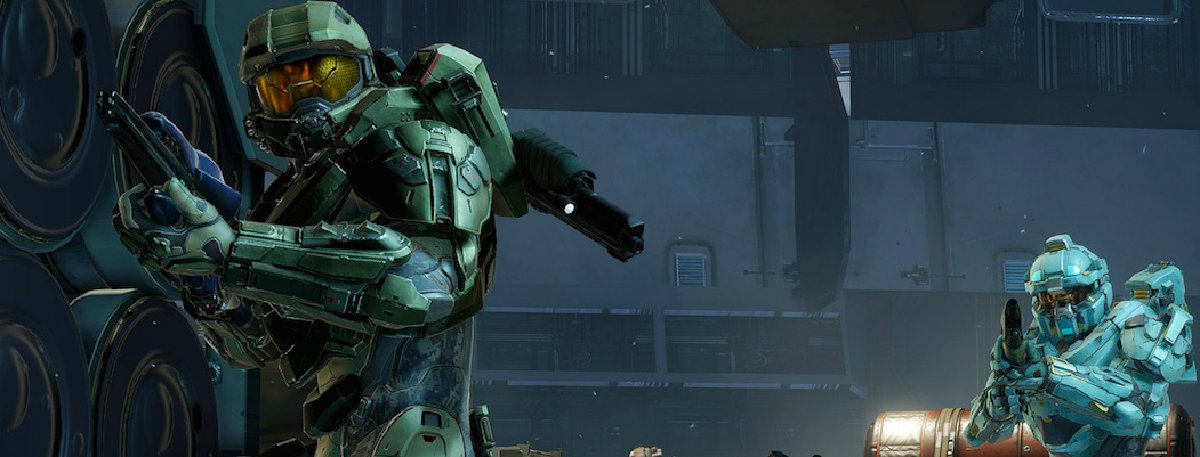
From there, take down the Grunts waiting in this area. You can either do it with stealth, sneaking up on them and hitting the RB shoulder button, or go all out with full force. Once they’re dead, look for a door on your right hand side and go into the next room. You’ll see a column ahead with a red square located right on the front of it. Go around it and you’ll find station log Intel to pick up.
Now move forward and take on a few more Covenant foes with your team, then head to the Data Center. Once you reach it, you’ll find a panel smack in the middle of the room, which will give you information straight from its data banks.
Look for a door on your right hand side and go through it. There will be an elevator at the end of the hall you can get on. Wait for your team and then hit the control button, and you’ll head up to Central Control.
You’ll see a lower level with a metal shutter door right in front of you. Build up some speed and bust through it with your Spartan Charge. There’s a huge drop, but it won’t do you any harm.
There are several Covenant soldiers waiting after you drop, so take them down. Keep an eye out for a weapon cache near the right side of where you first came in for an ammunition refill.
After they’re finished (you’ll be given an audio heads up that you’re all clear), climb up the sets of stairs until you’re high up. You’ll find a case holding a Hydra Launcher, which you can pick up if you need to replace a current weapon. It homes onto enemies with ease, without having to wait several seconds for a target lock.
Once you get the weapon, you’ll need to take down a few more Grunts and Covenant soldiers ahead. The higher areas give you a vantage point to bring them down, especially with a ranged weapon like the Hydra Launcher. After they’re defeated, you’ll make your way down a hall, where a Hunter will smash the ground and send you into a lower area.
A cut scene will take place, and then you’ll make your way through some dark tunnels in the lower part of the stage. Look for the red colored ones, which will take you the right way – and don’t forget to hit down on your D-pad if you get lost. You’ll take on a few Covenant suicide soldiers (shoot them quickly) and go through a door.
There are a number of routes that will take you to the same spot, so it doesn’t matter which way you go. There is a smaller crawlspace that will give you an advantage when it comes to awaiting enemies, since you can flank them from a different angle. The choice is yours.
You’ll eventually pass through a hallway with several windows. A door will be on your right hand side. Go through it and look for a panel to your left, which will give you access to a Laboratory elevator. Head down and you’ll deal with a couple of Hunters. Once they’re finished, look for a Data Pad on the left hand side.
Keep pushing ahead and you’ll find a cylinder with the words “Override Junction” on it. Go ahead and activate this and it’ll start moving. You’ll go down into the hole and make your way to another metal door, which you can ram through with the Spartan Charge.
This room is full of enemies, including Grunts, Jackals and Elites. Use your battle tactics and team to take them down, then make your way to the Control Room on the next level. You’ll find a Reactor Control panel on the left hand side going into the room. This will start the override sequence. Get to the reactor platform in the center of the room, and you’ll return to the lower part of the level.
Now you and your team will quickly have to shut down the cooling system within the station. There will be various platforms surrounding a column. You can only shoot so much on foot, so look for a Banshee (there will be several around) and hop in. You’ll be able to fly to various venting control rooms in the area. You can use your Spartan Charge, then hop on the terminal to access the vents to begin the shutdown.
Get back in your Banshee and blast the vents. If you have trouble finding them, hit down on your D-pad. Make sure you keep an eye out for enemies flying around in their own Banshees because they can damage your ship. Shoot them when you get the chance. After destroying all the vents, look for a narrow passage below to reach the next stage. Unfortunately you’ll have to leave the Banshee behind.
You’ll see another level that will take you into a hangar bay, where a few foes are waiting. Take them down, then look for a launch control panel on the other side of the room. Deal with a few more enemies, including two more Hunters; make sure you have plenty of ammunition on hand. Eventually the Prowler will launch and you’ll be good to go.
Head towards the ship and this ends mission two, with a cut scene leading you to the third.
Continue the campaign with Mission 3: Glassed, or head to the free Halo 5: Guardians Walkthrough and Guide. For in-depth strategies and secrets, check out the Official eGuide and Halo 5: Guardians Collector’s Edition Strategy Guide.


