Take a visit to Craig’s house, which is the third house to left of the bus stop, and you can speak to Craig’s father, Thomas Tucker to begin the Scavenger Hunt: The Yaoi Project. You are tasked with collecting a number of Yaoi artwork posters scattered around the town. This article covers the 40 Yaoi poster locations in South Park: The Fractured But Whole so you can quickly complete the quest and increase your hero level. In addition to all 40 posters, you’ll find details on any abilities you may need and where to acquire those abilities.
Once you have collected all 40 yaoi artwork pieces, head back to Craig’s place and speak with his farther. He will reward you with another piece of yaoi artwork, the Explosive Squadron Coon Boizu, as well as the Big Bang Boy Buttress artifact. The epic slot artifact increases the powers of Super Craig and Wonder Tweek by 10 percent, and has a Might level of 100. The quest is not complete until you speak with Thomas Tucker again and collect your reward.
As always, this is a mature game and some of the contents in this article may not be suitable for readers of all ages.
Yaoi Artwork Map
After you have completed the The Hundred Hands of Chaos mission and gained the Buddy Power Sandblaster, you can head to Bebe’s house (bottom road, last house on the left) and go into the basement. On the far left side of the basement, there’s a glowing crack on the machinery. Hit the crack with a Snap N Pop firecracker to reveal a pipe. Use the Sandblaster on the pipe and a map will drop down from the top of the machinery. This map shows the rough location of all 40 yaoi art pieces. It won’t give you exact locations (see below for that), but it does let you know how many yaoi pieces are in each building.
Yaoi Artwork Locations
Bank of South Park (middle road, right in the middle of the map)
- After completing the The Hundred Hands of Chaos main mission and gaining the Buddy Power Sandblaster, remove the lava in front of the bank and head inside to find a yaoi poster on the water cooler in the foreground by the entrance.
Bebe’s House (last house on the block, heading west, before the Community Center)
- Upstairs in the first room, look in the back right corner. Use a Snap N Pop firecracker to knock it down.
Big Gay Al’s House (middle street, second to last house on the right)
- Go inside Big Gay Al’s house and look in the hallway around where the basement is located in most other houses. There’s yaoi artwork hanging in the hallway. Use a Snap N Pop firecracker to knock it down, then pick it up off the ground.
Bijou Theater (top street, north of The Playground)
- Once you have the Buddy Power Fartkour, head into the theater and use the Buddy Power to reach the balcony. The poster is on the far right side.
Butters’ House (left of Cartman’s house)
- After completing The Hundred Hands of Chaos main mission you will have Butters’ garage key. Head ot Butters’ house and open the garage. There’s a calendar on the back wall. Throw a Snap N Pop firecracker at the poster to knock down a piece of yaoi artwork that you can collect.
Cartman’s House (middle of the map, bottom road)
- Open Cartman’s garage and use the Buddy Power Diabetic Rage (obatined during the The Bowels of the Beast main mission) to knock over the machinery in the back. This reveals yaoi artwork on the wall behind the machinery. Climb up the fallen machinery to collect the artwork. If you continue to the top of the newly created ramp you can collect the Hulking costume set as well.
Church (far left side of the middle road)
- There’s a poster in the storage room of the church, which you need a passcode to enter. Once inside, the poster is to the right of the door.
City Hall (middle street, far left side to the right of the Police Station)
- Far left wall inside City Hall. Use a Snap N Pop firecracker to knock it down.
- On the Community Board just outside City Hall.
City Wok (top road to the far left)
- Poster is located in the back left corner behind one of the patrons in the restaurant.
Clyde’s House (bottom road, almost all the way to the far left, third to last house)
- You need Clyde’s Garage Key to access this yaoi artwork. It can be found in Raisins (top road, left of the mall) in a bag on the far right side of the restaurant. Once you have the key, head to Clyde’s house, open the garage, and grab the yaoi artwork in the foreground on the far left.
Community Center (bottom road, left side, just right of the school)
- You need the TimeFart Pause ability to access this artwork. Once you have completed the main mission Medicinal Fried Fiasco and have the ability, head into the men’s room (door on the right) and stop time to move across the electrified water to shut off the power in the small room beyond. With the power shut off, open the door to the stall to find yaoi artwork inside. Hit the artwork with a Snap N Pop firecracker to knock it onto the toilet so you can pick it up.
Freeman’s Tacos (middle road, to the right, near Sloppy 2nds and the Bank of South Park)
- Head into the bathroom on the right side of the restaurant to find the poster near the stall.
Henrietta’s House (middle road, left of the bus stop, between Jimmy’s and Craig’s houses)
- Go upstairs and look in the second door on the back wall (middle door). Use a Snap N Pop to hit the yaoi artwork on top of the dresser, between the plant and the vase. Pick up the artwork when it falls to the floor.
Jimmy’s House (bottom road, just left of the bus stop)
- After completing the The Hundred Hands of Chaos main mission and gaining the Buddy Power Sandblaster, remove the lava in front of Jimmy’s garage and go inside. There’s yaoi artwork on the upper shelf on the right side of the garage, by the green containers. Use a Snap N Pop firecracker to knock it to the ground, then you can pick it up.
Kenny’s House (bottom road, far right corner)
- During or after the The Hundred Hands of Chaos main mission, go into Kenny’s house and down the hallway (where the basement is in most other houses). In the first room on the left look on the right wall to find a yaoi poster.
- After you complete the The Hundred Hands of Chaos main mission, head back to Kenny’s house and down the hallway (where the basement is in most other houses). In the room on the left, closest to the foreground (Kenny’s parent’s room) grab the garage keys by using the Snap N Pop firecracker to knock them off the left wall. Head out to the garage and look inside to find yaoi artwork on the right.
Kevin Stoley’s House (bottom road, second to last house on the left)
- To enter Kevin’s house you need to have completed the main mission, The Chaos Gambit so you have the Buddy Power Haywire. Shoot a Snap N Pop firecracker at the glowing crack in the upper right corner of the garage, then use Haywire to break into the garage. Open the garage, then climb up the ladder and head all the way to the right to a second ladder. Climb up the second ladder to the roof, then head left to the window. Head downstairs to find yaoi artwork hanging on the wall near the front door. Use a Snap N Pop to knock is down to the floor so you can pick it up.
Kyle’s House (two houses to the right of Cartman’s place)
- Go upstairs and use a Snap N Pop firecracker to knock down the latch leading up to the attic. Use another to move the computer out of the way, then move toward the table in the background to find the poster.
- Go upstairs and enter the room in the foregound (face the camera to enter). This is Ike’s room. The yaoi artwork is to the right of the door.
Main Street Offices (middle road, between Tom’s Rhinoplasty and D-Mobile)
- Head through the door on the far right to get upstairs, then circle around the desk to access the poster on the left wall.
Nichole’s House (middle road, last house on the right)
- After you gain the Buddy Power Hayfire during The Chaos Gambit main mission, you can short out the security panel that keeps Nichole’s garage locked. Unlock the garage and head inside to find yaoi artwork on the back wall.
Peppermint Hippo (top road near the middle of the map)
- After you gain the Buddy Power Hayfire during The Chaos Gambit main mission, you can short out the security panel that leads into the management office. To get to the management office, go up on the stage and through the curtains on the back wall. Once you’re inside the office, the yaoi artwork is on the left wall. Use a Snap N Pop firecracker to knock it to the ground so you can collect the item.
Playground (middle road, near the middle of the map)
- In the left-most bathroom (boys room) on the basketball court.
- In the right-most bathroom (girls room) on the basketball court.
Photo Dojo (middle road, left of the basketball court)
- On the left wall. Use a Snap N Pop firecracker to knock it down.
Police Station (middle road, near the left side of the map)
- Head into the Police Station and go into the Break Room to find yaoi artwork at the bottom of the white board on the right side of the room. It’s below the question on site photos.
Raisins (top road, left of the mall)
- Go behind the counter in the middle of the restaurant. Behind the counter, look on the far right to find the poster.
Sloppy 2nds (middle road, right of Tom’s Rhinoplasty and the Bank of South Park)
- To the right of the checkout counter near the store entrance.
SoDoSoPa (just north of Kenny’s house to the far right side of the map)
- During or after the The Hundred Hands of Chaos main mission, when you’re in the area where the bums hang out, look in the orange tent in the middle of the area (to the far left of the leasing office) to find a yaoi poster.
Stark’s Pond North (far left side of the map, accessible with the Diabetic Rage Buddy Power)
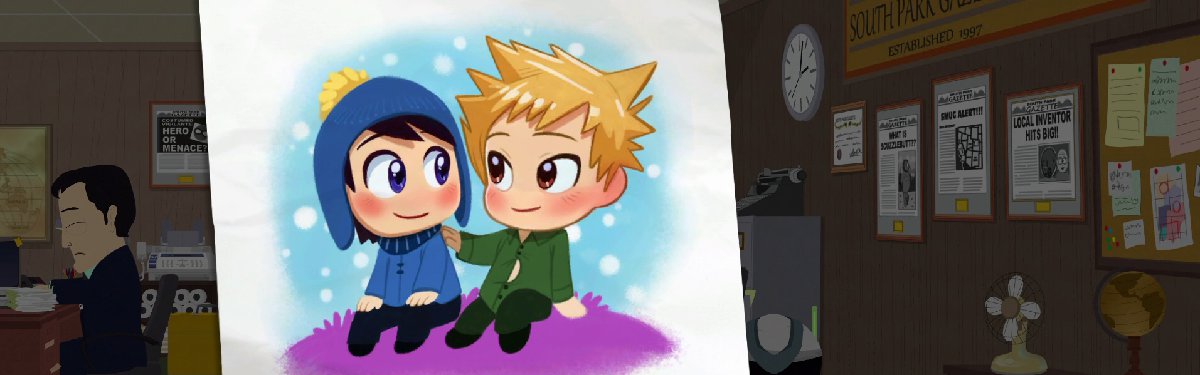
- Follow the path that leads around Stark’s Pond until you see the bulletin board (which may have lava in front of it). There’s a tree to the left of the bulletin board with “C+T” carved into it. Move the carving to find a poster behind it.
Stan’s House (to the right of Cartman’s house)
- Go upstairs and into the room in the foreground (face the camera to enter). This is his sister Shelly’s room. Look on top of the white cabinet on the back wall to see a piece of yaoi artwork. Use the Snap N Pop firecracker to knock it down to the ground so you can pick it up.
South Park Elementary (western-most building on the first street)
- Look in the gym located all the way in the back of the school. It’s on the far right side, at the top of the bleachers.
- Once you can access the second floor using the Buddy Power Fartkour, there’s a poster on the second floor of the first room, all the way to the left.
South Park Gazette (west of the Post Office and D-Mobile)
- Cabinet on the far right side.
South Park Senior Center (top road, right of the mall)
- Head to the far right corner and use a Snap N Pop firecracker to knock the poster off the back wall.
Token’s House (top road, right of the Senior Center)
- Look upstairs in the room on the far left. The poster is on the far lefy wall by the globe.
Tom’s Rhinoplasty (north of the bus stop)
- Back room, far left corner. Use a Snap N Pop firecracker to knock it down.
Tweek Bros. Coffee (top street near the far right side of the map, north of The Playground)
- Use a Snap N Pop firecracker to knock down the poster on the Bull-etins board left of the cashier.
- In the employee room in the back, remove the Tweek Coffee poster on the far right side of the back wall to reveal another yaoi poster. You may have to use the Fartkour Buddy Power in Bijou Theater to climb up the ladder inside and run across the roof to Tweek Bros. Coffee, then enter from there (depending on when you try to pick up this poster).
Be sure to check out our South Park: The Fractured But Whole game hub for more strategy and advise, including how to find condoms!