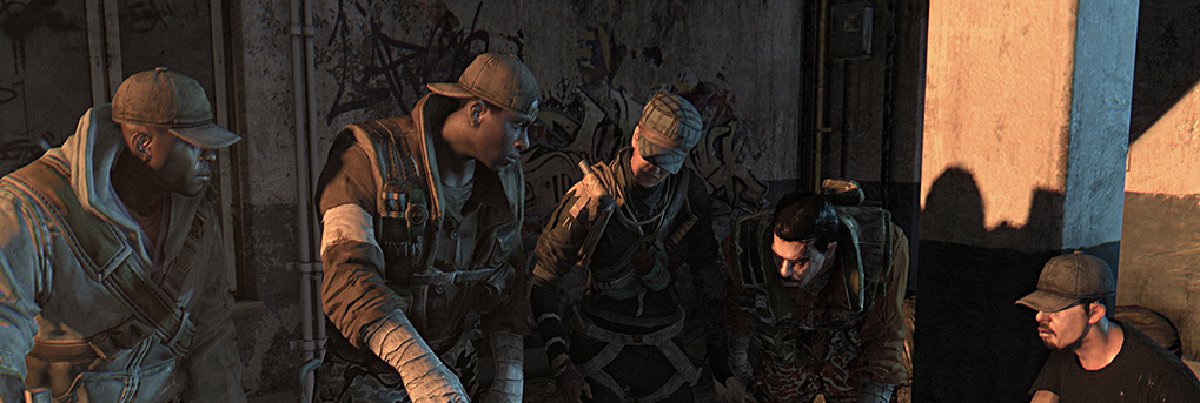
Contact the GRE
This mission begins the moment that Crane exits the room where he was chatting to Jade and Brecken, but he’ll be stopped by Lena and offered a side quest called Mothers Day. Feel free to accept this task, but this walkthrough will only be covering the main missions. Side quests will come later.
Exit the Tower and head for the waypoint on the map. Not only is it getting dark, but it’s also raining. In order to contact the GRE, climb up on one of the high structures marked on the map. After a quick check-in it’s on to the next objective.
Look for the Airdrop in the Cauldron Area
Kyle Crane needs to head north to try and secure the airdrop. A quick look at the map will show that a Safe Zone is near the search area, and it might not be a bad idea to try and secure that before looking for the goods. It’s a long way back to the Tower.
When the Safe Zone is secure start looking around the shaded area of the map until the airdrop is spotted. It’s high above the ground level, so climb up and crack it open. Unfortunately… it’s empty.
Retrieve Antizin from the First Airdrop
A plane will drop two more crates some distance from where the first landed, and Mr. Crane’s objective is to investigate the first one. This will show up as a waypoint on the map, so head that direction while sharpening up those free running skills. Upon arriving at the objective players will notice that the drop has already been snatched up.
Rush to the Second Airdrop
Get moving toward the second airdrop, taking note of a couple potential Safe Zones on the map. It’s never a bad idea to take a few moments and secure these, but we can confirm that they weren’t an option for us to use during the night pursuit in this mission. The final objective has Kyle making his way back to the Tower after dark. Still, take a moment to secure at least one of them, as we’re sure it will come in handy somewhere down the line. When players reach the second airdrop the objective will be complete.
Clear the Airdrop Area
Before the crate can be secured the area must be cleared of zombies, of which we found three. They aren’t anything crazy like Mr. Hammer from before, but in a group they can still pose a threat. Try a Firecracker to distract them toward a broken section of railing, then kick them off the ledge for a few easy kills. The only downfall to this strategy is that their bodies will be unavailable to search, but players should have bigger fish to fry at this particular portion of the game.
Salvage the Vials of Antizin
Pretty simple stuff. Just approach the crate and interact with it, then enjoy the cut scene.
Return to the Tower
Now that players have been properly introduced to the very formidable Volatiles and Virals, it’s time to get back to the Tower as quickly as possible. This is done by stringing together some of the best free running and parkour thus far in Kyle Crane’s short stay in Harran, as these enemies can both keep up with him and climb.
Tip: If a Volatile or Viral is in pursuit, keeping Crane’s flashlight on is fine. As soon as line of sight is broken, however, turn the light off to maintain a low profile. Players can then refer to their map to see the location of these enemies, as well as their cone of detection. Avoid that.
Players should be keeping their heads on a swivel as they run, looking for free running opportunities that can break the line of sight between them and their pursuers. Once line of sight has been broken, switch the flashlight off and start using stealth to make it back to the Tower.
Tip: Agility and Power points are doubled at night, which is a mild benefit to trying to stay alive through that nonsense. Additional Agility points can be gained by escaping a night pursuit, and Survivor experience is gained by staying outside all night instead of the comfy confines of a Safe Zone.
Report to Brecken
Take the elevator to the 19th floor and head inside the headquarters. This will bring about the end of this mission, but immediately throw players into the next. Feel free to return to our Dying Light walkthrough, or get right back out there and continue on with Mission 4: Pact with Rais.
Get your copy of the official Dying Light Guide now!
- A spoiler-free walkthrough of the entire main story, including myriad side quests
- Our exclusive maps from the game developers chart the locations for all 200 Collectible Items in Old Town and the Slums—Antennas, Zombie Statues, and more!
- A Skill-by-Skill Breakdown for Survivor, Agility, and Power abilities. Play to your strengths as a runner or a fighter.
- All Blueprints—explained Locations, Recipes, and Effects. Find out how to make anything in the game.
- Learn about the Infection and the monsters it has created. Master their weaknesses.
- How to scavenge during the day, and then take your life into your own hands and risk deadly Pursuits in the evening hours. Tips for survival under all conditions.
- Get every Achievement/Trophy.
- Free Mobile-Friendly eGuide. Unlock the enhanced eGuide for access to updated content, all optimized for a second-screen experience.


