This article will tell you everything you need to do to start the latest expansion for Destiny, Rise of Iron. Skip to Step 6 if you have already played Destiny, but otherwise start from the top and work your way down to ensure you hit the ground running.
Step 1: Purchase Destiny
Before you can begin playing Rise of Iron you will need to own Destiny as well as all previous expansion packs including: The Dark Below, House of Wolves, and The Taken King. If you do not own any of these then you should purchase Destiny: The Collection as it includes all previous content and Rise of Iron.
If you already own these you will need to purchase Rise of Iron either in-store or online through your PlayStation 4 or Xbox One console’s store page.
Step 2: Update Destiny
After inserting or downloading Destiny, the previous DLCs, and Rise of Iron you will now need to install them onto your console as well as any updates the games might have available. Once the game has finished updating you may need to go through the Import Account process. Follow the on-screen steps.
Step 3: Boot Up Destiny
Once everything is installed and updated you will need to load Destiny by inserting the disc or selecting it from your console’s hard drive.
Step 4: Create Your Character
Choose your class, race, and physical features then select “Finish” to start Destiny.
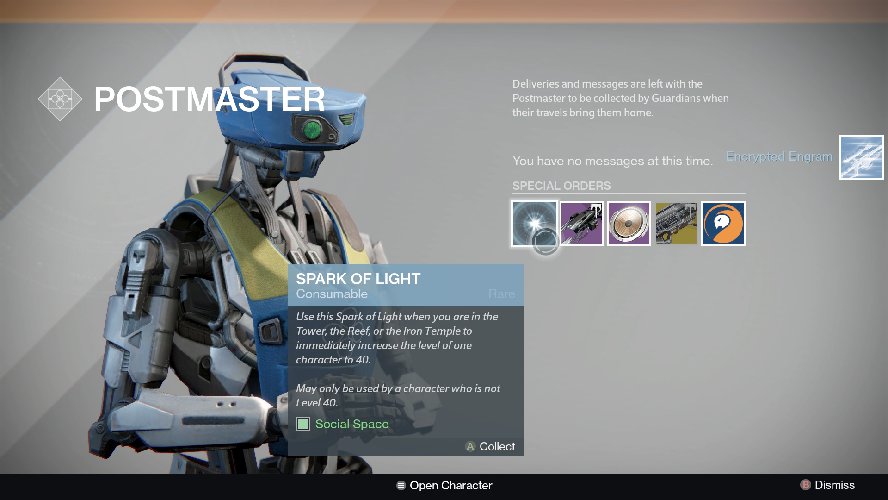
Step 5: Visit The Tower
When you arrive at the Tower, visit the Postmaster to receive your Spark of Light, an item that will boost you to Level 40. You will then want to Go to Orbit.
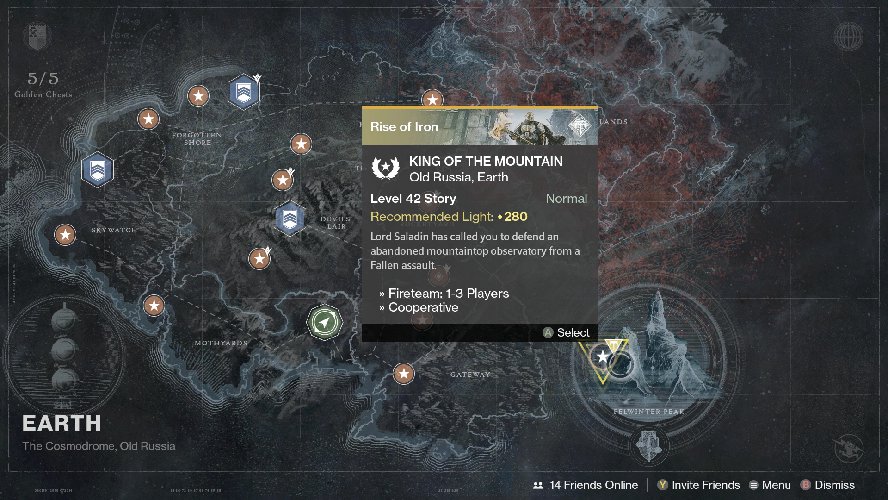
Step 6: Select Earth
This is where you will really start Rise of Iron. Once in Orbit, navigate to Earth in the Director and then to the bottom right side and select: King of the Mountain
Step 7: Start King of the Mountain
Starting King of the Mountain quest on Earth will start Rise of Iron. Each mission from here on out (assuming you’ve completed everything else) will be directly tied to Rise of Iron. An easy way to tell if a mission is associated with Rise of Iron is if the Quest or Item has an image of Lord Saladin and the giant axe icon.
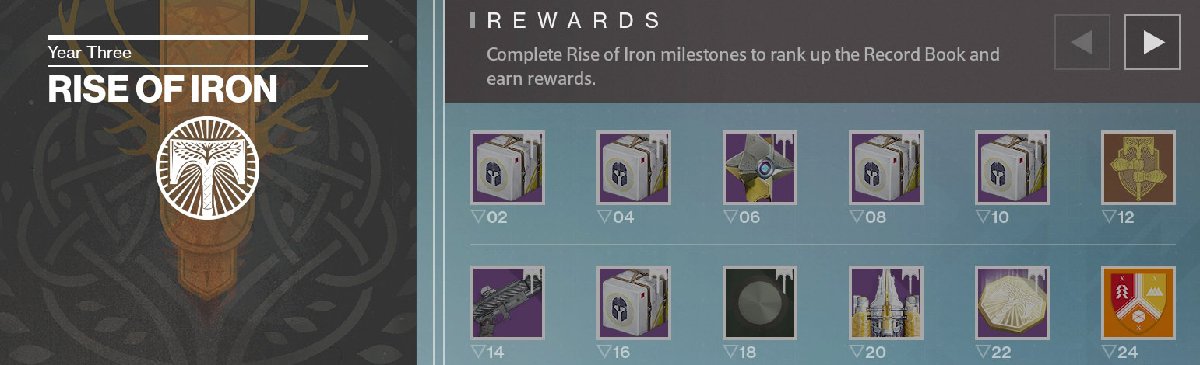
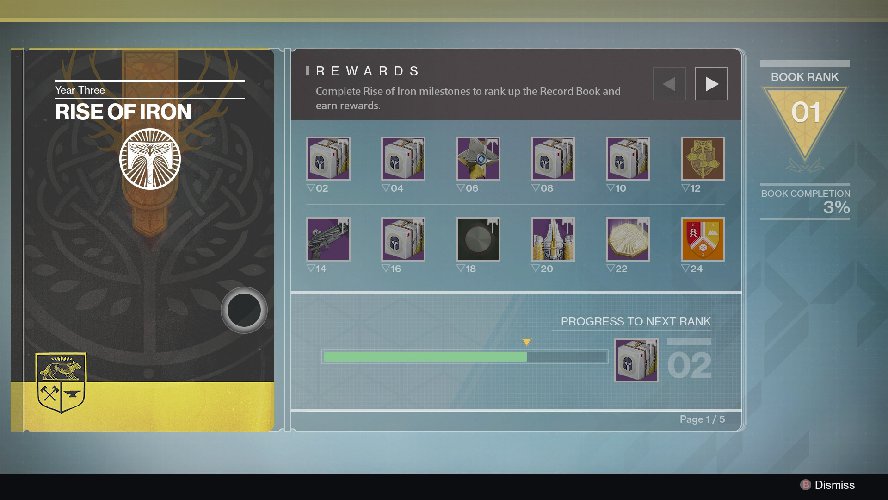
Step 8: Unlock the Rise of Iron Record Book
Open the start menu and navigate to the Progress tab to find the Record Book: Rise of Iron on the left hand side. You are now able to inspect it and unlock it. By unlocking the Rise of Iron Record Book you will be able to turn in quests to help you progress through the many levels, of which there are 24.
If you followed this guide you now know how to start Rise of Iron and will have access to all the content that Destiny: Rise of Iron has to offer.