The latest chapter in the Call of Duty Zombies saga arrived with the Awakening DLC pack this week, in the form of Der Eisendrache. It’s a follow-up to the previously released The Giant pack, where “Tank” Dempsey and company find themselves up against supernatural forces in 1945. Despite the time period you’ll have a lot of modern weaponry to back you up (like those awesome Gravity Spikes and a slew of other toys), which means you stand a chance against the zombie horde.
Killing Enemies
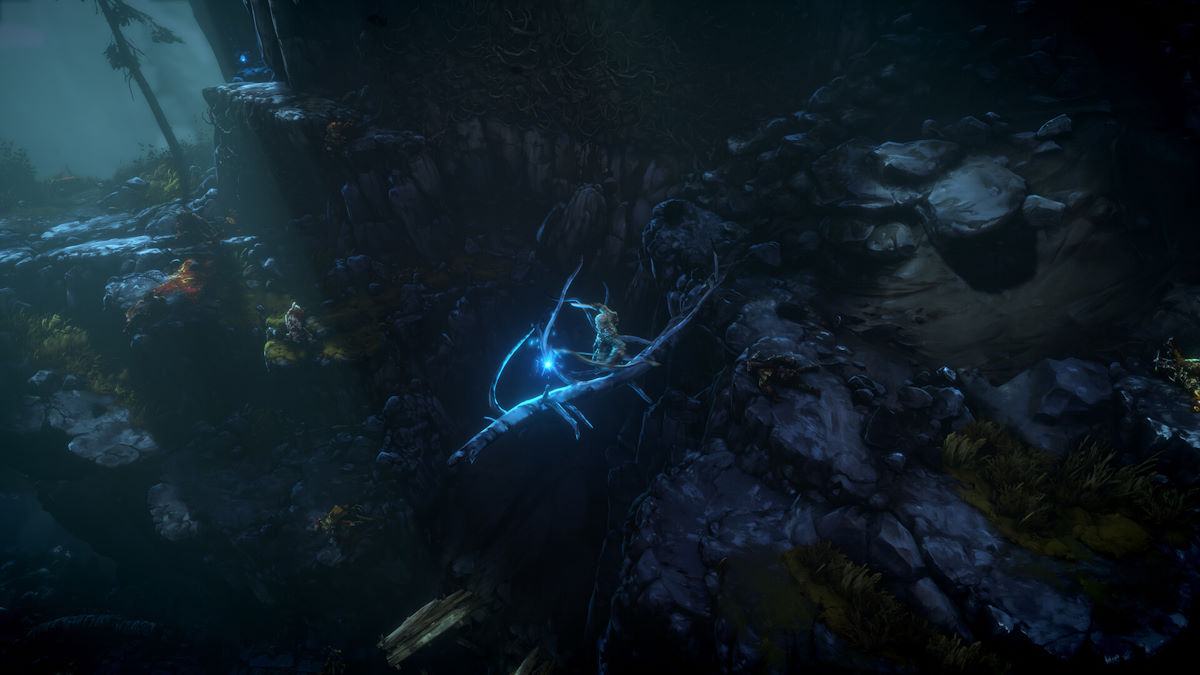
If you’re familiar with the Giant map, then you already know about a handful of the evil forces coming your way, ranging from zombies to Hell Hounds. They can be dealt with in the usual manner, but you’ll want to keep an eye out for the deluxe zombies. These guys come charging at you in (mostly) tamper-free mechanical suits, firing at you from afar with lightning and trying to hit you if you get too close.
However, there is a key to bringing them down. Despite their robust amount of armor, their face continues to be the weakest point. It can be tough to hit them if they’re unloading a barrage of attacks on you, but if you have a serviceable weapon on hand (and hopefully a Pack-a-Punched perk), you should be able to bring them down quickly enough. The goal is to just keep shooting at the head, and avoiding any attacks they throw your way.
If you have a team to back you up, by all means, call them in. The more the merrier, the quicker you’ll be able to deal with this threat and get back to pummeling the usual zombies. The last thing you want is some of these larger types to gang up on you – you’ll never recover.
Turn on the Power
Considering this is an older castle, it runs on a generator, which means you won’t have access to much in the beginning since the power is off. That said, if you want to find the generator, follow these basic steps.
Make your way up the stairs and to the left from where you first came across the bedrooms. You’ll find some debris in the form of a barrier right at the top of the courtyard, once you get past the spike gates trap. Break this down, and you should be able to find the necessary power switch. By activating this, you’ll be able to utilize a number of new areas, as well as transporter pads, Perk-a-Cola machines and Wunderspheres.
By all means, make the power a priority when you first start a match, no matter what gets in your way.
Call the Tram
Another thing you’ll notice in the stage is the ability to call a nearby Tram. However, it doesn’t quite serve the purpose you’d expect – instead, it simply drops off a randomized power-up of some sort. Still, it comes in handy – but there’s a process when it comes to calling one down.
What you’ll need is a Tram Fuse, which bears a similarity to a vial of Liquid Divinium with a blue-ish glow. You’ll almost immediately find the first one as you start the match, so don’t hesitate to pick it up.
As for calling the Tram itself, look for a console, which should be straight across from where you first spawn into Der Eisendrache. If you have the fuse, go ahead and activate it, then stop and see what it has to offer. If you’re in need of another, keep an eye open for enemies that you kill, as some may drop one after dying.
Just remember that the Tram won’t come to your rescue every time. It takes a good while for it to load up with a new weapon, so you won’t be able to abuse it during a match. Make it count and don’t waste a good power-up.
We Have Liftoff
Finally, you’ll want to make sure you activate the landing pads within the game. These will enable you to get around the map safely and conveniently, as you launch into the air and come to a safe landing on the other side from where you were standing.
You’ll find the first one right next to what appears to be an electrical tower, on the left hand side. You’ll see an option to activate it, so go ahead and do so.
Make your way to the center of the stage and hurry up a staircase on the right hand side. This will take you to an upper area where you’ll see a doorway up ahead. Right before you get to it, you’ll second the second pad. Turn it on.
After that, make your way to the roof of the building and go to one of the near towers on the far side. The third landing pad will be located here.
Head back downstairs, around the catacombs on the lower level, and look for the teleportation tower in one of the darker rooms. Once you’re transported, go through the doorway and hang an immediate right, and you’ll find the last landing pad. (A rocket will be standing right in front of you.) Turn it on, then go walking past the rocket to find a small chamber. Go inside and activate the pad, and you’ll see what purpose they serve, as you’re flung (safely) to another part of the stage.
You’ll want to use these often, as they can get you out of a jam quickly, and let you go to another section to load up on weapons or at the very least, get some breathing room. Good luck!